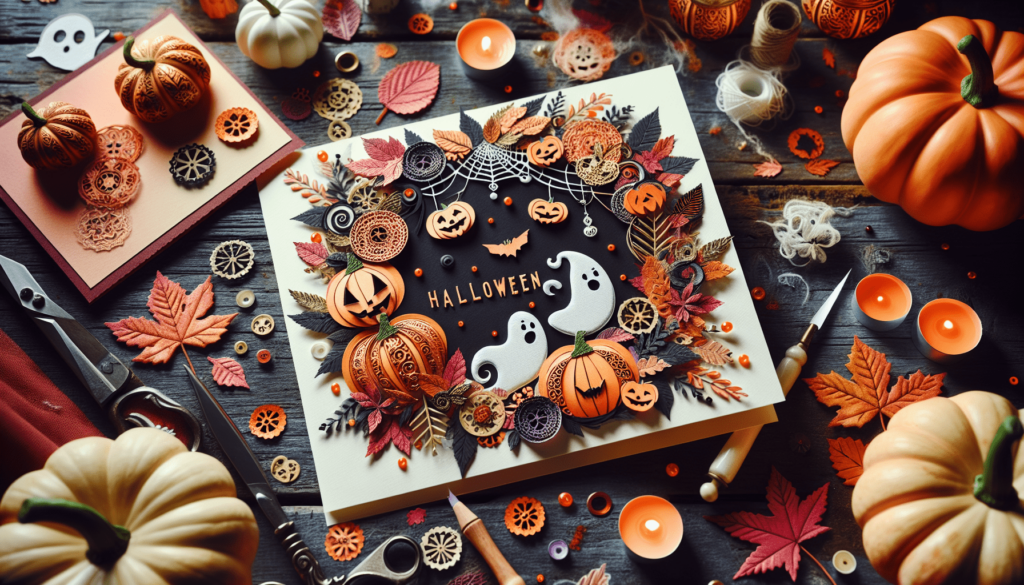
Imagine you could make your very own Halloween cards to give to your friends and family. How fun would that be? You can create spooky or funny cards all by yourself using some simple things you might already have at home. In this article, you’ll learn how to make DIY Halloween Greeting Cards. From choosing the perfect spooky decorations to adding your own special message inside, every step will be exciting. Get ready to make this Halloween extra special with your handmade cards!
Choosing the Right Materials
When you want to make a Halloween card, picking the right stuff to use is like picking the best candy from a candy bowl. Let’s find out what makes your card super special!
Types of paper to use
You can choose from many different types of paper. Some are thin like leaves and others are thick like a book cover. Think about using colorful paper or even paper that looks old for a spooky touch!
Selecting eco-friendly options
It’s nice to take care of our planet, even when we’re making fun cards. You can find paper and decorations that are good for the Earth. Look for things that say they can be recycled or are made from recycled stuff.
Inks and coloring materials
Using lots of colors makes your card pop! You can use markers, crayons, or even paint. Some inks are made to be safe for the Earth, so look out for those too.
Decorative elements: Ribbons, stickers, and glitter
This is where your card gets really fun. You can stick on ribbons, stickers, and even sprinkle some glitter to make your card shine. Just remember, if you want to be friendly to the Earth, look for glitter that’s safe for the planet.
Basic Tools Required
To make your card, you need some tools. Don’t worry, they’re easy to use!
Scissors and cutting tools
Scissors help you cut paper into cool shapes. Always ask an adult for help if cutting gets tricky!
Glue and adhesive options
Glue sticks your decorations on your card. There are lots of types of glue, but a simple stick glue is great for starting.
Measuring tools for precision
Sometimes you want your decorations to be just right. Using a ruler helps you make straight lines and measure where to cut or glue.
Stamps and stencils for easy patterns
Stamps and stencils are super helpers. They let you make neat designs without having to draw them all by yourself.

This image is property of images.pexels.com.
Design Inspiration and Themes
When making your card, think about what makes Halloween fun for you. Here are some ideas to get your creativity bubbling like a witch’s cauldron!
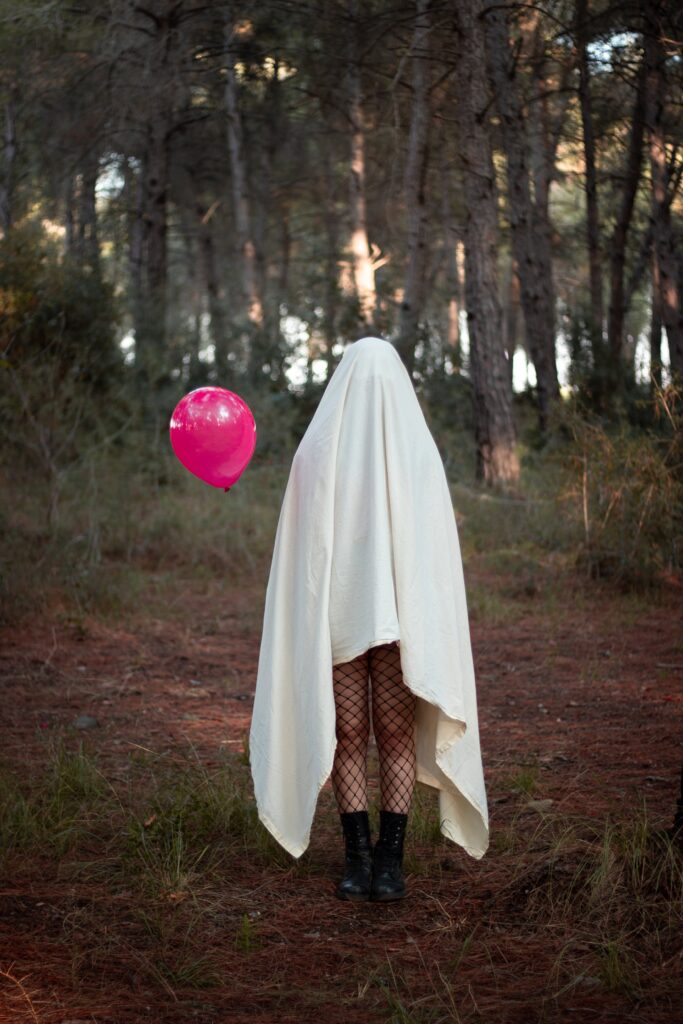
Classic Halloween symbols: Pumpkins, ghosts, and witches
These are the stars of Halloween! Drawing a smiling pumpkin, a friendly ghost, or a silly witch can make anyone smile.
Horror movie themes
If you’re making a card for someone who loves a little scare, why not try a theme from a spooky movie? Just keep it light and fun.
Elegant Gothic designs
Sometimes, a bit of mystery is what you’re after. Dark colors and fancy patterns make your card look like it came from a haunted mansion.
Kid-friendly cute Halloween ideas
Halloween doesn’t have to be scary. Cute cats, happy bats, and smiling pumpkins are perfect for a kid-friendly card.
Card Layout and Structure
Now, let’s figure out how your card will look and open. It’s like planning a secret pathway in a haunted house!
Traditional fold vs. postcard style
You can make a card that opens up or one that’s just a single page. Both are great! It just depends on how much you want to decorate and write.
Creating pop-up elements
Imagine opening a card and a ghost pops up! You can make parts of your card stand up for a fun surprise.
Innovative shapes and cut-outs
Your card doesn’t have to be just square or rectangle. You can cut it into the shape of a bat, a cat, or even a witch’s hat!
Layering techniques for depth
Putting one piece of paper on top of another makes your card look deep, like looking into a forest. It’s a neat trick to make things pop out.

This image is property of images.pexels.com.
Creating the Front Cover
The front of your card is what everyone sees first. Let’s make it super exciting!
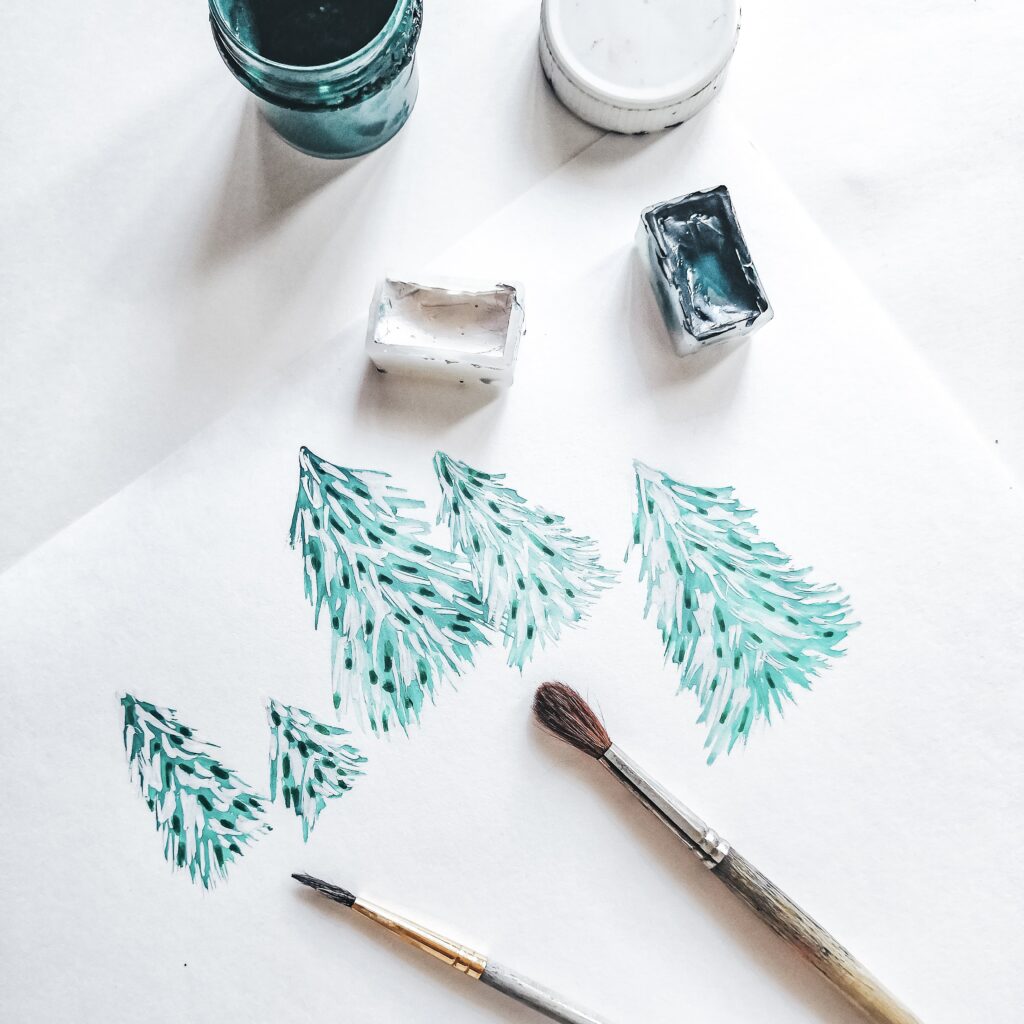
Drawing and painting tutorials
You can find simple tutorials to draw anything Halloween-themed. Don’t worry if it’s not perfect. It’s the fun that counts!
Using printables and templates
If drawing isn’t your thing, you can find pictures online to print and stick on your card. There are lots of cool designs out there!
Collage techniques for a unique look
Cutting out pictures from magazines or using different papers to make a picture is called a collage. It’s a fun way to make a one-of-a-kind card.
Incorporating text and calligraphy
Writing “Happy Halloween” in a spooky or fancy way makes your card feel special. You can practice making cool letters that look like they came from a fairy tale.
Inside the Card
The inside of the card is where you put your Halloween message. Let’s make it heartwarming with a pinch of Halloween magic.
Crafting a heartfelt Halloween message
Think about what you love about Halloween and share it with the person you’re giving the card to. A simple “Hope your Halloween is fun and spooky!” is a sweet start.
Interactive elements: Pockets, windows, and pull-tabs
Imagine opening a window on the card to see a cute message or pulling a tab to make a witch fly across the card. These surprises make your card extra fun.
Embellishing with stickers and stamps
Adding a sticker or a stamp is like putting the cherry on top. It’s the finishing touch that makes your card complete.
Adding photo slots for personalized messages
You can make a little pocket to put a photo inside. It’s like giving a piece of a fun memory with your card.

This image is property of images.pexels.com.
Envelopes and Packaging
Putting your card in an envelope is like wrapping a present. Let’s make it look as cool as your card!
DIY envelope tutorials
You can make your own envelope with paper. Decorate it to match your card for that extra wow factor.
Decorating envelopes to match card themes
Drawing spiders, bats, or using stickers can make your envelope stand out. It’s like the envelope is part of the Halloween fun too.
Sealing options: Wax seals and stickers
Sealing your envelope with a sticker or even a wax seal makes it feel like you’re getting a letter from a castle. It’s a cool old-timey touch.
Creating custom labels and tags
Making a label with the person’s name in spooky lettering adds a personal touch. It shows you care and adds to the Halloween spirit.
Eco-Friendly Alternatives
Halloween is fun, but let’s also think about our planet. Here are some ways to keep your card-making green.
Using recycled materials
Look for paper and decorations that have been used before or can be used again. It’s like giving old things a new life for Halloween.
Biodegradable decoration options
Some decorations can go back to the Earth without hurting it. These are great choices for keeping your card Earth-friendly.
Digital Halloween greeting cards
Sending a card through the computer doesn’t use paper at all. You can make it super creative with animations and colors!
Crafting with natural materials
Leaves, twigs, and even petals can make beautiful decorations. Plus, they remind us of the beauty of fall and Halloween.

Tips for Mass Production
If you want to make cards for a lot of people, here are some tricks to make it easier.
Organizing a card-making station
Set up a little area with all your materials ready. It’s like having a mini-factory right in your home.
Batch processing steps for efficiency
Doing the same step on all cards before moving to the next step saves time. It’s like being on a Halloween card assembly line!
Storage and organization of finished cards
Keeping your cards safe and sorted makes sure they’re ready to go when Halloween comes. It’s like storing up treats for the big night.
Time-saving tricks and hacks
Finding little shortcuts, like using pre-made decorations or templates, can help a lot. It’s like having a magic wand for card-making!
Sharing and Displaying Cards
Once your cards are done, it’s time to share the Halloween joy!
Creative ways to display cards at home
You can hang them up like decorations or make a special spot to show all the cards you’ve made or received. It’s like turning your home into a mini-Halloween gallery.
Sharing on social media: Tips and etiquette
Taking a picture of your card and sharing it online is a great way to spread the Halloween spirit. Just make sure you’re okay with everyone seeing your creation.
Gifting guidelines: Hand-delivery vs. mailing
If you can, giving your card in person adds a personal touch. If they’re far away, mailing your card with a nice note is like sending a hug through the mail.
Repurposing cards as decorations
After Halloween, you can keep your cards as decorations for next year. It’s like having memories of Halloween fun to look forward to.
Making your own Halloween greeting cards is a fun project that lets you be creative and share the Halloween spirit with friends and family. Whether you’re drawing spooky ghosts or creating elegant gothic designs, your cards are sure to bring smiles and a touch of magic to everyone’s Halloween. Remember, it’s not just about the card itself but the care and thought you put into it. So grab your materials, and let’s start crafting some Halloween cheer!


