“The Legend of Sleepy Oaks: The Haunted Candy Hunt”

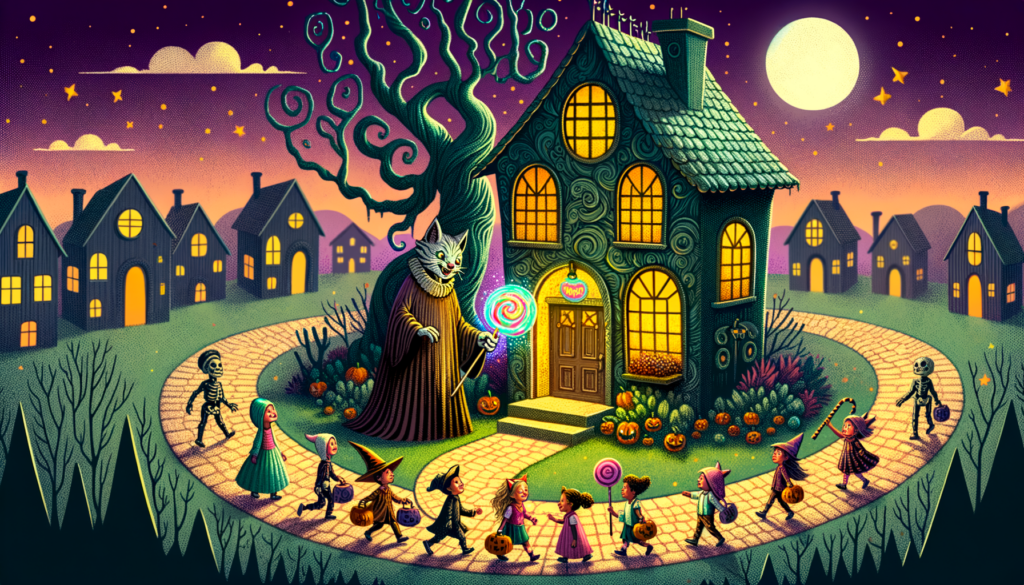
It was Halloween night, and a young boy named Timmy was anxiously awaiting the annual candy hunt. Living in Sleepy Oaks, a town renowned for its love for Halloween, amplified the thrill amongst the children.
This year, however, Sleepy Oaks had devised a challenge. Instead of the usual door-to-door candy collection, an old, abandoned house at the town’s edge had been chosen as the venue. The first child to brave its spooky halls and reach the candy pile inside would be declared a hero, forever etched in Sleepy Oaks folklore.
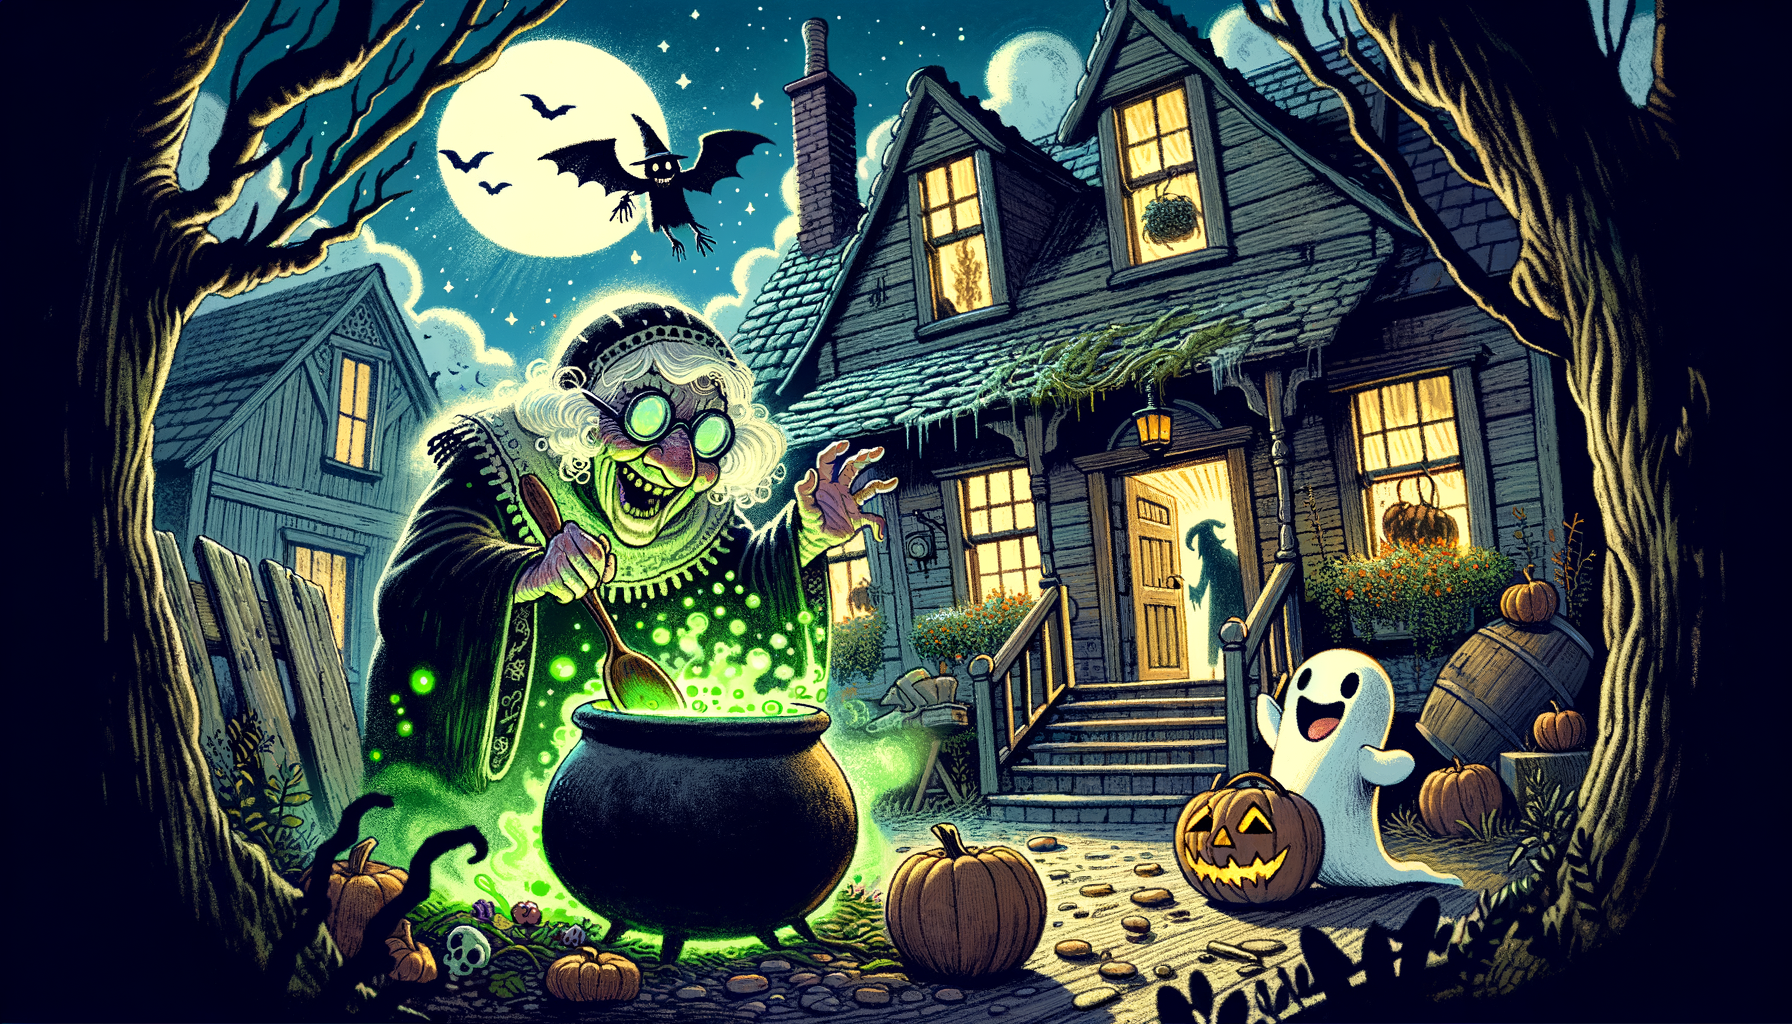
Timmy, having a spirit as sweet as the candy he sought, decided to take the challenge head-on. With a flashlight in one hand and a pumpkin-shaped basket in the other, he cautiously moved through the eerie corridors. Cobwebs decorated the corners, and aged portraits stared down disapprovingly.
Finally, he arrived at a room glittering with candy. Just as he reached out to grab a piece, the room dazzled with lights. To his astonishment, he found himself standing in the town square amidst applause from the townsfolk. He had been tricked—or treated—to the most memorable Halloween and was, indeed, their little hero.
“The Legend of Sleepy Oaks: The Haunted Candy Hunt” Read More »