“The Midnight Belch: How a Frightening Sound Defeated the Pumpkin Beast of Eerie”
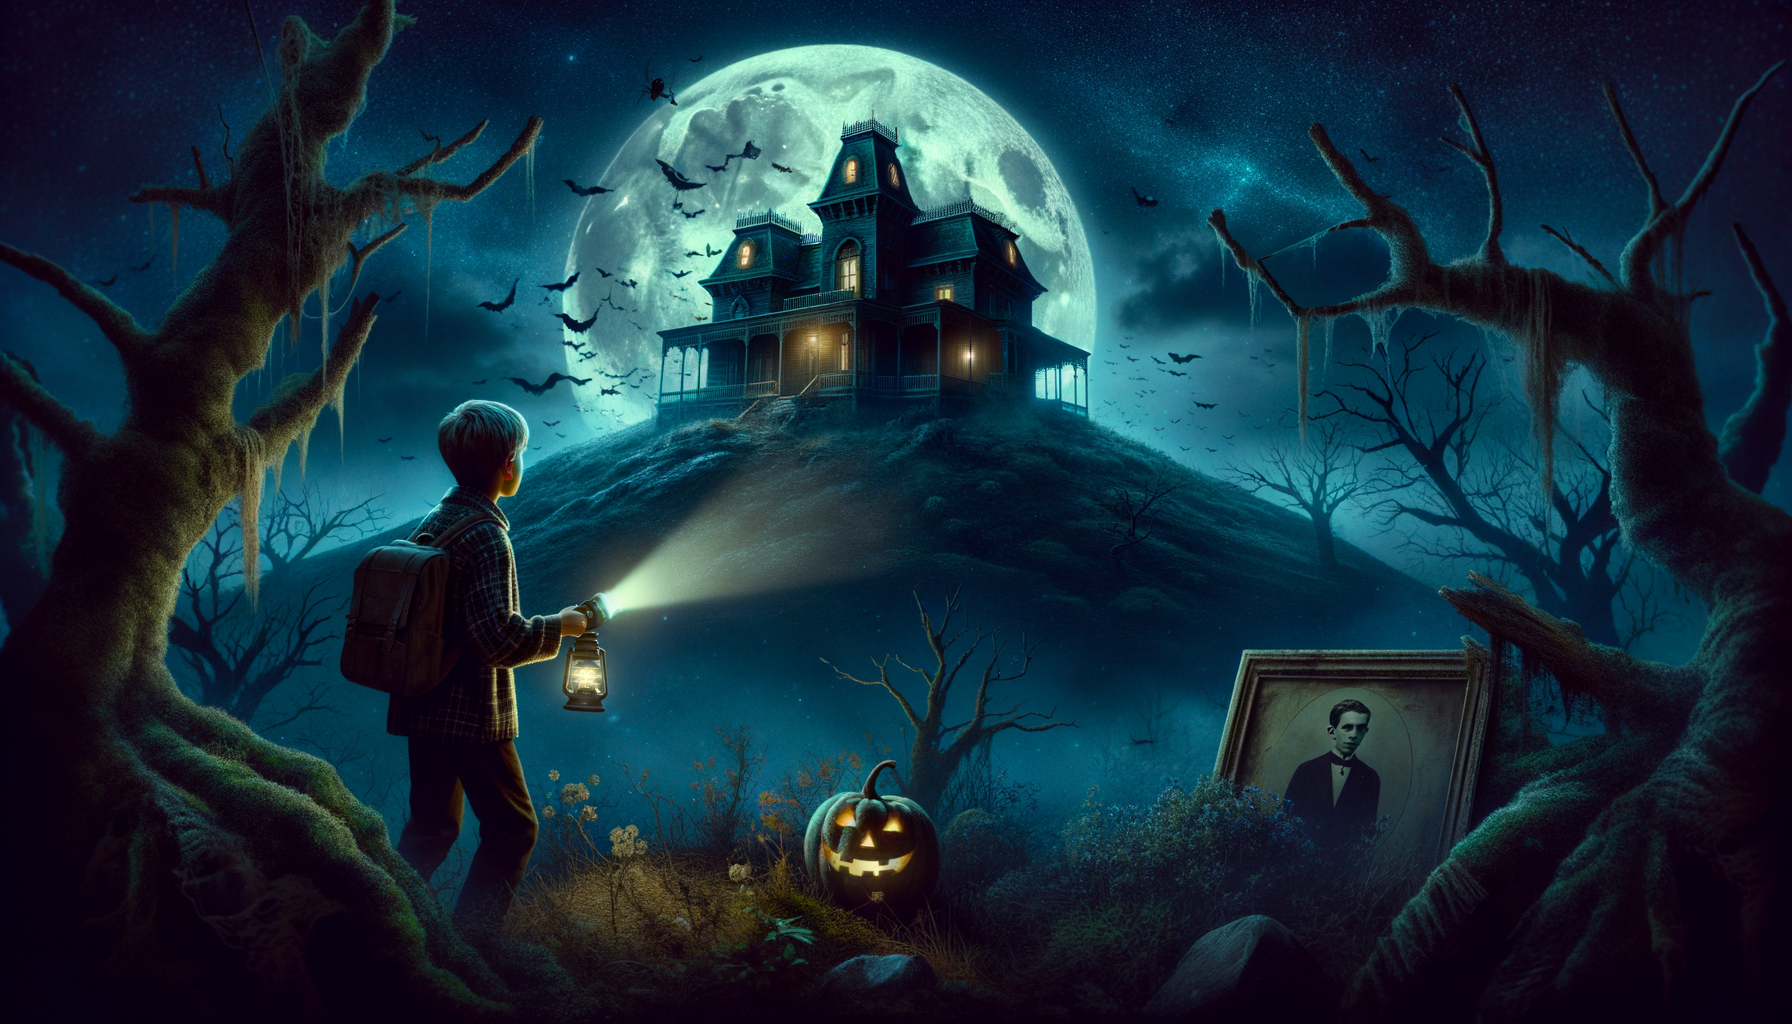
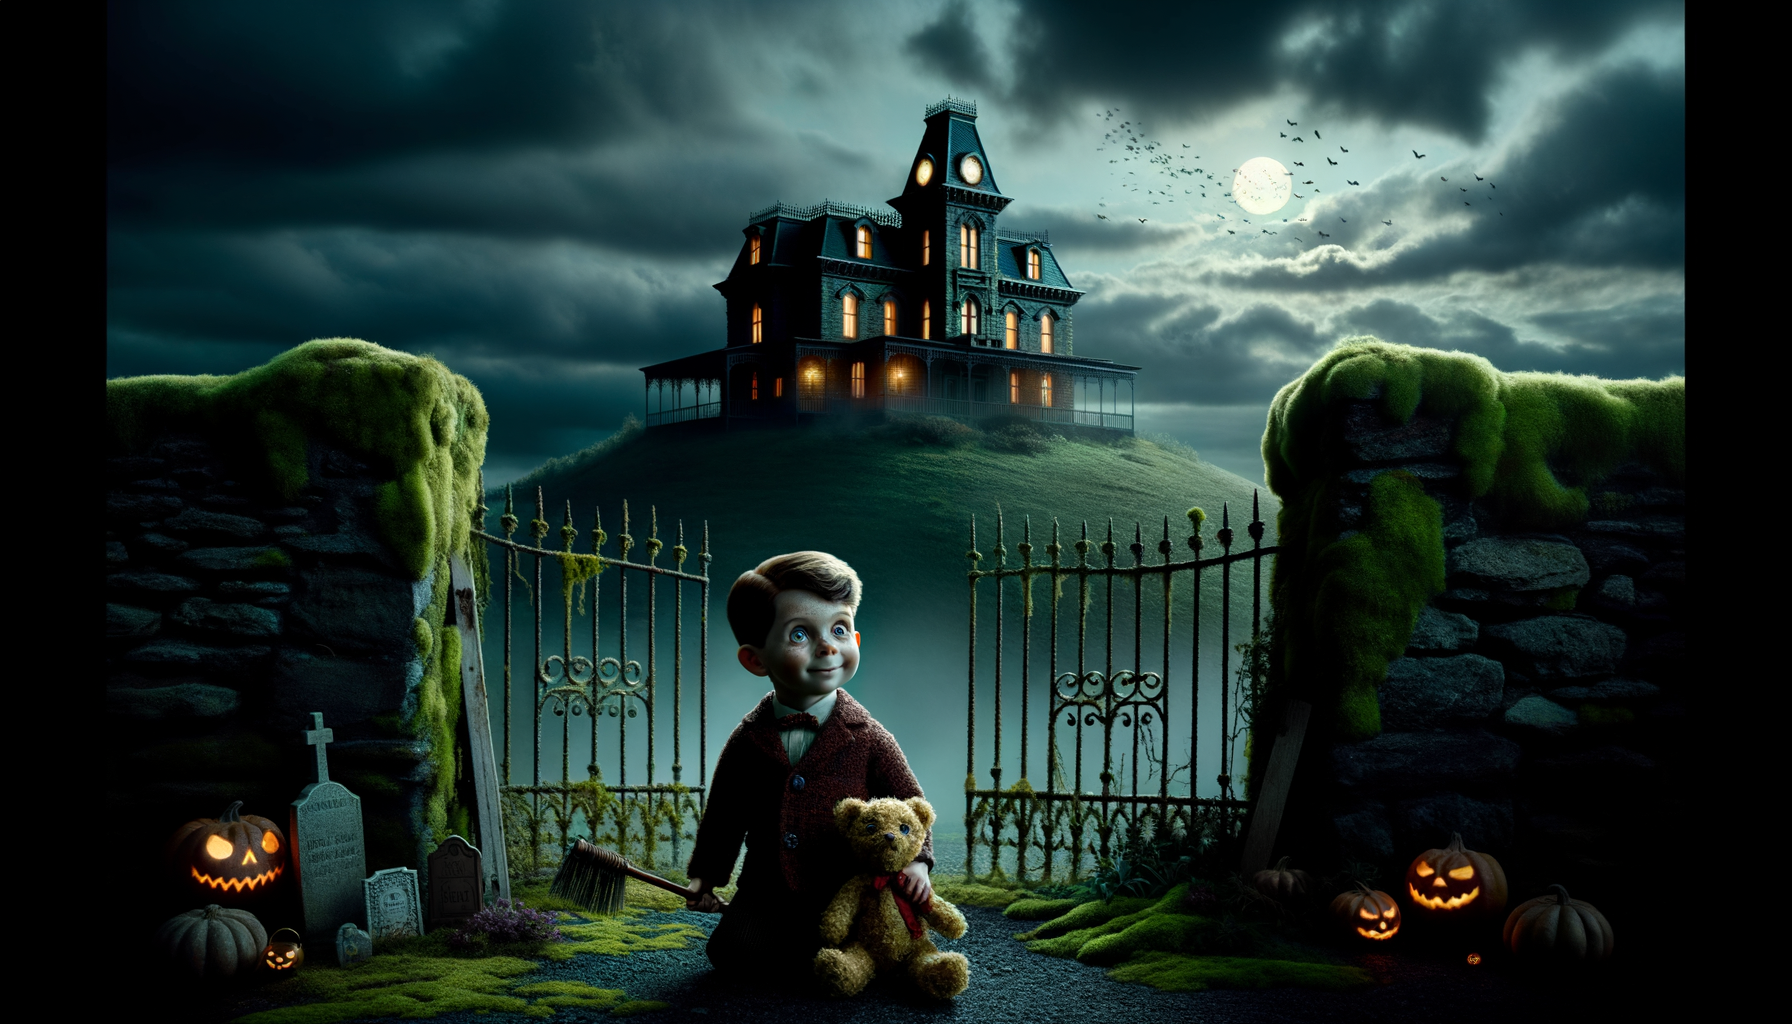
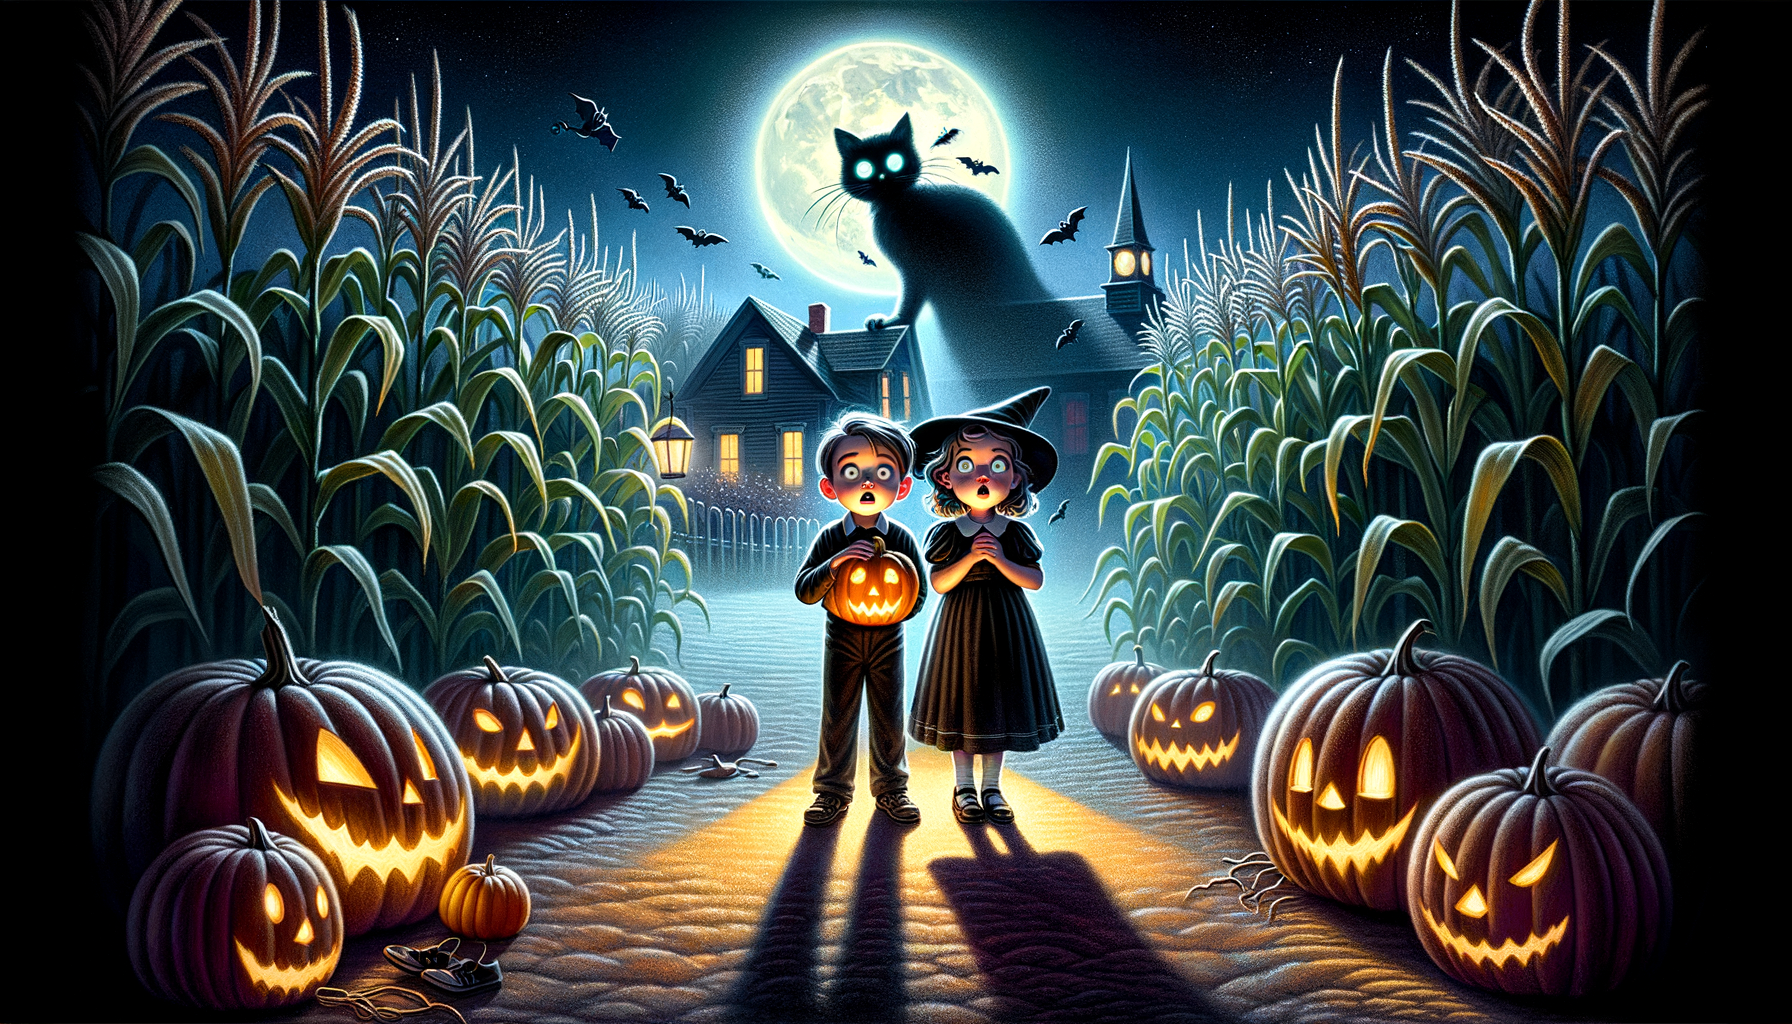
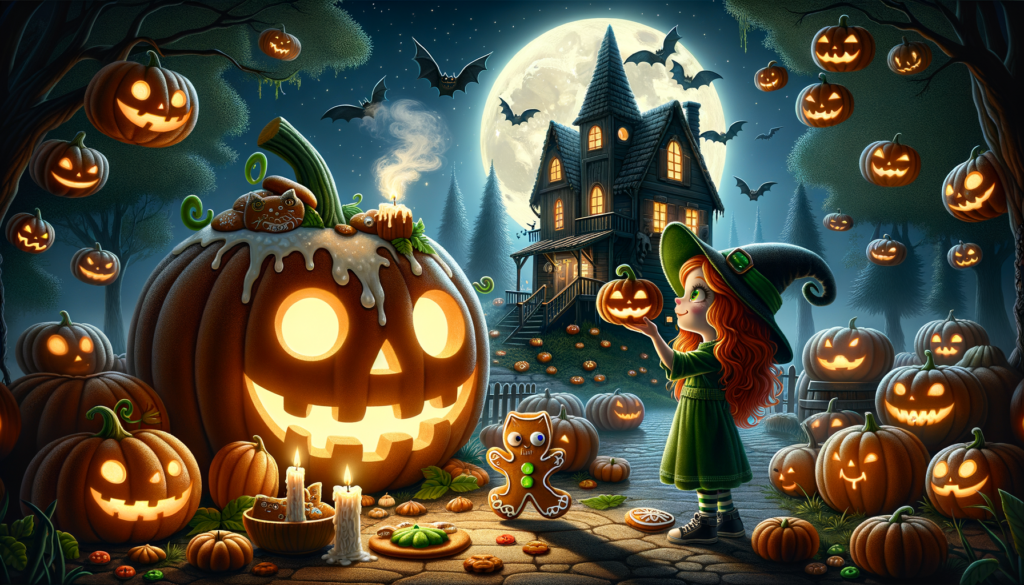
Once upon a midnight dreary, in a small town named Eerie, there lived a peculiar old woman named Winifred. Now, Winifred loved pumpkins more than anyone, and every Halloween she planted a pumpkin in her yard, which, by the witching hour, transformed into a gigantic beast!
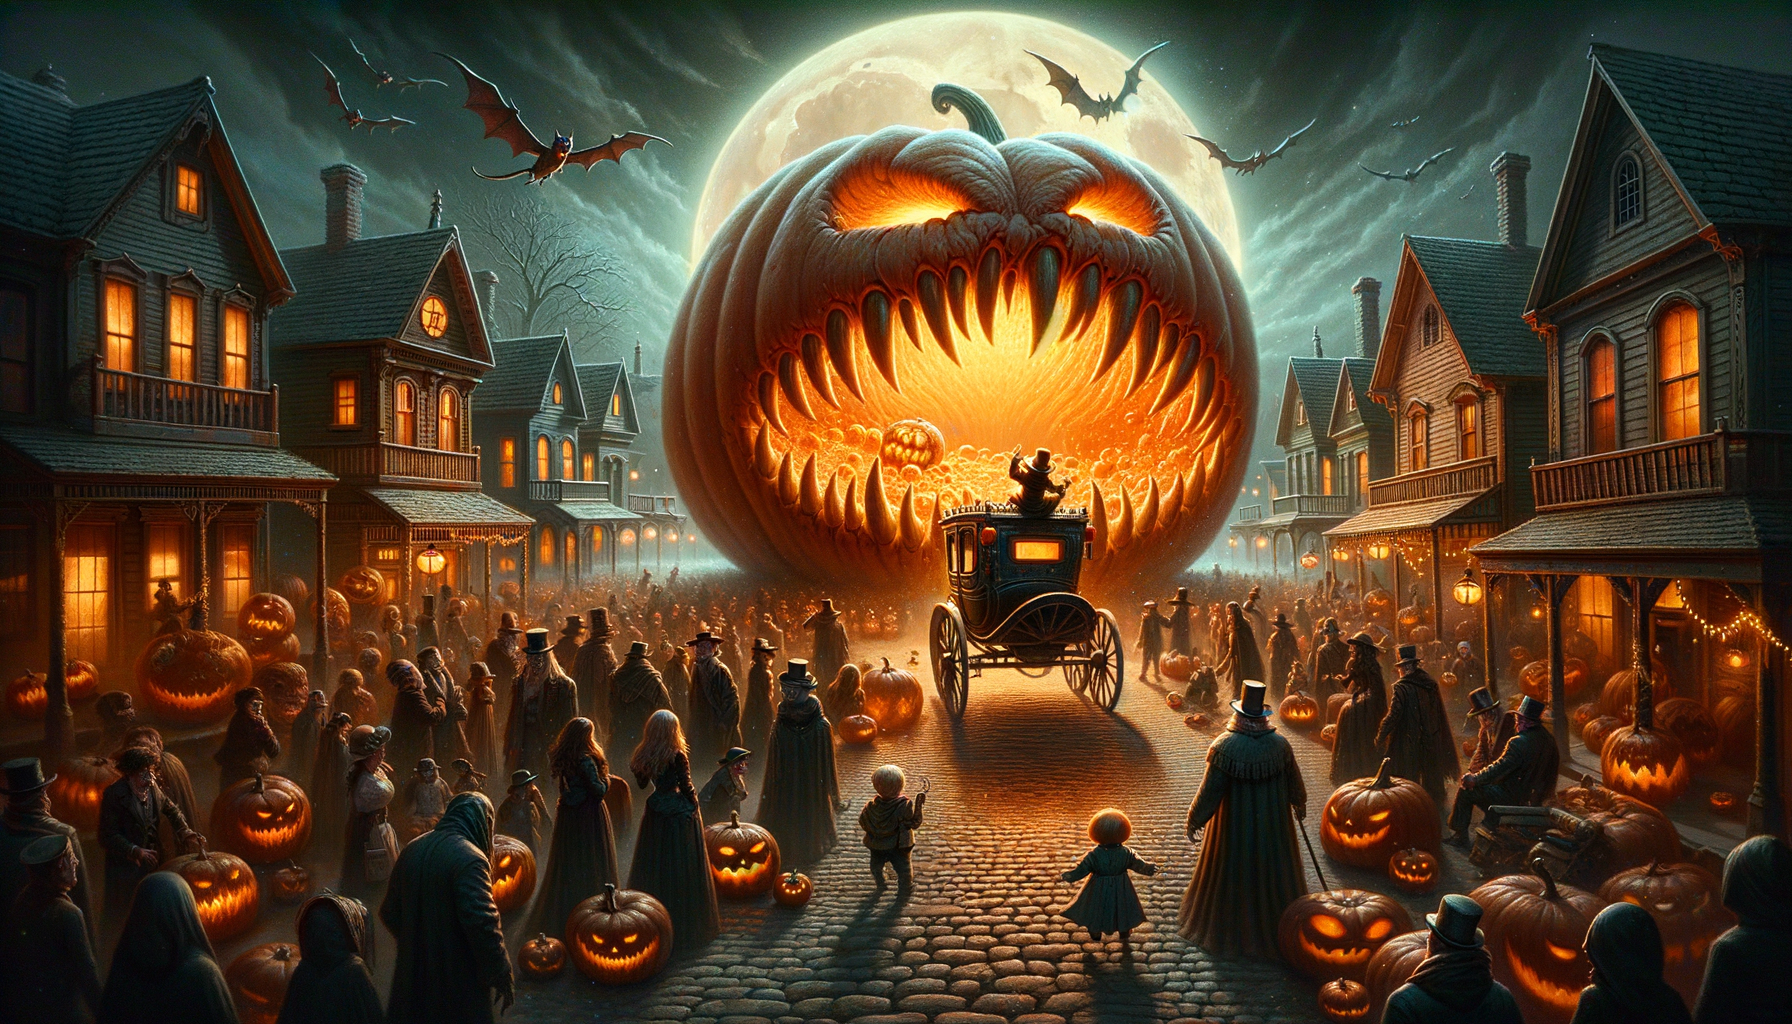
This Halloween night, the pumpkin grew large as a carriage, and sprouted a colossal mouth. Suddenly, the town of Eerie heard a noise as loud as a church bell. As they peered out their windows, they saw the pumpkin chewing and gnashing, eating everything within reach!
“The only way to stop it,” Winifred exclaimed, “is with the most frightening sound we can muster.” The townspeople shrieked, groaned and wailed. But the pumpkin, unimpressed, continued its feast.
Finally, little Timothy, the quietest boy of Eerie, stepped forward. He marched to the mid-town microphone, cleared his throat and… let out a ferocious belch. The pumpkin juddered, the townsfolk gasped and scatterings of laughter rippled around. The pumpkin, caught off guard, shrunk with a pop and plop, back into a small pumpkin.
And since then, everybody in Eerie remembered that Halloween night where a child’s innocent belch, not ghouls or ghosts, saved their town from a ravenous, pumpkin beast!
“The Midnight Belch: How a Frightening Sound Defeated the Pumpkin Beast of Eerie” Read More »