If you love dressing up for Halloween and making things with your own hands, you’re in for a treat! This article will show you how to create your very own spooky and fun Halloween masks right at home. Imagine turning a plain piece of paper or cardboard into a cool mask that could be a creepy monster, a fierce animal, or even your favorite superhero! With a little bit of cutting, gluing, and decorating, you can have the perfect costume piece to show off to your friends. Get ready to let your imagination run wild and craft a Halloween mask that’s as unique as you are!

This image is property of images.pexels.com.
Understanding Different Mask Types
When you decide to make a cool mask, you can choose from lots of different types. Let’s learn about them together!
Full-face vs. Half-face Masks
A full-face mask covers your whole face — from your forehead to your chin. You might feel like a superhero or a knight when you wear it! A half-face mask only covers part of your face, like just your eyes or maybe your mouth and nose. It’s like wearing a pair of really big, funny sunglasses.
Flexible vs. Rigid Materials
You can make a mask that bends and moves, that’s called flexible. Just like a rubber band! Or, you can make a mask that stays in one shape and doesn’t bend, which we call rigid. Imagine a hard hat that construction workers wear; it doesn’t squish when you press it.
Store-bought Base vs. Homemade Base
You can start your mask with something that’s already made, like a plain mask from a store — that’s a store-bought base. Or, you can make your own from things like cardboard or paper — that’s homemade. It’s fun to see what you can create with stuff you have!
Gathering Your Materials
Before you start crafting your masterpiece, you need to collect all the things you’ll need.
List of Essential Supplies
You’ll need to have some basic things like glue, scissors, paint, and markers. The type of mask you’re making will decide what else you need. If you’re making a full-face mask, you might need a bigger piece of cardboard or more paper.
Choosing the Right Craft Tools
Make sure the tools you pick match what you are trying to do. If you need to cut something that’s a little tough, like cardboard, having a pair of strong scissors is a good idea. For painting fine details, small brushes are your best friends.
Finding Recyclable Materials at Home
You’ll be surprised at what you can use from around your house. Cardboard boxes, plastic bottles, old clothes, and paper bags can all become parts of your mask. It’s like a treasure hunt in your own home!
Designing Your Mask
Creating a mask from your very own ideas is super exciting. Let’s sketch out those ideas!
Sketching Your Concept
Grab some paper and draw what you imagine your mask to look like. It doesn’t have to be perfect! Your drawing will help you remember all of your fun ideas when you start making the mask.
Selecting a Theme
Think about what you like. Do you love animals, spooky creatures, or maybe superheroes? Your mask can be anything you want it to be. Pick a theme that you’re excited about.
Incorporating Facial Measurements
To make sure your mask fits you just right, you might need to measure your face. How far are your eyes from each other? How long is your face? Using a soft tape measure can help you figure it out.
Creating a Base for Your Mask
The base is like the main part of your mask — the part that sits on your face. Let’s make it strong and fitting!
Papier-Mâché Technique
Papier-mâché is a way to make your base using wet strips of paper and glue. You layer them over each other on a form until it’s as thick as you want. Then you let it dry, and it becomes hard.
Using a Balloon or Face Form
To make a full-face mask, you can blow up a balloon and use the papier-mâché technique on it. If you only want to cover part of your face, you can use something shaped like the part you want to cover — maybe a bowl for a mask that only covers your eyes.
Alternative Methods: Foil and Clay Molds
You can also use foil to make a mold of your face. Gently press the foil against your face to get your shape, then fill it in with papier-mâché. Clay can do the same job, but you shape the clay first, then cover it with papier-mâché.

This image is property of images.pexels.com.
Decorating Techniques
Once you have your base ready, it’s time to make it look amazing!
Applying Paint and Color
You can make your mask any color you want! With paint, you can dab, stroke, or splatter to make cool patterns and designs. You can even mix colors to make a totally new one.
Adding Texture with Fabric and Paper
Imagine the feel of a soft blanket or a rough sponge. Texture is how something feels. You can glue on fabric for a soft feel or crumpled paper for a bumpy look. Your mask can be smooth like glass or fuzzy like a teddy bear.
Using Accessories and Embellishments
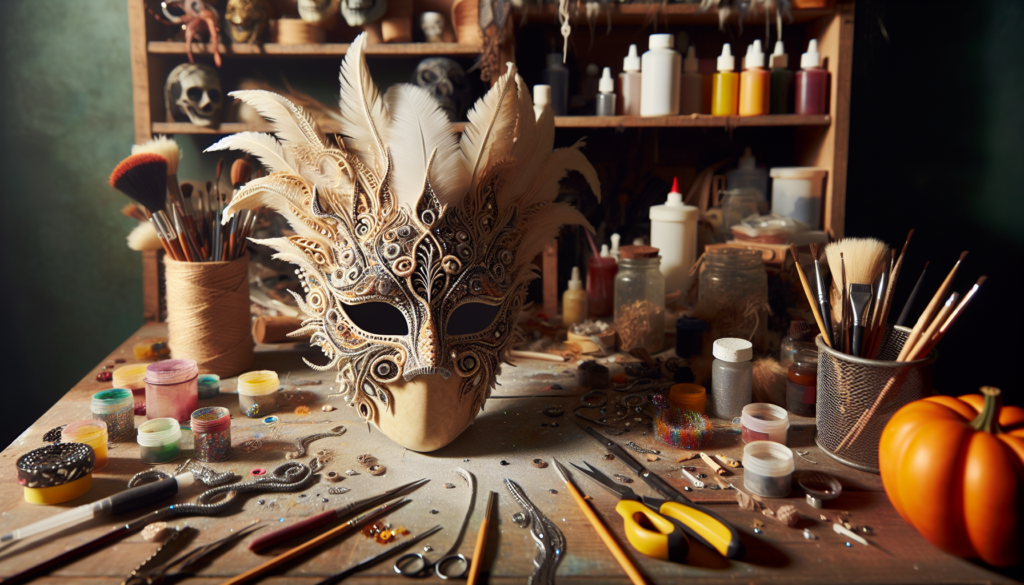
You can add things like feathers, beads, and sequins to your mask to make it fancy. Just like putting stickers on your notebook or pins on your backpack, these extras make your mask special and unique.
Scary Masks
If you love a good scare, you can make your mask spooky!
Creating Realistic Wounds and Scars
You can use red paint for fake blood and mold putty or tissue paper to make bumps and gashes. Don’t worry, it’s all pretend!
Monster and Ghost Concepts
Think about what makes a monster or a ghost look creepy — maybe big eyes or jagged teeth. You can cut out shapes from paper or use clay to sculpt parts to stick onto your mask.
Adding Glow-in-the-Dark Elements
Imagine if parts of your mask could glow when the lights go off. You can use special glow-in-the-dark paint to make spooky patterns or creepy eyes that light up in the dark.

This image is property of images.pexels.com.
Animal Inspired Masks
Animals are super fun to use as inspiration for masks.
Making Furry Animal Masks
If you’re making a mask that’s an animal with fur, you can use fuzzy fabric or fluff to cover your base. Stick it on so it looks like fur, and you might feel like you’re turning into the animal!
Bird Masks with Feathers
Birds have beautiful feathers. You can glue on feathers to make a bird mask. Try to match the colors of a real bird or make up your own colorful bird.
Reptilian Textures and Patterns
Reptiles like snakes and lizards have cool patterns on their skin. You can draw these patterns on paper, cut them out, and glue them to your mask for a scaly effect.
Superheroes and Villains Masks
Whether you like the good guys or the bad guys, making superhero or villain masks can be super cool.
Iconic Superhero Emblems
Think of symbols that show who the superhero is, like a lightning bolt or a star. You can cut out these shapes and put them on your mask to show your hero’s powers.
Crafting a Villain’s Sinister Look
Villains often look a bit scary or mysterious. You can use dark colors and sharp angles to create a mask that looks like a villain from your favorite stories.
Using Metallic and Reflective Materials
Superheroes and villains sometimes have shiny costumes. You can use foil, shiny paper, or metallic paint to make parts of your mask look like metal.

Fantasy and Sci-fi Masks
If you love stories about fairies or space adventures, making a fantasy or sci-fi mask is perfect for you.
Elven and Fairy-tale Inspired Masks
Think about the elegant shapes of elf ears or the fluttery look of a fairy’s wings. You can create these shapes with paper or felt and attach them to your mask.
Alien and Futuristic Designs
Aliens and things from the future often look strange and cool! You can use shiny materials and strange shapes to make your mask look out-of-this-world.
Incorporating LED lights for Effects
Tiny lights called LEDs can make parts of your mask light up. It’s like having a mask with its own little stars or a mask that looks like it’s from a super high-tech future.
Organizing Mask Crafting Workshops
Maybe you want to make masks with your friends or at school. Planning a mask-making party can be as fun as making the masks!
Planning the Event
First, pick a day when everyone can come. Then, find a place with enough room for everyone to spread out and get crafty.
Materials Checklist for Participants
Make a list of all the things people will need to bring or that you’ll need to have for them. Think about glue, scissors, paper, and paint — and don’t forget the cleaning supplies for after!
Facilitating the Activity for Groups
Helping your friends or classmates make their masks is important. You can show them how to start, give them ideas, and make sure everyone has what they need. Remember, it’s all about having fun and being creative together!


