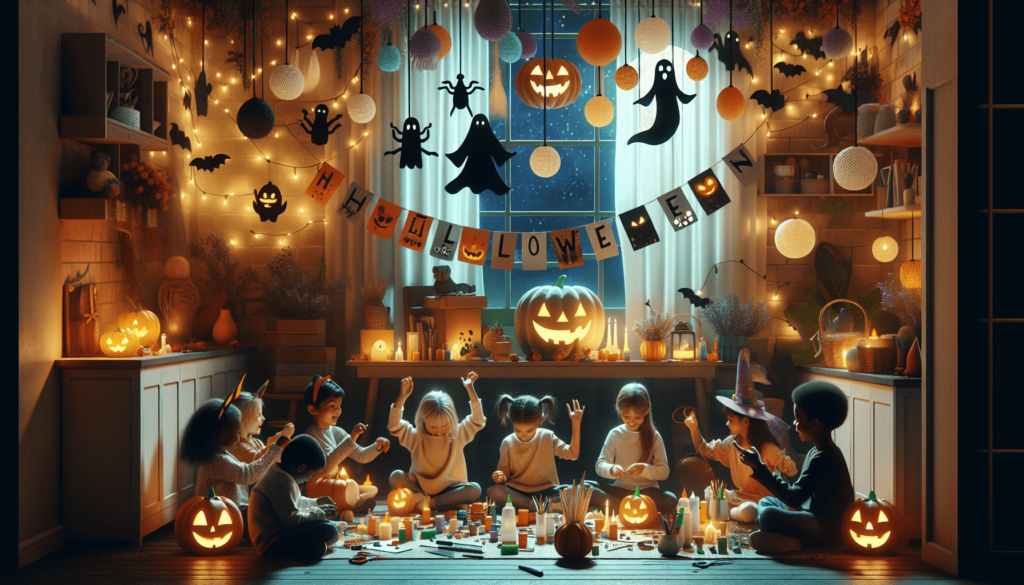
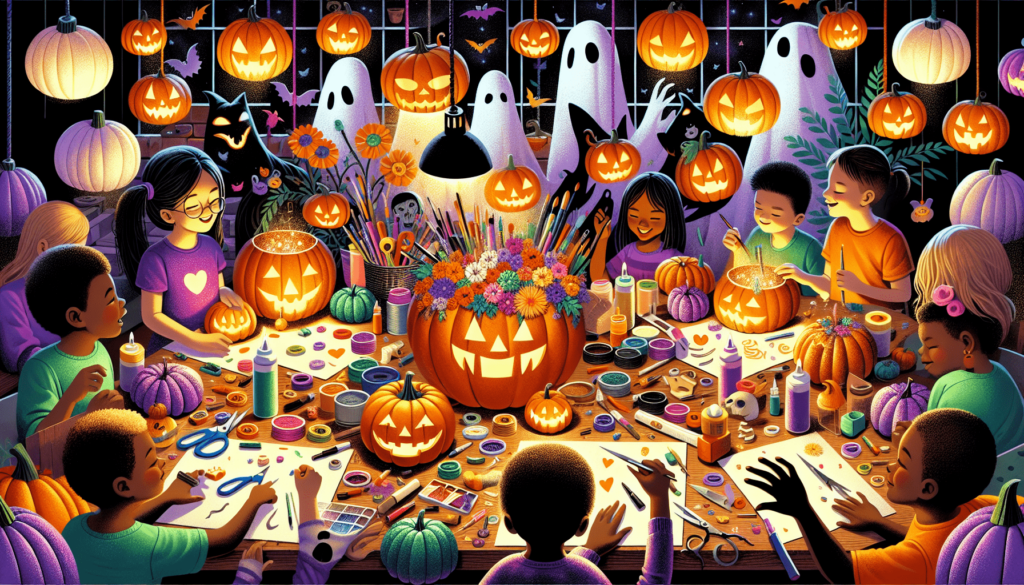
Imagine making your own Halloween decorations and crafts that are super cute and just for you! In this article, you’ll learn how to create fun Halloween projects that you can do by yourself or with friends and family. From spooky ghosts to adorable pumpkins, these crafts are perfect for adding a bit of Halloween spirit to your home. Let’s get your creative juices flowing and start crafting some amazing Halloween decorations!
Spooky Paper Plate Ghosts
Getting ready for Halloween can be a lot of fun, especially when you make your very own decorations. Let’s start with something simple and super fun: Spooky Paper Plate Ghosts!
Materials needed: paper plates, white paint, black marker, yarn for hanging
You’ll need some paper plates, white paint, a black marker, and some yarn. That’s everything you need to make your ghost!
Step-by-step instructions
First, paint your paper plate all white and let it dry. Make sure you cover it well so it looks like a real ghost. After the paint dries, use the black marker to draw a spooky or funny face on your ghost. Lastly, poke a hole at the top, tie some yarn through it, and now you’ve got yourself a ghost ready to hang!
Decorating ideas
You can get really creative here. Try using colorful markers, stickers, or even glitter to make your ghost extra special. If you want to try something different, you can cut the bottom of the plate to make it look like your ghost has wavy edges!
Safety tips for young children
When you’re painting and cutting, always have an adult to help you. Make sure not to put small decorations like stickers in your mouth. Safety first!
Creepy Crawly Spider Rings
Do you like creepy crawlies? Let’s make some spider rings you can wear to scare your friends!
Materials needed: black pipe cleaners, small black pom poms, googly eyes, glue
For these scary spiders, grab some black pipe cleaners, small black pom poms, googly eyes, and some glue.
How to twist pipe cleaners into spider legs
Take four pipe cleaners and twist them together in the middle. This twist becomes the spider’s body where you will attach the pom pom. Bend each end to look like spooky spider legs.
Attaching the pom pom to create the body
Glue the small black pom pom onto the twisted middle part of your pipe cleaners. This pom pom is your spider’s body.
Adding googly eyes for the final touch
Glue two googly eyes on the pom pom to give your spider a silly or spooky look. Wait for the glue to dry, and your spider ring is ready to wear!

Haunted Pumpkin Mason Jars
Let’s make some Halloween lights with a pumpkin twist!
Materials needed: mason jars, orange and green paint, paintbrushes, LED tea lights
You’ll need mason jars, orange and green paint, paintbrushes, and some LED tea lights to make your jars glow.
Painting your jar to look like a pumpkin
Paint the outside of your mason jar orange. You might need a few coats to make it nice and bright. Let the paint dry completely.
Using green paint for the lid to mimic leaves
Now, paint the lid green to look like the pumpkin’s leaves. Once the paint dries, you can place the LED tea light inside the jar to make it shine like a pumpkin.
Safety advice for using LED lights inside the jars
Remember to use LED tea lights instead of real candles, especially if you are putting the lid on the jar. LED lights are much safer and won’t get hot.
Witches’ Hat Origami
How about making a witch’s hat out of paper? It’s magic time!
Materials needed: black paper, optional decorations (stickers, glitter)
All you need is some black paper and whatever decorations you like, such as stickers or glitter.
Basic folds for creating a witch’s hat
Fold your black paper into a triangle, then bend the top down to look like a hat. You can ask an adult to help with the folds.
Ideas for customizing your hat
Now it’s time to decorate! Add some stickers or glitter to make your witch’s hat sparkle. Be as creative as you want.
Incorporating these into a Halloween display
You can make a few hats and display them around the house. They can be decorations on the table or you can even hang them up!

Monster Rock Painting
Creating scary monsters or fun creatures on rocks can be a great outdoor decoration.
Materials needed: smooth rocks, acrylic paint, brushes, sealant spray
You’ll need smooth rocks, acrylic paint in various colors, brushes, and sealant spray to protect your painted rocks.
Preparation of rocks for painting
First, clean your rocks with water and let them dry. This helps the paint stick better.
Design ideas for cute monster faces
Use your imagination to paint cute or scary monster faces. Bright colors and big eyes usually look great!
Sealing your painted rocks for outdoor decoration
After the paint dries, spray your rocks with sealant. This protects the paint from rain and sun, so you can decorate your garden with them.
Ghoulish Lantern Jars
These lanterns will add a spooky touch to any room or porch.
Materials needed: glass jars, tissue paper (various colors), glue, LED candles
You’ll need glass jars, colored tissue paper, glue, and LED candles to create your lanterns.
Instructions for layering tissue paper on jars
Cut the tissue paper into small pieces. Then glue them all over the jar in a patchy pattern. You can overlap colors for a cool effect.
Creating faces for your ghouls
Once the glue is dry, draw spooky faces on your jars with markers. You can make them as scary or as silly as you like.
Lighting your lanterns safely with LED candles
Place an LED candle inside your jar to light up your spooky creation. Remember, LED candles are much safer than real ones.
Bewitched Halloween Wands
Wave your magic wand and let the Halloween fun begin!
Materials needed: sticks or dowels, paint, ribbons, glitter
For these magical wands, you’ll need sticks or dowels, paint, ribbons, and glitter.
Painting and decorating your wand
Paint your stick any color you like. Once it’s dry, decorate it with glitter, stickers, or whatever you wish to make it magical.
Attaching ribbons for a magical effect
Glue some ribbons at the top of your wand. They’ll look amazing when you wave your wand around.
Themes and inspiration for your wands
Think about what kind of magic your wand has. Is it for casting spells, turning things into chocolate, or maybe making things float? Decorate it based on its magical powers!
Felt Vampire Bookmarks
Keep your place in your favorite Halloween story with a cute vampire bookmark.
Materials needed: felt in various colors, scissors, glue, googly eyes
You’ll need different colors of felt, scissors to cut out shapes, glue, and googly eyes for your vampire’s face.
Cutting felt into vampire shapes
Cut your felt into a basic vampire shape. Don’t forget his cape!
Assembling your bookmark
Glue the pieces together to form your vampire. Add the googly eyes and any other details like a mouth or fangs.
Customization options for your vampire characters
You can make your vampire bookmark unique by choosing different colors for its cape or adding accessories like a bow tie or a hat.
Eerie Eyeball Slime
Slime is fun, but have you ever made it spooky?
Materials needed: clear glue, borax, water, plastic eyeballs
To make this eerie slime, you need clear glue, borax, water, and some plastic eyeballs for the spooky effect.
Mixing your slime ingredients
Mix the clear glue with water. In another bowl, dissolve a small amount of borax in water. Slowly add the borax solution to the glue mixture until it becomes slime.
Incorporating eyeballs into your slime
Once your slime is ready, mix in the plastic eyeballs. Now, as you play with your slime, you’ll find eyeballs looking back at you!
Storage and safety tips
Keep your slime in an airtight container so it doesn’t dry out. Remember, never eat the slime or the eyeballs, and always wash your hands after playing with it.
Ghostly Garlands
Decorate your room with a string of spooky ghosts.
Materials needed: white fabric or paper, string or yarn, markers, scissors
You’ll need white fabric or paper, string or yarn to hang them on, markers to draw faces, and scissors to cut them out.
Cutting ghost shapes
Cut out ghost shapes from your fabric or paper. You can draw a ghost on paper first and use it as a template.
Decorating faces on your ghosts
Using a marker, draw spooky or funny faces on your ghosts. Make each one unique!
Stringing ghosts to create a garland
Make a small hole at the top of each ghost and thread your string or yarn through it. Now you can hang your ghostly garland anywhere you like for a spooky decoration.


