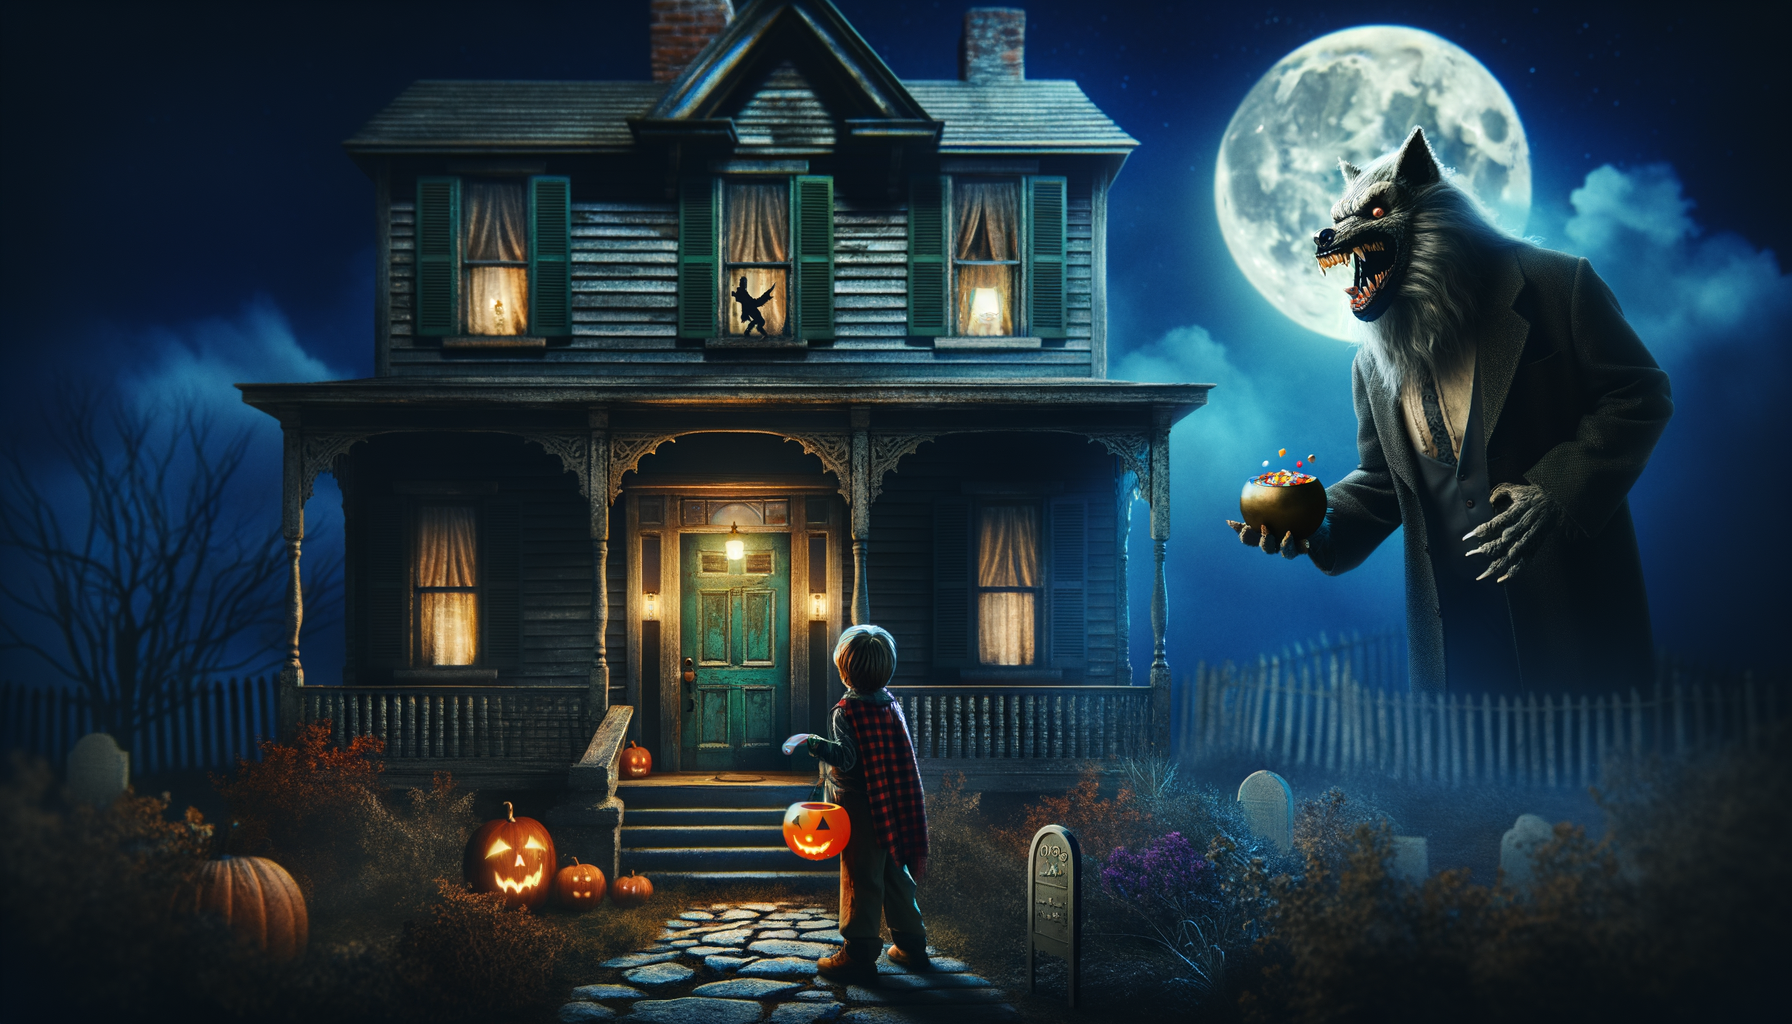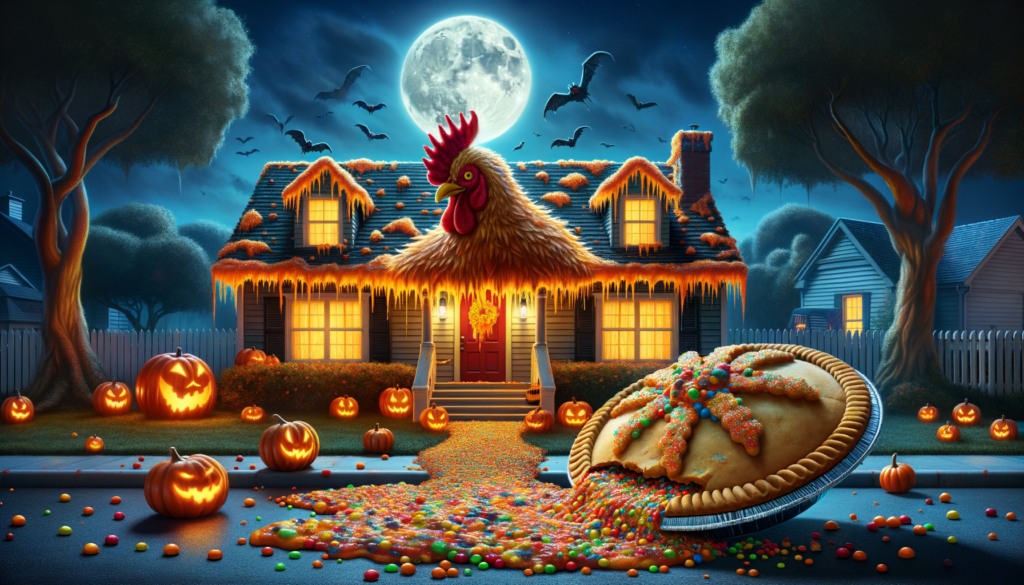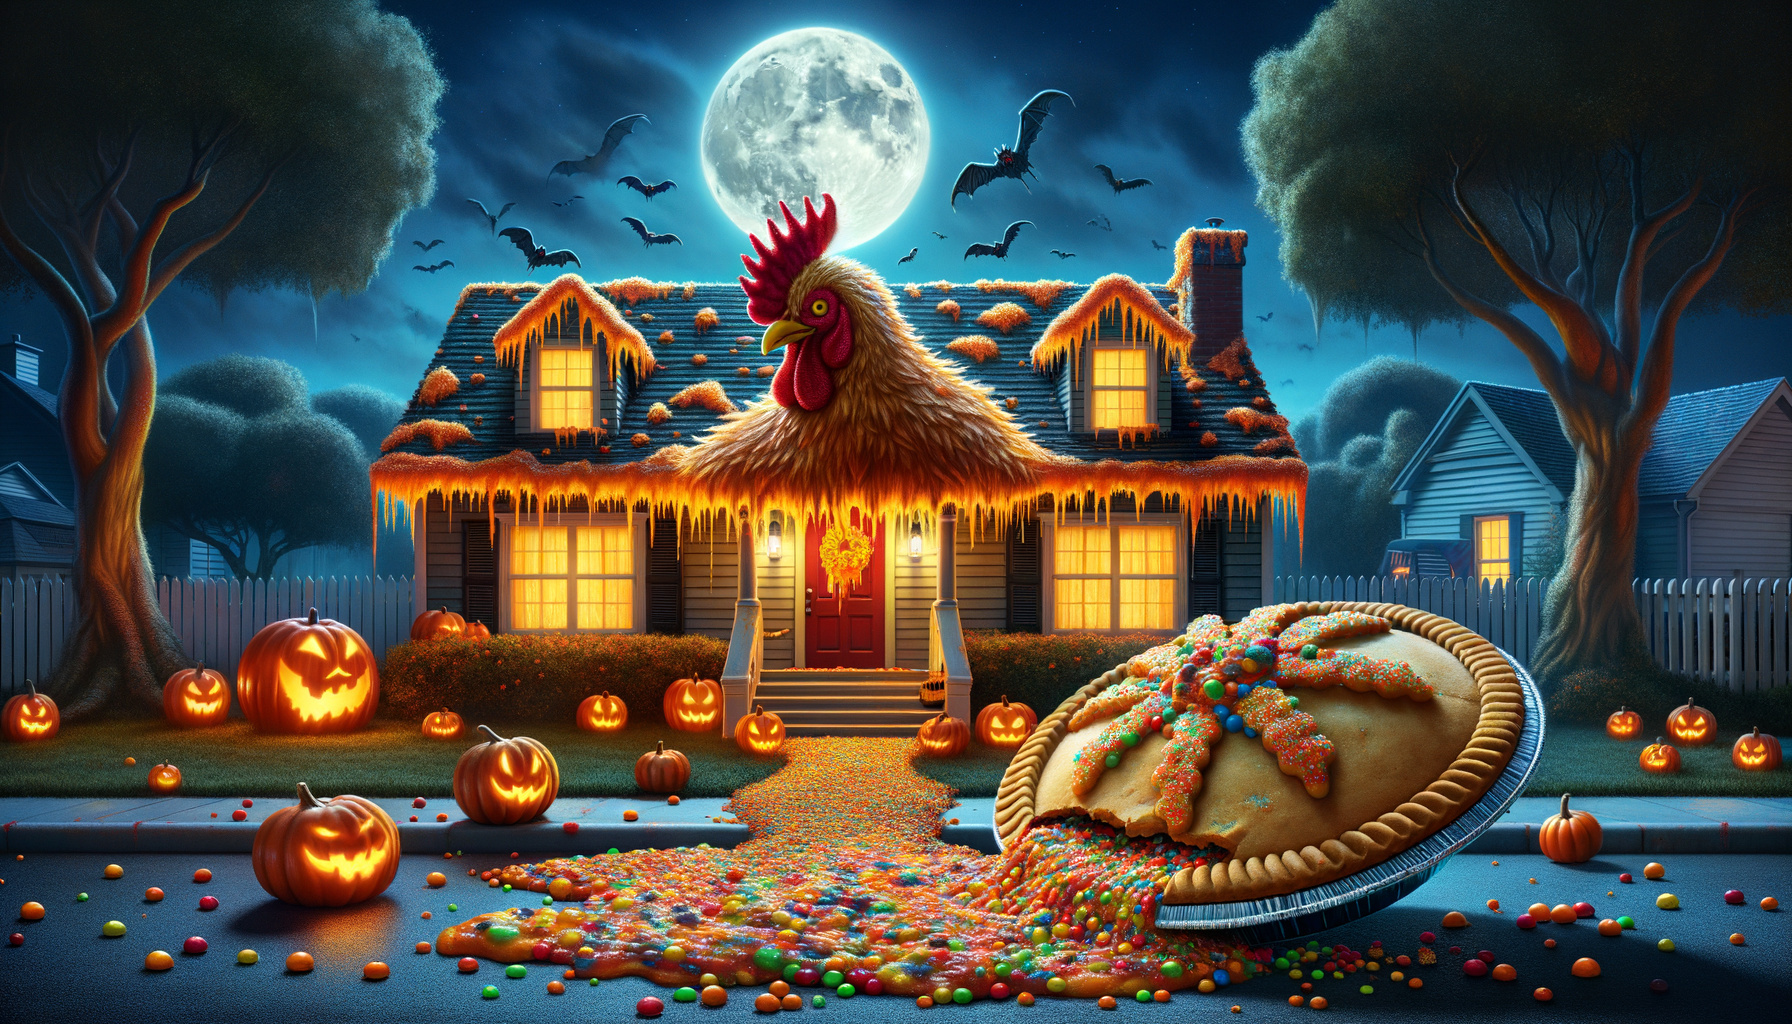
Title: “The Haunting of Pumpkinville Manor”
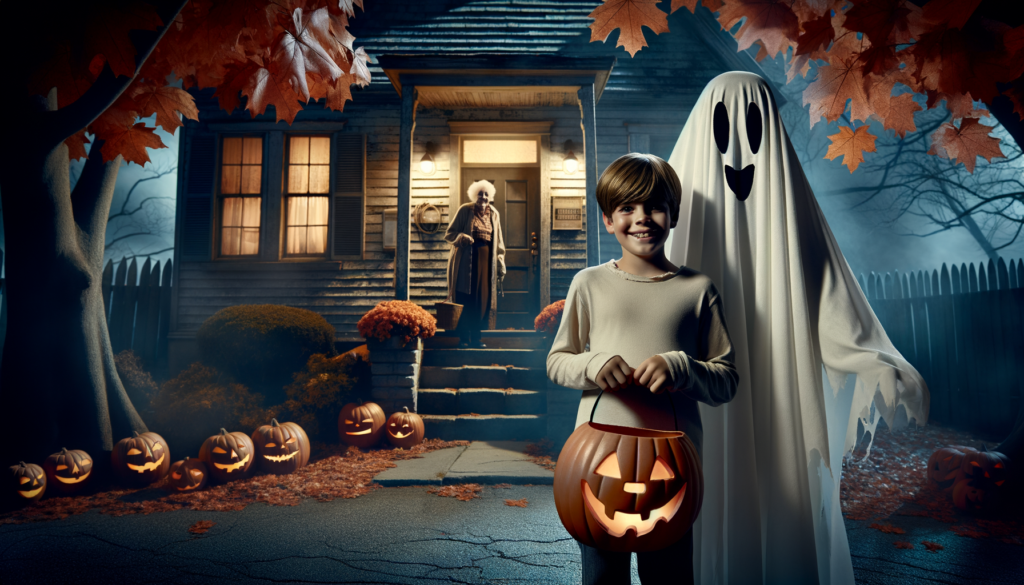
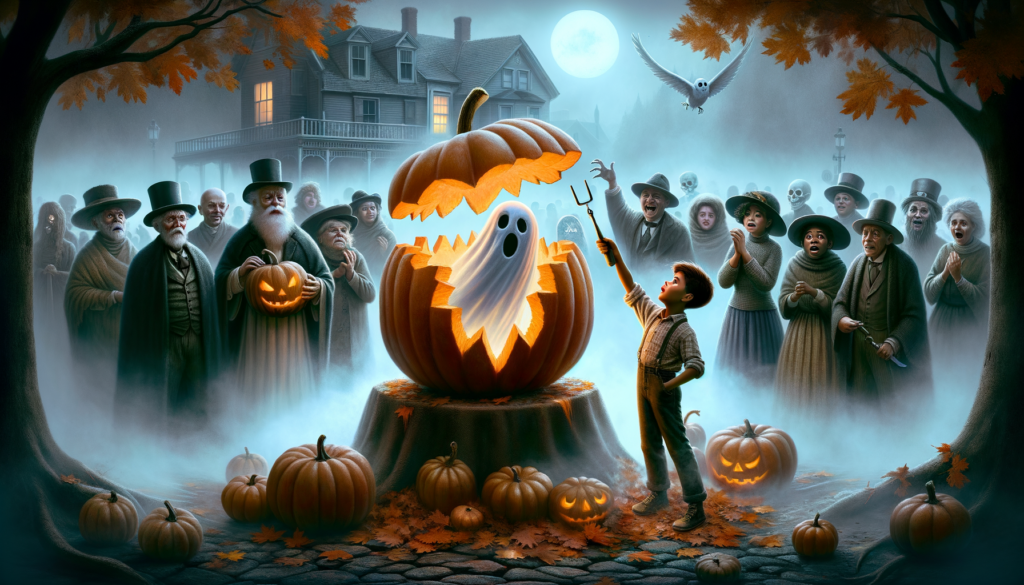
Once upon a time, in the small, idyllic town of Pumpkinville, Halloween was always a grand spectacle. Dressed in their best costumes, children visited every porch, each lighted with a flickering, smiling pumpkin. But there was one house which stood out, the Old Manor at the end of the lane, abandoned and shrouded in mystery.
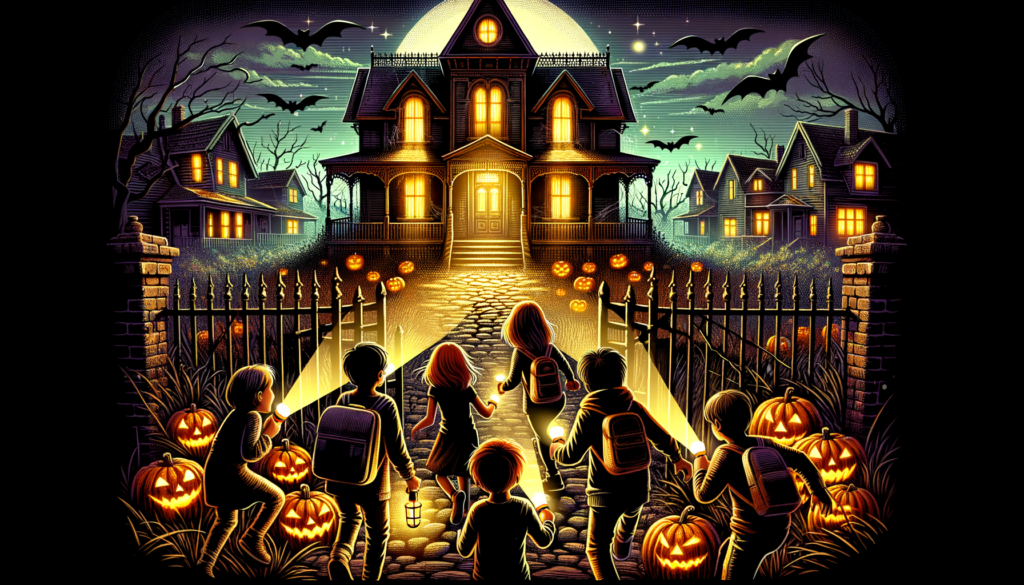
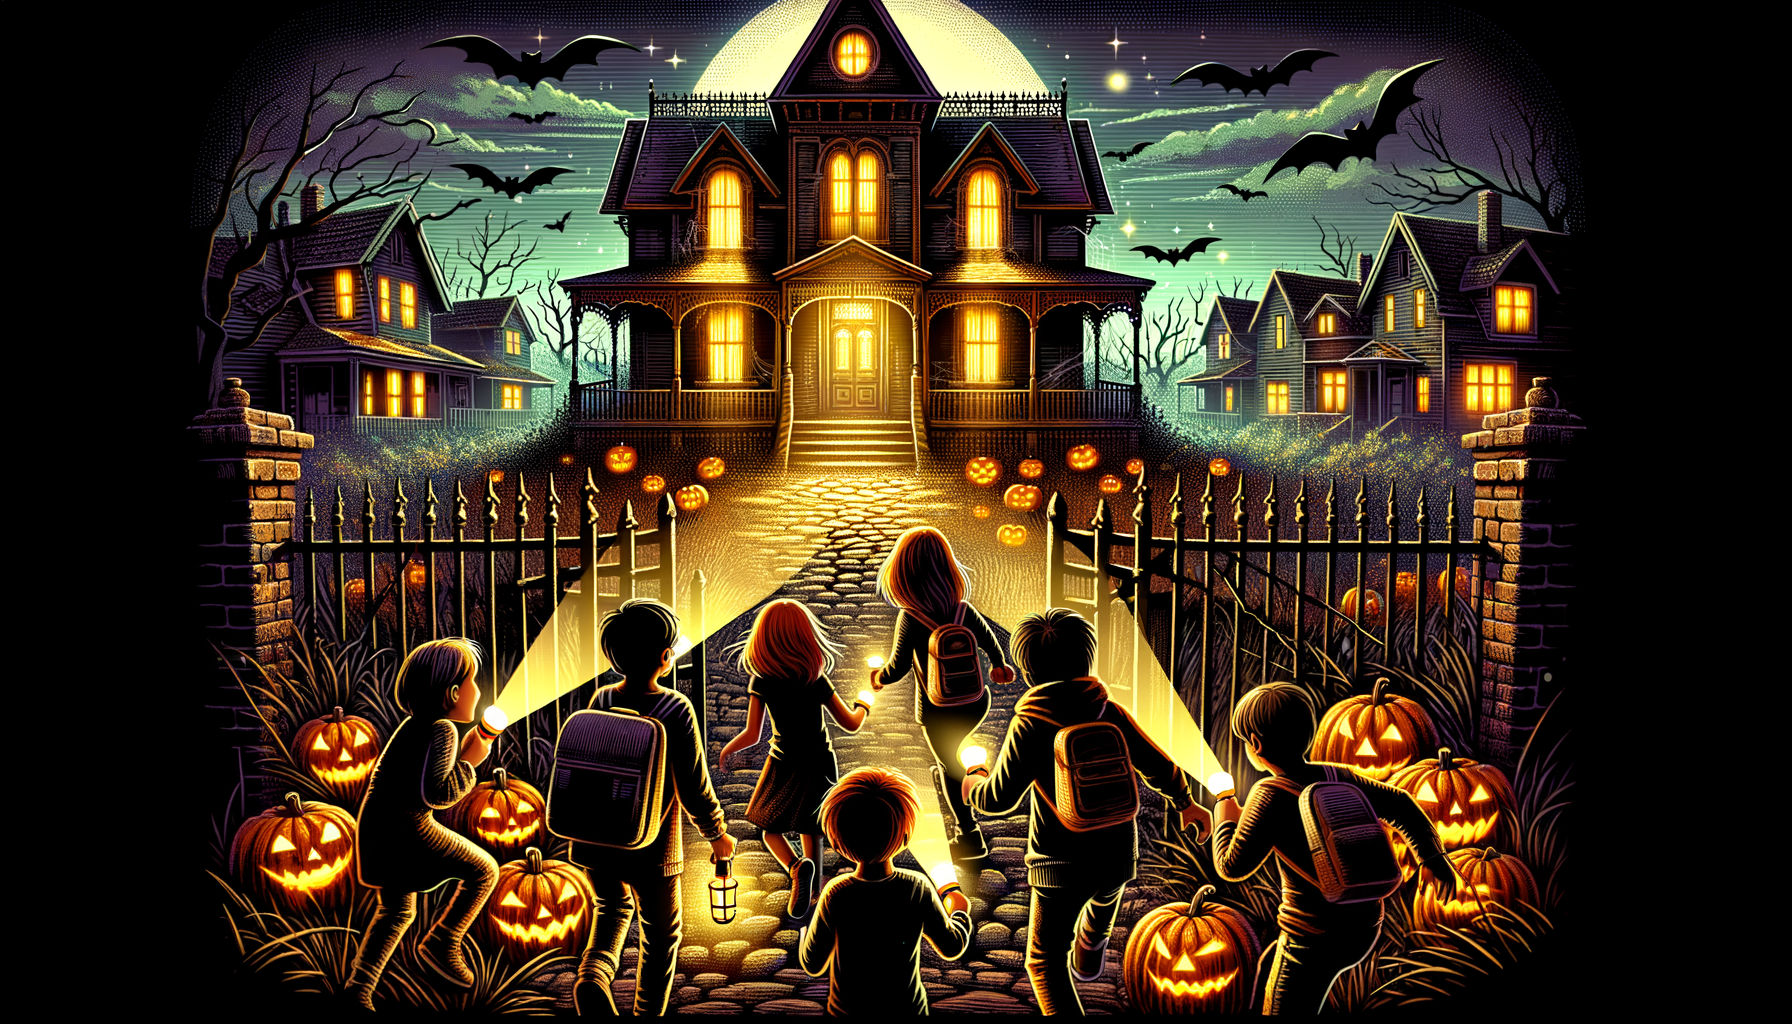
This Halloween, a group of brave kids decided to unfold the secrets of the Old Manor. Armed with their flashlights, they furtively stepped over the creaky gates. Walking through the cobweb-filled manor, they felt a chilling wind whistling through the broken windows. Suddenly, a bright light flickered upstairs.
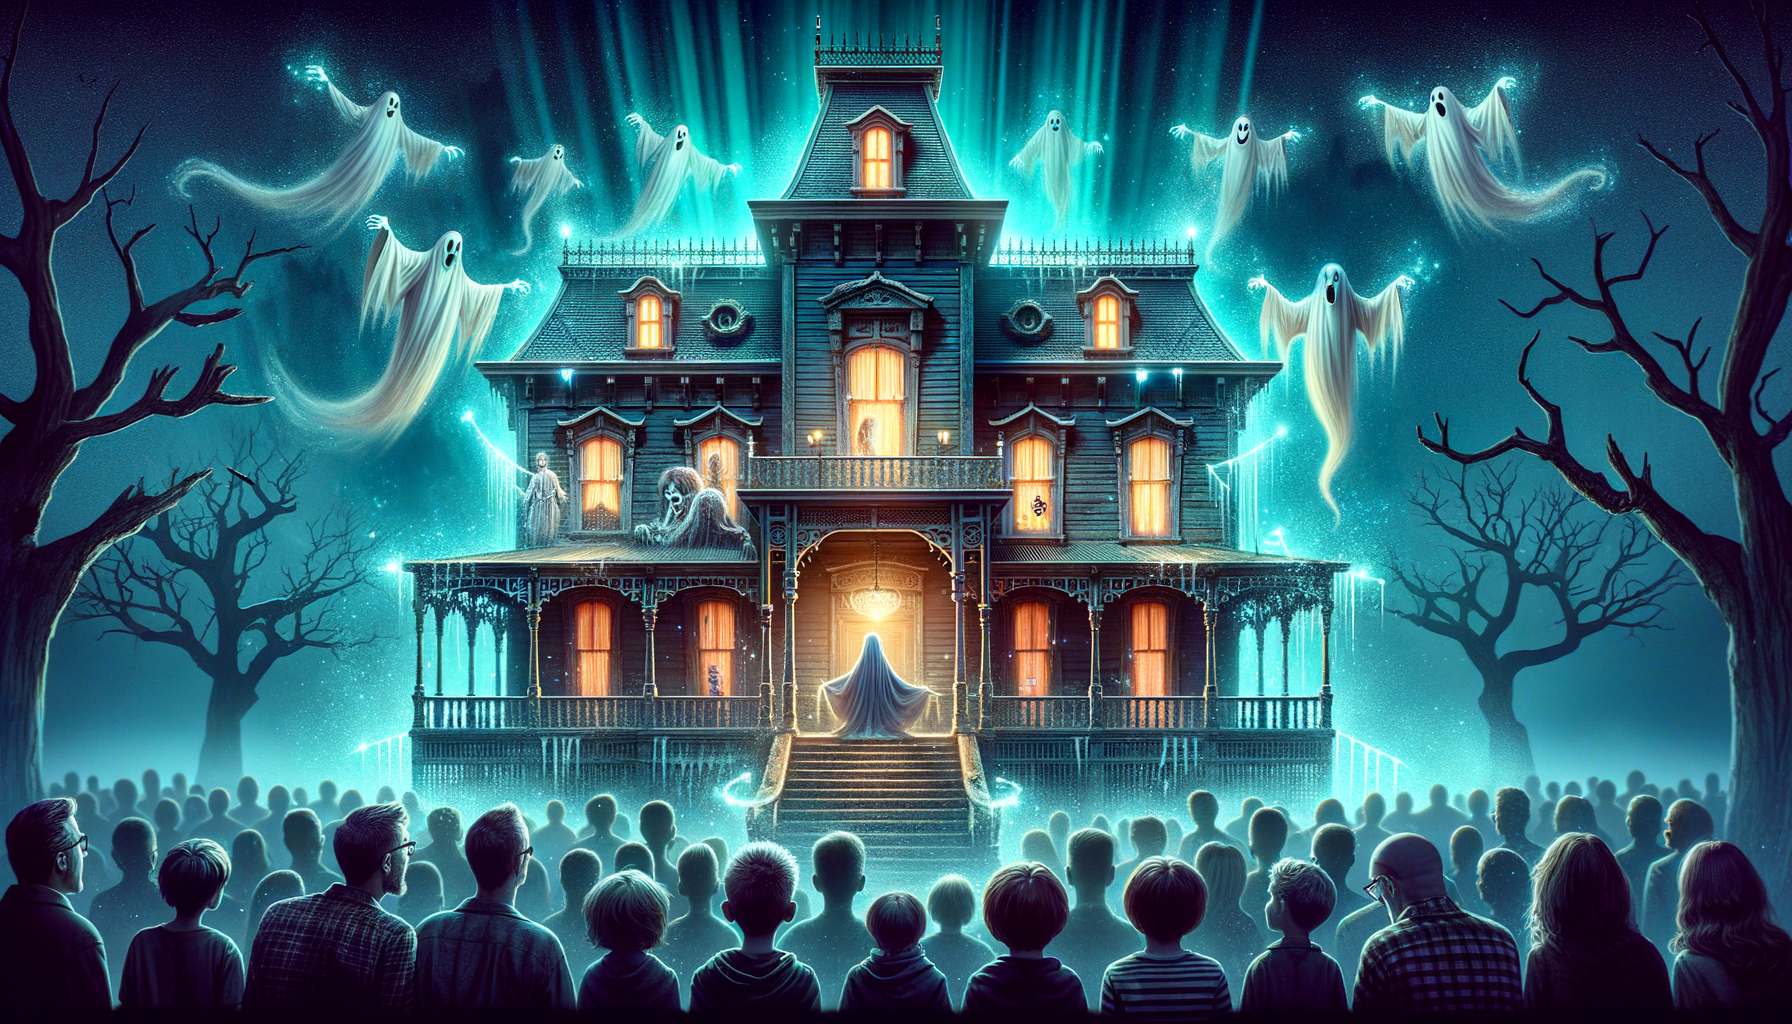
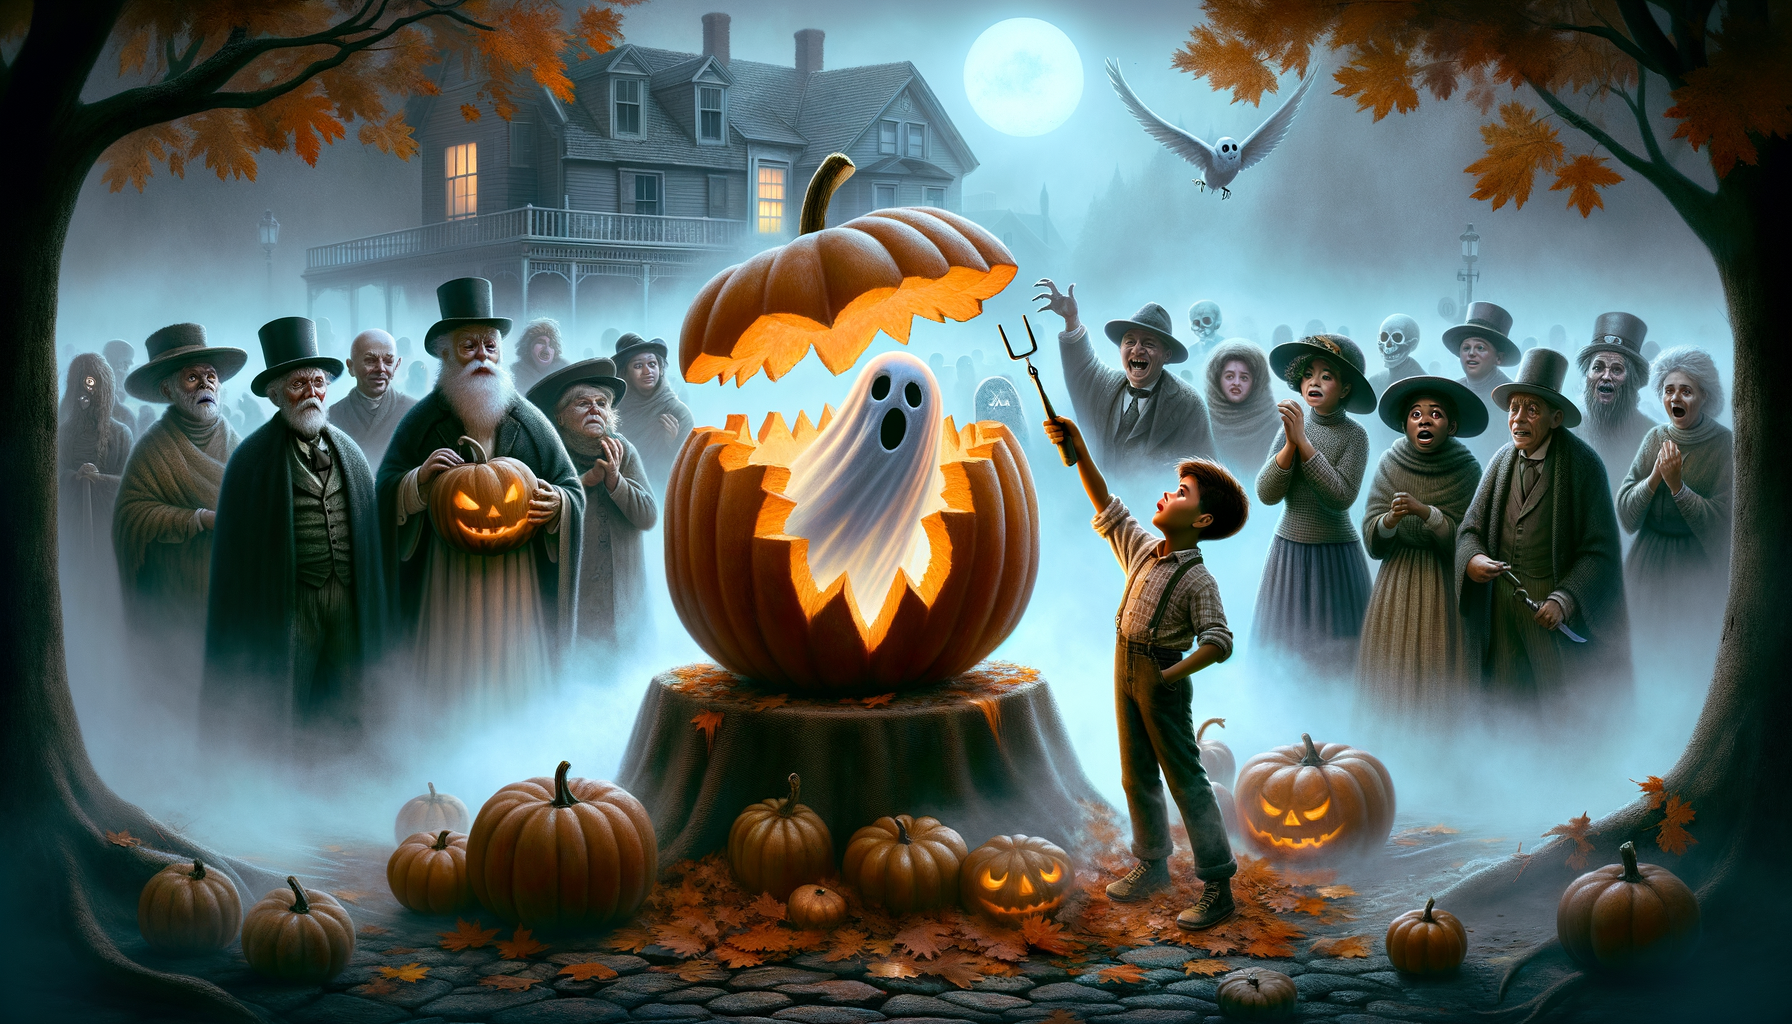
Summoning their courage, they tiptoed up the staircase. Their heart raced as they pushed open the chamber door; A terrifying sight greeted them – a ghostly figure covered in white sheets, a pair of sparkling eyes staring straight at them. They screamed, fleeing the manor in utter horror, leaving the townsfolk abuzz with whispers of a haunted manor.
Next day, they found a pair of glasses near the gate of the Old manor. As they returned it to the town’s only blind man, he chuckled, “Oh, I was looking for these. I lost it after I put on a sheet to get some sleep at my new home.” He was the new owner of the Old Manor!
Title: “The Haunting of Pumpkinville Manor” Read More »