Title: The Never-Ending Halloween Treats: A Trickster’s Curse
On a dark Halloween night, a young girl named Lily came across an old, decrepit house. Covered in moss and hidden behind twisted trees, it looked like the house ate up all the sunshine that dared to seep past its gnarled branches.
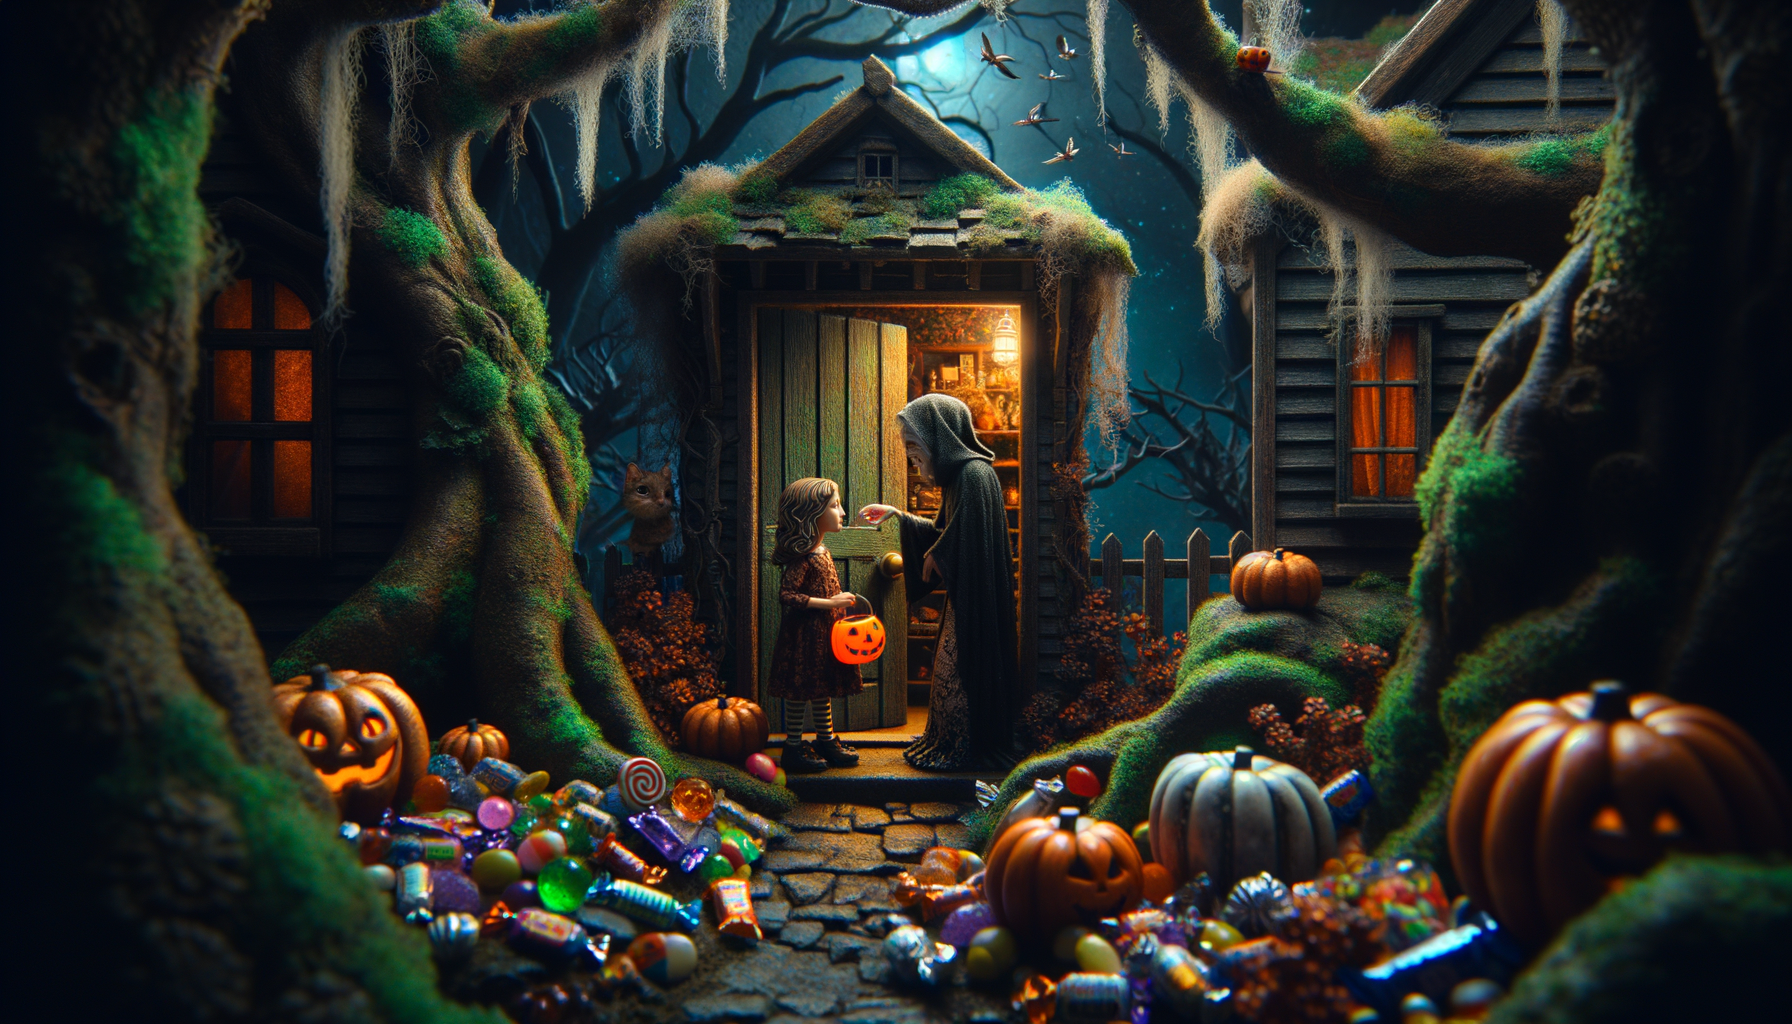
With a pumpkin bucket in hand and courage in her heart, Lily knocked. The door creaked open to reveal an elderly woman who, despite her gummy smile, was rather inviting.
“Hello, dear child. Sadly, I have no more candy, but I do have a magic coin. It will grant you any wish you want,” the old lady said, handing over a tiny, glittering coin.
Lily closed her hand around the coin, smiled, and said, “I wish for endless candy on every Halloween!” And just like that, the coin vanished into thin air.
The next Halloween, Lily found a mountain of candies at her doorstep. She happily shared them with all the children of her town. From that day onwards, no child ever returned empty-handed from Lily’s house.
Years later, when Lily told her story, no one believed her. Yet, on every Halloween night, a creaky sound emerged from the old house, and the candy mountain at Lily’s doorstep kept growing.
Unbeknownst to all, the “elderly lady” was quite the trickster. She was, in fact, Lily’s dentist, making sure she had a never-ending supply of customers!
Title: The Never-Ending Halloween Treats: A Trickster’s Curse Read More »