Title: The Haunted House Prank: A Spooky Surprise

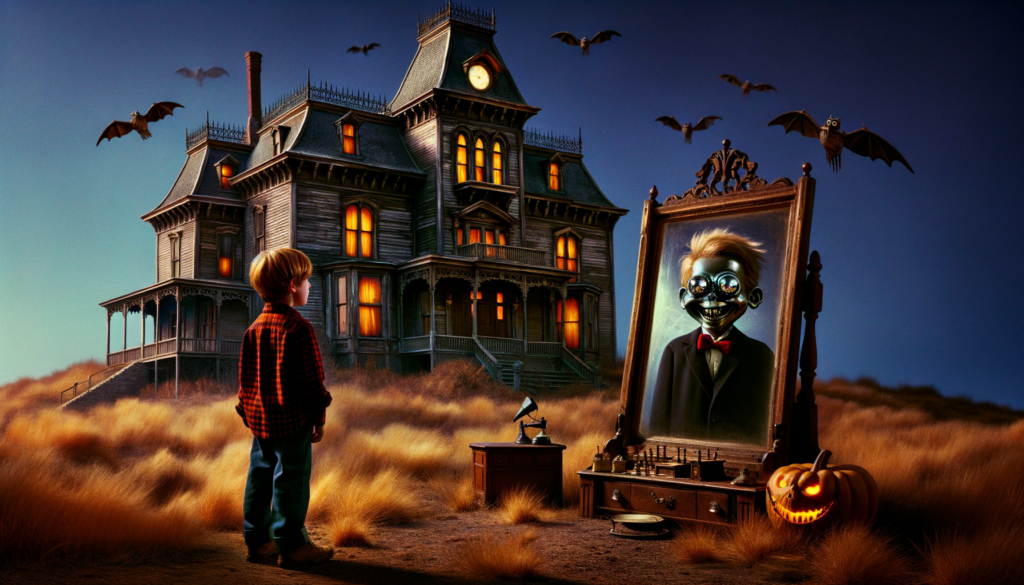
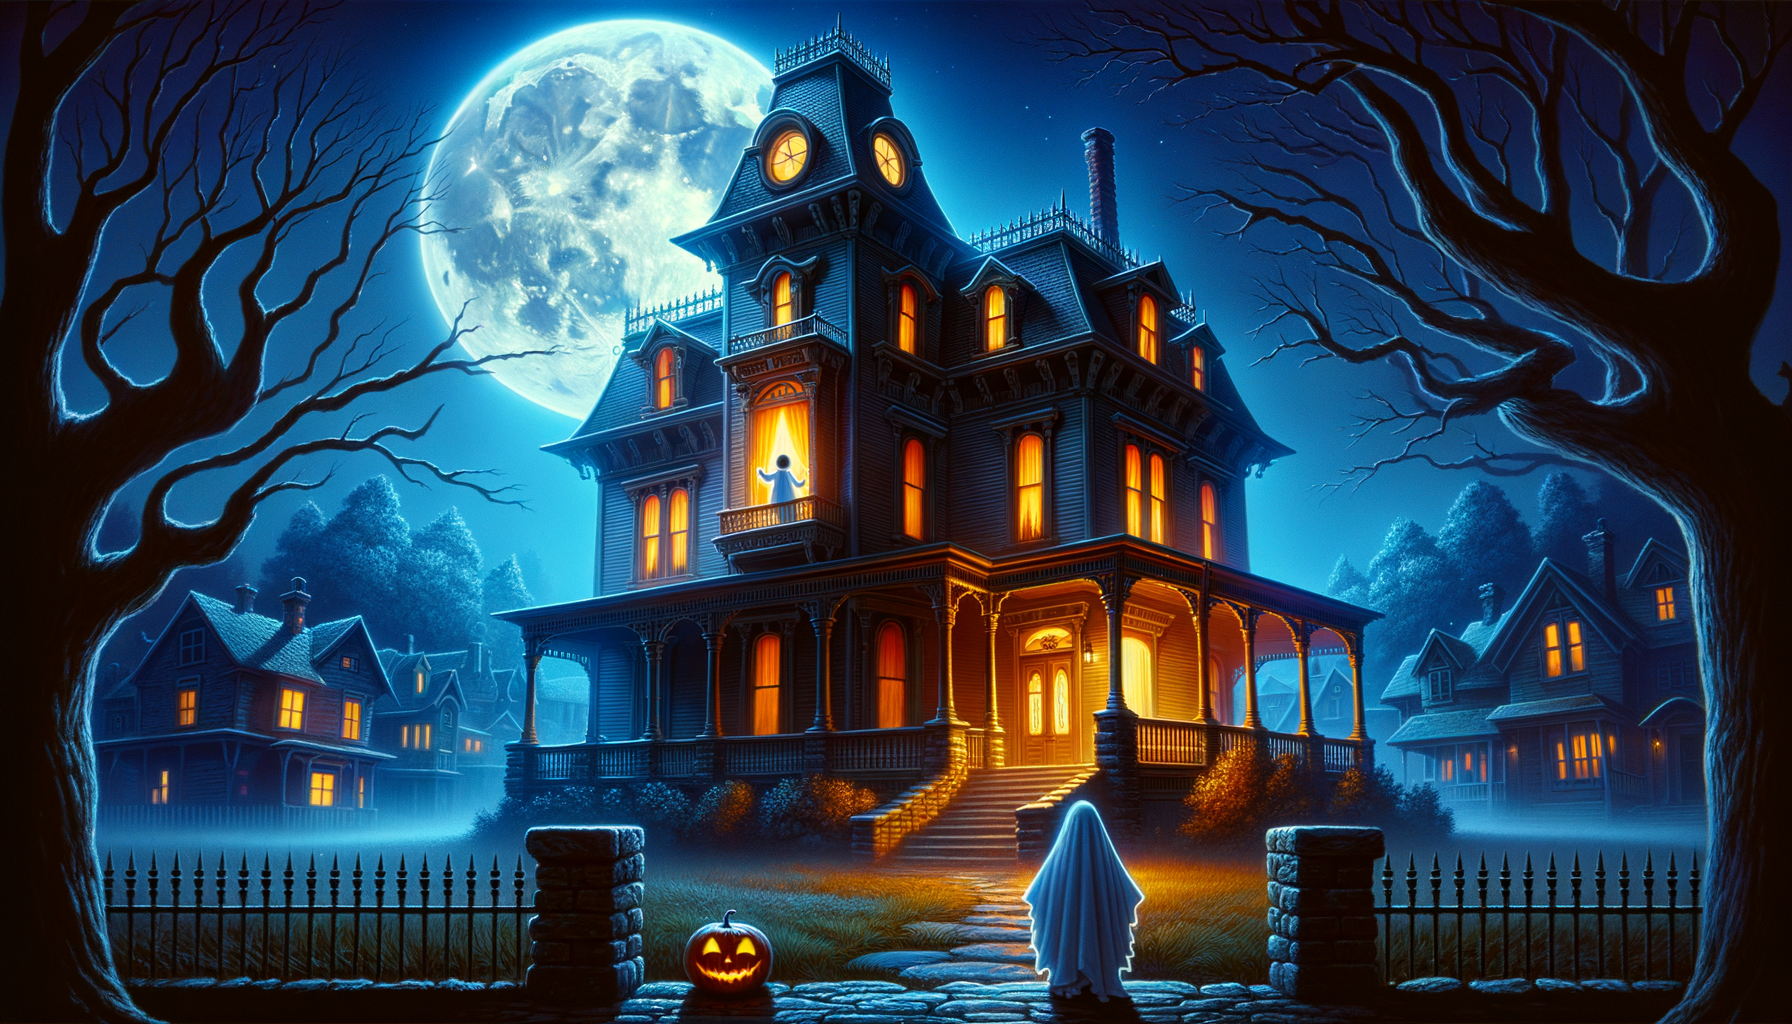
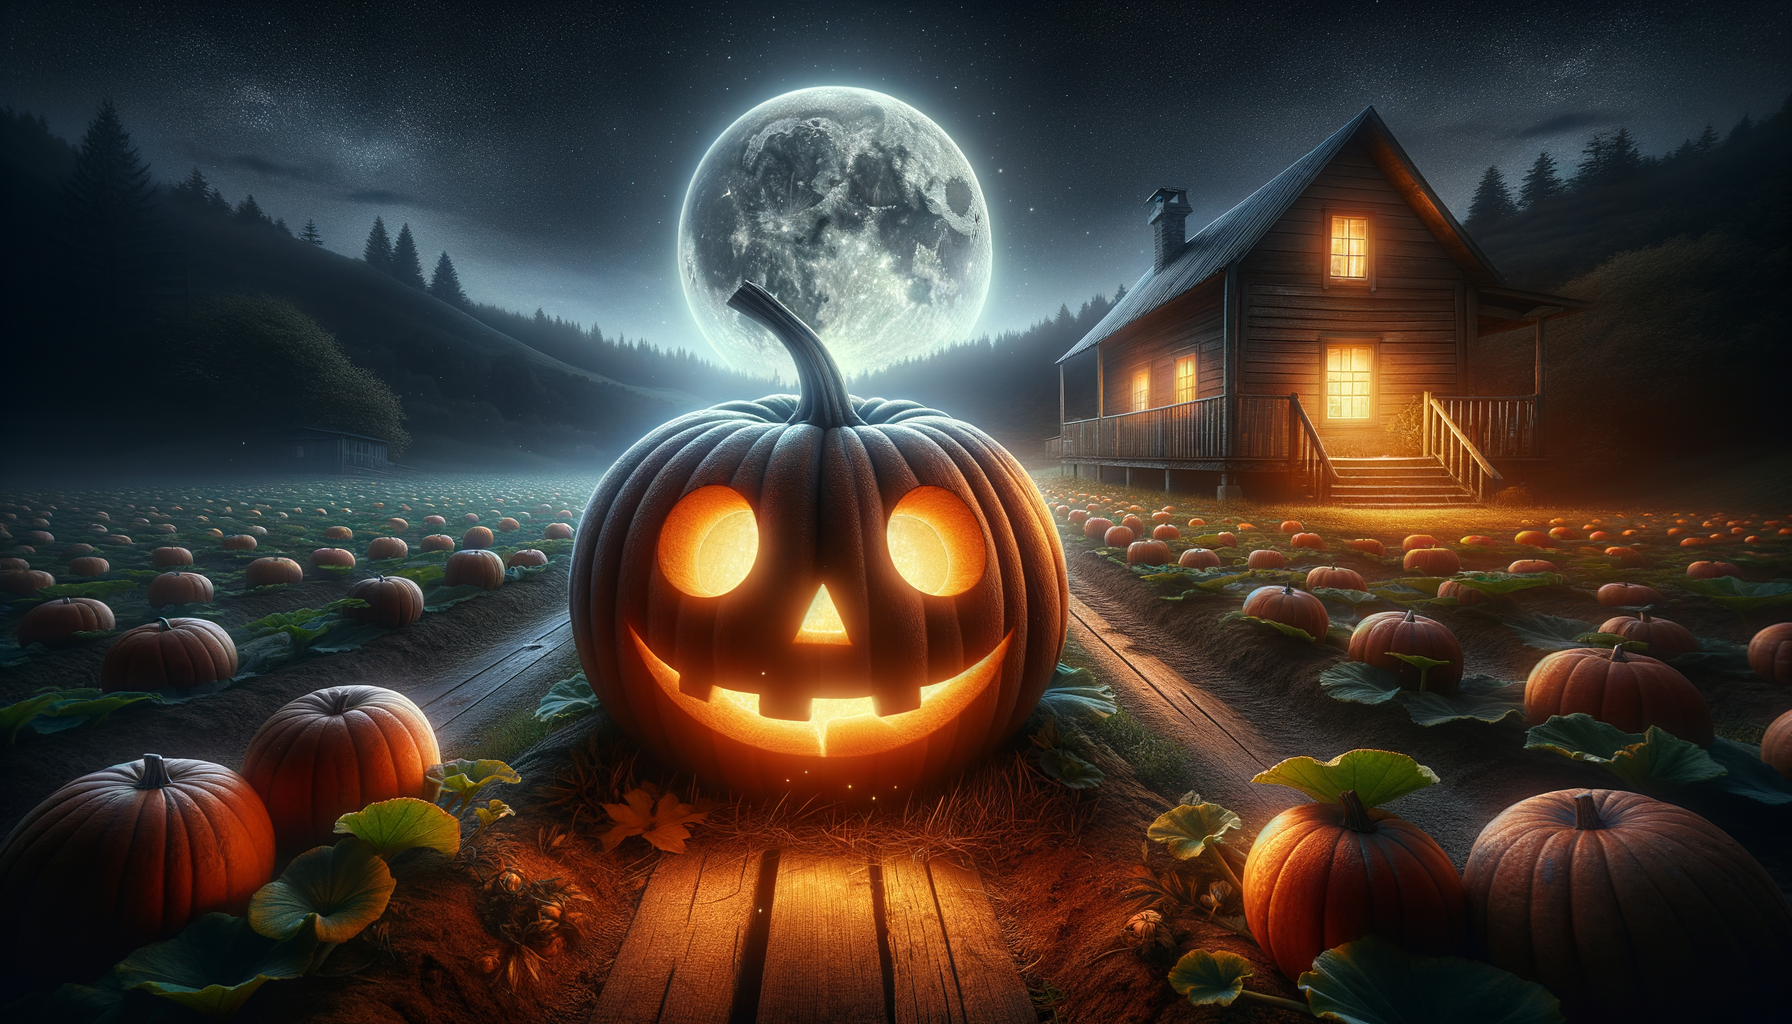
Once upon a crisp, autumn evening, a cheery family moved into a quaint house, brushing off tales of it being haunted. “Nonsense!” exclaimed Mr. Smith, as they unloaded their boxes. They dearly loved Halloween, hence the October move. But strange incidents soon began…
First, the jack-o’-lanterns would mysteriously change places! Then, Mrs. Smith’s favorite decor, a glow-in-the-dark witch, was always turned facing the wall every morning. It’s as if the house itself was playing pranks.
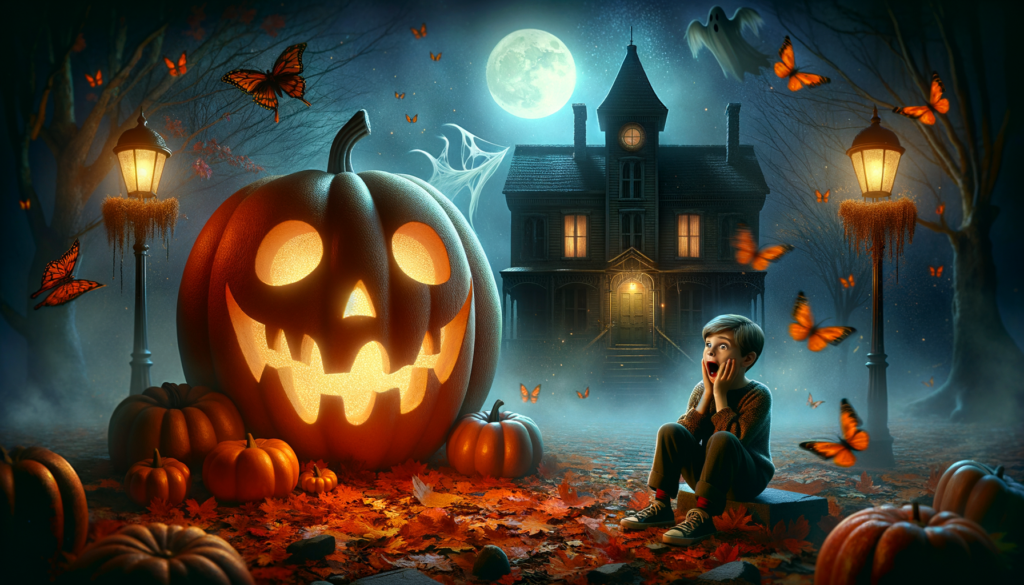
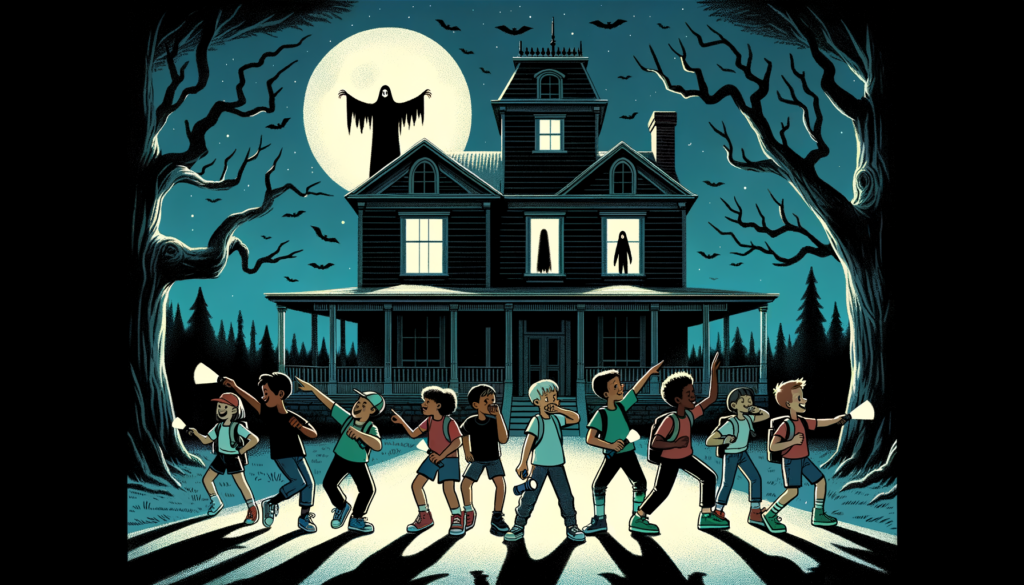
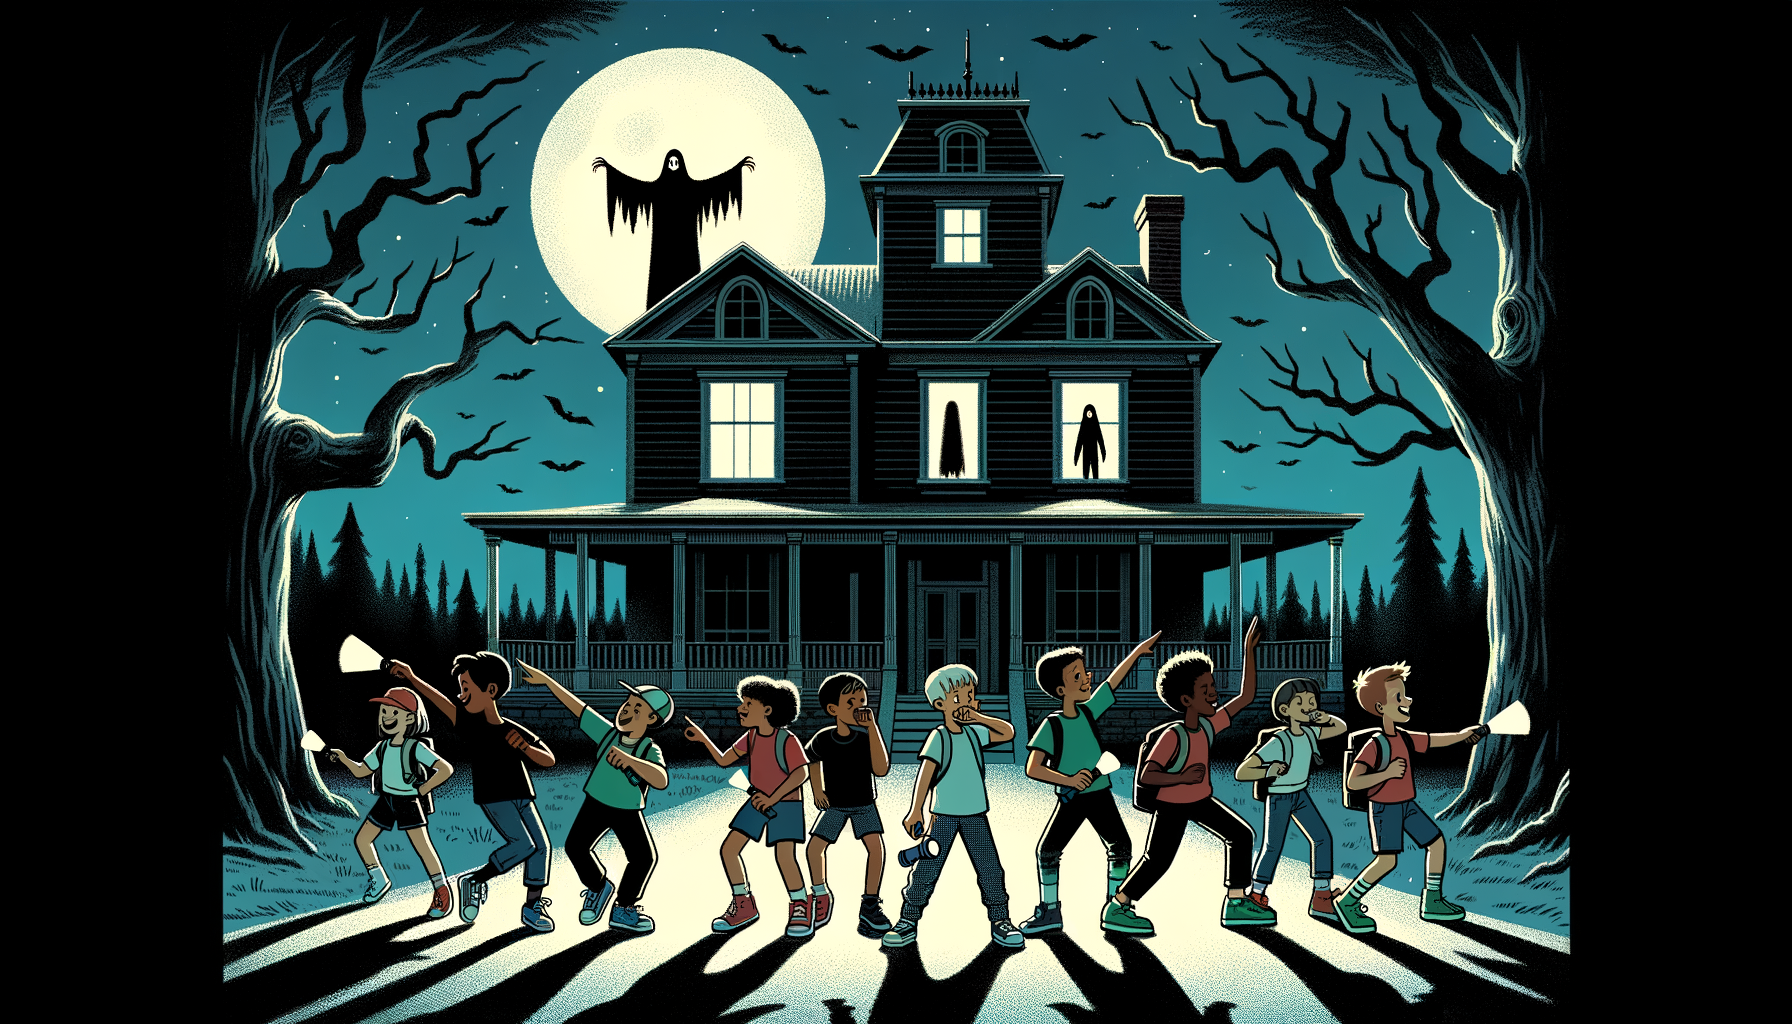
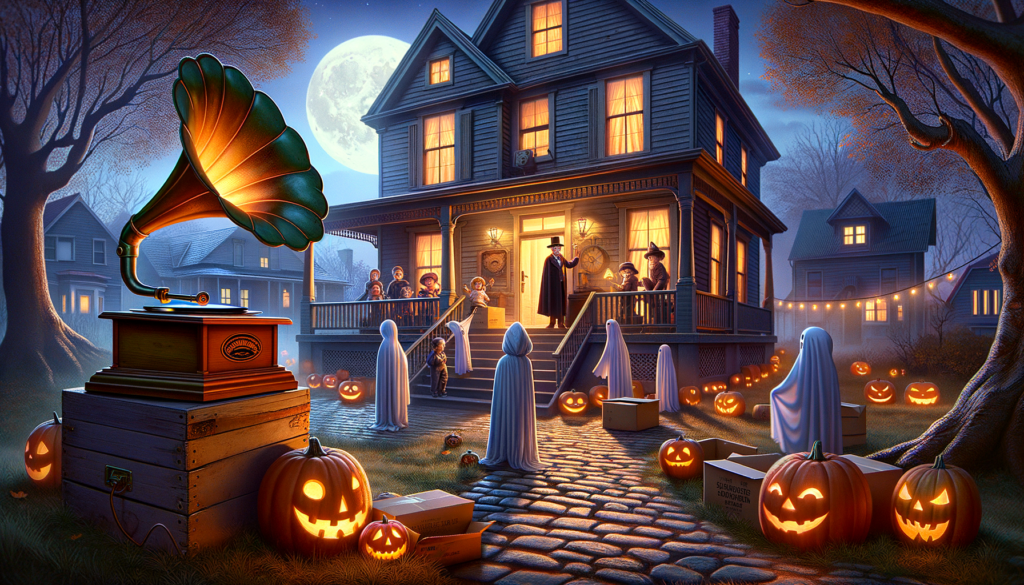
Despite the spooky scenes, the children found thrill in these antics, fashioning ghost costumes and planning their most impressive ‘trick’. They decided to host their neighborhood friends for an overnight Halloween party, thrilled to share their ghostly abode.
As all the little ‘ghouls’ and ‘ghosts’ settled in for spooky stories, the lights suddenly flickered! Everyone gasped, looking at each other wide-eyed. Just as they had predicted, their house was joining the party! Then, the climax hit! The room filled with a groaning sound. All in the room clutched onto each other.
But, the biggest surprise stood in the doorway—the Smiths’ forgotten, antique gramophone, hooked up by Dad for a prank of his own, groaning out an eerie soundtrack. Everyone burst out laughing, relieved, as Dad revealed himself as the prankster, behind all their haunted house hilarities!
Title: The Haunted House Prank: A Spooky Surprise Read More »