DIY Crafts

Halloween DIY Crafts for School Parties

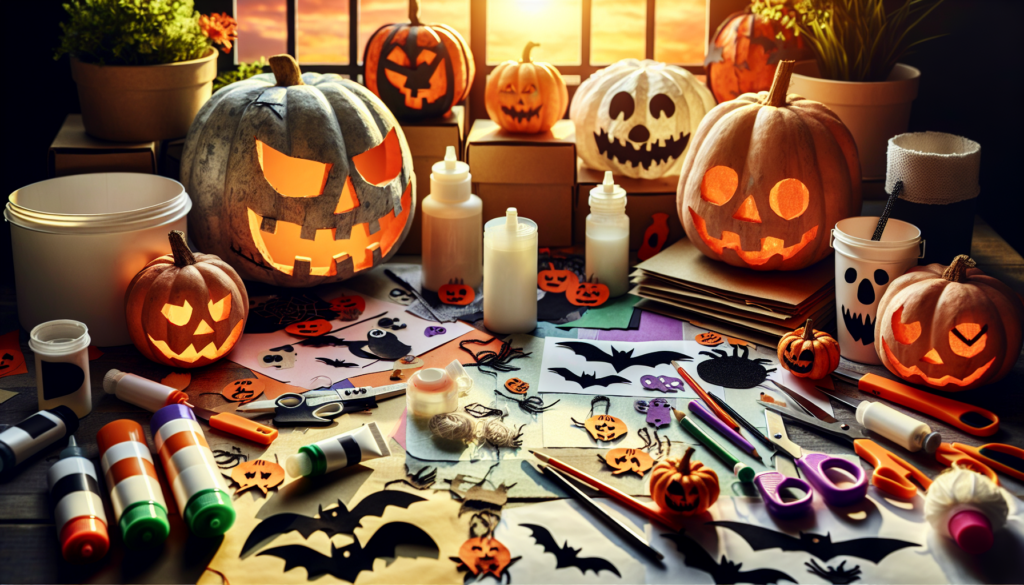
Imagine it’s Halloween, and you’re at school, excited to celebrate with your friends. There’s a special way to make this day even more fun – by creating your very own Halloween decorations and crafts! This article is all about easy and fun crafts that you can make yourself for your school’s Halloween party. You’ll find lots of cool ideas that will turn the celebration into a spooky and exciting adventure. Let’s start crafting and make this Halloween unforgettable!
Halloween DIY Crafts for School Parties

This image is property of images.unsplash.com.

Check out the Halloween DIY Crafts for School Parties here.

Spooky Paper Garland

Materials needed

To make a spooky paper garland, you’ll need colored paper (like black, white, and orange), scissors, a pencil, string or yarn, and some tape or a stapler. These are easy things you can find at home or at any store.

Step-by-step instructions

  1. First, decide what shapes you want, like ghosts or pumpkins.
  2. Draw the shapes on the paper with your pencil. If drawing isn’t easy, you can find shapes in books or online and trace them.
  3. Carefully cut out the shapes with your scissors.
  4. Make little holes in your shapes and thread the string through, or simply tape them to the string.
  5. Hang your garland around the room with tape.

Variety of designs (ghosts, bats, pumpkins)

There are so many fun shapes you can make! Ghosts, bats, and pumpkins are perfect for Halloween. You can make them look happy, scary, or silly. Remember, no two ghosts or bats look alike, so have fun with it!

Decorating ideas for the classroom

Hang your garlands across the ceiling, around the whiteboard, or even in the windows. You can also make a garland-making station where everyone makes one shape to add. This way, your classroom will be filled with spooky decorations that everyone helped make!

Halloween Themed Mason Jars

Materials needed

For this craft, you’ll need mason jars (empty and clean), paint (orange, white, or green are fun colors for Halloween), paintbrushes, and decorations like stickers or markers.

Painting and decorating the jars

  1. Choose a color to paint your jar. Think about what it will be – a pumpkin needs orange, a ghost needs white.
  2. Paint the jar carefully. You might need a few coats!
  3. After the paint dries, decorate your jar. You can draw faces or stick on spooky stickers.

Ideas for jar uses (candy holders, pencil holders)

Your spooky jar can hold pencils on your desk, saving them from disappearing like ghosts! Or, fill it with candy for a sweet treat everyone in class can enjoy. Just make sure to ask your teacher where to put it.

Safety tips for using glass in the classroom

Glass jars can break and be dangerous. Always carry them carefully, and if you see a broken piece, don’t touch it! Tell an adult so they can clean it up safely.

Check out the Halloween DIY Crafts for School Parties here.

Monster Pencil Toppers

Materials needed

To make monster pencil toppers, you’ll need pencils, colored paper or foam, glue, scissors, and some markers for decorating.

Creating different monster designs

You can make all kinds of monsters! Some might have two eyes, while others have three or even just one. Use different colors to make them unique. Maybe add sharp teeth, wiggly arms, or whatever you think a monster might have.

Assembly instructions

  1. Cut out the monster shapes from your colored paper or foam.
  2. Decorate them with markers to add faces, scars, or spots.
  3. Glue the monsters to the top of your pencils. Make sure they are secure!

Ideas for incorporating them into Halloween stories or games

These monster toppers can be characters in a Halloween story you write. Or use them for a guessing game where you describe a monster, and your friends have to pick which pencil topper matches your story.

Witch Hat Making

Materials needed

You’ll need black paper, ribbon, tape or glue, and any decorations like stars or moons.

Step-by-step crafting guide

  1. Cut a large circle for the brim and a cone shape for the top.
  2. Attach the cone to the circle with tape or glue – this is your basic hat!
  3. Decorate your hat with ribbon around where the cone and brim meet, and add any other decorations you like.

Customization ideas (colors, accessories)

Not all witch hats must be black! Use purple, green, or any color you love. Stick on paper stars or moons, or maybe add a paper buckle.

How to organize a witch hat parade

Once everyone has made their hats, line up and take a walk around the classroom or play area, showing off your wonderful creations. You could even have awards for the silliest, spookiest, and most creative hats!
Halloween DIY Crafts for School Parties

This image is property of images.unsplash.com.

Pumpkin Decorating Station

Materials needed for no-carve pumpkins

Gather small pumpkins, markers, stickers, paints, and any other decorations that can stick to a pumpkin, like sequins or googly eyes.

Different decorating techniques (stickers, markers, paint)

You can make a pumpkin look like anything! Use markers to draw faces, or paint them in different colors. Stickers can make patterns, and sequins can add sparkle.

Safety tips

When decorating, make sure you’re in a space where it’s okay to get a little messy. Wear old clothes or a smock. If you’re using glue or paints, ask an adult for the non-toxic kind.

Setting up a classroom pumpkin decorating contest

Once everyone’s done decorating, you can have a contest! Categories can include the scariest pumpkin, the funniest face, or the most colorful. Make sure everyone gets a vote.

Ghostly Lanterns

Materials needed

For these, you’ll need white paper or fabric, balloons, glue, and black markers. You might also want string lights or small flashlights to make them glow.

Instructions for creating ghost shapes

  1. Inflate the balloons a bit.
  2. Cover them with the white paper or fabric and glue it down, leaving a hole at the bottom to remove the balloon and add lights later.
  3. Once dry, pop the balloon and pull it out, leaving a ghost shape.
  4. Draw spooky faces on your ghosts with markers.

Lighting options

You can put string lights inside to make your ghosts glow. Another option is to use a small flashlight or battery-operated tea light. Always ask an adult to help with this part.

Ideas for using the lanterns to decorate the classroom

Hang your ghostly lanterns around the room where everyone can see them. They might look great in a dark corner or near the window to greet visitors. Make sure the lights you use are safe and won’t get hot.
Halloween DIY Crafts for School Parties

This image is property of images.unsplash.com.

DIY Halloween Masks

Materials needed

You’ll need card stock or paper plates, elastic string, markers, paints, and any other decorations like feathers or sequins.

Design ideas (animals, monsters, superheroes)

Think about what you want to be. A fierce lion? A scary monster? Or your favorite superhero? You can make any mask you imagine with just a bit of creativity.

Instructions for making the masks

  1. Cut your card stock or paper plate into the shape of your mask.
  2. Cut out eye holes.
  3. Decorate your mask with paints, markers, and decorations.
  4. Punch holes on the sides and tie the elastic string so you can wear it.

Incorporating mask-making into a Halloween costume contest

After everyone has made their masks, you can have a costume contest. See who makes the scariest, most beautiful, or funniest mask. Remember, it’s all about having fun and being creative, so every mask is a winner!

Creepy Crawly Spider Webs

Materials needed

For spider webs, all you need is white yarn or string, scissors, and tape. If you want to add spiders, you can make those with black paper.

Instructions for making spider webs

  1. Cut your yarn into long pieces.
  2. Tape one end to a surface and start creating a web design by crossing and tying the yarn. Use tape to secure the crossings.
  3. When you’re happy with your web, carefully remove it from the surface and tape it where you want to display it.

Adding spiders for effect

Cut out spider shapes from black paper and glue or tape them to your web. You can make your spiders big or small, scary or silly.

Ideas for spider web placement and games

Hang your webs in doorways, windows, or walls. You can even create a game where you throw small, soft balls (pretend flies) to stick onto the web, seeing who can make the most stick.
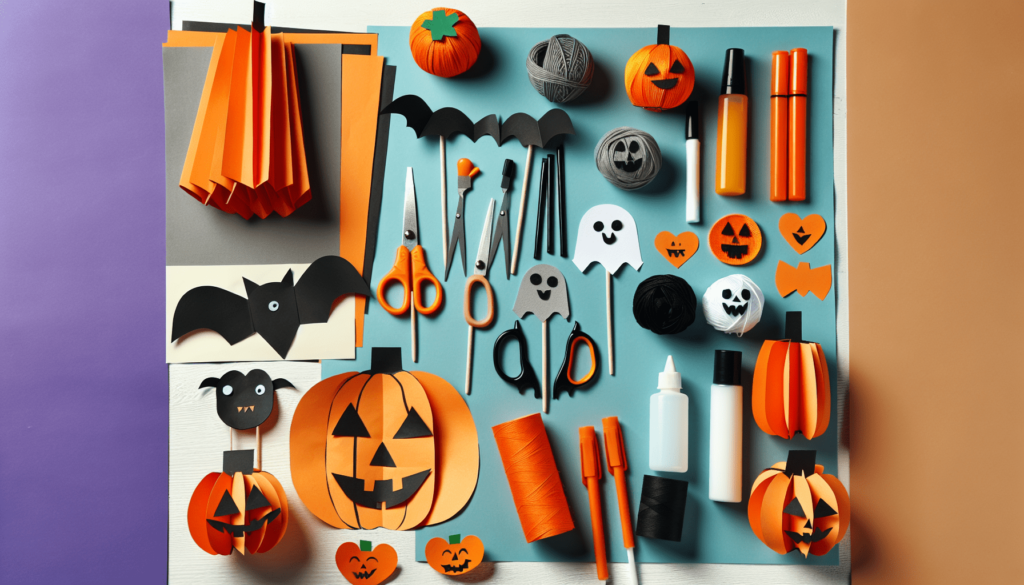
Halloween DIY Crafts for School Parties

Haunted House Diorama

Materials needed

Gather a shoebox, paint, scissors, construction paper, glue, and any other decorations you’d like to add, like cotton for cobwebs or small toys for ghosts.

Step-by-step assembly

  1. Paint the inside of your shoebox to look like the inside of a haunted house.
  2. Cut out furniture, ghosts, or other spooky decorations from construction paper and glue them inside.
  3. Add any other decorations to make it look even spookier.

Ideas for customizing the diorama

Think about what makes a house haunted. Maybe add a hidden room, or make a ghost that moves when you shake the box. It’s your haunted house, so you can make it as scary or as fun as you want.

Incorporating storytelling into the diorama project

Create a scary story about your haunted house. Who lived there? Why is it haunted? Share your story with the class, using your diorama to help tell the tale.

Vampire Bookmark Crafting

Materials needed

You’ll need red and black paper, scissors, glue, and a marker to draw your vampire’s face.

Fold and cut instructions

  1. Cut a rectangle out of the black paper for the body.
  2. Fold a smaller piece of red paper in half, cut it into a heart shape for the cape, and glue it to the body.
  3. Cut out a smaller rectangle for the head and glue it on top.
  4. Use the marker to draw a scary or funny vampire face.

Customization tips (colors, faces)

Your vampire doesn’t have to be traditional. Use different colors of paper, or give your vampire a unique face. Maybe it’s a friendly vampire with a big smile!

Using the bookmarks in Halloween-themed books or as party favors

These bookmarks can be a fun addition to your Halloween reading. Use them to keep your place in a spooky story. They also make great party favors for a Halloween party, giving your friends a little monster to take home.

See the Halloween DIY Crafts for School Parties in detail.

Halloween DIY Crafts for School Parties Read More »

DIY Craft Ideas for Halloween Parties

Get ready to make your Halloween party super fun with your own crafty decorations! With some simple stuff like paper, glue, and maybe a bit of glitter, you can create cool things that will make your friends go “Wow!” Imagine hanging up your very own spooky bats or making a scary pumpkin that lights up. In this article, you’ll find lots of easy and awesome ideas to make your Halloween party decorations by hand. It’ll be like turning your home into a haunted house that everyone will remember!

Click to view the DIY Craft Ideas for Halloween Parties.

DIY Haunted House Decor

Creating your very own haunted house decor is a super fun way to get ready for Halloween. You can turn your room or house into a spooky place full of ghosts, spiders, and all sorts of creepy creatures. Just follow these ideas, and you’ll have the best haunted house in the neighborhood!

Cardboard Tombstones

You can make your own graveyard with cardboard tombstones! Find some old boxes and cut them into tombstone shapes. Paint them gray, write funny or spooky names on them with a black marker, and maybe draw some cracks or moss to make them look old. Stand them up in your yard, and boom! You’ve got a mini cemetery.

Gauzy Ghosts

Make some ghosts to hang around your house. Take a white sheet or some gauzy fabric and drape it over a balloon or a ball. Draw two eyes and a mouth with a black marker to make a ghostly face. Tie a string at the top and hang your ghosts from tree branches or the ceiling. Oooh, spooky!

Creepy Crawly Spider Sacks

Spiders are super scary, right? Blow up some small balloons, and wrap them with white yarn dipped in glue. Once the yarn is dry, pop the balloons, and you’ll have a spider sack. Add some plastic spiders on the outside to crawl around, and hang them in the corners to give everyone a little scare.

Spooky Silhouettes

Make silhouettes to tape on your windows. You can cut out shapes of bats, cats, witches, or anything you find spooky. Stick them onto your windows, and when the lights are on at night, they’ll cast creepy shadows for all to see.

Handmade Halloween Lanterns

Light up the night with these homemade Halloween lanterns. They’re easy to make and will give your house a glowy, spooky vibe.

Mason Jar Mummies

Grab some mason jars and wrap them with bandages or gauze. Glue on a pair of googly eyes, and pop a candle inside (or use a battery-operated tea light if you want to be extra safe). Now you’ve got a little mummy lantern that’s more cute than scary.

Glowing Ghost Balloons

These glowing ghosts will look awesome in the dark. Inflate some white balloons and draw ghost faces on them. Put a green or white glow stick inside each balloon before you tie them, and they’ll glow like real little ghosts. Float them around the house for a ghostly glow.

Paper Bag Luminaries

Decorate some paper bags with Halloween cut-outs like pumpkins or bats. Fill the bottom of each bag with a bit of sand or pebbles, and put a candle inside. Remember only to use these outside and to keep an eye on them to stay safe. They create a lovely, flickering path for trick-or-treaters.

Witchy Tin Can Lights

Collect some old tin cans, and carefully punch holes in them to make Halloween designs. Paint them black, purple, or green, and once they’re dry, you can put some candles inside. They are perfect for lighting up your porch with a witchy glow.

DIY Craft Ideas for Halloween Parties

Learn more about the DIY Craft Ideas for Halloween Parties here.

Creative Halloween Wreaths

Welcome your visitors with a wreath that screams ‘Halloween’ right on your door. Let’s make some spooky wreaths together!

Black Cat Wreath

Use some black fur or fabric to create a fluffy wreath. Add a pair of yellow felt eyes with big pupils, a pink nose, and some ears to make it look like a black cat. Hang it on your door, and maybe you’ll get extra luck this Halloween!

Monster Eyes Wreath

Imagine a wreath full of eyes watching everyone who comes to your door – creepy! Glue lots of googly eyes onto a wreath form that you’ve covered in dark fabric or painted black. It’s a simple idea, but it’s sure to get lots of looks!

Spider Web Wreath

Create an eerie spider web wreath using white yarn or string to web around a circular frame. Don’t forget to add a big, fake spider sitting in the center! It’ll look like a spider is waiting to catch its next meal – let’s hope it’s not you!

DIY Skull Wreath

Get a bunch of plastic skulls from the store and glue them together in a circle. You might want to paint them a bit to make them look even more spooky. Hang the wreath up, and you’ll have a bony guard at your door.

Pumpkin Decorating Extravaganza

Pumpkins are a must-have for Halloween! Here’s how to decorate them in fun ways without having to carve.

No-Carve Pumpkin Ideas

Instead of carving, you can decorate your pumpkin with stickers, paint, or even dress it up. Give it some yarn hair, funny clothes, or use markers to draw on faces. You can even turn it into a favorite character. Get creative, and remember, no sharp knives needed!

Painted Pumpkin Faces

Get some paints and brushes, and give your pumpkins some personality! You can paint silly faces, scary faces, or anything you can think of. Let them dry and put them outside for a cheerful or frightful welcome.

Drilled Pumpkin Lights

If you can get help from an adult, you can create cool patterns on your pumpkin by carefully drilling holes. When you put a light inside, it’ll shine through the holes and create beautiful patterns.

Decoupage Pumpkin Art

Cut out pictures from magazines, use napkins with fun designs, or even pieces of fabric and glue them onto your pumpkin. You can cover the whole pumpkin or just add a few accents here and there – it’s your art!

DIY Craft Ideas for Halloween Parties

Frighteningly Fun Party Games

No Halloween party would be complete without some thrilling games. Try these games that you can make yourself for loads of fun!

Pin the Spider on the Web

Just like pin the tail on the donkey, but you’ll use a spider and a web instead. Blindfold your friends, spin them around, and see who can get the spider closest to the center of the web. Giggles are guaranteed!

Witch Hat Ring Toss

Create a few witch hats from cardboard and set them up as targets. Use glow stick bracelets or make rings from rope. Take turns tossing the rings to see who can land them on the pointy parts of the hats. Maybe you’ll score some witchy points!

Pumpkin Bowling

Use small pumpkins as bowling balls and set up some pins (you can use toilet paper rolls or water bottles). Roll your pumpkin and see how many pins you can knock down. Be prepared for some wobbly action!

DIY Monster Bean Bag Toss

Paint a big, friendly monster on a board with a hole for the mouth, and make some bean bags. Toss the bags and try to feed the monster. Each time you get a bean bag in its mouth, it might give you a monster-sized smile.

Eerie Edible Crafts

Make some scary-good snacks that are also fun to create. They’ll be a hit at your Halloween party, or you can enjoy making them just for fun.

Monster Cupcakes

Bake some cupcakes and decorate them to look like monsters. Use frosting, candies, and maybe some marshmallows or pretzels for eyes and mouths. They might be so cute that you’ll feel bad eating them – but they’ll taste too good to resist!

Witch Broomstick Snack

Take some pretzel sticks and tie them to the tops of cheese strips (cut them to look like broom bristles). These will look like tiny witch broomsticks, and they’re good for a quick, munchy snack.

Edible Eyeballs

Make some eyeballs using peeled grapes, lychee fruit, or even round candies. Use a bit of frosting or gel icing to add an iris and pupil. They are so creepy to look at but so yummy to eat!

Pumpkin Rice Krispie Treats

Use your usual Rice Krispie treat recipe, and add some orange food coloring. Shape the treats into little pumpkins while they’re still warm. Add a green candy or a small piece of a green fruit roll for the stem – now you’ve got Rice Krispie pumpkins!

Customized Trick-or-Treat Bags

Sure, you could use any old bag for trick-or-treating, but why not make yours stand out? With these ideas, your candy haul will be riding in style.

Personalized Candy Buckets

Get a plain bucket and decorate it with your name and Halloween stickers or paint. You could even draw your favorite Halloween symbols like ghosts, bats, or candy corn.

Ghostly Drawstring Bags

Make a drawstring bag out of white fabric, and draw a ghost face on it. It’s simple, easy to carry, and it’ll match your Halloween spirit. Plus, it keeps your hands free for more trick-or-treating action.

Fabric Painted Totes

Find a plain tote bag, and use fabric paints to add your own designs, from pumpkins to haunted houses. Get as creative as you want and show off your artwork while you collect candy.

Halloween Applique Bags

If you know how to sew, you can make appliques (which are like little patches) in Halloween shapes and sew them onto a bag. Choose orange and black fabrics for a truly Halloween look.

Halloween-Themed Door Designs

First impressions are important, and your door will be the first thing trick-or-treaters see. Make it fantastically fearful with these DIY ideas.

Monster Mouth Door

Turn your door into a big monster mouth. Use paper or paint to make a huge, smiling mouth where the doorway is the open mouth. Add some giant paper teeth, and maybe even a tongue, and your guests will walk right into the monster’s mouth!

Morgue Entrance

Make a sign that says “Morgue” and hang it over your door. Use more old cardboard to create fake wooden boards across the door. It’ll look like a creepy place where zombies might be waiting inside.

Haunted House Gateway

Create a haunted house entrance by adding spooky elements around your door. Think fake cobwebs, eerie lanterns, even a doormat that says “Enter at Your Own Risk!”

Creepy Curtain Entryway

Hang some tattered fabric or black lace curtains in your doorway, so visitors have to push them aside to get in. It will feel like walking into a spider’s web or a vampire’s lair.

Bizarre Beverage Accessories

Even your drinks can be dressed up for Halloween. Check out these creepy-cute ideas to make your sodas and juices look like they came from a mad scientist’s lab.

Eyeball Ice Cubes

Freeze small plastic eyeballs or gumball eyeballs inside ice cube trays filled with water. When you put the cubes in drinks, they’ll look like eyeballs are floating in the glass – talk about chilling!

Ghoulish Glass Charms

Make little charms out of paper or felt in different Halloween shapes, like ghosts or pumpkins. Attach them to a loop of string or wire, and hook them onto glass stems so everyone can tell which drink is theirs.

Cauldron Drink Holders

Use large, black plastic cauldrons as ice buckets for your drinks. They’ll keep your drinks cold and add a witchy theme to your table.

Bloody Handprint Coasters

Dip your hand into red paint and press it onto some white coasters. Once they’re dry, it’ll look like you’ve left bloody handprints all over – it’s both spooky and a great way to protect your table surfaces.

Tabletop Terror Decorations

Make every table in your house look like it’s ready for Halloween with these scary decorations. They’ll be sure to bring the horror of Halloween right to your fingertips.

Bloody Candlestick Centerpieces

Drip red wax or red paint down the sides of white candles to look like blood. Place them in fancy candlesticks, and you’ve got a centerpiece straight out of a vampire’s dinner party.

Skeletal Table Runners

Get some fabric and paint or sew on bones to make it look like a skeleton is stretched out across your table. It’s a great way to spookify your dinner setting.

Jar of Pickled Brains

Take a big glass jar and fill it with cauliflower. Pour in some water and a drop or two of green food coloring to make it look like a jar of brains. It’ll be a great conversation starter!

Zombie Hand Napkin Holders

Find some creepy hand decorations, or make your own out of dough or clay. Use them to hold napkins on your table. It’ll look like a zombie is trying to grab a snack!

With all these DIY craft ideas, you’re sure to have a frightfully fun Halloween. Get creative and have a spook-tacular time creating and decorating! Happy Haunting!

Discover more about the DIY Craft Ideas for Halloween Parties.

DIY Craft Ideas for Halloween Parties Read More »

Handmade Halloween Party Favors

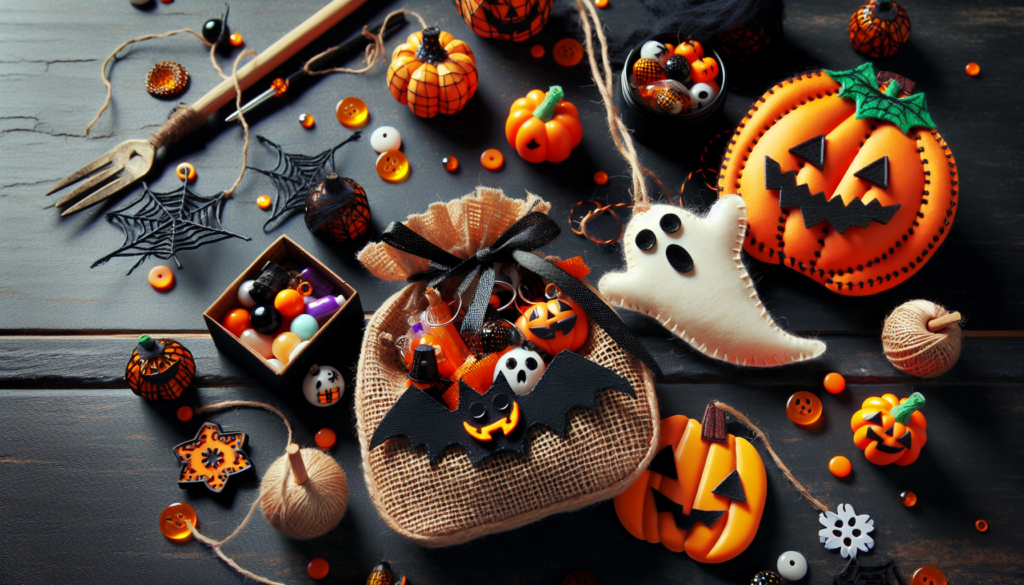
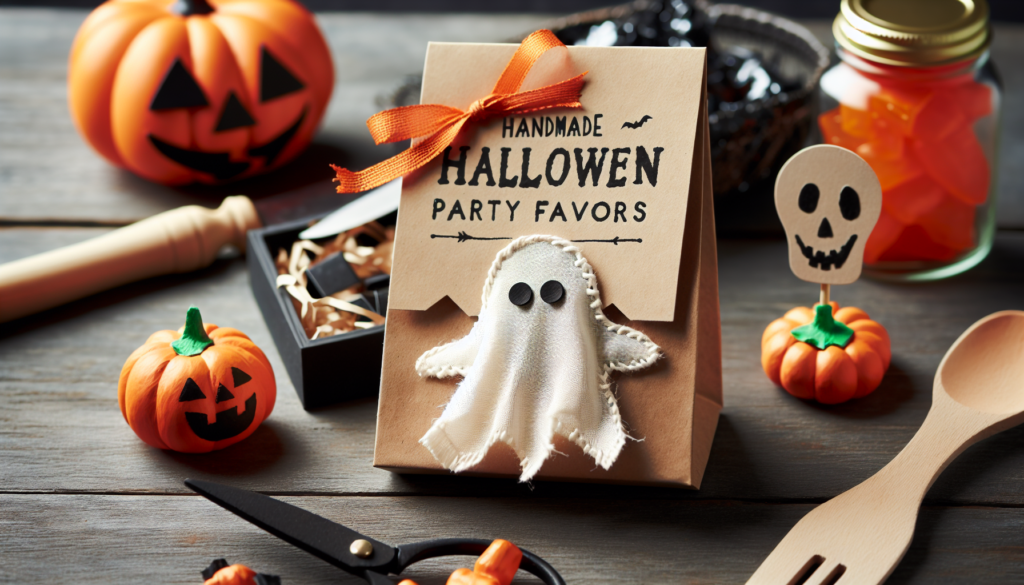
Imagine you’re having the best Halloween party ever with your friends, and everyone gets a special gift made by you! That’s what making handmade Halloween party favors is all about. It’s like creating tiny treasures that are full of spooky fun and your own dash of magic. With a little bit of paper, glue, and the kind of imagination that can turn pumpkins into carriages, you can make all sorts of crafts like ghostly bookmarks, bewitched bracelets, or even tiny witch hat treats. These crafts not only make your party extra special, but they also let your friends take a piece of the Halloween magic home with them!

Find your new Handmade Halloween Party Favors on this page.

Understanding Halloween Party Favors

The importance of party favors in Halloween celebrations

You love Halloween, right? It’s that spooky time of the year when you can dress up as anything you want and go trick-or-treating! But have you ever been to a Halloween party where you got a little gift for going? Those are called party favors, and they’re a fun way to say “thank you” to your friends for coming to your Halloween party. They can be little toys, yummy treats, or something cool that you make. Party favors make your friends smile and help them remember the fun times they had at your party!

DIY vs. store-bought: benefits of handmade favors

Now, you might think about running to the store to buy some favors, but wait a minute! Making your own, which is called “DIY,” can be way more special. When you make party favors yourself, you can be super creative and put a little bit of you into each one. Plus, it can be a fun activity to do with your family, and it might even save some money. Your friends will see how much you care because you made something just for them.

Overview of different types of Halloween party favors

There are so many kinds of Halloween party favors you can make. They can be things to eat, like ghost-shaped cookies; things to play with, like small painted pumpkins; or things to wear, like a spooky spider ring. You can even make decorations, like tiny lanterns that glow and make everything look magical. And if you’re thinking about the Earth, you can use stuff that won’t harm our planet. The best part is, there’s nothing you have to choose — you can mix and match all these ideas for your friends!

Planning Your Handmade Favors

Setting a theme for your Halloween party favors

First things first: think about what you want your party to look like. Is it going to be filled with witches and wizards, or are friendly ghosts and smiling pumpkins more your style? Once you decide on a theme, it’ll be like following a map to make sure all your favors fit together perfectly in the big Halloween party picture.

Choosing the right materials

Grab a grown-up and start hunting for materials that you’ll need for your crafts. If you’re painting, you’ll want paint and brushes; for making jewelry, you might need beads and string; and for edible treats, you’ll need yummy ingredients. It’s like gathering all the colors you need before you start drawing a big picture.

Allocating time for crafting

Crafting can take a bit of time, so you’ll want to start early. Make sure to plan out some afternoons or weekends when you can get messy and creative. If you’re having a crafting party, pick a day when your friends can come over and help. It’s like planning a mini-party before the big party!

Handmade Halloween Party Favors

Check out the Handmade Halloween Party Favors here.

Spooky Edible Treats

Homemade candy corn and chocolate ghosts

Imagine making your own candy corn in all different colors or chocolate candies shaped like little ghosts! These treats are not only tasty but also super fun to make. You’ll need a recipe, some kitchen tools, and an adult to help you with the cooking part.

Creepy cookies and monster macarons

Cookies can come in all shapes and sizes, like bats, cats, or even little monsters! And macarons – those are like sandwich cookies – can be made to look like creepy-crawly spiders with a little icing. Don’t forget about decorating them; you can add icing, sprinkles, or even edible glitter to make them extra special.

Packaging edible treats safely and hygienically

Once your treats are ready, you’ll want to make sure they’re wrapped up so they stay fresh and clean. Use clear plastic wrap or little bags that you can close tight, and you can even wear gloves when you pack them to keep germs away. This way, your friends can enjoy your homemade goodies without worries.

Crafty Decorative Items

Miniature pumpkin painting

Grab some mini pumpkins, which are just tiny pumpkins, and paint them in all kinds of colors. You can make them look scary with angry faces or friendly with big, happy smiles. It’s like giving each little pumpkin its own costume!

Ghostly lanterns and luminaries

Lanterns can be made from paper bags or jars, and with a little help, you can light them up with battery-operated candles. Imagine seeing them glow and flicker in the dark – they’ll look like tiny ghosts floating around your party.

DIY haunted house terrariums

You can build a mini haunted house inside a glass jar, using things like clay, sticks, and moss. It’s almost like capturing a tiny piece of a Halloween world that your friends can take home and look at whenever they want.

Handmade Halloween Party Favors

Wearable Favors

Creating witch hats and wizard wands

You can make paper witch hats and decorate them with stars and moons, or craft wizard wands from sticks and paint them with glitter. Wearing these, your friends can pretend to cast spells all night long.

Making hair accessories; spiders and bats

You can use things like felt and pipe cleaners to create creepy-crawly hair clips or headbands with bats on them. It’s like adding a little bit of Halloween to your hairstyle!

Sewing fabric treat bags and personalized capes

With some fabric and a bit of sewing, you can make special bags for your friends to carry their treats in, or capes that they can wear to feel like superheroes. You can also write their names on these with fabric markers to make them extra unique.

Eco-Friendly Halloween Favors

Using recyclable materials

Instead of throwing things away, you can use them for crafting! Old boxes can become scary masks, and used paper can turn into decorations. It’s a way to be kind to our planet while we celebrate.

Crafting with natural elements like leaves and twigs

Fall leaves and twigs can be part of your decorations, too. You can paint the leaves or turn the twigs into tiny broomsticks for a witch’s doll. It’s like using a little piece of autumn to make something beautiful.

Ideas for reusable Halloween party favors

Think about making favors that your friends can use over and over. A painted rock can be a paperweight, or a fabric bag can hold toys or books long after Halloween is over. That way, your favor keeps being useful and doesn’t just get thrown away.

Personalized Party Favors

Customizing favors with names and messages

Imagine your friend’s face when they see their name on a Halloween craft you made just for them! You can use paint, markers, or even stickers to add a personal touch to each favor. It’s kind of like writing a secret note that only your friend will see.

Creating photo frames and memory keepsakes

You can make little frames for pictures that your friends can fill with memories from your party. It’s like building a tiny house for a special photo to live in.

Designing Halloween-themed bookmarks and magnets

Bookmarks and magnets can be really fun to make and can be used all year round. You can cut out shapes of things like pumpkins or black cats, decorate them, and add a magnet or ribbon. They’ll remind your friends of Halloween fun whenever they see them.

Interactive Craft Favors

DIY Halloween-themed slime kits

Everyone loves slime, so why not make a kit with all the things you need to make it? You can add colors, glitter, or even tiny plastic spiders to make it extra spooky. It’s like making a potion kit for slimy fun.

Build-your-own monster puppet kits

Putting together your own puppet can be great! You can cut out pieces of fabric or felt for the body and let your friends glue on eyes and mouths to make their own scary or silly monster.

Designing and assembling Halloween jigsaw puzzles

You can make a puzzle by drawing a Halloween picture and cutting it into pieces. Then, your friends can put it together at home. It’s like a Halloween game that lasts even after the party.

Packaging Handmade Favors

Creative wrapping methods

Think about wrapping your favors like little presents. You can use colorful tissue paper, ribbon, or even make your own bags out of spooky fabric. It’s like dressing up your favor in its own Halloween costume!

Halloween stickers, labels, and tags

You can make your own stickers or tags that say “Happy Halloween” or have pictures of ghosts and witches. Stick them on your wrapped favors or tie them on with a ribbon for a special touch. It’s like giving your favor a name badge for the party.

Eco-friendly packaging options

You might also want to use things like paper bags or boxes that can be recycled. Or you can wrap things in cloth that can be used again. It’s a way to wrap gifts without making more trash for our world.

Hosting the Crafting Session

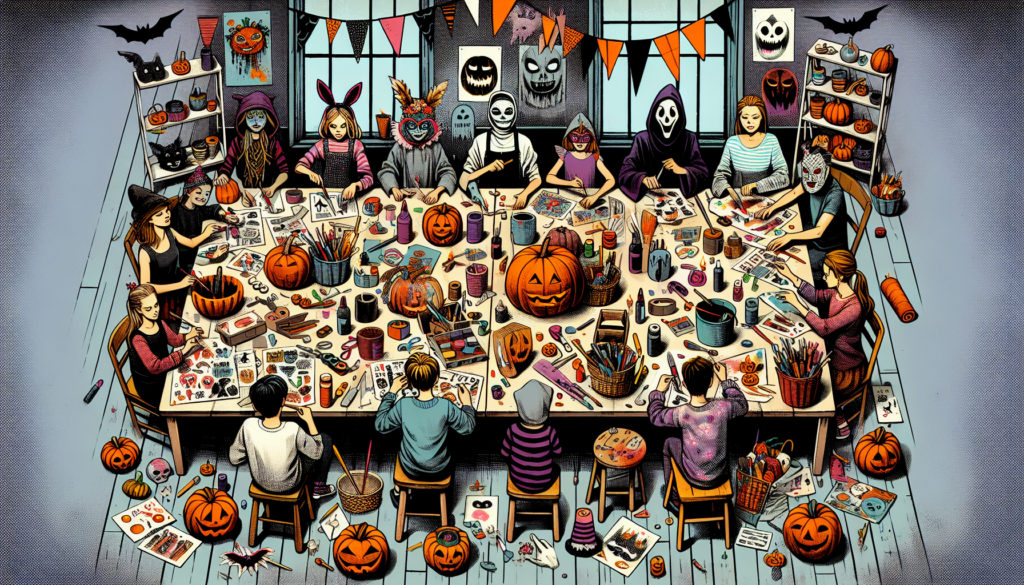
Organizing a pre-party crafting gathering

Before your Halloween party, you can have a special day where your friends come over to make the favors together. You’ll need a big space, like a kitchen table, lots of materials, and some snacks to keep the energy up. It’s like having a mini crafting festival!

Steps for group crafting dynamics

When your friends are all crafting together, you can show everyone what to do step by step. Or you can let everyone choose their own craft from a couple of options. Remember to share and help each other, and it’ll be super fun.

Turning favor creation into a party activity

You can also make favor crafting part of your Halloween party. Set up a little station with all the materials, and your friends can make their own favors during the party. It’s like a game and a gift all in one, and everyone can take home something they’re proud of. Happy crafting and Happy Halloween!

Get your own Handmade Halloween Party Favors today.

Handmade Halloween Party Favors Read More »