DIY Decor

Halloween Crafts with Felt

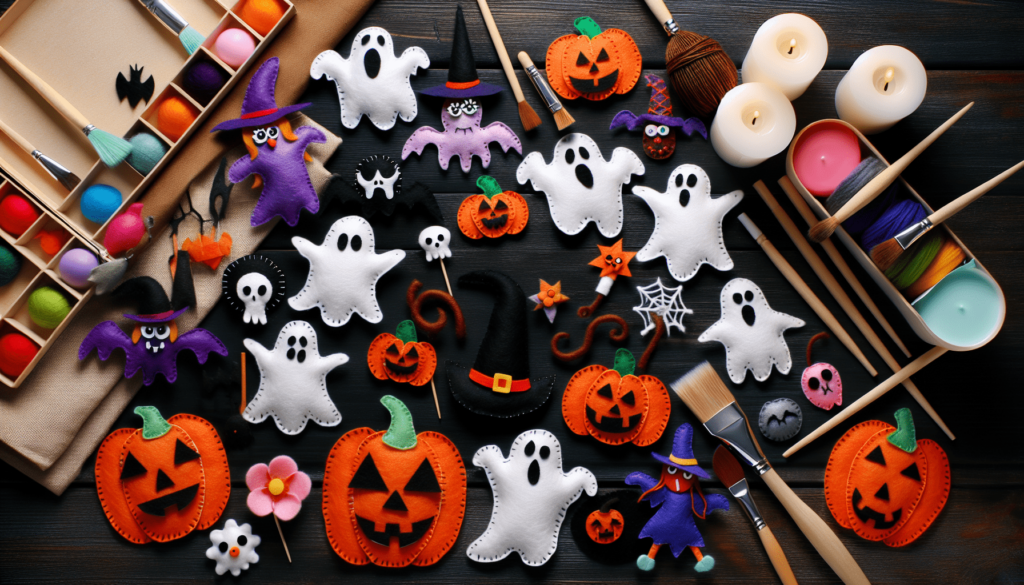
Today, you’re going to learn about making fun Halloween crafts using felt. Felt is a soft, colorful material, and it’s perfect for creating spooky decorations or cute little crafts that can bring the spirit of Halloween into your home. You’ll discover how to cut, glue, and decorate felt to make things like pumpkins, ghosts, and bats. It’s a fantastic way to get creative and make your Halloween extra special with your own handmade decorations. Let’s get started on crafting your Halloween adventure with felt!

Check out the Halloween Crafts with Felt here.

Introduction to Halloween Crafts with Felt

Importance of Halloween crafts

Halloween crafts are super fun! They let you show off your creative side and make your home look spooky and special for Halloween. When you make your own decorations, you can make them just the way you like, with your favorite colors and designs.

Why choose felt for Halloween DIY projects

Felt is a great choice for Halloween projects because it’s easy to work with, even if you’re just learning how to craft. It doesn’t fray at the edges like some other fabrics, which means you don’t have to sew edges unless you want to. Plus, felt comes in lots of colors, perfect for making pumpkins, ghosts, witches, and all sorts of Halloween decorations.

Overview of easy-to-make felt projects for Halloween

There are so many fun things you can make with felt for Halloween. You can create decorations like pumpkins, ghosts, and bats to hang in your home. Or, you can make a witch hat to wear, and even craft a spooky garland to drape across your walls. These projects are all pretty easy, so you’ll be able to make something awesome with a bit of practice.

Basic Materials Needed for Felt Halloween Crafts

Types of felt suitable for Halloween crafts

For Halloween crafts, you can use any type of felt. There’s craft felt, which is inexpensive and comes in lots of colors. There’s also wool felt, which is a bit thicker and feels nicer, but it’s also more expensive. You can choose whichever one you like or fits your budget.

Additional materials and tools

Besides felt, you’ll need a few other things like scissors to cut your felt, glue if you don’t want to sew, and thread and a needle if you do. Sometimes, you might need a ruler or a template for your project, and things like buttons or beads to decorate.

Preparation and setup tips

Before you start, clear a space to work where you can spread out your felt and other materials. Have all your tools close by so you don’t have to stop and look for them. It’s also a good idea to read through the steps of your project before you start, so you know what to do.
Halloween Crafts with Felt

This image is property of images.unsplash.com.

Check out the Halloween Crafts with Felt here.

Felt Pumpkin Decorations

Step-by-step guide to creating a felt pumpkin

First, cut out a pumpkin shape from your orange felt. You can make it as big or as small as you like. Then, use green felt to cut out a small stem. Sew or glue the stem to the top of your pumpkin. If you want, you can add a face to your pumpkin with black felt or by drawing with a marker.

Variations in design and size

Your pumpkin doesn’t have to look like everyone else’s. You can make tiny pumpkins, big pumpkins, round pumpkins, or tall pumpkins. You can also make your pumpkin’s face look happy, spooky, or even surprised!

Ideas for using felt pumpkin decorations in your home

You can put your felt pumpkins everywhere around your house. Stick them on your walls, place them on shelves, or even hang them from the ceiling with a string. They can help make any room look ready for Halloween.

DIY Felt Ghosts for Halloween

Creating simple and cute felt ghosts

Cut out a ghost shape from white or gray felt. Ghost shapes are easy – just think of a squiggly cloud or a teardrop. You can make your ghost any size you like. Add eyes and a mouth with black felt or a marker to give your ghost a face.

Customization tips for different expressions

Your ghost can have any expression you want. Try different shapes for its eyes and mouth to make it look happy, scared, or even goofy. You can add accessories like a bow tie, hat, or carrying a tiny felt pumpkin to make your ghost unique.

Incorporating felt ghosts into your Halloween decor

Hang your felt ghosts in windows, on walls, or from the ceiling with clear fishing line to make it look like they’re floating. You can also stick them to a wreath for your door or add them to your Halloween table setting.
Halloween Crafts with Felt

This image is property of images.unsplash.com.

Crafting Felt Bats for Halloween

Pattern and cutting instructions for felt bats

Draw or print out a bat shape on paper to use as a template. Place the template on black felt and trace around it, then cut out your bat. You’ll need two bat shapes for each decoration.

Hanging and displaying felt bats effectively

Sew or glue the edges of the two bat shapes together, leaving a space to add a little stuffing or a piece of cardboard to help them keep their shape. You can hang your bats with fishing line or stick them on walls and windows.

Adding features to make your felt bats stand out

Add little white felt eyes or use glow-in-the-dark paint to give your bats spooky eyes that stand out in the dark. You can also cut your bats in different sizes to create a whole family of bats.

Making a Felt Witch Hat

Materials needed for a DIY felt witch hat

You’ll need black felt for the hat and any other colors you like for decorations. You’ll also need something like cardboard to give the brim of your hat some stiffness.

Step-by-step assembly instructions

Cut a large circle for the brim of your hat and a triangle that will become the cone. Make a slit in your circle to the center, then overlap the edges a bit to form a cone shape and glue or sew it to the brim. Add a strip around the base of the cone for a cleaner finish.

Decorating your felt witch hat for extra flair

Add colorful felt bands, stars, moons, or anything else you like to your hat to make it your own. You can also add ribbons or fabric flowers.
Halloween Crafts with Felt

This image is property of images.unsplash.com.

Felt Halloween Garland

Choosing a theme for your Halloween garland

Decide if you want your garland to have all one type of decoration, like just pumpkins, or a mix of everything like pumpkins, ghosts, and bats.

Creating felt shapes for the garland: pumpkins, ghosts, bats

Use the instructions above to make small felt shapes for your garland. You’ll want to make them a bit smaller than if they were standalone decorations.

Assembling your felt Halloween garland

Lay out a long piece of string or ribbon and arrange your felt shapes along it. When you’re happy with how it looks, sew or glue your shapes to the string. Now, it’s ready to hang across a doorway, a fireplace, or on a wall.

Spooky Felt Halloween Masks

Designing your Halloween mask template

Think about what kind of mask you’d like to make. It could be a pumpkin, a cat, a bat, or anything else. Draw your design on paper first to create a template.

Cutting and assembling your felt mask

Cut your mask shape out of felt, making sure to include eye holes. Sew or glue on additional felt pieces for details like nose, mouth, whiskers, or ears.

Decorative ideas for personalizing your mask

Use glitter, beads, or fabric paint to add details and make your mask sparkle or glow in the dark. Think about adding elastic or a stick to hold your mask in place.
Halloween Crafts with Felt

Felt Candy Corn Decorations

Creating a pattern for felt candy corn

Draw a simple candy corn shape on paper – it’s just a triangle with rounded corners. Use this as your template.

Sewing and stuffing your candy corn decorations

Cut two candy corn shapes from white, orange, and yellow felt. Sew or glue them together, leaving a little opening to stuff them lightly before closing them up.

Ideas for displaying your felt candy corn

Group your candy corn decorations in a bowl as a table centerpiece, string them into a garland, or hide them in unexpected places for a fun surprise.

Conclusion: Expanding Your Felt Halloween Crafts Collection

Mixing and matching different felt Halloween crafts

Now that you’ve made all these cool things, try putting them together in new ways. Maybe your ghosts need to ride on the witches’ hats, or your bats want to hang out with the pumpkins.

Getting creative with your own felt Halloween designs

Use what you’ve learned to come up with your own felt Halloween crafts. Can you think of a spooky creature or decoration you’d like to make? Give it a try!

Storing your felt Halloween decorations for future use

When Halloween is over, keep your felt decorations safe by storing them flat in a box or hanging them in a closet. That way, they’ll be ready to make your home spooky and fun again next year!

Check out the Halloween Crafts with Felt here.

Halloween Crafts with Felt Read More »

The Dreadful Dolls Revival: Transformed Into Creepy Decors for The Halloween Junkie

The name of the story we’re going to read is “The Dreadful Dolls Revival: Transformed Into Creepy Decors for The Halloween Junkie”. This tale is all about how old dolls, ones you might not want to play with anymore, get a new life. They become part of your Halloween decorations, explaining how they can be changed into something a little spooky for the holiday. All of this, is told in a way that will make you giggle and maybe even shriek a little, but don’t worry, it’s all just for fun. So, let’s get started on this hair-raising adventure.

The Resurgence of Dreadful Dolls

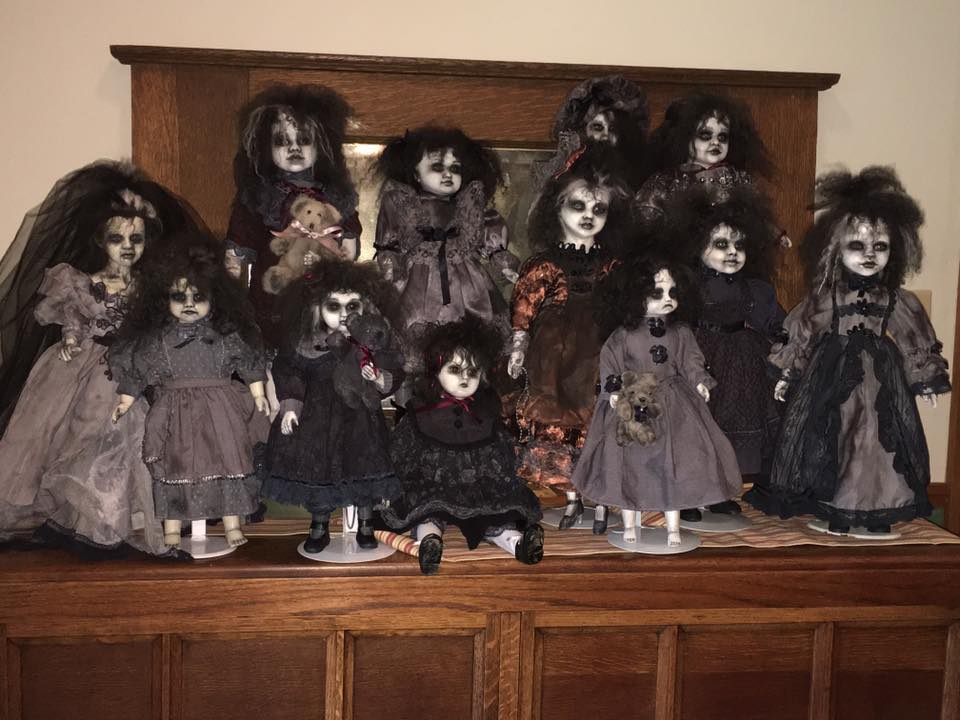
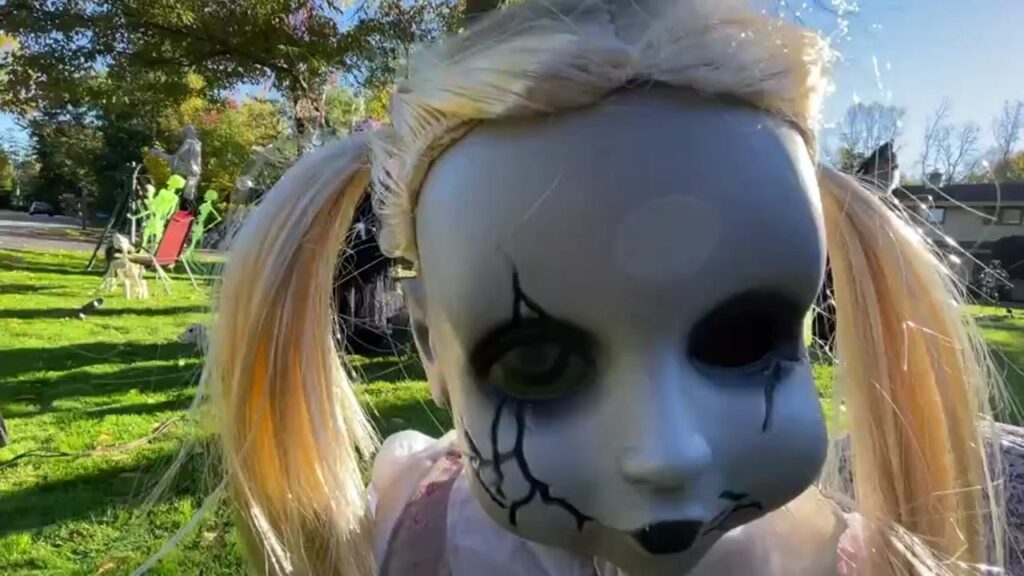
Do you remember those old dolls you used to play with? Yes, the ones with the funny clothes and big, round eyes. Well, guess what? They’re back in style, but not in the way you might think. They’re all grown up now and have gone spooky! People are turning their good and innocent dolls into dreadful dolls, giving them a whole new life.

Dreadful Dolls’ Comeback in Pop Culture

You’ve probably noticed in your favorite scary movies, the creepy dolls suddenly appearing everywhere. That’s right, dreadful dolls are making a return in pop culture. Think about the scary doll from that movie you can’t get out of your head. It spooked you, right? It’s all part of the scary fun!

The Role of Horror Films in the Dreadful Doll Revival

Horror movies have a big role in making dreadful dolls popular again. When you see a doll in a movie being all creepy and sneaky, it makes you jump, doesn’t it? The surprise is what makes it exciting, and that’s why people love dreadful dolls.

Why Dreadful Dolls Make for Perfect Halloween Decor

With Halloween around the corner, you probably want the most exciting decorations. So, why not dreadful dolls? They’re perfect!

The Aesthetics of Creepy Charm

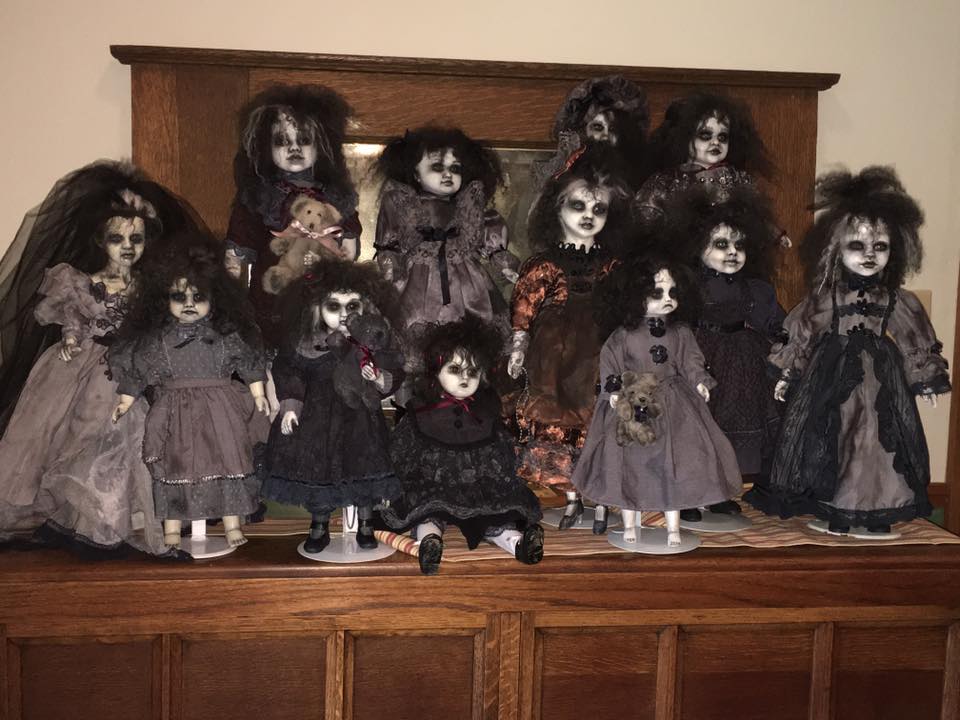
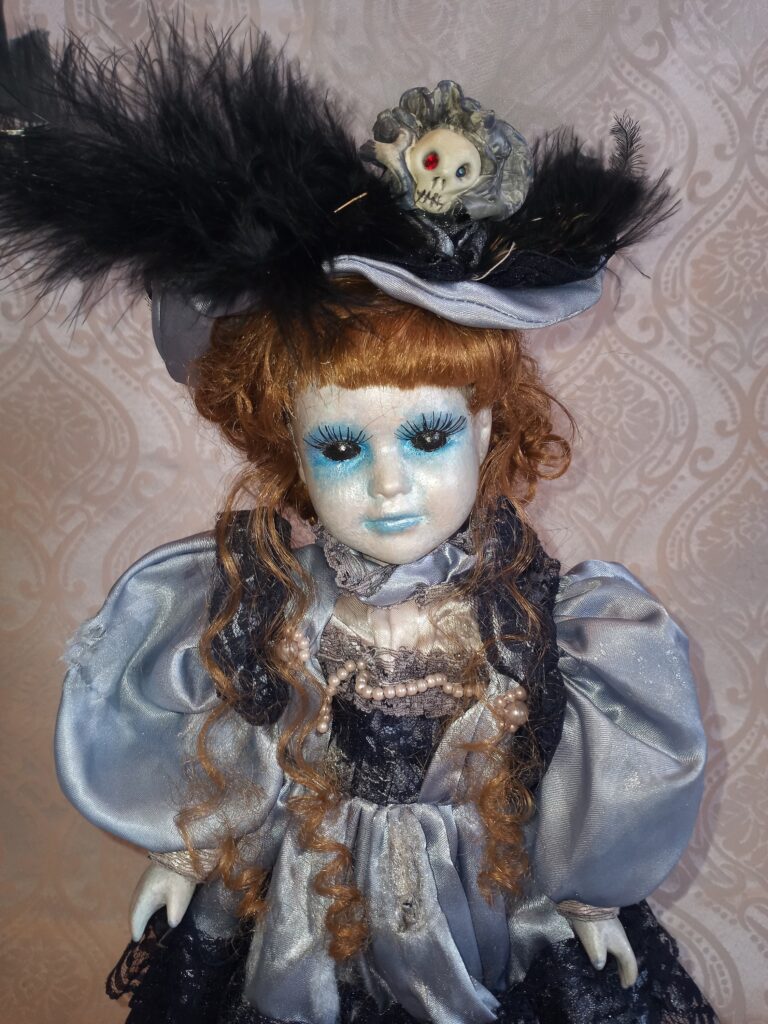
There’s something really interesting about dreadful dolls. Even though they’re spooky, they also have a strange beauty. Their old clothes, messy hair, and scary eyes make them look cool in a spooky way. It’s like they’re telling a ghost story all by themselves.

Dreadful Dolls and the Thrill of Fear

Imagine going trick or treating and seeing dreadful dolls in every house! It’s the thrill of fear that makes Halloween so much fun. Dreadful dolls aren’t just creepy; they add a fun scare to your Halloween!

The Dreadful Dolls Revival: Transformed Into Creepy Decors for The Halloween Junkie

This image is property of static.boredpanda.com.

The Upcycling Process: From Harmless to Horrors

Before you start to make your own dreadful doll, you need to understand the process of upcycling. That means changing something to make it better or different. In this case, it’s taking a sweet, innocent doll and giving it a spooky makeover. It’s a fun and easy way to make something new for Halloween.

Choosing the Right Dolls to Upcycle

To make a dreadful doll, you first need a regular doll. Remember, the doll will be changed into something scary, so choose one you don’t mind changing. Any old dolls with large eyes or long hair work great.

Materials Needed for the Transformation

Next, gather up materials to give your doll a new look. This could be white paint for a ghostly face, red for spooky eyes, and things like old clothes or strings to give the doll a worn-out look. Your just need your creativity here.

Easy Steps to Create Your Own Dreadful Doll

Making your dreadful doll is easy. Start with painting the doll’s face white for a ghostly feel. Then add red for the eyes to make them look scary. Use the old clothes or strings to give it a spooky look. There, your dreadful doll is ready!

Spookifying the Dolls: A Step-By-Step Guide

Let’s go into some more detail about how to make your dreadful doll look extra scary.

Adding a Ghostly Pallor

Painting your doll’s face white will give it a ghostly look. Be careful not to get any white paint in the doll’s eyes. You want them to stand out and look as frightful as possible.

Creating Bloodshot Eyes

You can make the doll’s eyes look scary by adding red paint to look bloodshot. Like the eyes of a vampire just woken from sleep! Don’t forget to paint the eyeballs black to create an intense stare.

Shredded Doll Clothes for a Disheveled Look

Your doll’s clothes are very important, too! You can shred the doll’s clothes to make it look like it’s seen a few too many Halloweens. Kind of like it’s been around the block during the zombie apocalypse!

The Dreadful Dolls Revival: Transformed Into Creepy Decors for The Halloween Junkie

This image is property of static.boredpanda.com.

Making the Dreadful Dolls More Gruesome

Let’s take the scare factor up a notch, shall we?

Amplifying the Creepiness with Additional Features

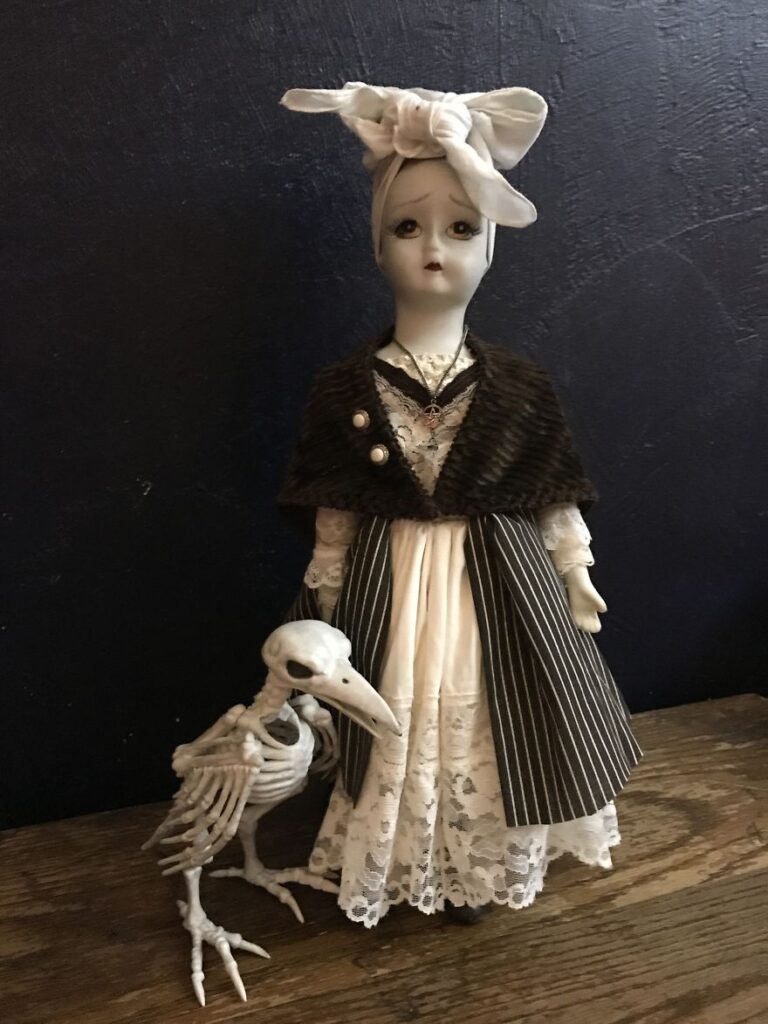
Adding fake spiders or bats or even painting on some scary tattoos can make your dreadful doll look even scarier. Just let your imagination run wild here. The goal is to make your doll as dreadful as possible.

Making Use of Disturbing Details

Small details can really make your doll look gruesome. For instance, you may use red paint to create ‘bloody’ stitches across the doll’s face or body. Even adding cobwebs can make the doll look like it has been lost and forgotten.

Experiment with Different Scary Doll Styles

The most fun part is that there’s no limit to the types of scary you can do. You can make zombie dolls, vampire dolls, ghost dolls, werewolf dolls, and so much more! Just pick your favorite monster and convert your doll into one.

Displaying Your Dreadful Dolls

Now that you have created your dreadful doll, you want to show it off. Now, don’t you?

Choosing the Perfect Spot for Maximum Impact

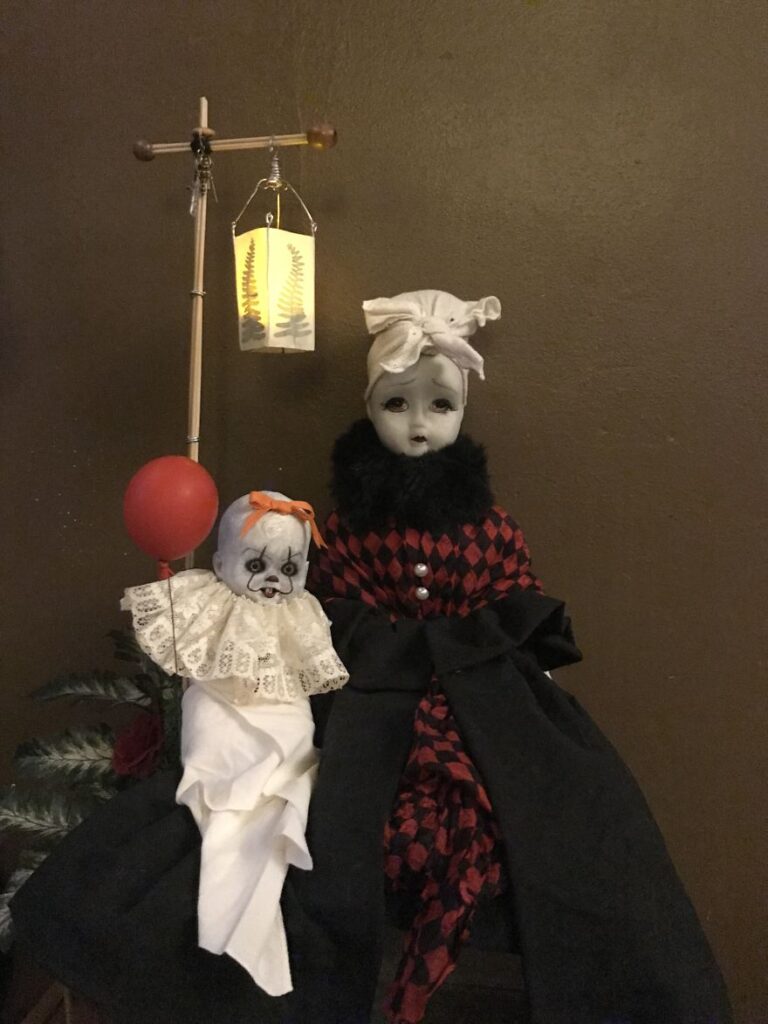
Placement matters when displaying your dreadful dolls. The first thing people see when they enter your room or home should be your dreadful doll. It’s the quickest way for your Halloween decor to make an impact.

Incorporating Other Elements of Halloween Decor

Your dreadful doll can’t be alone. Include it amongst other elements of your Halloween décor like Jack o’ Lanterns, witches’ hats, or fake spider webs. This way, it adds to the whole spooky scene at your home!

The Dreadful Dolls Revival: Transformed Into Creepy Decors for The Halloween Junkie

This image is property of 3.bp.blogspot.com.

Safety Tips When Handling Dreadful Dolls

Yes, dreadful dolls are fun! But let’s not forget safety as well.

Making Sure Your Dolls are Safe for All Ages

When Creating your dreadful dolls, remember to make sure they’re safe. Don’t use any small parts that a small child might try to swallow. And keep the dolls away from pets, too!

Storing Your Dreadful Dolls Out-of-Reach when They’re Not in Use

When Halloween is over, put your dreadful dolls somewhere safe. You don’t want your little brother or sister getting spooked by mistake!

Influence of Social Media on the Dreadful Dolls Trend

Social media helps make dreadful dolls even more popular.

Popular Dreadful Dolls Hashtags

People love sharing their creepy creations on social platforms using hashtags like #DreadfulDolls or #SpookyDIY. You can share your dolls too and see what others are making.

Influencers Who Advocate for Dreadful Dolls

Some social media influencers encourage others to join the dreadful dolls trend. They show how much fun making and displaying the dolls can be!

The Dreadful Dolls Revival: Transformed Into Creepy Decors for The Halloween Junkie

This image is property of www.jsonline.com.

The Challenges and Rewards of Upcycling Old Dolls into Creepy Decor Pieces

Turning a sweet doll into a dreadful doll can be both challenging and rewarding.

Overcoming the Perception of Dolls as Innocent Playthings

Most people see dolls as harmless and innocent. Making a scary doll can seem strange at first, but once you get the hang of it, it’s really fun!

The Excitement of Releasing Your Inner Frankenstein

Creating your dreadful doll is like being a mad scientist. It’s thrilling to take something innocent and turn it into something spooky and dreadful.

The Sustainability Aspect of Upcycling Old Dolls

Upcycling is also a great way to reuse old dolls and reduce waste. You’re doing something fun and good for the Earth as well!

The Halloween Junkie Take

Are you a Halloween Junkie? Then dreadful dolls are just for you!

The Joy of Being a Halloween Enthusiast

Being a Halloween Junkie is all about embracing the spookiness and thrill of the season. You’re not just dressing up in costumes, but your house too, and your dreadful dolls can be the star of the show!

Embracing the Dreadful Dolls Trend

The dreadful doll trend is a ton of fun to be a part of. You get to show your creativity, spook your friends, and have a blast while doing it.

The Ultimate Halloween Decor for the Fearless Junkie

Dreadful dolls could be the cherry on top of your Halloween decoration. Go ahead and create some dreadful dolls for this Halloween. You’ll be the talk of the town!

The Dreadful Dolls Revival: Transformed Into Creepy Decors for The Halloween Junkie

This image is property of i.etsystatic.com.

The Dreadful Dolls Revival: Transformed Into Creepy Decors for The Halloween Junkie Read More »