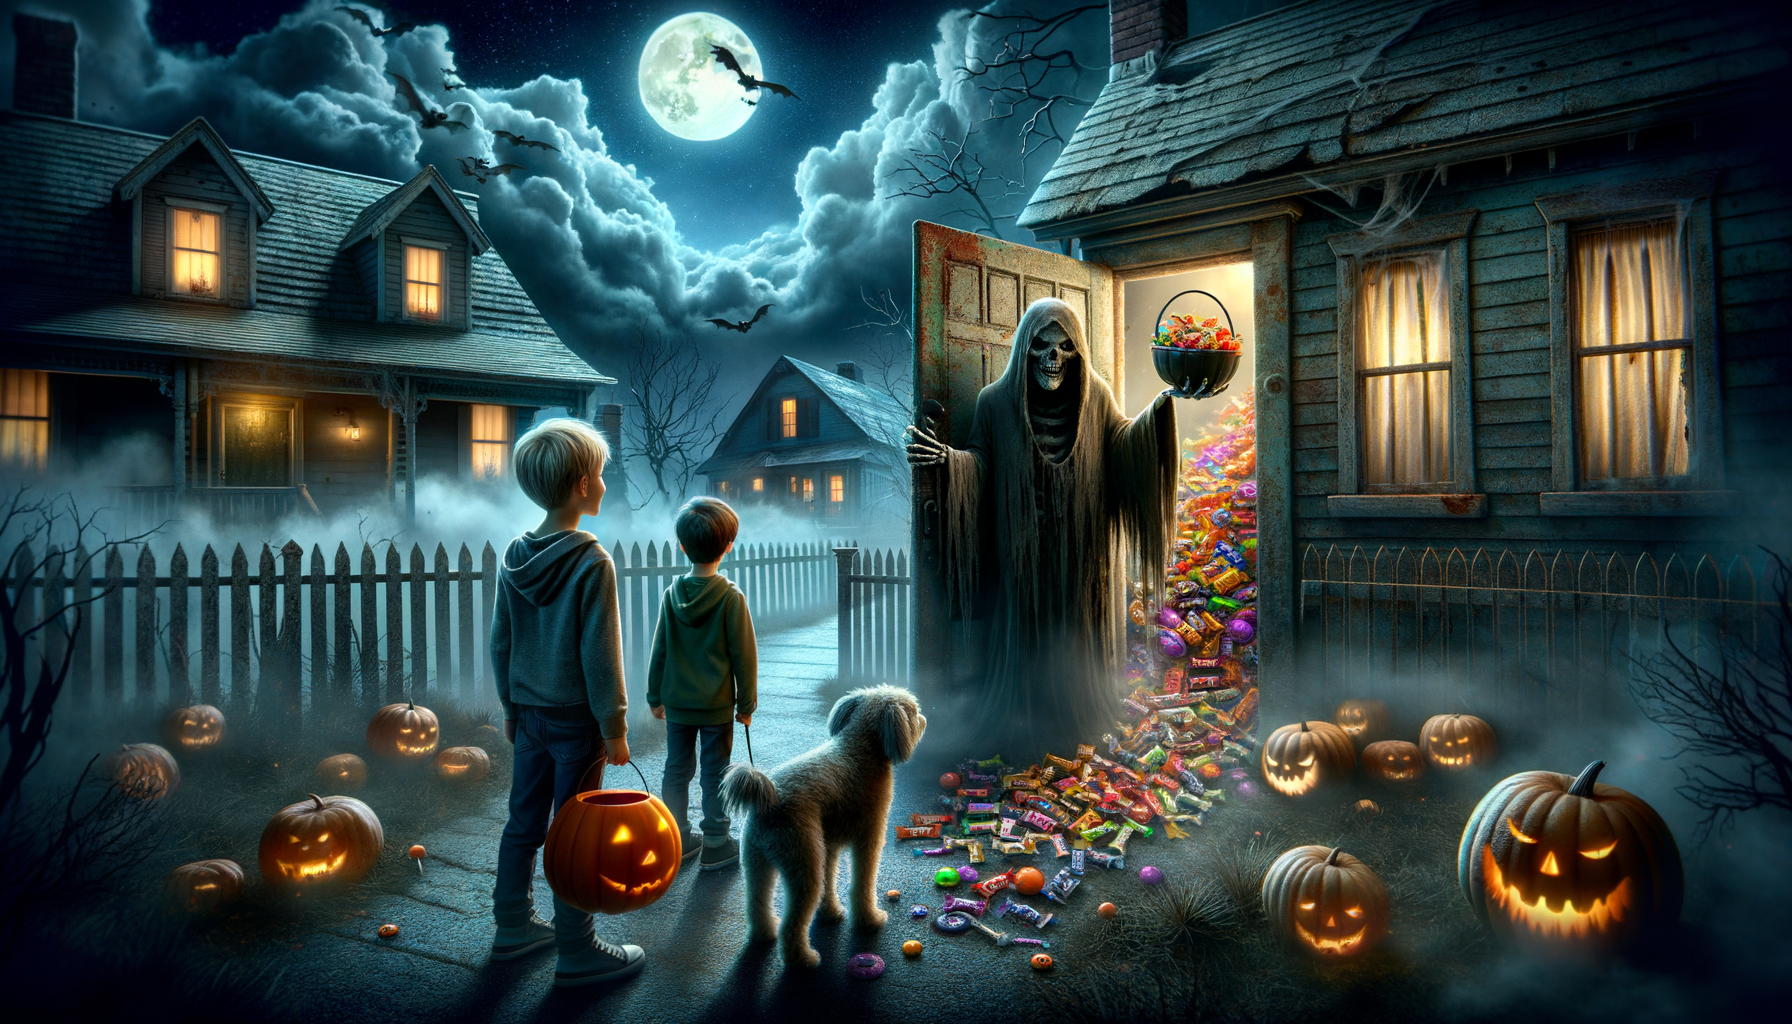
It was Halloween night and the spooky town of Sleepy Hollow was exceptionally eerie. The moon was hidden behind charcoal clouds, and all was as silent as a pumpkin patch at midnight. Danny and his loyal dog, Spook were out trick or treating.
Suddenly, a grimy goblin popped out of nowhere. They were startled and Spook started growling. The goblin stood in front of a haunted house at the end of the street, pointing at it ominously. Danny decided to be brave – Halloween candy awaited him inside!
Danny and Spook, tentatively, explored the house. Cobwebs dusted their faces and unseen eyes watched from the darkness. They reached a rusting door, Spook barked anxiously, but Danny, enticed by the promise of untold treasures, pushed it open.
A ghastly ghost arrived, extending a tray heaped with the town’s best Halloween candy. Danny and Spook dashed out, hearts pounding. But on reaching home, they found the candy bag empty. The ghostly laughter echoed down the empty street to Danny and Spook’s disappointment.
But glancing at each other and then at the spilled sweets in their front yard, they realised the ‘ghastly’ ghost had tricked them into a treat. Wasn’t Halloween all about tricks and treats after all?
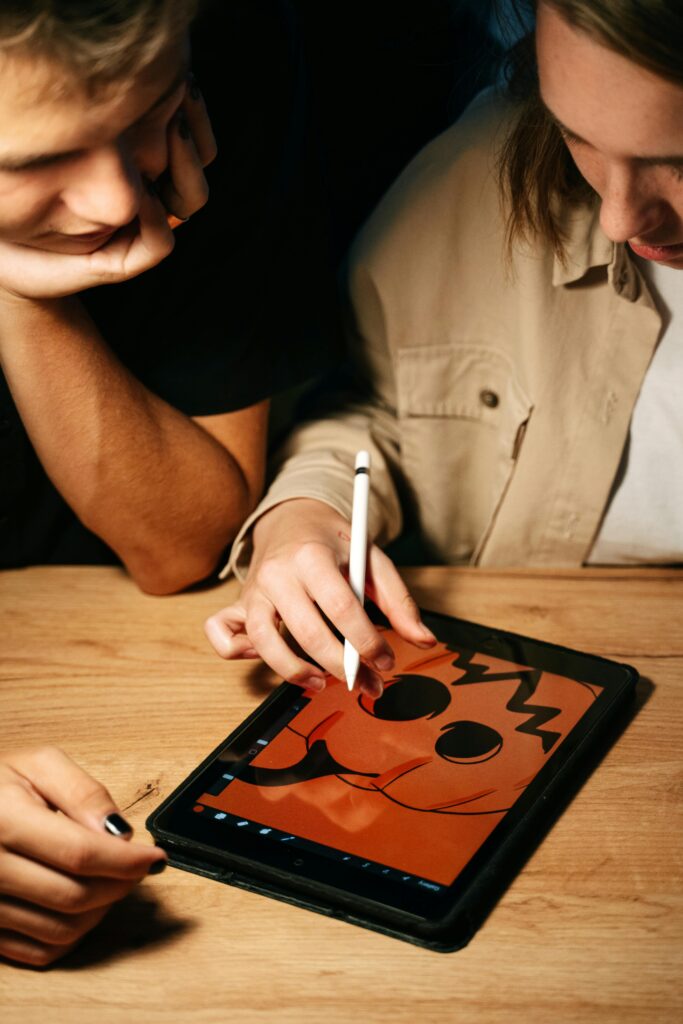
Today, we’re going to talk about something really fun: making your own Halloween masks! Imagine being able to become anyone or anything you want, just by creating a mask with your own two hands. You can turn into a spooky ghost, a fierce lion, or even your favorite superhero. It’s all about using your imagination and some crafty skills to make this Halloween extra special. Let’s discover how you can make expressive DIY Halloween masks and have a blast doing it.
This image is property of images.unsplash.com.
Essentials for Crafting DIY Halloween Masks
When Halloween comes around, making your own mask can be a super fun project! Let’s start by figuring out what you need to make a really cool mask.
Gathering your materials
First, you need to gather your materials. This means finding things around your house like paper, old newspapers, scissors, glue, and maybe some paint. If you want to make something really special, you might also look for things like glitter, feathers, or even some old fabric!
Choosing the right adhesives
Adhesives are just a fancy word for glue or something sticky to hold your mask together. Not all glues are the same. For paper masks, a simple glue stick or some white glue (like school glue) is perfect. If you’re working with fabric or foam, you might need something stronger like hot glue. But always ask an adult to help when using hot glue because it can be very hot and burn you.
Types of paints and brushes
Painting your mask is where you bring it to life! Water-based paints are great for kids. They’re easy to clean up if you get them on your hands. You’ll also need some brushes. Have big ones for covering large areas and small ones for adding little details. Sometimes it’s fun to use your fingers, too, but make sure it’s okay with your grown-up first.
Sourcing eco-friendly materials
It’s also really cool to think about our planet while making your mask. Try to use things that can be recycled or that are already used. Old newspapers, boxes, or fabric scraps are perfect. This way, you’re not only making something awesome but you’re also helping the Earth!
Planning Your Mask Design
Before jumping into making your mask, it’s a good idea to have a plan. This will help make your mask-making adventure more fun and less messy!
Inspiration sources
Think about what you love! It could be your favorite animal, a character from a book or movie, or even something spooky for Halloween. You can also look at pictures online (with a grown-up’s help) or in books to get ideas.
Sketching your design idea
Once you have an idea, try to draw it on paper. It doesn’t have to be perfect. This is just to help you remember your great mask idea when you start making it.
Selecting a theme
Your theme could be anything from jungles filled with animals to outer space with aliens and astronauts. Choose something that really excites you because it’ll make creating your mask even more fun.
Color scheme considerations
Think about what colors you want your mask to be. If you’re a bat, you might choose black or dark purple. If you’re a pumpkin, you might pick orange and green. Colors can really help turn your mask into whatever you imagine.
Paper Mache Masks
Paper mache is a mixture of water, flour, and paper strips that you can mold into shapes. It’s like magic!
Creating the base with balloons and newspapers
First, blow up a balloon to the size you want your mask to be. Then, tear some newspaper into strips. Dip the strips into the paper mache mixture and lay them over the balloon. This is your mask’s base!
Applying paper mache layers
After the first layer dries, add a few more layers, letting each one dry before adding the next. This makes your mask strong and ready for decorating.
Smooth finishing techniques
Once your mask is dry, you can make the surface smooth by adding a layer of tissue paper or even using a bit of sandpaper very gently (ask for help from an adult).
Decorating your paper mache mask
Now comes the fun part – decorating! Use paint, markers, glitter, or anything else you like to bring your mask to life.
Foam Masks
Foam is another cool material you can use for masks. It’s light and easy to cut into different shapes.
Types of foam to use
Craft foam sheets are the best. They come in all sorts of colors and are easy to cut with scissors.
Cutting and shaping foam
Draw your mask shape on the foam sheet and carefully cut it out. You can cut out other shapes to glue on as features like ears or noses.
Adding texture and details
You can add texture by pressing different objects into the foam or by cutting small shapes and layering them to make your mask look more interesting.
Painting and finishing touches
Some foam can be painted, and some cannot, so test a small piece first. Then, add any final touches like feathers, sequins, or whatever else makes your mask special.
This image is property of images.unsplash.com.
Fabric Masks
Fabric masks can look really amazing and are great for more detailed designs.
Choosing fabrics
Look for fabric scraps around your house. Old clothes that nobody wears anymore are perfect. You want fabrics that are easy to cut and sew.
Pattern making for masks
Draw your mask shape on paper to create a pattern. Then, use this pattern to cut your fabric to the right shape.
Sewing tips and techniques
If you’re new to sewing, don’t worry. Simple stitches can go a long way. You can even use fabric glue if sewing isn’t an option.
Adding embellishments
Ribbons, lace, and buttons can add really cool details to your fabric mask. Glue or sew them on to make your mask unique.
Eco-Friendly Masks
Making masks that are kind to the environment is something to be proud of.
Using recyclable materials
Use materials that can be recycled or that you’re reusing. Cardboard, paper, and fabric scraps are all great choices.
Biodegradable options
If you’re using new materials, try to find ones that are biodegradable, like paper and natural fabrics.
Natural dyes and paints
Did you know you can make paint from things like berries or vegetables? It’s a fun experiment to try and also great for the Earth.
Upcycling old costumes
Take a look at old costumes or clothing. You can cut them up and turn them into something completely new for your mask.
This image is property of images.unsplash.com.
LED and Glow-in-the-Dark Masks
If you want your mask to light up or glow in the dark, there are cool ways to do that safely.
Incorporating LED lights
You can buy LED lights that are safe for crafts. They’re not too hot and can be sewn or glued onto your mask. Just make sure to ask for help if you need it.
Safety considerations
Always make sure that any lights you use are safe and won’t get too hot. And make sure wires or batteries are covered so they won’t poke you.
Power sources for your lights
Many LED lights for crafts run on small batteries. Make sure the battery pack is placed where it won’t bother you, like at the back of the mask.
Glow-in-the-dark painting techniques
Glow-in-the-dark paint can be used on many materials. Apply it over your mask’s paint (it might need a few coats). Just remember it needs to be “charged” in light before it will glow in the dark.
3D Printed Masks
If you’re lucky enough to have access to a 3D printer, you can make some amazing masks.
Designing for 3D printing
You or an adult can use a computer to design the mask. There are also lots of designs online that you can use.
Material selection
3D printers use special materials called filaments. For masks, a flexible filament is a good choice so it’s comfortable to wear.
Post-processing and finishing
After the mask is printed, you might need to sand it to make it smooth. Then, you can paint it just like any other mask.
Combining 3D printing with traditional materials
You can add traditional materials to your 3D printed mask. Glue on feathers, fabric, or even LED lights to make your mask super special.
Mask Attachment and Comfort
Making sure your mask is comfy and stays on is really important.
Elastic bands vs. ribbons
Elastic bands can stretch to fit your head, making them super comfy. Ribbons can be tied to fit but might need to be adjusted now and then.
Padding for comfort
If your mask is a bit uncomfortable, you can glue some soft fabric or foam inside where it touches your face.
Adjustable designs for different sizes
Think about making your mask so it can fit different-sized heads. This way, it can be more comfortable and even shared with friends.
Ensuring breathability
Don’t forget to make sure you can breathe easily while wearing your mask. Make sure there are holes for your nose and mouth, but place them where they fit with your design.
Safety Tips for DIY Masks
Safety is super important when making and wearing your mask.
Allergenic materials to avoid
Some materials might make you itch or even allergic. Always use materials that are safe for you. If you’re not sure, ask an adult for help.
Maintaining visibility
Make sure you can see clearly while wearing your mask. Don’t put anything over the eye holes that will block your sight.
Breathing safety
Besides having holes for your nose and mouth, make sure the mask isn’t too tight so you can breathe easily.
Fire safety for LED and electronic components
If your mask has lights or electronics, always use battery-powered ones that are safe for costumes. And never go near open flames.
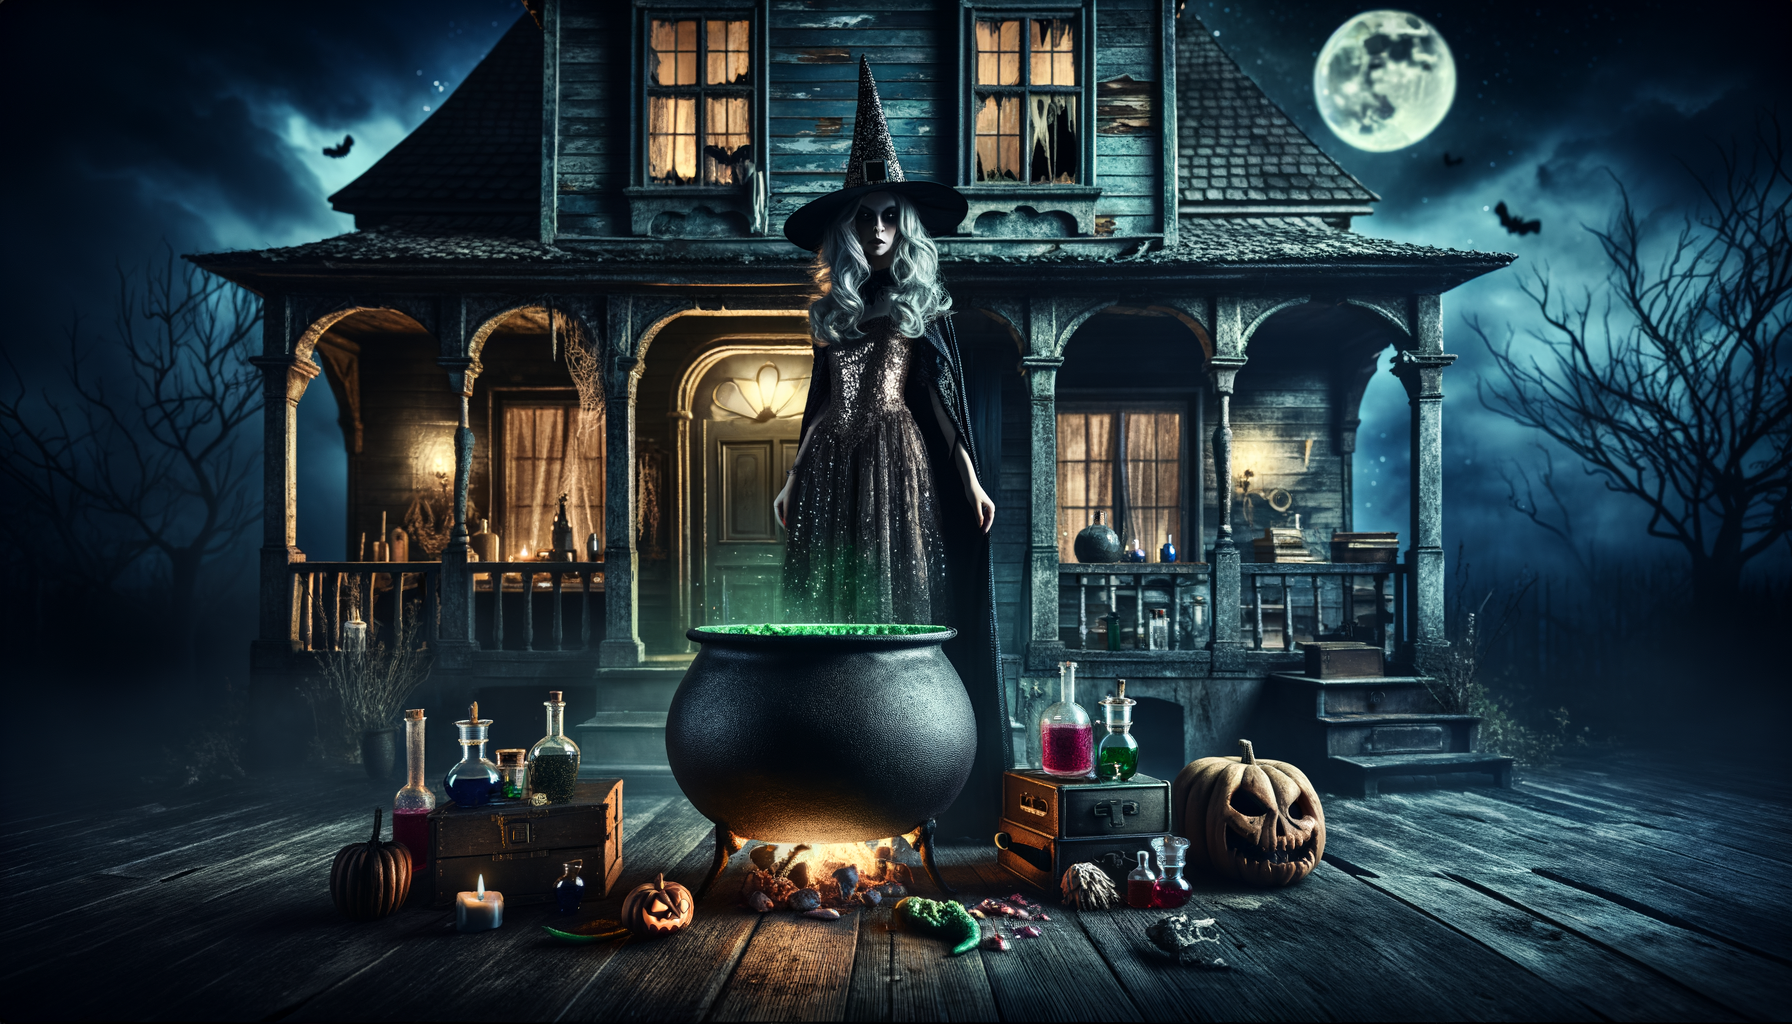
Once upon a chilling Halloween night, there lived a widely feared witch, Agatha. She was notorious for her spellbinding potions and her eerie cackles that could be heard echoing through her dilapidated mansion.
The night was filled with horrifying displays as mortals meandered about in hair-raising costumes. Agatha, however, remained secluded in her dimly lit quarters, brewing her notorious Halloween potion.
As the cauldron bubbled menacingly, she threw in a piece of dragon scale, a glob of giant slug slime, and the heart of a vampire bat. The potion sizzled and hissed, a sure sign it was ready.
She took a sip, awaiting the surge of energy; instead, she felt rather peculiar. She looked in her magic mirror and to her surprise, saw a stunning young lady on the brink of her prime.
With a gasp, she realized the dragon scale was fake! A mortal had tricked her with a sales pitch about weight loss and anti-aging benefits. Now, she was stuck looking… normal! Even her cackle had changed to a melodious laugh!
And so it turned out, the dreadful witch discovered vanity and immersed herself in being the best version of herself. She turned out to be quite likable, giving Halloween a whole new meaning in her town. The irony of it all — Agatha was bewitched!
Imagine you could make your very own Halloween cards to give to your friends and family. How fun would that be? You can create spooky or funny cards all by yourself using some simple things you might already have at home. In this article, you’ll learn how to make DIY Halloween Greeting Cards. From choosing the perfect spooky decorations to adding your own special message inside, every step will be exciting. Get ready to make this Halloween extra special with your handmade cards!
Choosing the Right Materials
When you want to make a Halloween card, picking the right stuff to use is like picking the best candy from a candy bowl. Let’s find out what makes your card super special!
Types of paper to use
You can choose from many different types of paper. Some are thin like leaves and others are thick like a book cover. Think about using colorful paper or even paper that looks old for a spooky touch!
Selecting eco-friendly options
It’s nice to take care of our planet, even when we’re making fun cards. You can find paper and decorations that are good for the Earth. Look for things that say they can be recycled or are made from recycled stuff.
Inks and coloring materials
Using lots of colors makes your card pop! You can use markers, crayons, or even paint. Some inks are made to be safe for the Earth, so look out for those too.
Decorative elements: Ribbons, stickers, and glitter
This is where your card gets really fun. You can stick on ribbons, stickers, and even sprinkle some glitter to make your card shine. Just remember, if you want to be friendly to the Earth, look for glitter that’s safe for the planet.
Basic Tools Required
To make your card, you need some tools. Don’t worry, they’re easy to use!
Scissors and cutting tools
Scissors help you cut paper into cool shapes. Always ask an adult for help if cutting gets tricky!
Glue and adhesive options
Glue sticks your decorations on your card. There are lots of types of glue, but a simple stick glue is great for starting.
Measuring tools for precision
Sometimes you want your decorations to be just right. Using a ruler helps you make straight lines and measure where to cut or glue.
Stamps and stencils for easy patterns
Stamps and stencils are super helpers. They let you make neat designs without having to draw them all by yourself.
This image is property of images.pexels.com.
Design Inspiration and Themes
When making your card, think about what makes Halloween fun for you. Here are some ideas to get your creativity bubbling like a witch’s cauldron!
Classic Halloween symbols: Pumpkins, ghosts, and witches
These are the stars of Halloween! Drawing a smiling pumpkin, a friendly ghost, or a silly witch can make anyone smile.
Horror movie themes
If you’re making a card for someone who loves a little scare, why not try a theme from a spooky movie? Just keep it light and fun.
Elegant Gothic designs
Sometimes, a bit of mystery is what you’re after. Dark colors and fancy patterns make your card look like it came from a haunted mansion.
Kid-friendly cute Halloween ideas
Halloween doesn’t have to be scary. Cute cats, happy bats, and smiling pumpkins are perfect for a kid-friendly card.
Card Layout and Structure
Now, let’s figure out how your card will look and open. It’s like planning a secret pathway in a haunted house!
Traditional fold vs. postcard style
You can make a card that opens up or one that’s just a single page. Both are great! It just depends on how much you want to decorate and write.
Creating pop-up elements
Imagine opening a card and a ghost pops up! You can make parts of your card stand up for a fun surprise.
Innovative shapes and cut-outs
Your card doesn’t have to be just square or rectangle. You can cut it into the shape of a bat, a cat, or even a witch’s hat!
Layering techniques for depth
Putting one piece of paper on top of another makes your card look deep, like looking into a forest. It’s a neat trick to make things pop out.
This image is property of images.pexels.com.
Creating the Front Cover
The front of your card is what everyone sees first. Let’s make it super exciting!
Drawing and painting tutorials
You can find simple tutorials to draw anything Halloween-themed. Don’t worry if it’s not perfect. It’s the fun that counts!
Using printables and templates
If drawing isn’t your thing, you can find pictures online to print and stick on your card. There are lots of cool designs out there!
Collage techniques for a unique look
Cutting out pictures from magazines or using different papers to make a picture is called a collage. It’s a fun way to make a one-of-a-kind card.
Incorporating text and calligraphy
Writing “Happy Halloween” in a spooky or fancy way makes your card feel special. You can practice making cool letters that look like they came from a fairy tale.
Inside the Card
The inside of the card is where you put your Halloween message. Let’s make it heartwarming with a pinch of Halloween magic.
Crafting a heartfelt Halloween message
Think about what you love about Halloween and share it with the person you’re giving the card to. A simple “Hope your Halloween is fun and spooky!” is a sweet start.
Interactive elements: Pockets, windows, and pull-tabs
Imagine opening a window on the card to see a cute message or pulling a tab to make a witch fly across the card. These surprises make your card extra fun.
Embellishing with stickers and stamps
Adding a sticker or a stamp is like putting the cherry on top. It’s the finishing touch that makes your card complete.
Adding photo slots for personalized messages
You can make a little pocket to put a photo inside. It’s like giving a piece of a fun memory with your card.
This image is property of images.pexels.com.
Envelopes and Packaging
Putting your card in an envelope is like wrapping a present. Let’s make it look as cool as your card!
DIY envelope tutorials
You can make your own envelope with paper. Decorate it to match your card for that extra wow factor.
Decorating envelopes to match card themes
Drawing spiders, bats, or using stickers can make your envelope stand out. It’s like the envelope is part of the Halloween fun too.
Sealing options: Wax seals and stickers
Sealing your envelope with a sticker or even a wax seal makes it feel like you’re getting a letter from a castle. It’s a cool old-timey touch.
Creating custom labels and tags
Making a label with the person’s name in spooky lettering adds a personal touch. It shows you care and adds to the Halloween spirit.
Eco-Friendly Alternatives
Halloween is fun, but let’s also think about our planet. Here are some ways to keep your card-making green.
Using recycled materials
Look for paper and decorations that have been used before or can be used again. It’s like giving old things a new life for Halloween.
Biodegradable decoration options
Some decorations can go back to the Earth without hurting it. These are great choices for keeping your card Earth-friendly.
Digital Halloween greeting cards
Sending a card through the computer doesn’t use paper at all. You can make it super creative with animations and colors!
Crafting with natural materials
Leaves, twigs, and even petals can make beautiful decorations. Plus, they remind us of the beauty of fall and Halloween.
Tips for Mass Production
If you want to make cards for a lot of people, here are some tricks to make it easier.
Organizing a card-making station
Set up a little area with all your materials ready. It’s like having a mini-factory right in your home.
Batch processing steps for efficiency
Doing the same step on all cards before moving to the next step saves time. It’s like being on a Halloween card assembly line!
Storage and organization of finished cards
Keeping your cards safe and sorted makes sure they’re ready to go when Halloween comes. It’s like storing up treats for the big night.
Time-saving tricks and hacks
Finding little shortcuts, like using pre-made decorations or templates, can help a lot. It’s like having a magic wand for card-making!
Sharing and Displaying Cards
Once your cards are done, it’s time to share the Halloween joy!
Creative ways to display cards at home
You can hang them up like decorations or make a special spot to show all the cards you’ve made or received. It’s like turning your home into a mini-Halloween gallery.
Sharing on social media: Tips and etiquette
Taking a picture of your card and sharing it online is a great way to spread the Halloween spirit. Just make sure you’re okay with everyone seeing your creation.
Gifting guidelines: Hand-delivery vs. mailing
If you can, giving your card in person adds a personal touch. If they’re far away, mailing your card with a nice note is like sending a hug through the mail.
Repurposing cards as decorations
After Halloween, you can keep your cards as decorations for next year. It’s like having memories of Halloween fun to look forward to.
Making your own Halloween greeting cards is a fun project that lets you be creative and share the Halloween spirit with friends and family. Whether you’re drawing spooky ghosts or creating elegant gothic designs, your cards are sure to bring smiles and a touch of magic to everyone’s Halloween. Remember, it’s not just about the card itself but the care and thought you put into it. So grab your materials, and let’s start crafting some Halloween cheer!
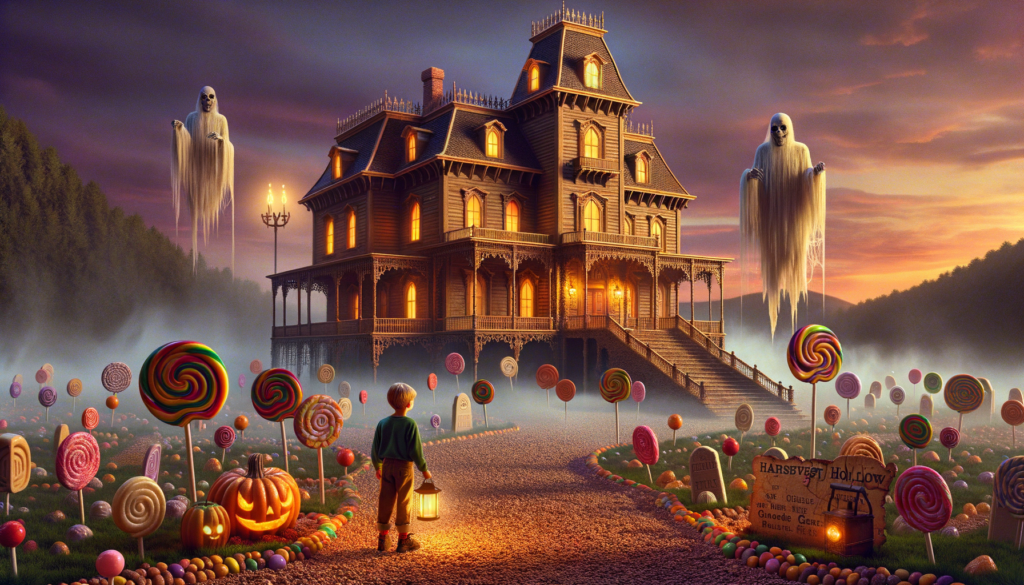
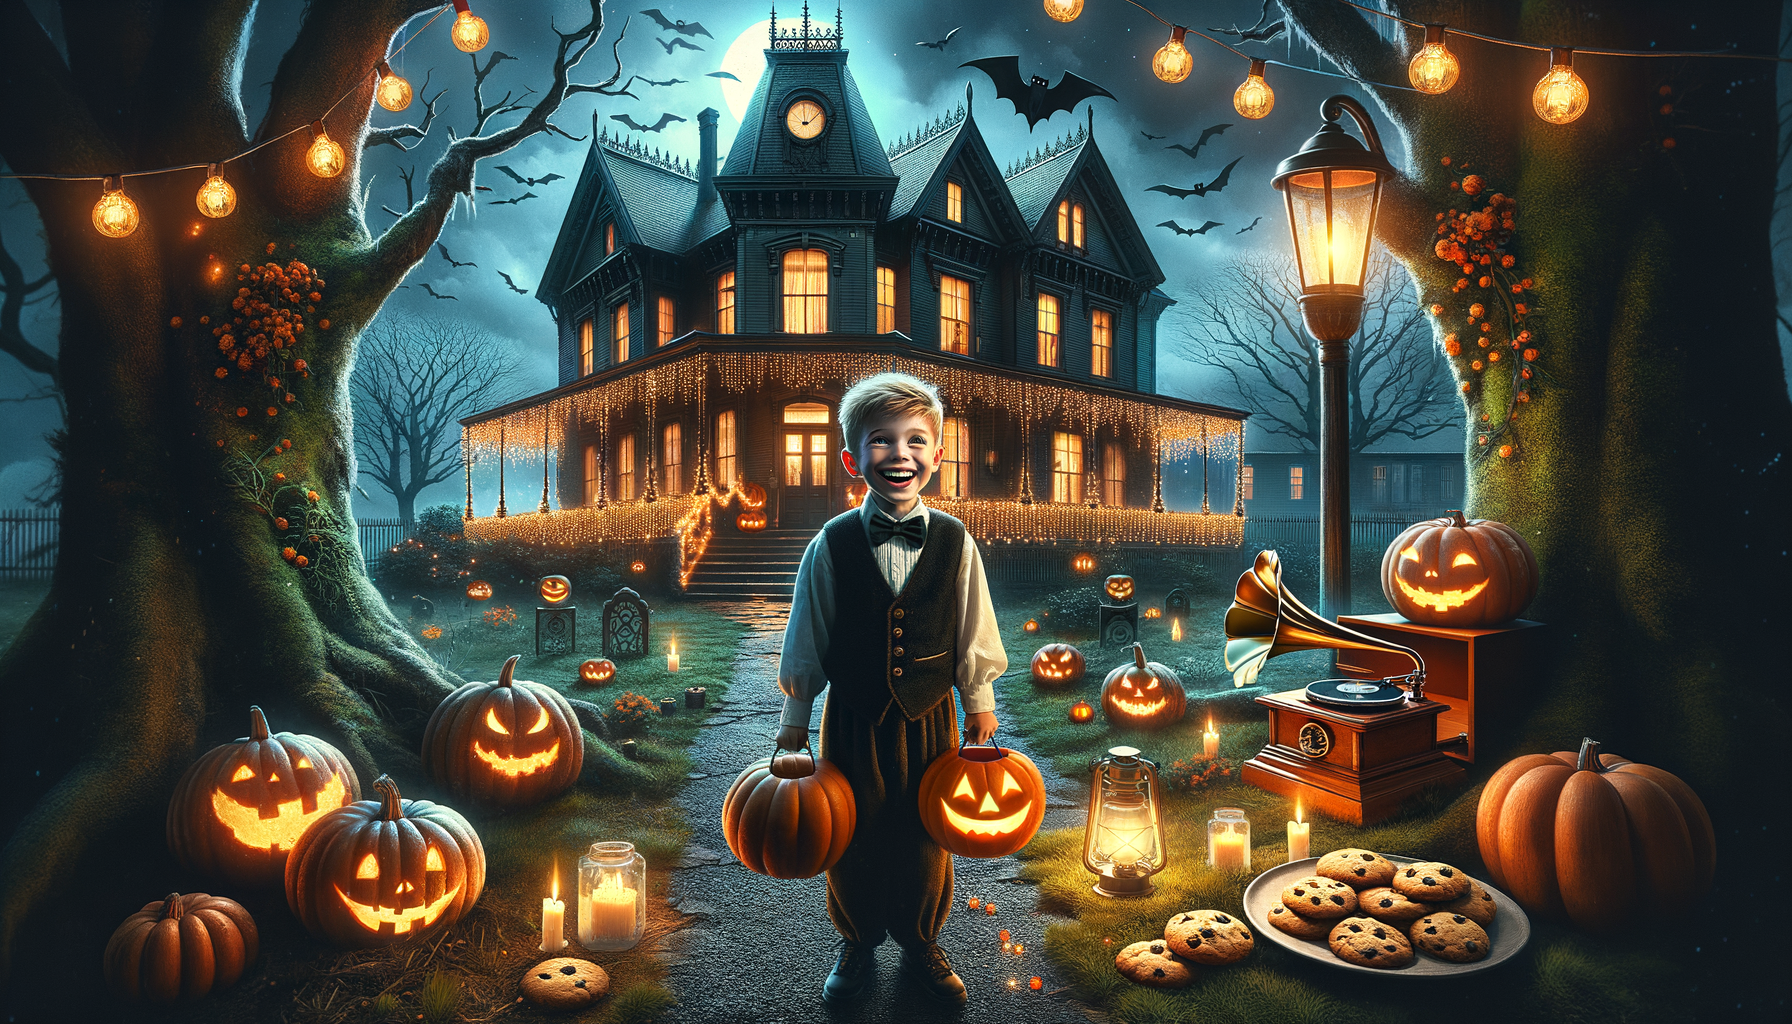
Once upon a time, in the cozy town of Harvest Hollow, there was an old decrepit mansion nicknamed “The Gripper”. Its glaring face would tower over the town every Halloween, looking as indulgent as a kid with a king-size candy bar. The legend was, way before the rise of the smartphone era, a spirited old man known as Hambone vanished without a trace in The Gripper. Amateur ghostbusters in town whispered that Hambone wandered the mansion, lost in its eerie eternity.
Every generation, a daring teenager would summon enough courage to enter The Gripper before midnight of Halloween. Stories of twisting passageways and blood-curdling cries would ensue the next day as they bragged about their adventure. Poor Hambone, the town would sigh, still unable to leave his old haunt.
One year, a paperboy named Billy took the challenge. However, to the towns surprise, instead of the usual sinister tale, Billy emerged with a toothy grin and an old dusty map. Almost shivering with conspiracy, Billy revealed the truth about Hambone’s seeming ‘disappearance’; the old mansion held a secret candy factory! “Hambone was not trapped, he was just busy making Halloween candy all these years!”
And that, ladies and gentlemen, is how Harvest Hollow became the richest candy town in the country, with sweet swirls of lollypop trees to chewy chocolate pebble paths. And as for Hambone, he stands to this day, in his mysterious mansion, creating delicious Halloween delight year after year while reveling in the sweetest trick – that of being forever missed, but never really gone.
Imagine transforming your porch into a spooky yet inviting space where every trick-or-treater would love to visit! This article is all about creating magical Halloween crafts that you can make yourself to decorate your porch. From friendly ghosts to smiling pumpkins, you’ll learn how to make decorations that will make your home the talk of the neighborhood. Get ready to craft your way into the most memorable Halloween ever!
This image is property of images.pexels.com.
Spooky Halloween Lanterns
Materials needed for DIY lanterns
To make your own spooky Halloween lanterns, you’re going to need a few things. First, you’ll need some jars – they can be any size, just whatever you have around the house is perfect. Then, you’ll need paint (black, orange, and white work well), paintbrushes, and some battery-operated candles or small flashlights. If you like, you can also grab some Halloween-themed stickers or stencils to make your lanterns extra spooky.
Step-by-step instructions for creating lanterns
First, make sure your jars are clean and dry. Then, you can paint your jars in Halloween colors. Orange is great for a pumpkin look, black for a witchy vibe, and white if you want to make a ghost lantern. If you’re using stickers or stencils, stick them on your jars before or after painting, depending on the look you’re going for. Once everything’s dry, pop a battery-operated candle or a flashlight inside the jar. Ta-da! You’ve made a spooky lantern.
Variations for different skill levels
If you’re a little one, painting the jars in one solid color and sticking on some Halloween stickers can be a really fun and easy project. For those who are a bit older and want to try something more challenging, using stencils to paint designs like spider webs, bats, or ghosts on the jars can be a neat idea.
Ideas for displaying lanterns on your porch
You can line up your spooky lanterns along your porch stairs or place them on tables. Hanging them from small hooks is also a really fun way to create a floating lantern effect. If you made a bunch, you could even create a pathway leading to your front door for trick-or-treaters to follow.
Creepy Crawly Spider Web Decor
Materials for homemade spider webs
For spider webs that look real and creepy, you’ll need some white yarn or cotton batting. Cotton batting stretches really well, which makes it perfect for making your web look spooky. You’ll also need some tape or pins to secure your web in place.
Instructions for weaving your web
Start by cutting lengths of yarn or pulling apart pieces of cotton batting. Then, choose a starting point like a corner of your porch. Stretch the yarn across to another point and secure it with tape or a pin. Keep crisscrossing and connecting your lines of yarn to make it look like a spider web. Remember, spider webs are not perfect so your web shouldn’t be either.
Adding realistic spiders to enhance the creepy effect
You can buy some plastic spiders or even make your own out of black pipe cleaners. If you’re making them, twist the pipe cleaners into a spider shape with eight legs. Then, tuck them into your web. Adding a big spider in the center can make it look like the boss of the web.
Tips for placement and securing webs outdoors
Place webs in areas where they can stretch between two points, like between the porch railing and the wall, or between two pillars. Use clear tape or pins that won’t damage your home’s exterior to secure the ends of your web.
Haunted House Silhouettes
Choosing the right materials for silhouette cut-outs
For the haunted house silhouettes, you’ll want to use black poster board or thick black paper. It’s sturdy enough to stand up against some light outside but still easy to cut through.
Creating and cutting out haunted house designs
You can draw your haunted houses, bats, witches, or any scary design right on the black paper. If you’re not comfortable drawing freehand, you can always trace a design. Then, carefully cut out your designs with scissors. If you’re little, you might need an adult to help with this part.
Backlighting for an eerie glow effect
Once your silhouettes are ready, you can place them in your windows and use a lamp or flashlight behind them to create a spooky glow. This makes your haunted house look like it’s alive!
Ideas for arranging your haunted house scene
You can create an entire scene on your porch or in your windows. You could have a haunted house with bats flying around it and a witch flying in the sky. You can stick your cut-outs on the windows or hang them up with a little bit of string.
DIY Witch’s Cauldron
Gathering materials for your cauldron
You’ll need a large pot or bucket to act as your cauldron. Black plastic pots work really well for this. You’ll also want some green tissue paper or green fabric, and a flashlight or a battery-operated light.
Steps to create a witch’s brew effect
Place your green tissue paper or fabric inside the cauldron to look like a magical liquid. Then, put your flashlight or battery-operated light inside to light it up from within. This will make your cauldron look like it’s bubbling with a witch’s brew.
Adding fog or lights for extra spookiness
To make your cauldron even spookier, you can add some fake fog. If you don’t have a fog machine, placing some dry ice in water inside the cauldron can create a foggy effect. Remember, if you’re using dry ice, you need an adult to handle it because it can be very cold.
Safety tips for using electronic components
Always make sure that any lights you use are safe for outdoor use, especially if they might be near water or moisture. Battery-operated lights are usually the safest. And, if you’re using dry ice, ask an adult to help because it can be dangerous to touch.
This image is property of images.pexels.com.
Pumpkin Patch Corner
Selecting pumpkins of various sizes and shapes
When you’re picking out pumpkins for your porch, try to get a variety of sizes and shapes. Having different kinds makes your pumpkin patch look more interesting and fun.
Ideas for decorating pumpkins without carving
You can decorate your pumpkins by painting them, using stickers, or even just drawing on them with markers. You can turn them into cats, witches, or even write messages like “Happy Halloween!”
Incorporating fall flowers and leaves
To make your pumpkin patch even more special, you can add some fall flowers and leaves around your pumpkins. This makes it look like your pumpkins are sitting in a real patch.
Setting up a mini-pumpkin patch on the porch
Arrange your pumpkins in a corner of your porch. You can use hay or straw to set them on to make it look more like a patch. Then, scatter your fall flowers and leaves around to complete the scene.
Ghostly Hanging Ornaments
Materials for making ghost ornaments
To make these fun ghosts, you need white fabric or tissues, string, and markers. You can also use small balls or crumpled paper to give your ghosts a head.
Creating different ghost expressions
Use markers to draw faces on your ghosts. You can make them scary, surprised, or even silly. It’s fun to see how many different expressions you can create.
Ideas for hanging and securing the ghosts
You can hang your ghosts from trees, the porch ceiling, or even the door handle. Use string to tie them up. If it’s breezy, your ghosts will flutter and look like they’re flying.
Using lighting to create shadow effects
Positioning a light underneath or behind your ghosts can create spooky shadows. This makes them even more ghostly, especially when the light moves and makes the shadows dance.
This image is property of images.pexels.com.
Frightening Front Door Wreaths
Choosing a theme for your Halloween wreath
First, decide what kind of spooky theme you want for your wreath. It could be ghosts, spiders, witches, or anything that feels Halloweeny to you.
Materials needed for a DIY wreath
You’ll need a wreath base, which can be made from vine, straw, or foam. Then, collect decorations that match your theme – like fake spiders, small skeletons, or artificial black roses.
Step-by-step construction of your wreath
Wrap your wreath base with ribbon or strips of fabric. Then, start attaching your decorations. You can glue them, tie them, or even tuck them into the wreath base if it’s made of vines or straw. Keep adding decorations until your wreath feels just spooky enough.
Adding finishing touches for a professional look
Add a big bow, some Halloween lights, or even a fake crow for an extra touch of spookiness. Remember, you can never be too spooky for Halloween.
Eerie Outdoor Sound Effects
Selecting soundtracks and sound effects
There are lots of scary sounds and music you can play to make your porch feel eerie. Look for soundtracks with howling wind, creaking doors, or ghostly moans.
Tips for setting up outdoor speakers
Make sure your speakers are safe for outdoor use. You can hide them behind decorations or place them up high so the sound comes from all around.
Synchronizing sound with other decorations
If you have decorations that move or light up, try to match the sound effects to their actions. Like a creaking sound when a skeleton moves or a witch’s cackle when lights flicker.
Safety considerations for electronics outdoors
Keep all cords and electronics away from places where they might get wet. Use extension cords that are meant for outdoor use and keep speakers at a volume that’s spooky but not so loud it bothers the neighbors.
Animated Halloween Figures
Choosing the right figures for your porch
Pick figures that fit with the rest of your decorations. A moving witch, a crawling zombie, or even a flying bat can be fun choices.
Setting up and securing figures outdoors
Make sure your figures are securely fastened so they won’t tip over or blow away if it gets windy. You can use stakes, sandbags, or even just place them where they’re sheltered by other decorations.
Incorporating motion sensors for interactive scares
Some animated figures come with motion sensors that make them start moving or making noise when someone walks by. This can be a fun surprise for trick-or-treaters.
Maintenance and storage tips for animatronics
After Halloween, clean your figures and check for any damage. Store them in a dry place where they won’t get crushed. Taking care of them means they’ll be ready for next Halloween.
Scarecrow Sentry
Building your scarecrow from scratch
Start with some old clothes for your scarecrow’s body. Stuff them with straw, leaves, or even crumpled paper to give them shape. Then, add a head made from a burlap sack or an old pillowcase.
Ideas for scarecrow costumes and themes
Dress your scarecrow as something spooky, like a headless horseman or a zombie, for Halloween. You can also just put them in old farm clothes for a classic look.
Positioning and securing your scarecrow
Make sure your scarecrow is seen but also secure. You can sit them in a chair, tie them to a post, or even make them stand if you create a strong enough frame.
Adding interactive elements to your scarecrow
Make your scarecrow more fun by adding a voice box that speaks when someone comes near, or by giving it moving parts, like arms that lift in the wind. Remember, the goal is to make your porch the spookiest and most fun place for Halloween.
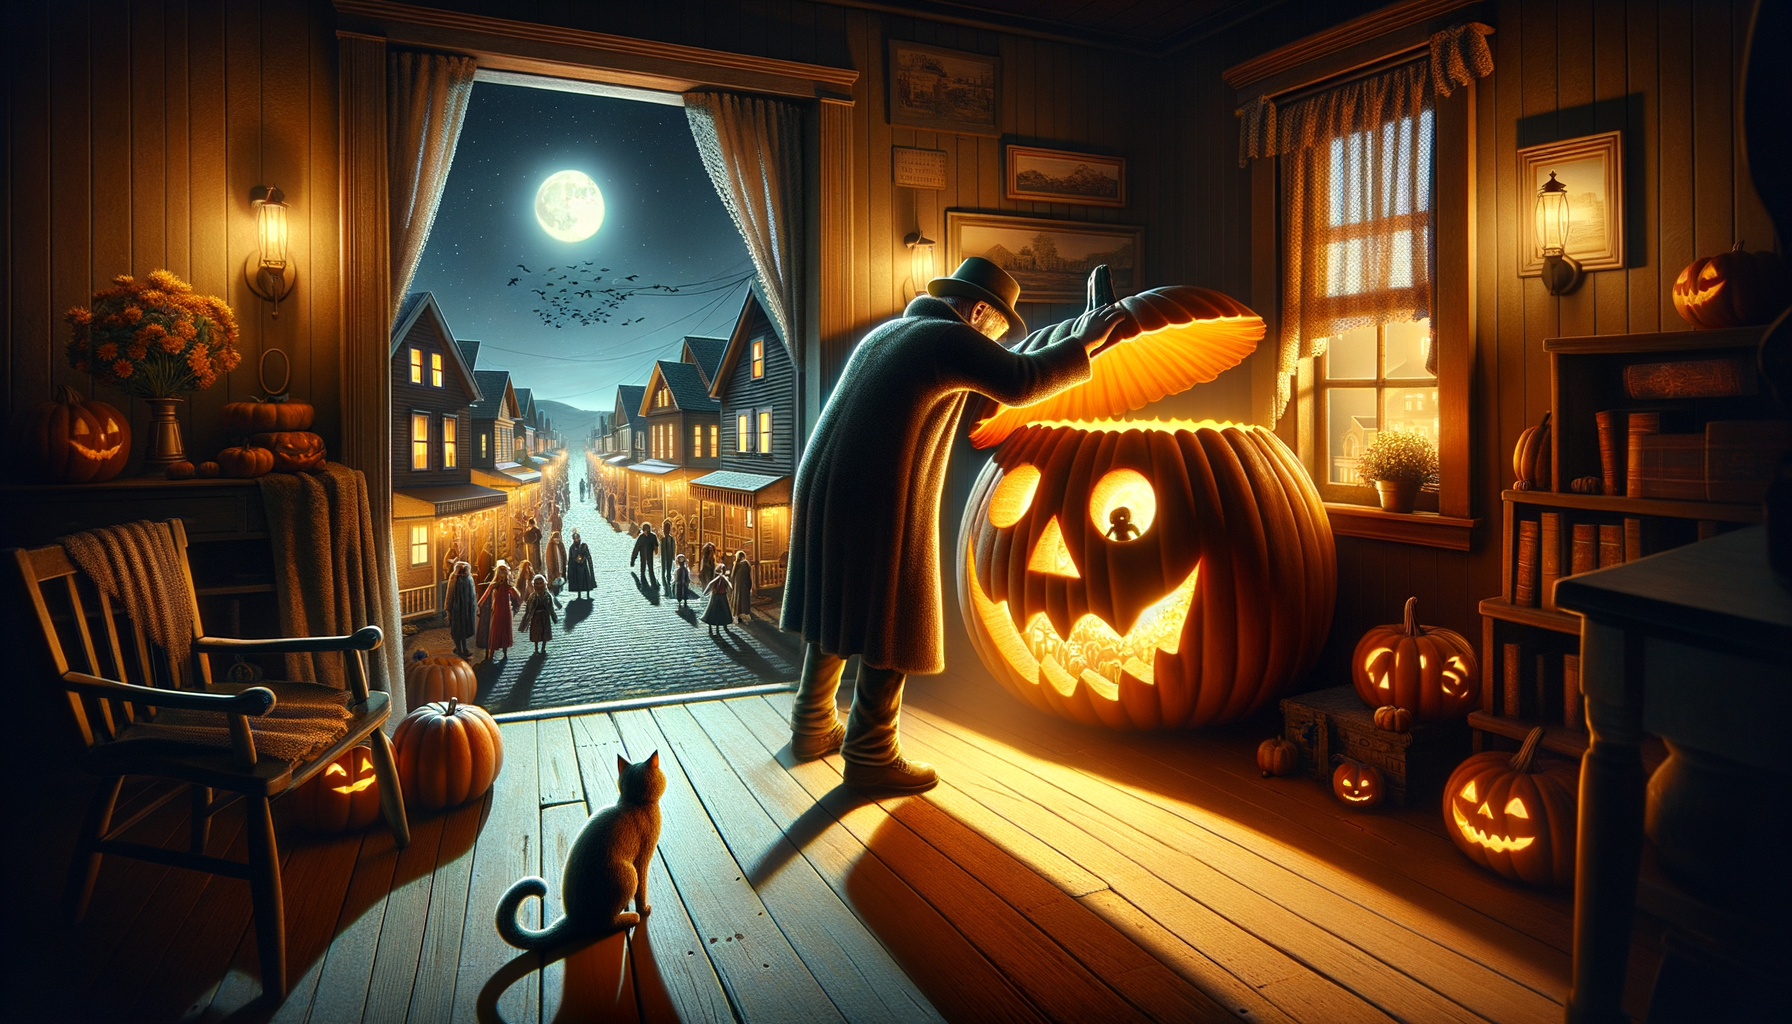
Once upon a Halloween night, nestled beneath bent and brooding trees, sat an infamous mansion known for its eeriness and history of spooky stories.
The highlight of the day was the annual challenge daring anyone to stay a night in its haunted chamber to prove their courage. This year, a cheeky young lad named Jack accepted the dare, armed with a pumpkin lantern and a brave grin.
As midnight crept, haunting sounds echoed, causing Jack’s courage to wobble. Undeterred, he decided to investigate.
Down a narrow pathway, in a dusty corner, he discovered a squeaky phonograph, continuously playing ‘Haunting Melodies’. With a sheepish grin, he turned it off.
In the spark of the morning sun, Jack emerged from the mansion, smiling triumphantly. Weeks passed, and the village celebrated the legend who had swept away their Halloween fears.
Next year, Halloween came without the hallmark frights. Instead, cookies, pumpkins and laughter echoed in the neighborhood. The haunted mansion now stood adorned with fairy lights, emitting joy and happiness instead of fear.
Indeed, it was a Halloween Surprise. Jack managed to transform a scared village into a cheerful community, all thanks to a little grin, a brave heart, and a set of squeaky haunted phonographs!
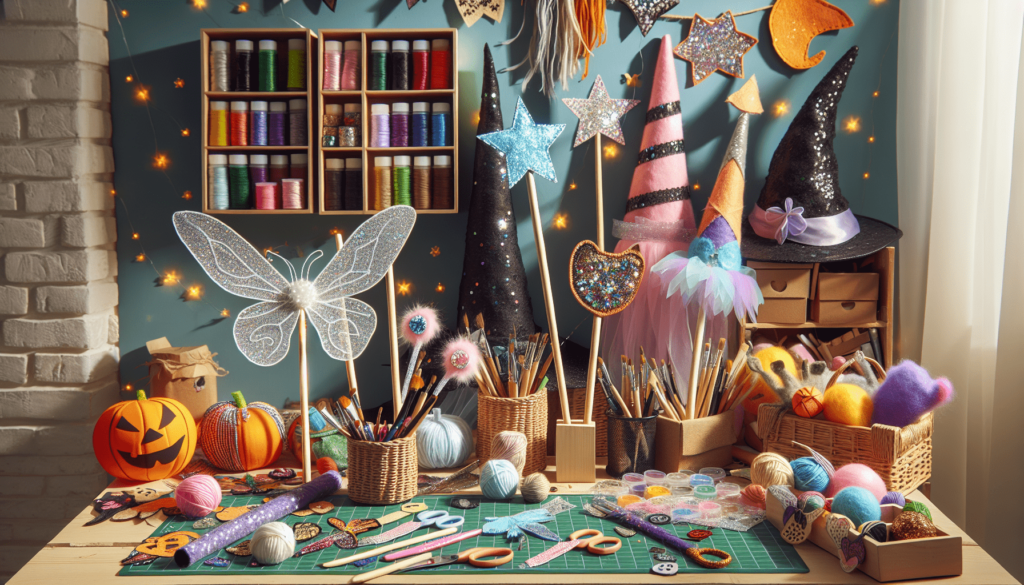
Imagine you can make your own spooky accessories for Halloween! This article will show you fun ways to create things like ghostly necklaces, magic wands, and witch hats using stuff you might already have at home. It’s all about using your imagination and having a great time while you get ready for trick-or-treating. So, let’s find out how to turn everyday items into amazing Halloween costume accessories! Halloween is a fun time of year when you can dress up as anything you like! Sometimes, making your own costume accessories can make your costume even more special. Here are some ideas for DIY Halloween costume accessories that you can make yourself!
Creepy Crawly Spider Headband
For this fun accessory, you’ll need a headband, some black pipe cleaners, and small black pom-poms to make your very own spider friends.
Materials needed: headband, black pipe cleaners, small black pom-poms
First, gather your materials. You’ll need a plain headband that goes over your head, some black pipe cleaners, which are like bendy sticks, and little black pom-poms for the spider bodies.
Instructions for crafting spider legs and attaching them
To make your spider, take four pipe cleaners and twist them around the middle of the headband to make eight spider legs. You can bend them to look like they’re moving! Then, glue a small black pom-pom in the middle of the twisted pipe cleaners on the headband. This pom-pom is the spider’s body.
Ways to customize your spider headband for different looks
You can make your spiders in different colors or add tiny googly eyes to your pom-pom spiders for a cute or spooky look. Maybe even add some glitter to make your spiders sparkle!
Magical Witch’s Broom
Every witch needs a broom to fly on Halloween night. You can make your own with just a few materials.
Choosing the right stick or dowel for your broom handle
Look for a stick in your backyard that is straight and tall enough for your broom handle, or you can use a wooden dowel from the craft store. This will be what you hold when you pretend to fly.
Selecting materials for the broom bristles, such as straw or twine
For the bristles, you can use straw, which looks very authentic, or twine for a simpler version. Gather lots of it because brooms have thick bristles.
Assembling your broom with detailed step-by-step instructions
Tie your straw or twine tightly around one end of your stick or dowel. You might need an adult to help you. If you’re using twine, you can unravel the ends to make it look more like broom bristles.
This image is property of images.pexels.com.
Spooky Ghost Earrings
These adorable earrings are perfect for adding a little Halloween spirit to your outfit.
Materials list including white felt, embroidery thread, and earring hooks
You will need white felt for the ghost shapes, embroidery thread to sew them together, and earring hooks so you can wear them.
Cutting and sewing your ghost shapes
Cut two ghost shapes from your white felt. They can look however you like – happy, spooky, or silly! Then, using your embroidery thread, sew the edges together, leaving a spot to fill with a little stuffing to make them puffy.
Adding facial features and attaching to earring hooks
Draw on some cute or spooky faces with a fabric marker. Then, carefully attach your ghost to the earring hooks with a little loop of thread at the top of their heads.
Enchanted Fairy Wings
Believe in magic as you create your very own fairy wings to flutter around in.
Selecting the right wire for your wing frame
Find some wire that is flexible but strong enough to hold the shape of your wings. Bend it into the shape of fairy wings.
Covering your wings with sheer fabric or tights
You can use sheer fabric or even tights to cover your wing frame. Stretch it tightly over the wire and secure it with glue or sewing.
Decorating your wings with glitter, paints, and faux flowers
Now for the fun part – decorating! Use glitter, paint, and even fake flowers to make your wings unique and magical.
This image is property of images.pexels.com.
Pirate’s Treasure Map
Create your very own treasure map to lead you to hidden treasures!
Materials you’ll need: brown paper, pens, and coffee for aging
You will need some brown paper for your map, pens to draw it, and some coffee to make it look old and authentic.
Techniques for drawing your map and aging the paper
Draw your map with the pens, adding X marks the spot where the treasure is hidden. To age it, dip your paper into coffee and let it dry. It will look like an old pirate map!
Ideas for making your treasure map more authentic
You can burn the edges of your paper carefully with an adult’s help or crumble it up and flatten it again to make it look even older.
Selecting the perfect fabric or felt for your mask
Choose a fabric or felt in a color that matches your superhero costume. It should be comfortable to wear.
Cutting out your mask and adding details such as logos or patterns
Cut out your mask shape and add any details like logos, patterns, or glitter to make it unique.
Fastening options for keeping your mask in place
You can use elastic bands, ribbons, or even string to tie your mask on. Make sure it’s snug but comfortable.
Wizard’s Staff
Every wizard needs a staff to channel their magical powers.
Materials: finding the perfect stick, paints, and embellishments
Look for a strong, straight stick that feels right in your hands. Gather some paints and any embellishments like crystals or fake vines.
How to carve and paint your staff for an authentic wizard look
You can carve designs into your staff with a knife (ask an adult for help) and paint it in colors that match your wizard outfit.
Adding magical details like crystals, vines, or runes
Glue on crystals, wrap it with fake vines, or paint runes along the staff for an extra magical touch.
Glowing Potion Bottles
Create mystical potions that glow in the dark and complete your magical costume.
Choosing bottles and glowing materials
Find small bottles and glowing materials like glow sticks or glow-in-the-dark paint.
Safe methods for creating glowing effects
You can fill your bottles with the liquid from glow sticks (be careful and ask an adult for help) or paint the insides with glow-in-the-dark paint.
Ideas for labels and potion names to enhance your costume
Think of fun names for your potions and create labels for the bottles. You can use names like “Witch’s Brew” or “Liquid Magic” to make them sound mysterious.
With these craft ideas, you can make your Halloween costume extra special this year. Remember, the best part about DIY is you can always add your own creative twists to make your accessories uniquely yours. Happy crafting!
Once upon a time, in the quaint little town of Lantern Hills, there lived a man named Jack who was known for his carved pumpkins. His creations enthralled the townsfolk, and Halloween was not complete without his magical lanterns.
One Halloween, Jack decided to carve a pumpkin so terrifyingly enchanting that it would surpass any of his previous works. He slaved away for countless hours, perfecting every nook and cranny, adding an eerie charm to it. Pai, who was Jack’s loyal cat, watched in fascination as its master worked.
The clock struck twelve, and Jack revealed his masterpiece. The pumpkin lantern was alarming yet awe-inspiring, casting distorted shadows on the room walls. The townsfolk gasped in utter amazement; it was a spectacle like no other.
As the midnight breeze blew, the lantern glowed brighter, casting evocative shadows that came alive and danced around the town. The sight was awe-inspiring and spine-chilling. The spectacle ended and the town returned to tranquility, as the clock struck one.
The next morning, Jack woke up next to Pai, only to find his masterpiece was gone, and in its place sat an ordinary, uncarved pumpkin. One may never know if it was a case of Halloween trickery or a bewitched pumpkin, but from then on every year, Jack kept finding one uncarved pumpkin in his yard on the morning after Halloween.
Today, you’re going to learn all about making your very own Halloween flower arrangements! Imagine using flowers to create something spooky and fun that you can decorate your house with for Halloween. You’ll get to pick out your favorite flowers and maybe even find some Halloween decorations to mix with them. It’s like making your room ready for a Halloween party where the flowers are the stars. Keep reading, and you’ll find out how to turn ordinary flowers into something extraordinary that screams Halloween.
Choosing the Right Flowers
When you start making your own Halloween flower arrangement, picking the right flowers is super important. Let’s dive into how you can pick the perfect flowers that shout “Halloween”!
Selecting Halloween-themed colors
Think about the colors you see a lot during Halloween – like orange, black, purple, and even green. These colors are great to use for your flower arrangement because they remind everyone of Halloween. Orange flowers can be like little pumpkins, while black flowers look mysterious and spooky.
Considering seasonal flowers
It’s also a good idea to choose flowers that are in season during Halloween. This means they are fresher and might even cost less. Fall flowers like marigolds (which are bright and orange) and chrysanthemums come in lots of Halloween colors!
Incorporating non-traditional plants for a spooky effect
Who says you only need to use flowers? You can use other plants to make your arrangement look even spookier. Think about adding some twisty branches or dark leaves. These can make your arrangement look like it came from a haunted forest!
Tips for ensuring flower longevity
You want your spooky flowers to last as long as possible, right? Make sure to cut the stems at an angle so they can drink lots of water. Changing the water every day and keeping your flowers away from direct sunlight also helps them stay fresh longer.
Selecting a Theme
Picking a theme can make your Halloween flower arrangement extra special. Let’s check out some fun ideas!
Classic Halloween themes
Classic themes are all about pumpkins, ghosts, and witches. Think about using orange and black flowers, and maybe you can even find some cute ghost decorations to add in!
Elegant Halloween arrangements
If you want something a bit fancier, you can create an elegant Halloween arrangement. Use deep purples and add some silver or gold to make it look chic and spooky at the same time.
Kid-friendly options
For a kid-friendly arrangement, think fun and not too scary. Bright colors, smiling pumpkins, and maybe even some candy hidden among the flowers can make it perfect for kids.
Horror-inspired floral designs
If you love spooky stories and movies, you might want to make a horror-inspired arrangement. Dark red flowers can look like they’re from a vampire’s garden, and adding some fake cobwebs can make it extra creepy.
This image is property of images.unsplash.com.
Choosing a Container
The container you choose for your flowers is super important. It’s like the outfit for your flower arrangement!
Repurposing household items
You can use lots of things you already have at home. How about a Halloween candy bowl or even a carved-out pumpkin? Get creative!
Using traditional Halloween decorations
If you have Halloween decorations like cauldrons or witch hats, these can be super cool to use as containers for your flowers.
DIY container decoration ideas
If you like crafts, you can decorate your own container. Use paint, stickers, or even wrap a container in bandages to make it look like a mummy!
Considering the arrangement’s placement
Think about where you want to put your arrangement. If it’s for the dinner table, make sure it’s not too tall so people can see over it. If it’s for the porch, make sure it’s big enough to be seen from the street.
Prepping Your Flowers and Materials
Before you start arranging, you need to get your flowers and materials ready.
Cleaning and cutting your flowers
Make sure to clean your flowers and cut the stems. This helps the flowers drink water and live longer.
Choosing the right filler greens
Filler greens help your arrangement look full and can add to the Halloween feel. Look for dark or spiky greens to add some spookiness.
Gathering additional decorative elements
Think about adding some Halloween decorations like small pumpkins, fake spiders, or anything else that fits your theme.
Preparation of tools and workspace
Make sure you have everything you need like scissors, and maybe even some gloves if you’re working with thorny stems. Clear a space to work so you have enough room.
This image is property of images.unsplash.com.
Arrangement Techniques
Now, let’s put it all together!
Basic principles of flower arrangement
You want to start with your biggest flowers first and place them where they look best. Then, fill in around them with smaller flowers and greens.
Creating a focal point with larger blooms
Pick a big, beautiful flower to be the star of your arrangement. This draws everyone’s eye and makes your arrangement stand out.
Layering colors and textures
Mixing different colors and textures makes your arrangement more interesting. Don’t be afraid to mix things up and see what looks good together.
Incorporating elements of height and drama
Adding some taller elements or interesting shapes can make your arrangement look really dramatic and perfect for Halloween.
Adding Halloween Accessories
To make your arrangement scream Halloween, don’t forget the fun accessories!
Incorporating Halloween toys and figurines
Small Halloween toys or figurines can make your arrangement a lot more fun. It’s like they’re hidden surprises among the flowers!
Using cobwebs and faux insects for effect
Fake cobwebs or little plastic spiders can add a creepy touch to your flowers. It’s all about making it feel like Halloween.
Adding LED lights or candles for ambiance
Lights can make your arrangement extra special, especially in the evening. Just make sure if you’re using candles, they’re in a safe spot where they can’t start a fire.
Customizing with handmade crafts
If you like making things, you can add your own crafts to the arrangement. Maybe you’ve made a tiny witch hat or some paper ghosts. Go ahead and add them in!
This image is property of images.unsplash.com.
Creating a Centerpiece
Your Halloween flower arrangement can be the perfect centerpiece for any gathering or just to spruce up your home for the season.
Planning the size and shape
Think about where your centerpiece will go and plan its size and shape to fit perfectly. Not too big, not too small, just right.
Balancing the arrangement
Make sure your centerpiece looks good from all sides. This means spreading out the colors and elements so every angle is interesting.
Centerpiece ideas for Halloween parties
For a party, you might want a centerpiece that’s a bit more exciting. Think about adding dry ice for a fog effect or making it part of a game.
Dinner table centerpiece tips
Remember, for the dinner table, you want your centerpiece to not block anyone’s view. It should be beautiful but not in the way of the conversation.
Front Porch Decor
Your front porch is the first thing people see, so make it Halloween-ready with your flower arrangement!
Welcoming arrangements for the entryway
A nice big arrangement by your front door can welcome guests and trick-or-treaters. Use lots of Halloween colors and maybe a sign that says “Happy Halloween!”
Using pumpkins and gourds
Pumpkins and gourds are perfect for the porch. You can even use them as containers for your flowers, or just arrange them around your flower display.
Themed door wreaths
A Halloween wreath on your door is another great way to welcome people. You can make one with flowers, or add some to a wreath made of leaves or twigs.
Safe outdoor lighting options
If you’re lighting up your porch, make sure to use lights that are safe for outdoors. This way, even at night, your Halloween decorations can shine.
Eco-Friendly Options
We all want to take care of our planet, so here are some ideas for making your Halloween decorations a bit greener.
Using live plants and sustainable materials
Instead of cut flowers, consider using potted plants that can live on after Halloween. Look for materials that are easy on the environment like paper or natural fabrics.
Creating compostable arrangements
If you do use cut flowers, think about making your arrangement compostable. This means avoiding plastic and using natural materials instead.
Tips for reducing waste
Try to use decorations that you can reuse every year. And when it comes to flowers, maybe you can plant them if they’re not too spooky for your garden!
Ideas for reusing Halloween decorations
After Halloween, see if there are decorations you can repurpose or give to someone else. Maybe a friend is already planning next year’s party!
Workshops and Community Events
Getting together with others to share ideas and have fun making arrangements can be a great way to spend a Halloween-themed day.
Finding local flower arranging workshops
Check out if there are any workshops in your area. It’s a fun way to learn new skills and meet people who also love Halloween and flowers.
Hosting a DIY arrangement party
You could also host your own party. Invite friends over and everyone can make their own spooky arrangement to take home.
Sharing creations on social media
Don’t forget to show off your creations! Share them on social media and see what everyone thinks. You might inspire someone else to make their own.
Engaging with the community for ideas and inspiration
The best part about sharing is seeing what others have made. You can get so many great ideas and inspiration from people all over the world. So, have fun making your Halloween flower arrangements and see what spooky, beautiful, and creative ideas come to life!