Halloween DIY Lanterns for Ambience
Today, you’re going to learn how to make your own Halloween lanterns. These lanterns will make your room or house look spooky and fun for Halloween. You’ll use simple materials to create these lanterns, and once you’re done, they will light up your space with a special Halloween glow. It’s like making a little bit of magic to share with your friends and family. Get ready to add some extra spookiness to your Halloween with these easy-to-make DIY lanterns!
Essential Materials for DIY Halloween Lanterns
Creating your own Halloween lanterns is a fun way to brighten up spooky nights. Before we start crafting, let’s make sure we have all the right stuff!
Selecting the right jars and containers
The best jars are clear and a good size—like a mayonnaise jar or a big juice container. Containers that are smooth and don’t have a lot of writing or pictures on them are perfect because your light will shine bright through them.
Choosing paint and decorations
You can use paint that sticks to glass for your jars. For decorations, think about using stickers, glitter, or even leaves and twigs from outside. Whatever feels spooky or fun to you!
Types of lights: candles vs LED
Candles can give a nice flicker, but if you’re worried about safety, LED lights are great. They’re not hot, so they won’t burn your fingers or anything else. Plus, they can go anywhere—even places candles can’t!
Safety materials: gloves, goggles, and aprons
Stay safe while crafting! Gloves will protect your hands, goggles will keep your eyes safe, and an apron or an old t-shirt will keep your clothes free from paint and glue.
Pumpkin Lanterns
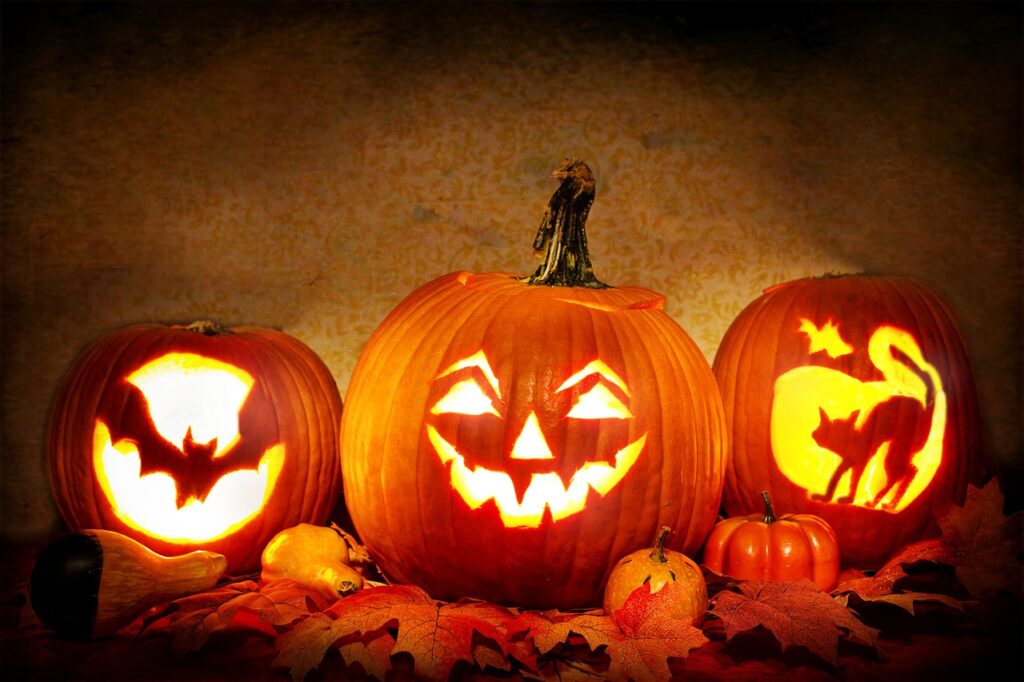
Pumpkins are a Halloween classic. Let’s see how we can turn them into beautiful lanterns.
Carving vs painting pumpkins
You can either carve a face or a design into your pumpkin or paint it. Carving can be a bit tricky and needs a grown-up’s help, but painting can be just as fun and you can do it all by yourself!
Installation of lights inside the pumpkin
After you’ve carved or painted your pumpkin, you can put a small candle inside, or safer yet—use an LED light! If you use a candle, remember to never leave it unattended.
Decorative ideas for pumpkin lanterns
Try making your pumpkin lantern into a cat, a witch, or even your favorite cartoon character. You can also stick on sparkly gems or use washable markers to add extra details.
Preservation techniques for pumpkin lanterns
To keep your pumpkin looking fresh, you can put a little bit of petroleum jelly on the cut edges. Keep it in the fridge during the day to help it last longer.

This image is property of pixabay.com.
Mason Jar Lanterns
Mason jars make fantastic lanterns. Let’s learn how to decorate them for Halloween.
Preparation of mason jars
Clean your jar with soap and water and take off any stickers. Dry it well so the paint will stick.
Themed painting techniques
You can paint your mason jar like a ghost, pumpkin, or anything spooky. Use a sponge for a cool effect, or stickers as stencils to paint around.
Attaching handles for hanging
With a little bit of wire, you can twist a handle onto the top of your mason jar. Ask someone older to help with this, as the wire can be sharp.
Choosing the perfect spot for display
Hang your mason jar lanterns from trees, your porch, or place them along your walkway. Just remember to use LED lights if they’re going to be outside where it could rain.
Ghostly Milk Jug Lanterns
Milk jugs can turn into spooky ghost lanterns with just a few simple steps.
Collecting and cleaning milk jugs
Save your empty milk jugs and clean them out well. Remove any labels so the light can shine through the plastic.
Drawing and cutting spooky faces
Draw a fun or spooky face on your milk jug with a marker. You can cut out the shapes if you want, but ask for help since the plastic can be tough to cut.
Filling the jugs with the right light source
Pop some LED lights inside the jugs. They’re perfect because they won’t heat up and can make your ghost glow all night.
Arranging the ghostly lanterns for maximum effect
Line up your milk jug ghosts along a path or group them together in a dark corner. They’ll look super spooky when the sun goes down.

This image is property of pixabay.com.
Witch Hat Luminaries
Witch hats add a bit of magic to Halloween. Making luminaries shaped like them is easy and fun.
Crafting the witch hat shape
You can make witch hat shapes from black paper or felt. Cut a circle for the brim and a cone for the top, then stick them together.
Decorative elements to enhance the witchy vibe
Glue on some shiny stars, moons, or glitter to your witch hat for that extra magical feel. You can even add a ribbon around the base of the cone.
Choosing between hanging and tabletop placement
Decide if you want to hang your witch hat luminaries or place them on tables. If you’re hanging them, you can attach a string to the top.
Lighting options for a magical glow
Put a small LED light inside your witch hat. It will look really cool glowing in the dark, making everything seem a bit more magical.
Creepy Crawly Spider Lanterns
Spiders might be creepy, but they make excellent themes for Halloween lanterns.
Creating spider shapes and designs
You can cut out spider shapes from black paper or use toy spiders. Gluing them onto lanterns or stringing them up around lights looks awesome.
Incorporating web patterns on lanterns
Use white paint or markers to draw spider web designs on your lanterns. You can make the webs as simple or as detailed as you like.
Ideal locations for spider lantern placement
Hang your spider lanterns in trees, in your windows, or place them on your doorstep. Imagine walking up to a house covered in spider lanterns!
Lighting techniques to create spooky shadows
Position the light inside your lantern in a way that casts big, spooky spider shadows. LED lights work best because they’re bright and safe.

This image is property of pixabay.com.
Floating Ghost Lanterns
Floating ghosts are sure to give your Halloween decor an eerie touch. Let’s learn how to make them really float.
Materials needed for floating effect
Use white balloons and cheesecloth or thin fabric to create your floating ghosts. You’ll need string to hang them up too.
Crafting and painting tips for a ghostly appearance
Drape the fabric over the blown-up balloon to get the ghost shape. Use markers to draw on spooky faces or paint them for a more dramatic effect.
Securing the lanterns to float safely
Tie a string around the top of your ghost and hang it from trees or your ceiling. Make sure it’s secure so your ghost doesn’t fly away!
Strategic placement for a haunting ambiance
Place your floating ghosts where they will surprise guests. Near the front door or hovering over your snack table are perfect spots.
Glow-in-the-Dark Lanterns
Glow-in-the-dark lanterns are super cool and don’t even need batteries!
Choosing glow-in-the-dark paint or materials
You can find glow-in-the-dark paint at most craft stores. Pick a paint that’s safe for the surface you’re using—like glass, plastic, or paper.
Techniques for even application of glow
Apply your glow paint evenly. Sometimes it helps to do a few layers to make sure your lantern really lights up in the dark.
Creative designs for a mystical effect
Try painting stars, moons, or even ghostly shapes with your glow paint. When the lights go off, your designs will come to life.
Safety and duration of the glow effect
Glow paints are generally safe to use, but always check the label. Most glow-in-the-dark effects last for a few hours after being “charged” by light.

Bewitched Silhouette Lanterns
Silhouettes can create mysterious scenes right on your lanterns. Let’s get crafty!
Selecting silhouettes for a bewitched theme
Choose Halloweeny shapes like witches, bats, or haunted houses. You can find templates online or draw your own.
Cutting and attaching silhouettes to lanterns
Once you have your silhouette, carefully cut it out of black paper. Then, glue it onto your lantern. Be gentle so your paper doesn’t rip.
Impactful light sources for silhouette visibility
Place a bright LED light inside your lantern to make your silhouette stand out. The darker it gets, the spookier your shapes will look.
Arrangement ideas for a storyline effect
Set up a few silhouette lanterns together to tell a story. Maybe there’s a witch flying to her haunted house, where a cat waits by the door.
Setting the Scene: Placement and Arrangement Tips
The final touch is deciding where to put your lanterns for the best spooky effect!
Indoor vs outdoor considerations
If you’re decorating outside, make sure your lanterns are safe from wind and rain. Indoors, think about where people will see them best, like windows or tables.
Creating pathways with lanterns
Lanterns can light up a path to your door, making a fun and spooky walkway for trick-or-treaters or guests.
Pairing lanterns with other Halloween decorations
Mix and match your lanterns with other decorations. They look great with fake cobwebs, pumpkins, or even a scarecrow.
Ensuring safety in placement, especially with real candles
Always be careful with real candles. Place them where they can’t be knocked over and never leave them burning unattended. Safety first makes Halloween fun for everyone!
Halloween DIY Lanterns for Ambience Read More »


