Minimalist Halloween Craft Projects
Imagine making your own spooky Halloween decorations, but in a simple and fun way! “Minimalist Halloween Craft Projects” is all about creating cool stuff for Halloween without needing too many things. You’ll learn how to make awesome decorations and crafts that bring the Halloween spirit into your home, using just a few items. So, get ready to use your creativity and make this Halloween extra special with your very own, easy-to-make decorations!
Black Cat Paper Plate Craft
Materials needed: Paper plates, black paint, colored paper, glue
To start making a cute black cat with paper plates, you need some simple things from around your house. You’ll need paper plates, some black paint (to make the plate look like a cat), colored paper (for the cat’s features like ears and nose), and glue to stick everything together.
Steps to create cat face and tail
First, paint the paper plate black and let it dry. While waiting, cut out two triangles from the colored paper for the ears and a long tail. Once the plate is dry, glue the ears to the top and the tail to the back.
Adding features with white paint for eyes and whiskers
Once your cat has ears and a tail, it’s time to give it a face! Dip a small brush in white paint to draw two big eyes and some whiskers. You can also add a tiny nose with pink or red paper. Now you have your own paper plate black cat to decorate your room!
Minimalist Pumpkin Carving
Choosing the right pumpkin
Look for a pumpkin that is smooth and has a nice round shape. A smooth pumpkin is easier to carve, and a round shape looks nice with simple designs.
Simple carving tools and techniques
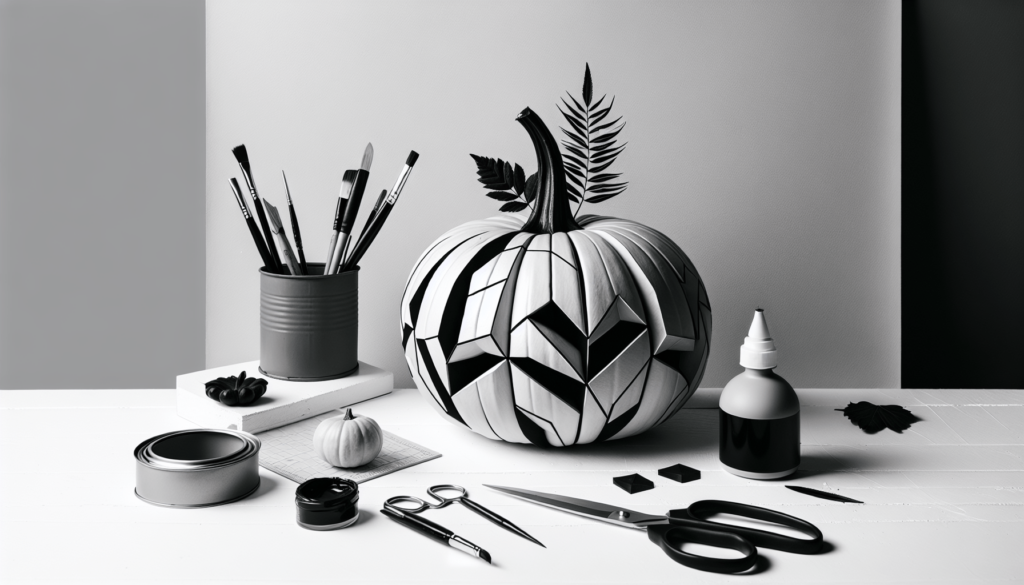
You don’t need fancy tools for minimalist pumpkin designs. A small kitchen knife and a spoon to scoop out the insides are enough. Remember, simple shapes like circles, triangles, and squares are your best friends for a minimalist look.
Ideas for minimalist designs: Faces, geometric shapes, silhouettes
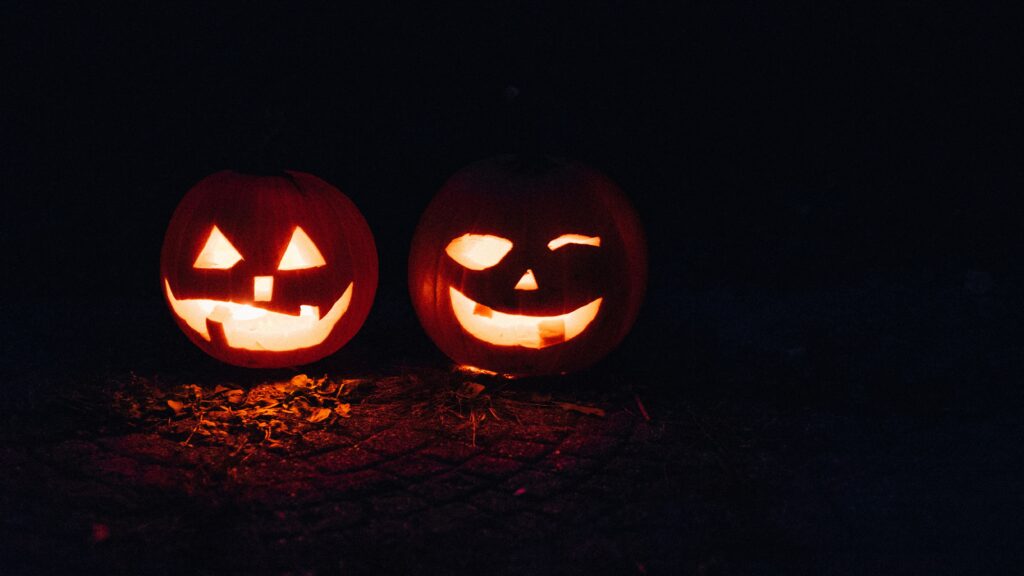
Think of making a pumpkin with a simple happy or scary face. Or you can carve geometric shapes like circles and triangles for a cool pattern. Silhouettes, like a cat or a bat, also look super cool and are easy to do.

This image is property of images.unsplash.com.
DIY Spider Webs
Materials: Black yarn or string, scissors, and tape
To make spooky spider webs, you need black yarn or string, a pair of scissors to cut the yarn, and tape to hang your web.
Creating a web frame
First, cut long pieces of yarn and tape them across each other to make a star shape. This is the frame of your web.
Weaving the web: Techniques for a realistic look
Now, cut a very long piece of yarn. Tie one end to the center of your frame. Weave the yarn around each strand of the frame, looping around each time you reach a strand, moving outward in spirals. Keep going until your web looks just right!
Ghost Garland
Materials: White fabric or tissue paper, string, black marker
For a ghost garland, you’ll need white fabric or tissue paper, some string to hang your ghosts, and a black marker to draw their spooky faces.
Creating ghost shapes and attaching to string
Cut the fabric or tissue paper into squares, then drape each square over a small ball or crumpled paper to make a head shape. Tie a string around the neck of each ghost to hold the head shape. Draw faces on them with the marker. Then, tie each ghost to a long string.
Hanging tips and placement ideas
Hang your ghost garland across a window, door, or even your fireplace. Try to place it somewhere where it moves slightly in the air—it makes the ghosts look like they’re floating!

This image is property of images.unsplash.com.
Witch Hat Origami
Choosing the right paper
For witch hat origami, pick a piece of paper that’s black or dark purple. It should be square and not too thin or it might rip.
Step-by-step folding instructions
Fold your square paper in half to make a triangle. Then, fold the corners up to meet at the top, forming a smaller square. Fold one layer of the bottom square up, towards the top, and tuck the other layer into it to make the brim of the hat.
Decorating and displaying your origami witch hats
You can draw on your witch hats with silver or gold pens to make them fancier. Then, place them around your house or hang them up with string for a magical Halloween vibe.
Minimalist Halloween Wreath
Materials: Twig wreath, black spray paint, Halloween-themed accessories
You need a twig wreath, some black spray paint, and a few Halloween-themed accessories like fake spiders or small skeletons.
Steps to spray paint and attach decorations
First, spray paint your wreath black and let it dry. Then, choose a few decorations and glue them on your wreath. Remember, less is more. Just a few items can make your wreath look spooky and stylish.
Ideas for a minimalist look: Fewer colors, simple designs
Stick to black and one or two other colors for a cool minimalist look. Maybe just a big, white ghost or some small, orange pumpkins. Simple designs make your decoration look chic and not too busy.

This image is property of images.unsplash.com.
Bottle Cap Spiders
Collecting and preparing bottle caps
Start saving the bottle caps from drinks. You need one cap for each spider. Wash them well so they’re clean and ready for crafting.
Materials for creating legs and eyes
For the spider legs, you can use black pipe cleaners or strips of black paper. You’ll also need small white stickers or paper for the eyes.
Assembly and ideas for display
Cut eight legs out of your materials and glue them to the sides of the cap. Stick or glue on the eyes. Then, you can place your bottle cap spiders around the house or hang them up by string to look like they’re dangling from webs!
Mason Jar Mummies
Materials: Mason jars, bandages or gauze, googly eyes
You need some mason jars, bandages or gauze for wrapping, and googly eyes for your mummy jars.
Wrapping technique for a mummified look
Wrap your jar with bandages or gauze, going all around until it looks like a mummy. Don’t cover it too tightly—you want it to look a bit messy. Stick on two googly eyes.
Lighting options: LED candles or glow sticks
An LED candle or a glow stick inside your mummy jar makes it glow spookily in the dark. It’s safe and looks really cool in your room or by the window.

Paper Bat Swarm
Materials: Black construction paper, scissors, tape or string
For a swarm of bats, you need black construction paper, scissors, and tape or string to hang them.
Creating a bat template
Draw or find a simple bat shape to use as a template. Place it on the construction paper, trace around it, and then cut out your bats.
Cutting and hanging techniques for a swarm effect
Cut out lots of bats. Use tape or string to hang them from the ceiling or stick them to the wall. You can make them “fly” in different directions to look like a real swarm of bats!
Pumpkin Fairy Houses
Selecting small pumpkins
Choose small pumpkins because they’re easier to carve and perfect for creating tiny fairy houses.
Carving techniques for doors and windows
Carefully carve small doors and windows into your pumpkin. You can use a pencil to draw the shapes first. Remember, fairy houses look whimsical, so your doors and windows don’t need to be perfect!
Minimalist decorating ideas: Natural items, simple colors
Decorate your fairy house with natural items like leaves, twigs, or small stones. Stick with simple colors—let the orange of the pumpkin shine. This gives your fairy house a magical, minimalist look, perfect for a whimsical Halloween.
Minimalist Halloween Craft Projects Read More »


