No-Carve Halloween Pumpkin DIY
Imagine making your Halloween pumpkin look awesome without having to use sharp knives or carve into it. With “No-Carve Halloween Pumpkin DIY,” you can decorate your pumpkin in fun and safe ways! You’ll find out how to use stickers, paint, and even glow-in-the-dark decorations to make your pumpkin stand out. So, grab your pumpkin, and let’s make it spooky and special without any cutting!

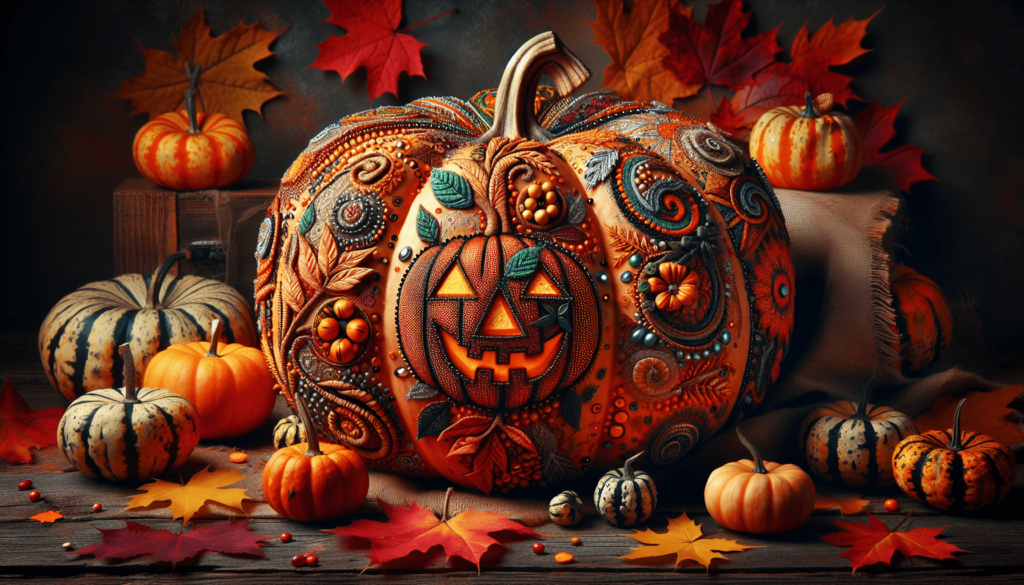
This image is property of pixabay.com.

Overview of No-Carve Pumpkin Decorating
Benefits of choosing no-carve options
Choosing no-carve options for decorating your pumpkins is great! You don’t have to use sharp tools, so it’s safer, especially for young ones like you. This way, you can have fun decorating without worrying about getting hurt. Plus, no-carve pumpkins can last longer, which means your beautiful creations will stay pretty for more days!
Materials and tools needed for no-carve designs
For no-carve pumpkin designs, you’ll need a few things. First, grab some glue, paint, brushes, and maybe even some glitter or fabric. You won’t need any sharp tools, which is great because it keeps things safe and easy.
Choosing the perfect pumpkin for no-carve DIY
Picking the right pumpkin is important. Look for one that feels firm and has a nice, smooth surface. The smoother it is, the easier it will be to decorate. Also, think about the shape. Depending on your design, you might want a tall one or maybe a short, round pumpkin.
Painted Pumpkins
Selecting the right type of paint
When you want to paint your pumpkin, acrylic paints are your best friend because they stick well and dry fast. They come in lots of bright colors, so you can get creative!
Step-by-step guide to painting pumpkins
- First, make sure your pumpkin is clean and dry.
- Then, choose your favorite colors and start painting. You might want to paint a base coat first and let it dry.
- After that, you can paint any design you like on your pumpkin.
- Let your artwork dry, and voilà! You have a beautiful painted pumpkin.
Creative design ideas for painted pumpkins
You can paint scary faces, cute animals, or even your favorite cartoon characters on your pumpkins. Stripes, dots, and swirls are fun, easy patterns to try too. Let your imagination run wild!

Decoupage Pumpkins
Introduction to decoupage technique on pumpkins
Decoupage is when you stick pieces of paper or fabric onto something to decorate it. It’s like making a collage but on a pumpkin. It’s a fun way to make your pumpkin look fancy without having to carve it.
Materials needed for decoupage
You’ll need some glue that dries clear, a brush to apply the glue, and some pretty paper or fabric. Napkins, tissue paper, or even magazine cutouts are perfect for this.
Step-by-step guide to decoupaging your pumpkin
- Cut your paper or fabric into the shapes or sizes you like.
- Apply a thin layer of glue onto a part of your pumpkin.
- Place your paper or fabric on the gluey spot and gently press it down.
- Cover it with another layer of glue to seal it.
- Keep going until you’re happy with your pumpkin. Let it dry, and you’re done!
Glittery Pumpkins
Choosing the right type of glitter and adhesive
Fine glitter works best because it sticks easily and gives your pumpkin a beautiful shimmer. Use glue or spray adhesive to make the glitter stick to your pumpkin.
Simple glitter application techniques
You can sprinkle glitter all over your pumpkin for a sparkly look or use glue to make patterns with the glitter. Stars, moons, and hearts are fun shapes to try.
Sealing the glitter to prevent shedding
Once you’re done with the glitter, spray or brush a clear sealant over it. This keeps the glitter from falling off, so your pumpkin keeps shining without making a mess.

This image is property of pixabay.com.
Fabric Wrapped Pumpkins
Different fabrics suitable for wrapping
Soft fabrics like cotton or felt are the easiest to wrap around your pumpkin. You can also use lace for a fancy look or burlap for something rustic.
How to secure fabric on pumpkins
Start by cutting the fabric to cover your pumpkin. Glue one end of the fabric to the bottom of the pumpkin and wrap it all the way around. Tuck the end in and glue it down. For a clean finish, you can add a ribbon or a bow.
Accessorizing your fabric-wrapped pumpkins
Buttons, beads, or sequins can make your fabric-wrapped pumpkins even prettier. Glue them on to make fun patterns or shapes.
Natural & Rustic Pumpkin Decor
Using items from nature to decorate pumpkins
Leaves, flowers, twigs, and even small stones can be used to give your pumpkin a natural look. Arrange them in pretty patterns and glue them onto your pumpkin for a rustic vibe.
Creating a rustic look with burlap, wood, and foliage
Wrap burlap around your pumpkin or use cutouts from wood for a cozy, rustic feel. Adding some green foliage or dried flowers can also bring a touch of nature to your design.
Assembling and securing natural adornments
Use glue to attach your natural items to the pumpkin. If you’re using something heavier, like a piece of wood, you might need stronger adhesive or tape to keep it in place.

This image is property of pixabay.com.
Theme-specific Pumpkin Ideas
Popular themes: spooky, whimsical, and elegant
For a spooky pumpkin, think about ghosts, skeletons, and bats. If you like something whimsical, try unicorns, rainbows, and fairies. An elegant pumpkin can have designs like leaves, vines, or even just stylish patterns in gold or silver.
Tips for designing around a chosen theme
Think about what colors match your theme and start with those. For example, black and orange are great for spooky themes, while pastels are lovely for something whimsical.
Incorporating colors and patterns to match your theme
Choose paints, papers, or fabrics that match your theme’s colors. Adding patterns that fit the theme can also make your pumpkin decoration stand out.
Lighted Pumpkin Decor
Options for internal and external lighting
Small LED lights or battery-operated candles can safely light up your pumpkin from the inside. Fairy lights wrapped around your pumpkin can give it a magical glow from the outside.
Safe light placement and pumpkin preparation
Make sure your pumpkin is stable and place your light in the center if it’s inside. If you’re wrapping lights around, spread them evenly for a pretty effect.
Creative lighting ideas for a striking effect
Using colored lights can change the mood of your pumpkin decoration. Try a spooky red glow or a calming blue. You can even carve simple designs like stars or circles to let the light shine through in patterns.

Embellishing Pumpkins with Hardware
Choosing hardware for pumpkin decorating
Small nails, tacks, or metal studs can be pushed into your pumpkin to create cool designs. You can make shapes, letters, or even outline a drawing with them.
Techniques for attaching hardware to pumpkins
Push the nails or tacks straight into the pumpkin following your design. If they’re hard to push in, you can make a small pre-hole with a toothpick.
Design ideas using nails, tacks, and metal accents
Use hardware to create a face on your pumpkin or to spell out a spooky message. Arranging them in geometric patterns can also look really stylish.
Preserving Your No-Carve Pumpkins
Methods to extend the life of your decorated pumpkins
To keep your pumpkin looking fresh, store it in a cool, dry place. You can also apply a little bit of petroleum jelly to the cut areas, if there are any, to keep them from drying out.
Preventative measures to avoid rot and decay
Make sure your pumpkin isn’t sitting in a damp spot and check it regularly for signs of rot. Keeping it clean and dry is the key to making it last longer.
Tips for displaying indoors and outdoors
Indoors, keep your pumpkin away from heaters or direct sunlight to prevent it from drying out. Outdoors, place it where it’s sheltered from rain and not sitting directly on the ground to avoid rot.

No-Carve Halloween Pumpkin DIY Read More »