Halloween Pumpkin Carving Crafts
Imagine you have an orange pumpkin. It’s big, round, and ready to be turned into something spooky for Halloween. With your own hands, you can carve out eyes, a nose, and a zig-zaggy mouth to make a jack-o’-lantern! It’s a fun craft for Halloween, where you and your family can turn pumpkins into scary or silly faces. Light them up with a candle inside, and watch them glow in the dark night. The article “Halloween Pumpkin Carving Crafts” is all about how you can make these cool pumpkin faces yourself! It’s full of tips and tricks to help you create the best Halloween decorations right at home.
Selecting the Perfect Pumpkin
Factors to consider when choosing a pumpkin
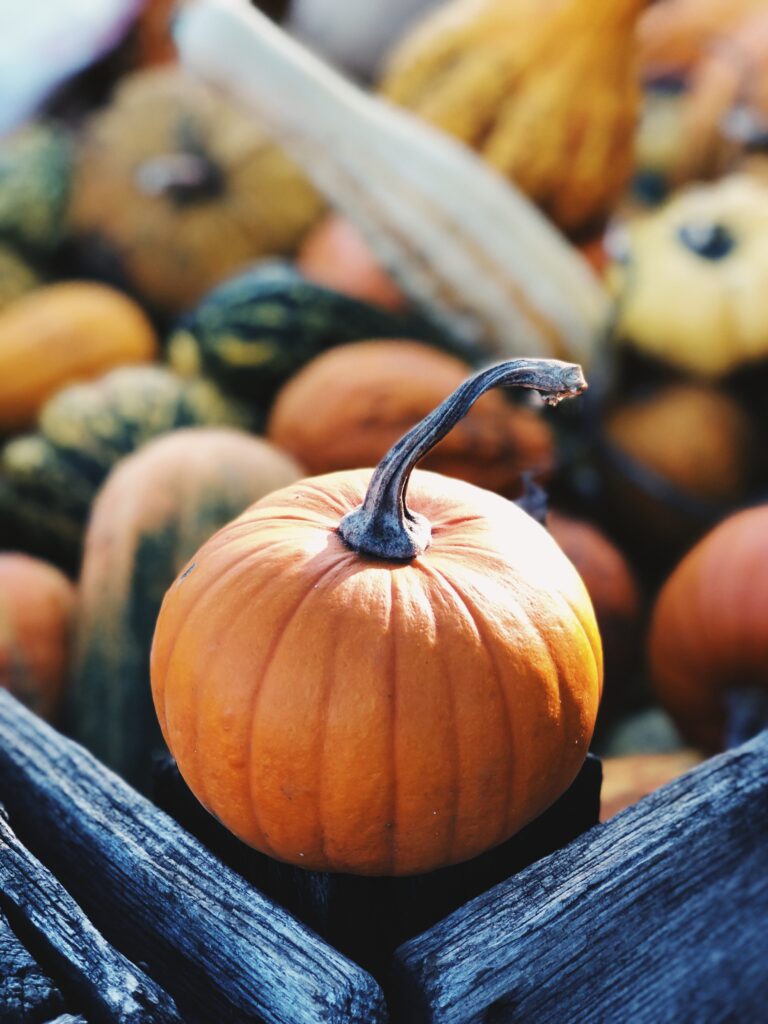
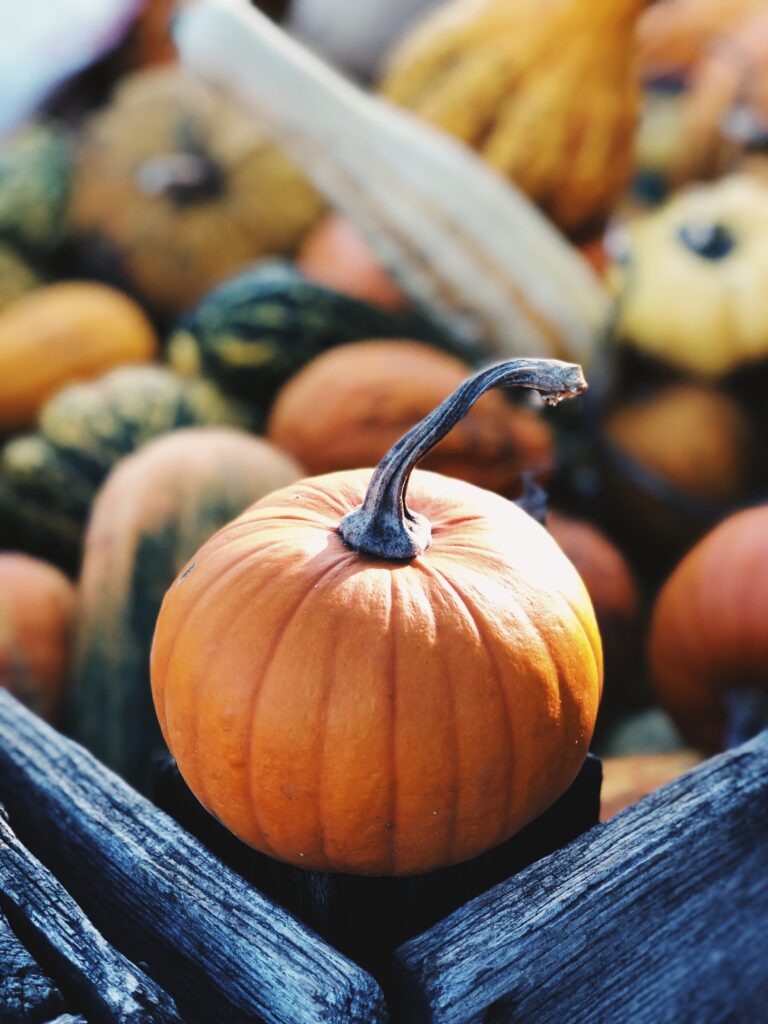
When you’re looking to pick the best pumpkin, think about what you want your pumpkin to look like. You want one that has a nice color and is free of bruises or cuts. A flat bottom is also important so it won’t tip over, and it should feel heavy for its size. Don’t forget to check all around it for any soft spots. If you want to carve it, look for one with smooth skin to make it easier to create your design.
Where to buy or pick a pumpkin
You can find pumpkins at lots of places like a grocery store, a road-side stand, or a pumpkin patch. Going to a pumpkin patch can be extra fun because you can enjoy a hayride and pick your very own pumpkin right from the field. Also, when you get your pumpkin from a pumpkin patch, you’re helping local farmers, which is always a nice thing to do.
Determining the right size and shape for designs
Think about the design you want to make on your pumpkin. If you want to draw a big, scary face, look for a big pumpkin with a nice, tall front side. For smaller designs or words, a smaller, rounder pumpkin might be best. And remember, a pumpkin that seems too tall or too wide might actually be perfect for some designs. Let your imagination help you choose!
Gathering Essential Carving Tools
Basic tools needed for carving
To carve your pumpkin, you’ll need some important tools. A big, sturdy spoon or a special pumpkin scoop is needed to scrape out the seeds and the stringy bits. For the carving, you’ll need a small, sharp knife and maybe a few different sizes to help with the details. Remember, these tools are sharp, so you’ll need an adult to help with this part.
Specialized carving kits
You can also find special pumpkin carving kits at the store. These kits often have tools that are made just for pumpkin carving, like little saws that are safer for your fingers. They come with different shapes to help cut out eyes and mouths or any other cool design you can think of.
Safety tips for using carving tools
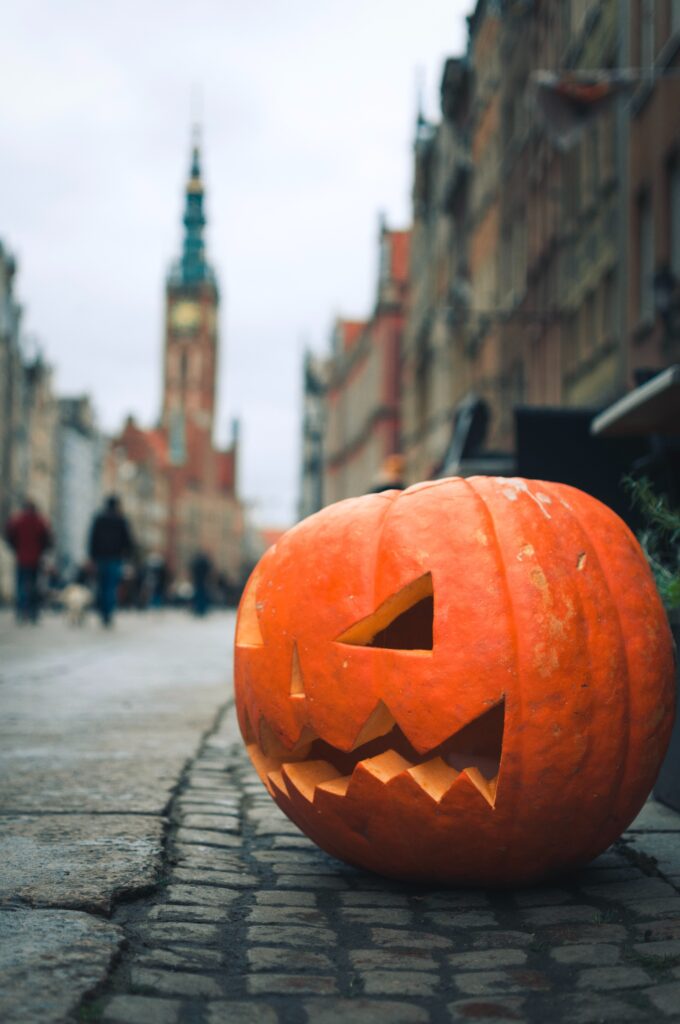
Carving a pumpkin should be fun, but we should always be safe. Always have an adult help you when using the sharp tools. Keep your tools pointed away from you and use gentle, slow motions. Make sure your hands and the pumpkin are dry so you don’t slip. And don’t forget to clean up and put away all sharp tools when you’re done.
This image is property of images.unsplash.com.
Preparing Your Workstation
Covering and protecting surfaces
Before you start carving, you need to prepare the place where you’ll work. You can use old newspapers or plastic bags to cover the table and protect it from the pumpkin mess. This makes cleaning up a lot easier when you’re done.
Organizing tools and materials
Have all your tools, a big bowl for the pumpkin seeds, and paper towels ready on the covered table. Make sure you know where everything is before you start so you won’t have to look for things with messy hands.
Maintenance and cleanup tips
Your hands and tools will get sticky from the pumpkin’s inside, so keep paper towels nearby to wipe your hands and the tools. Once you’re done carving, wrap up the newspapers or plastic bags with all the pumpkin goo and throw it away. If you save the seeds, you can clean them and roast them later for a tasty snack.
Pumpkin Carving Techniques
Traditional carving methods
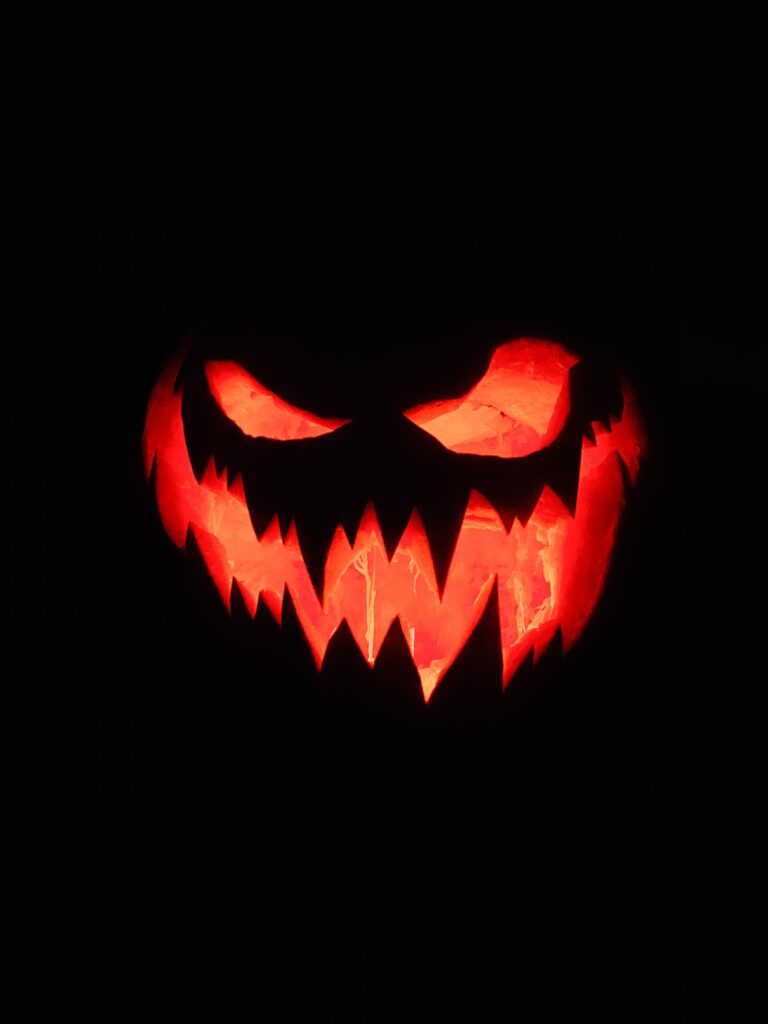
The classic way to carve a pumpkin is to cut out a lid on the top, take out all the insides, and then cut out a face or a shape on the front. The shapes can be triangle eyes, a nose, and a zigzag mouth – this is the traditional Jack-o’-lantern face.
Using stencils for intricate designs
If you want to make a really fancy design, you can use a stencil. This is a paper with a pattern on it. You tape the stencil onto your pumpkin and then poke little holes along the lines of the design. When you take the paper off, you’ll see the dotted outline to follow when carving.
Creative alternatives to carving
You don’t always have to carve to decorate a pumpkin. You can draw on it with markers or paint it with different colors. Some people even use things like fabric, paper, or stickers to dress up their pumpkins in fun ways. This can be a good choice if you’re not ready to carve.
This image is property of images.unsplash.com.
Transferring Your Design
Sketching designs freehand
If you like to draw, you can sketch your design directly onto the pumpkin with a pen or a marker. If you make a mistake, you can wipe it off with a wet cloth and try again. This way allows you to create anything your imagination comes up with.
Applying stencil designs to the pumpkin
If you’re using a stencil, tape it nice and flat against your pumpkin where you want your design to be. Then, use a tool to poke holes along the stencil lines. These holes make a pattern for you to carve. After you finish making holes, gently peel the stencil off and you’ll see your design!
Tracing and scoring methods
Another way to transfer a design is by using a tracing wheel or a poking tool to gently score the design onto the pumpkin’s surface. Score means you make a shallow cut just on the surface. This is like joining the dots or drawing a light outline that you can then carve more deeply.
Carving Step-by-Step
Cutting the lid and removing seeds
First, draw a circle or a hexagon around the stem of the pumpkin. Then your adult helper will use a knife to cut along the line and make a lid. Pull the lid off and you’ll see all the seeds and strings inside. Use your big spoon or scoop to scrape it all out into a bowl.
Thinning the pumpkin wall
Sometimes, the inside walls of the pumpkin can be very thick. If you have a really thick pumpkin, scrape some of the wall from the inside to make it thinner. This helps when you start to carve the design and can also make your pumpkin glow brightly if you put a light inside.
Executing the design carving
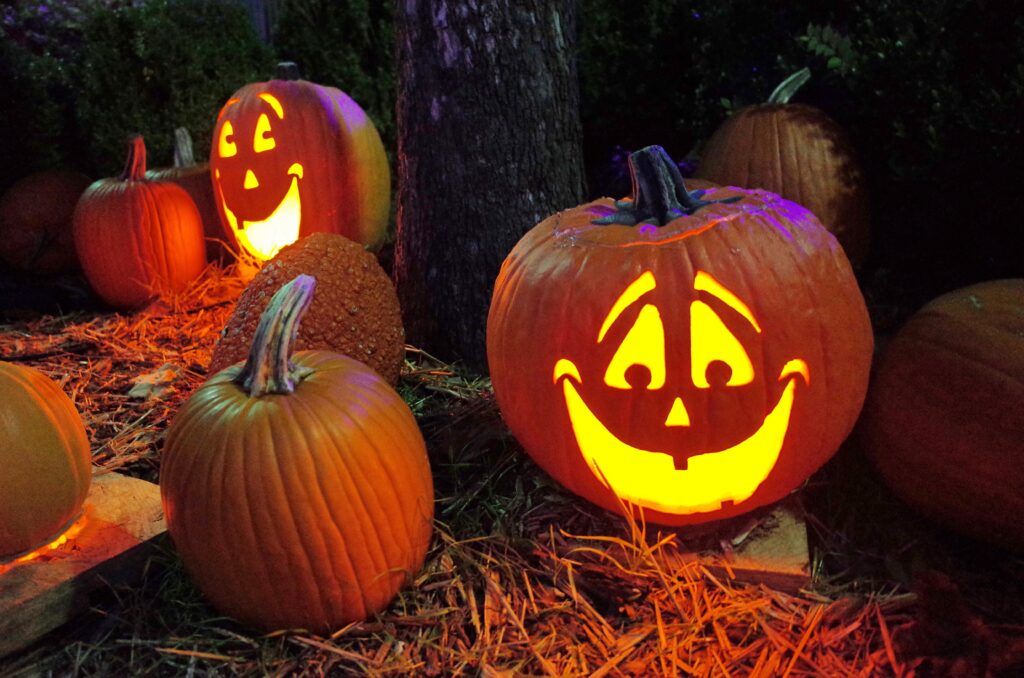
Now it’s time to carve your design. Start with the biggest parts first and then do the smaller details last. Go slowly and carefully follow the lines you made from your design. If you accidentally cut off a piece you didn’t mean to, you can use a toothpick to stick it back on.
This image is property of images.unsplash.com.
Themed Pumpkin Carving Ideas
Classic Halloween motifs
Spooky faces, witches, ghosts, and cats are some of the most popular Halloween designs. You can also carve things like bats, moons, and stars to stick with the Halloween theme.
Pop culture and character-themed pumpkins
You can carve your pumpkin to look like your favorite movie or book character. Think about superheroes, cartoon characters, or even scenes from stories. These can be tricky, so you might need a stencil to help.
Elegant and sophisticated design concepts
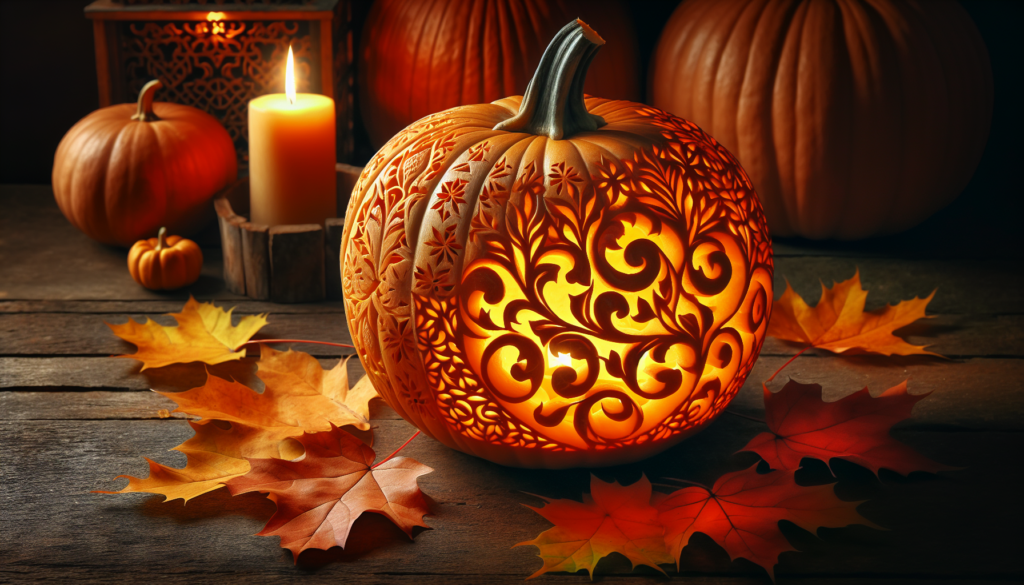
If you want something less scary and more stylish, try carving patterns like leaves, vines, or even words. You can also carve scenes like a haunted house on a hill or a witch flying on her broom.
Creating Pumpkin Masters
Advanced carving techniques for pros
Some people get really good at carving pumpkins and can do amazing things like shading, where they scrape the pumpkin skin to let different amounts of light through. This makes a picture come to life.
Incorporating lighting effects
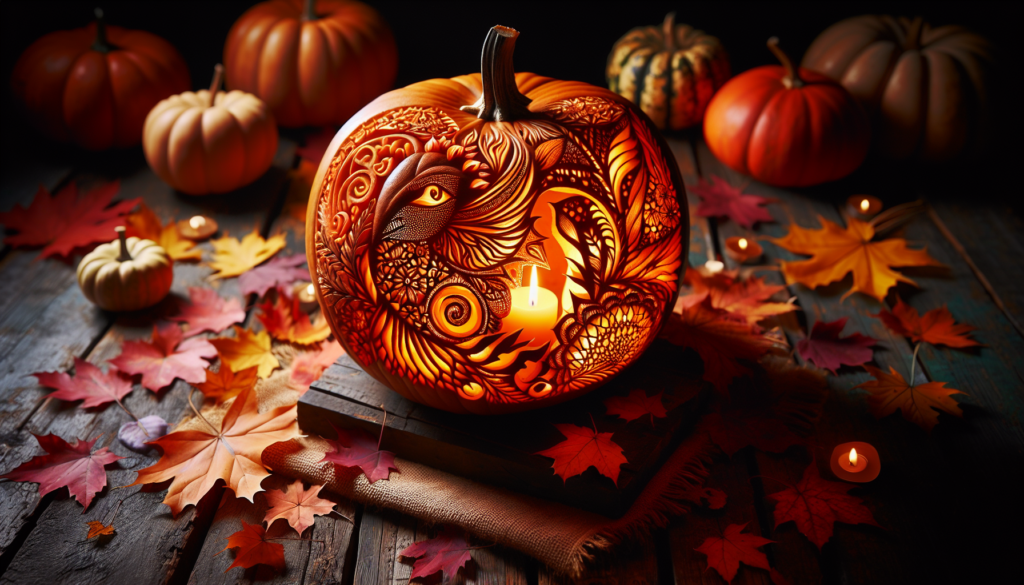
Putting lights inside your carved pumpkin can make it super cool at night. You can use candles, little LED lights, or even colorful lights to make your pumpkin glow in special ways.
Preservation methods for your carved masterpiece
After all your hard work, you want your pumpkin to last. Spraying it with a mix of water and bleach can help prevent mold, and you can also rub petroleum jelly on the cut edges to keep it from drying out too quickly.
Non-Carving Pumpkin Decoration
Painting and decorating alternatives
Besides carving, painting pumpkins is a lot of fun. You can use bright colors or make patterns and pictures. Decorating with stickers, glitter, or even dressing your pumpkin with a hat can look very cool.
Using natural materials for decoration
Leaves, twigs, berries, and even flowers can dress up a pumpkin in a natural way. You can glue these items on to make fun patterns or to turn your pumpkin into a creature like an owl or a turkey.
Kid-friendly pumpkin crafts
If you’re not ready for carving, there are lots of crafts you can do. You could make a pumpkin out of paper plates, or create a pumpkin collage with different fabrics and papers. Just have fun and be creative.
Combining Carving with Other Crafts
Incorporating mixed media and materials
You can mix carving with painting or decorating to make a unique pumpkin. Carve a small design and then paint the rest. Or carve it and then add things like hats, glasses, or even a yarn wig.
Themed craft pairings for a complete look
Think about your Halloween costume or your home decorations and match your pumpkin to them. If you’re a pirate, maybe your pumpkin could have a pirate hat and an eyepatch.
Interactive pumpkin crafts for added fun
Create a pumpkin that has something extra, like a mouth that opens to reveal candy for trick-or-treaters, or wings that flap. These little surprises make your pumpkin not just a decoration, but a fun part of your Halloween.
Remember, no matter how you decide to decorate your pumpkin, the most important thing is to have fun and be creative. Happy Halloween crafting!
Halloween Pumpkin Carving Crafts Read More »

