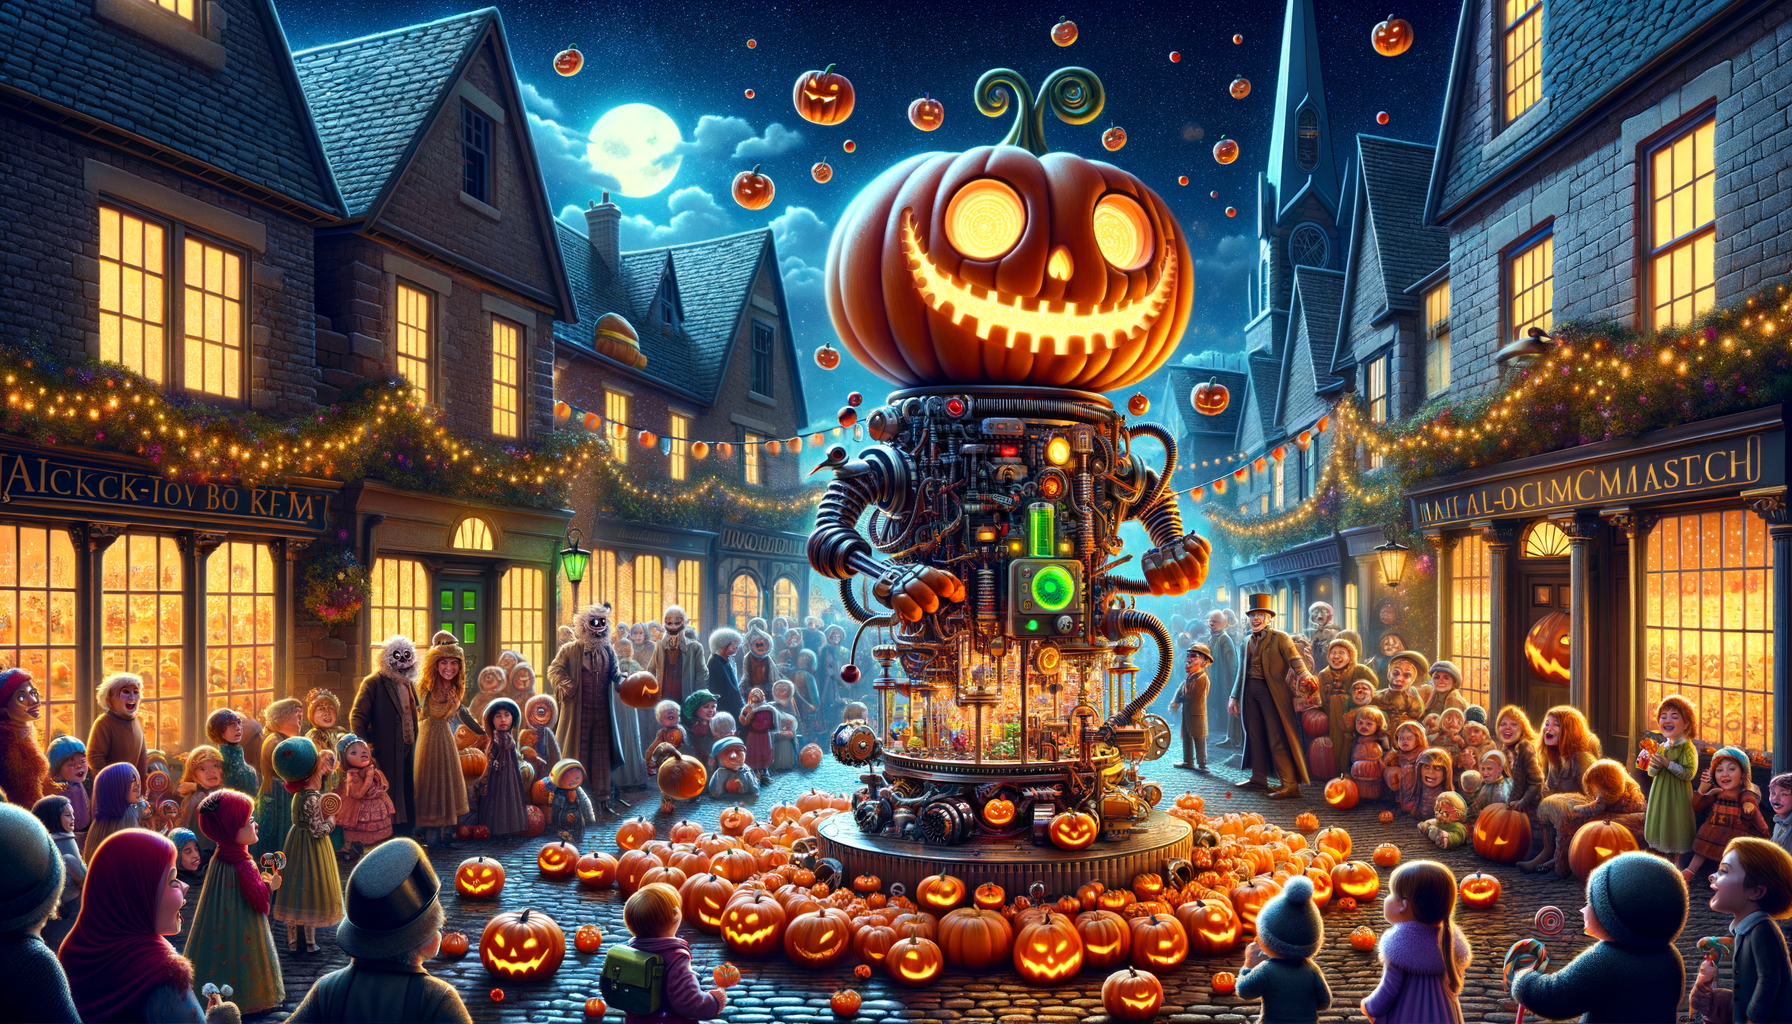
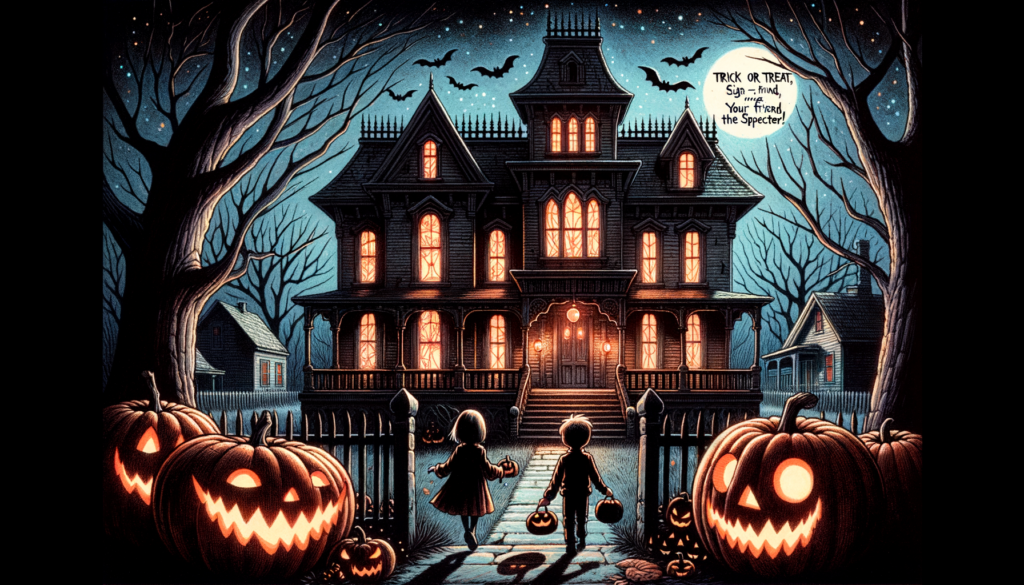
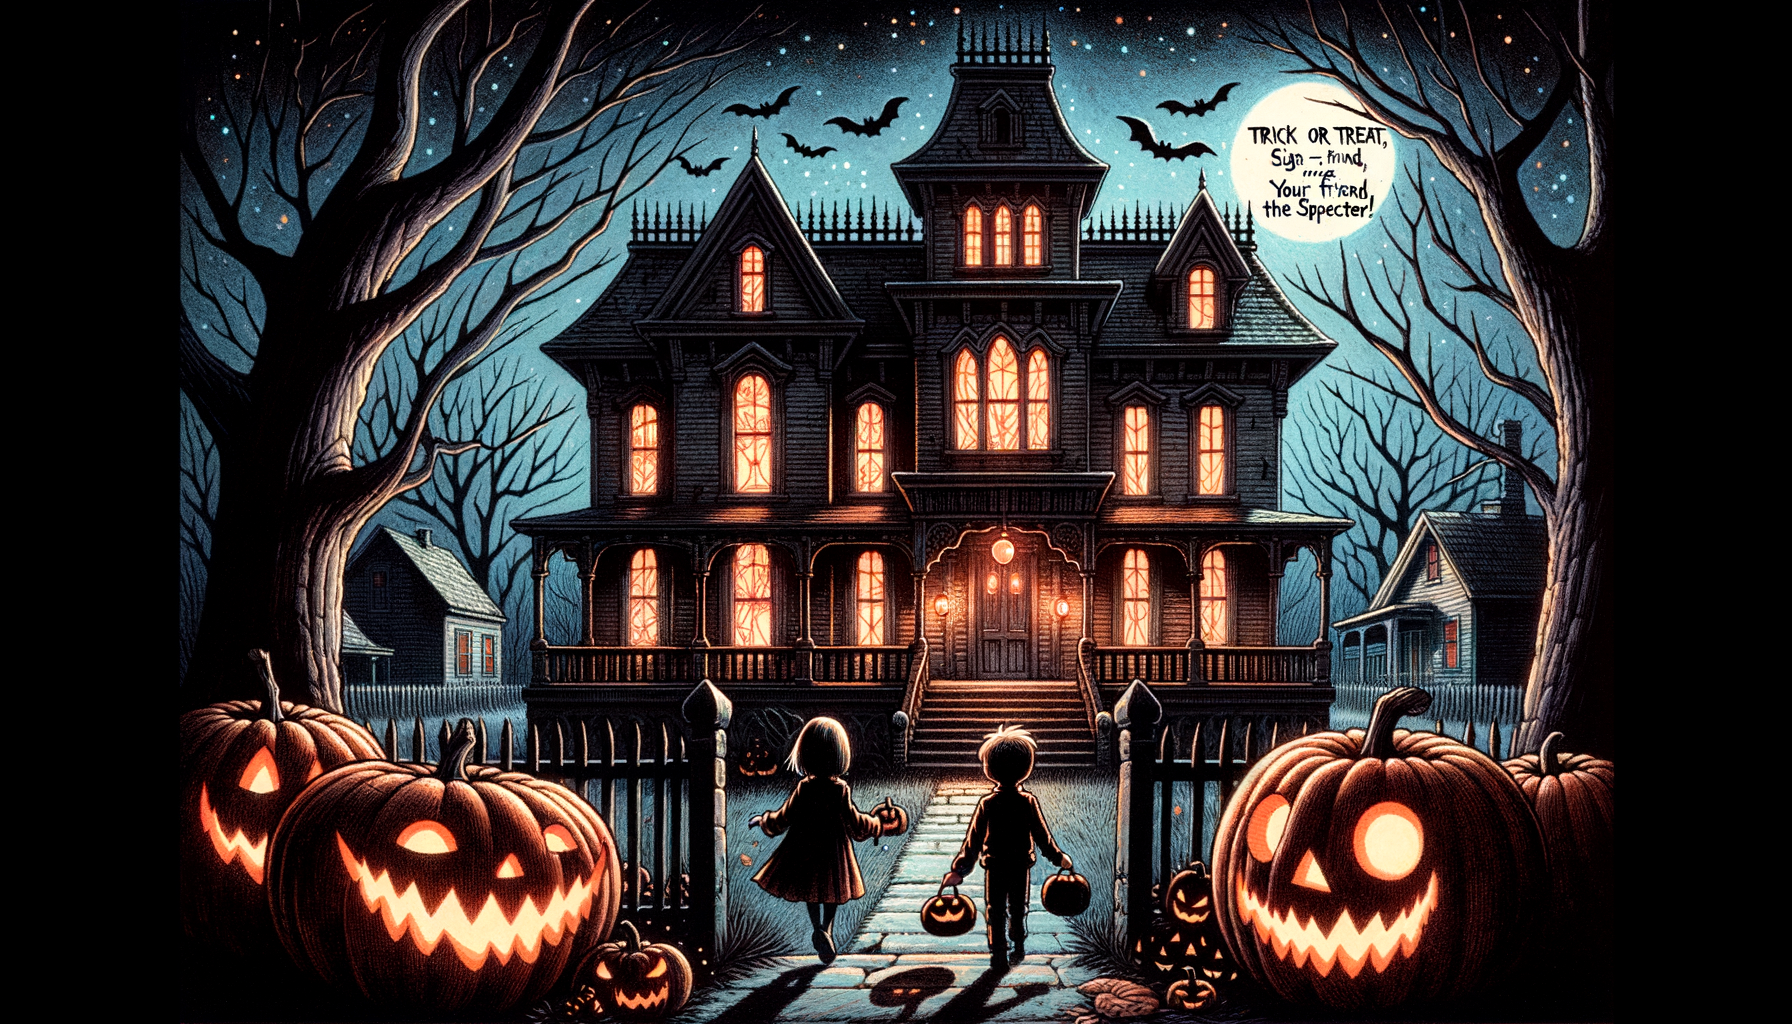
“The Haunted Candy Farm of Old Man Jenkins”
Once upon a Halloween night, cheeky children decked out in eerie costumes frequented the sidewalk, exchanging smiles and laughter. Their merriment was interrupted by a hastily told tale of old man Jenkins’ haunted farm, left barren for decades.
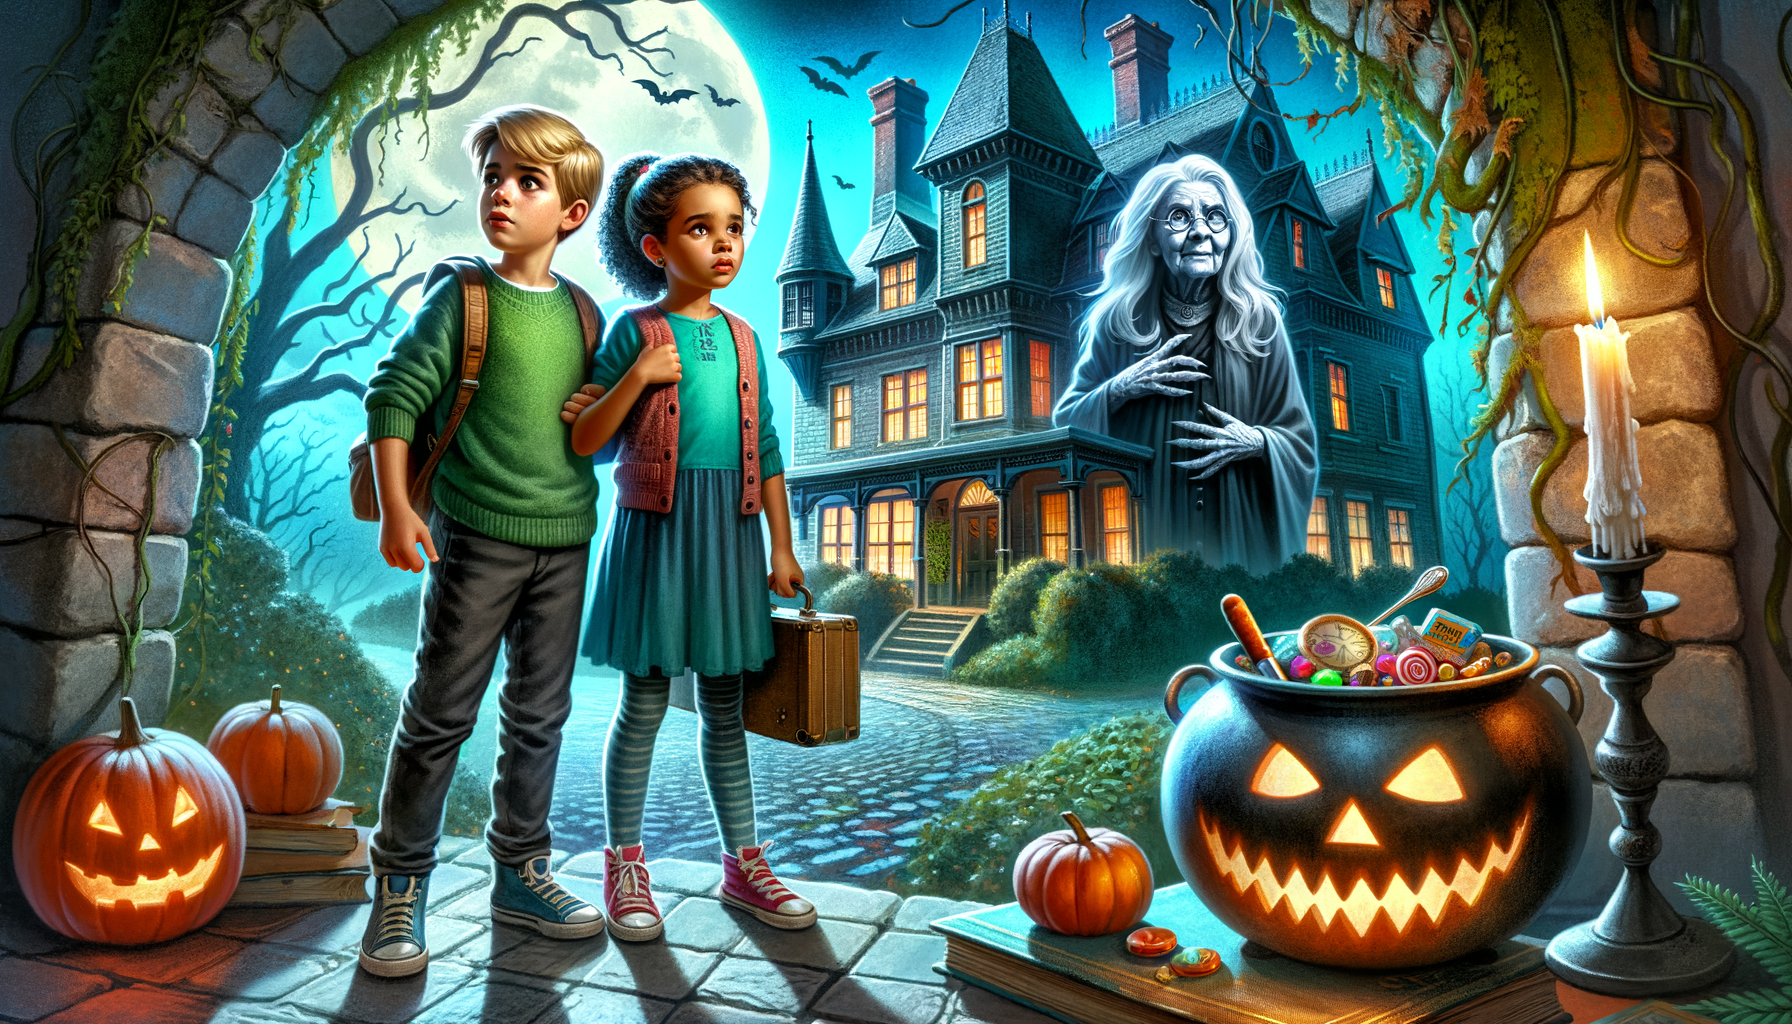
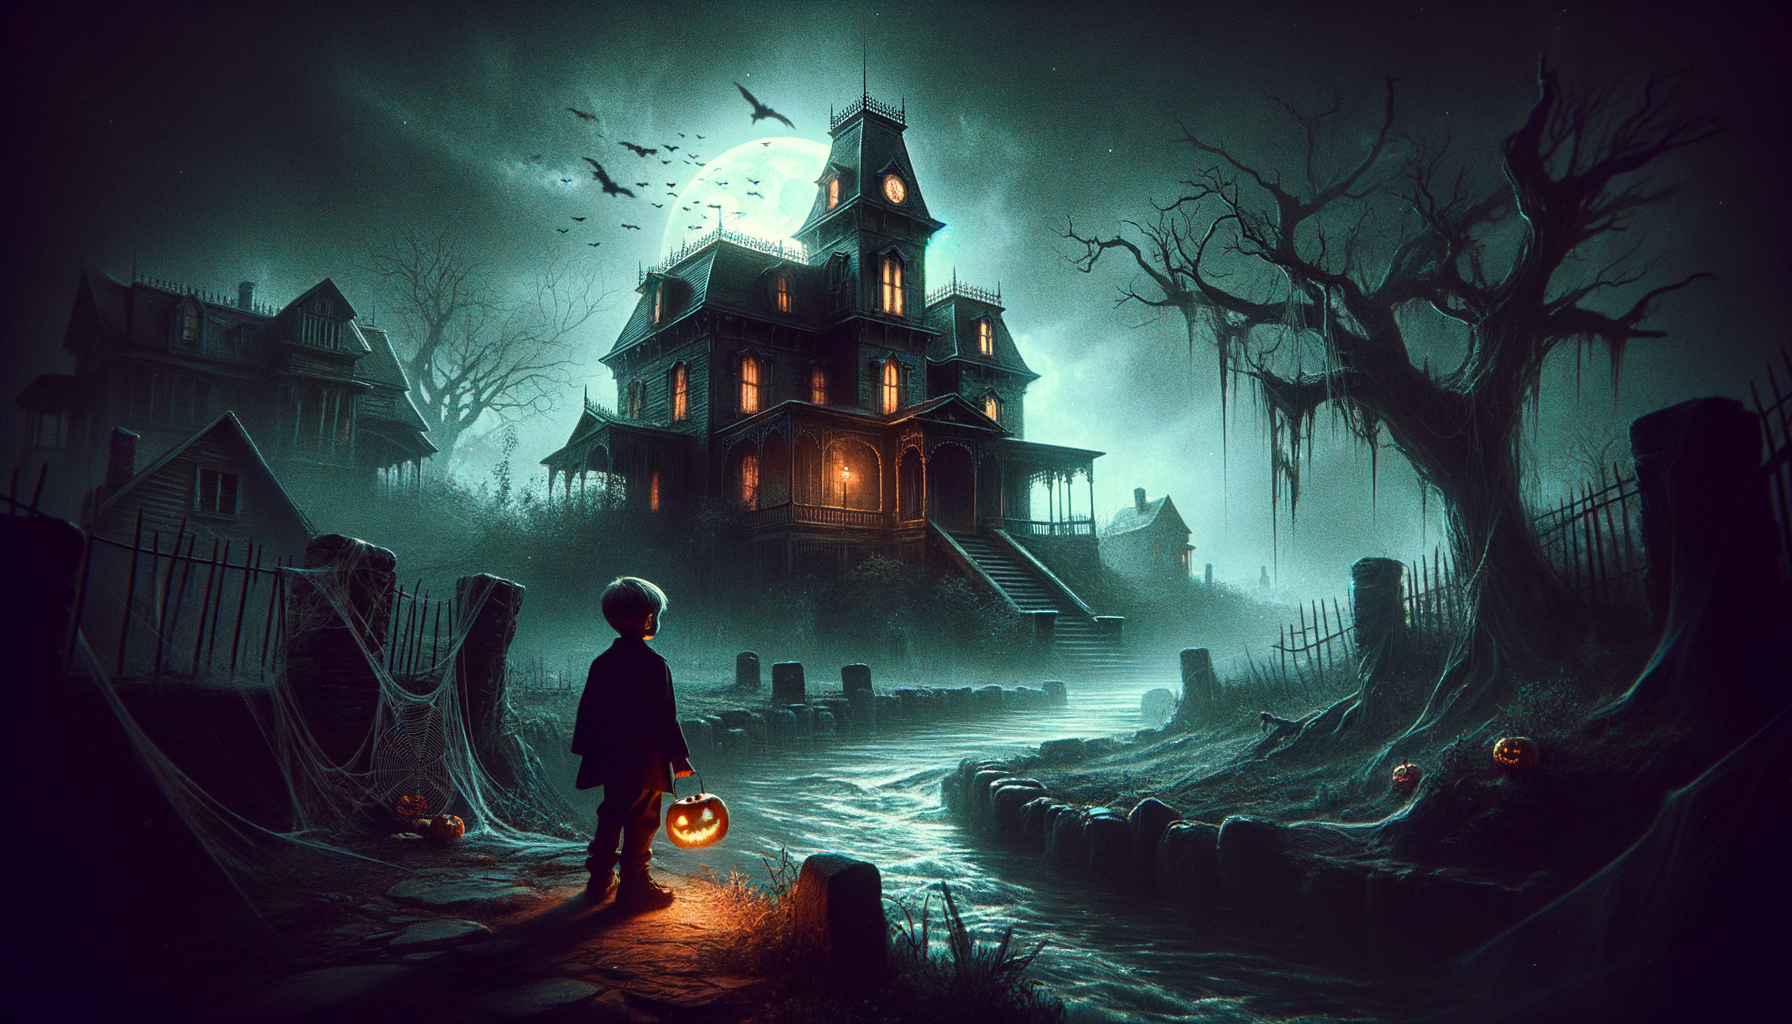
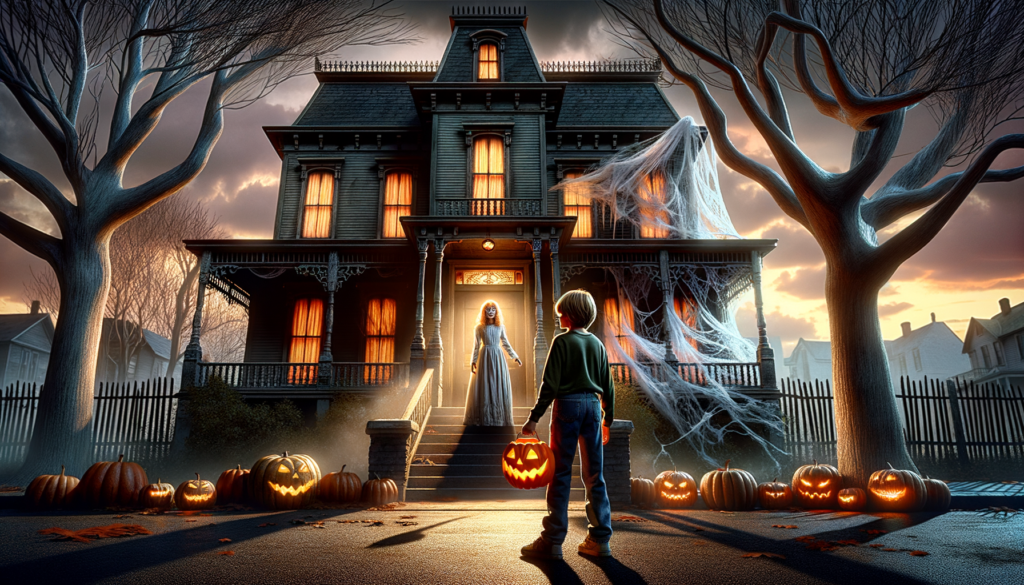
Filled with an adventurous spirit, they decided to visit the disturbing demeanor of the ramshackle homestead instead of the well-trodden candy trail. As they approached, a solitary light flickered in the window, casting daunting shadows onto the haggard barn. Fear began to consume their earlier courage.
They were about to turn heel, when a sweet scent wafted through the crisp autumn air. It was the tempting aroma of fresh candy corn! That was the little nudge they needed. They nervously shuffled to the creaky porch and knocked on the decaying door.
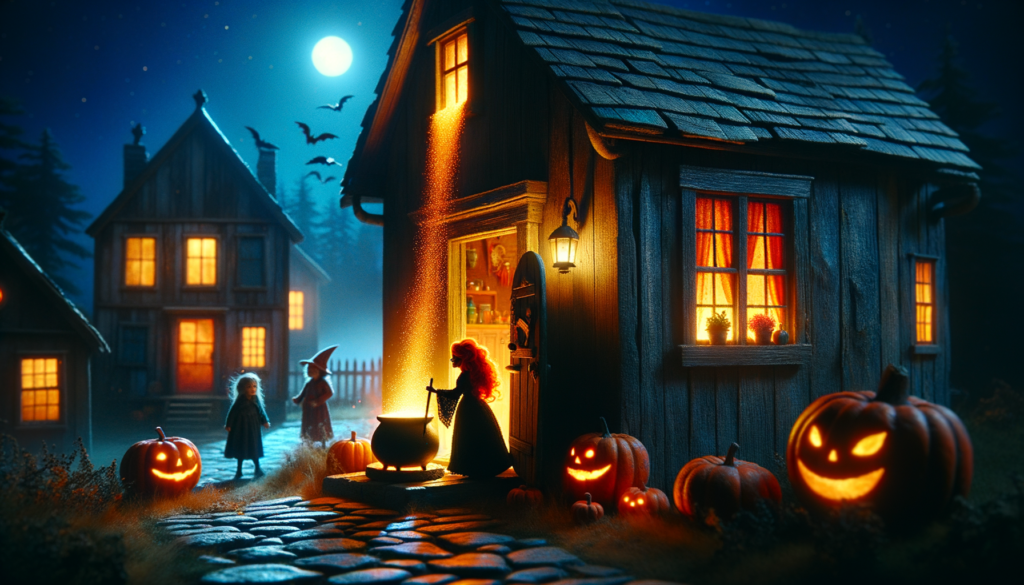
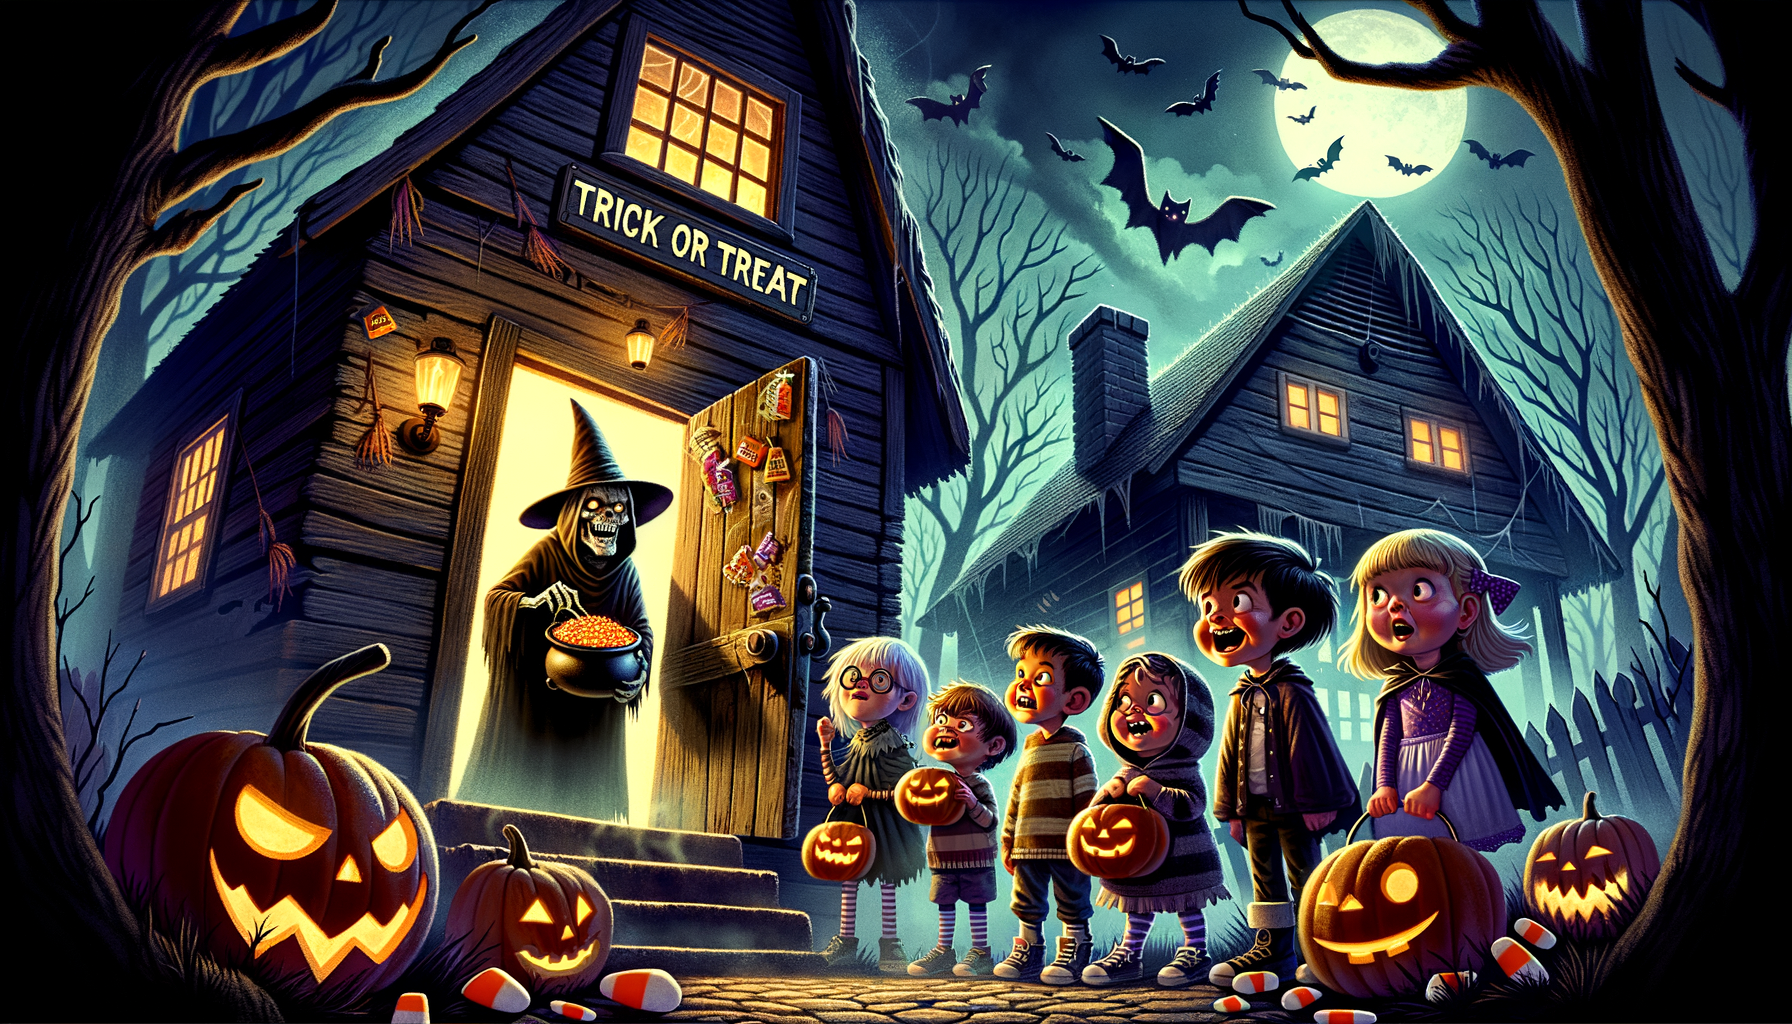
The door creaked open to reveal old man Jenkins, hunched and grinning beneath a pointed witch’s hat. He was stirring a cauldron full of candy corn. ‘Trick or treat’ echoed through the room. The children gasped.
“Gotcha!” he croaked with a mischievous wink. “Told you my farm was haunted… by the ghost of Halloween past! Now, who’s for candy?” So it was, the most terrifying place became their most favorite candy pit stop, and they lived every Halloween happily (and spookily) ever after.
“The Haunted Candy Farm of Old Man Jenkins” Read More »