“The Enchanted Legend of Timmy’s Halloween Trick”
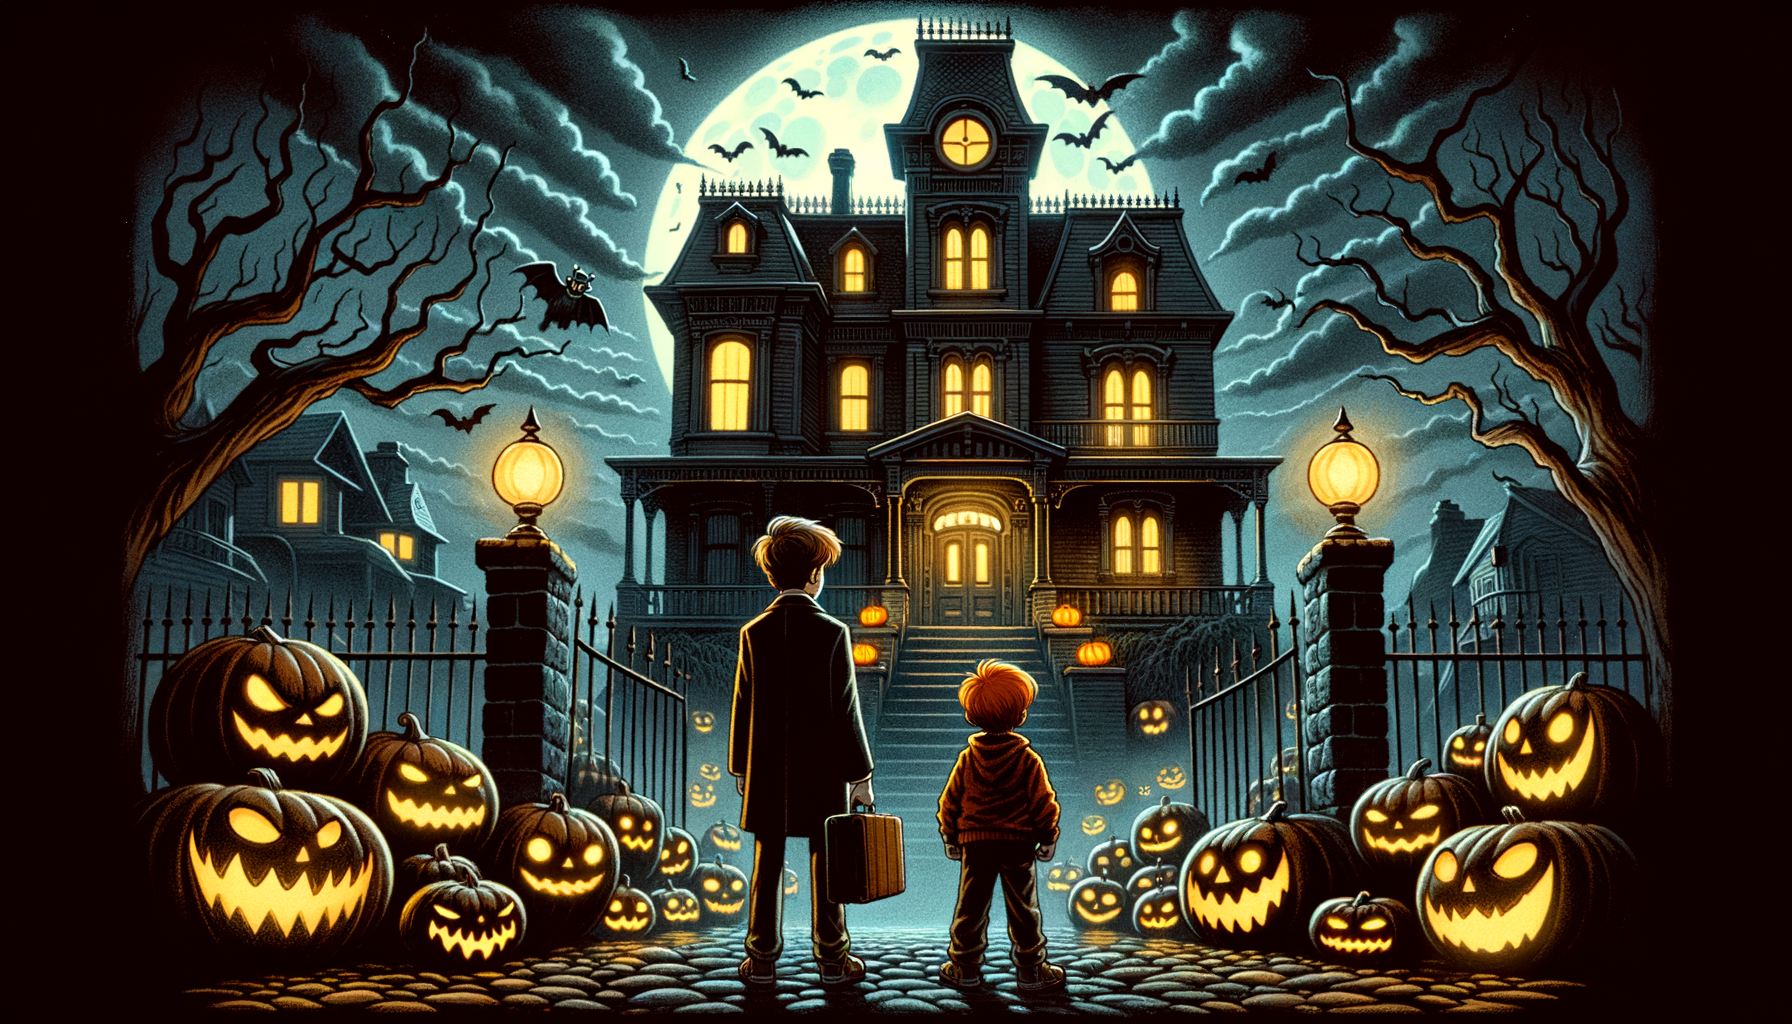
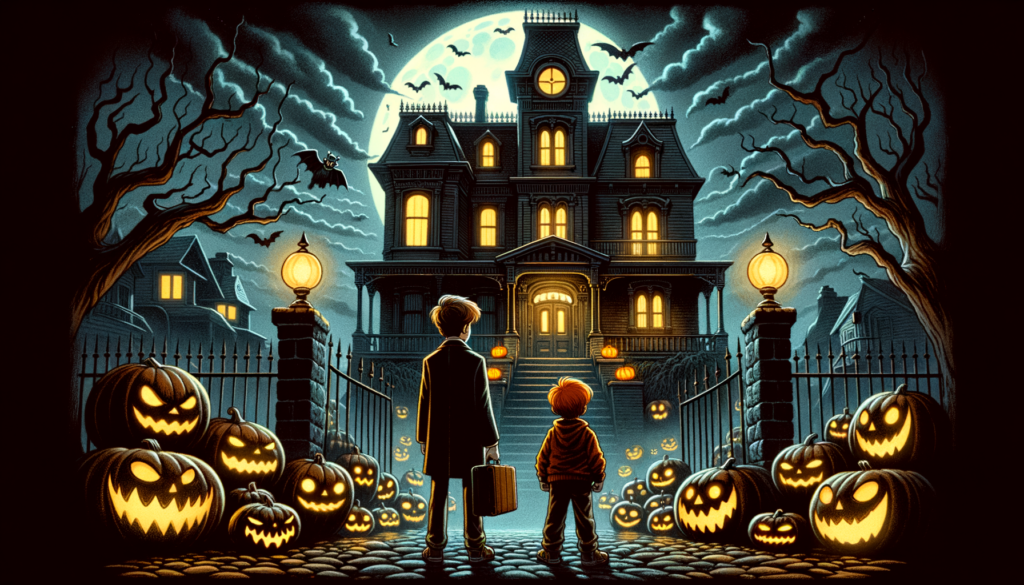
Once upon a Halloween night, a timid young boy named Timmy decided to venture into the town’s famously eerie mansion, looming darkly at the end of Creak Willow street. Historically owned by an eccentric old magician rumored to have a fondness for trickery, the mansion was an object of delicious terror among the children.
Timmy, summoning all his courage, tip-toed towards the mansion, the winds wailed, sending the jack-o-lanterns grinning wickedly. Pushing open the gigantic door, he was met with whispering darkness and the cold aroma of age and magic.
“Hello! Any wizards home?” Timmy quivered. Suddenly, an echoing laugh vibrated through the house, “At your service, young master!”. A shadow unfurled into an astonishing figure of an aged wizard, his eyes twinkling mischief. Stricken with awe, Timmy could only stutter, “T-trick or Treat?”
With a chuckle, the wizard said, “Or, you say? Very well”. A flick of his wand and poof! Timmy transformed into a jack-o-lantern, finding himself grinning wickedly outside the mansion.
From then on, every Halloween, Timmy, the bravest pumpkin on Creak Willow Street, sat proud and enchanted, reminding everyone that when you wish for a trick, you might just get treated!
“The Enchanted Legend of Timmy’s Halloween Trick” Read More »