Title: “The Specter of Fiddleback: The Spooky Power of a ‘Moo'”

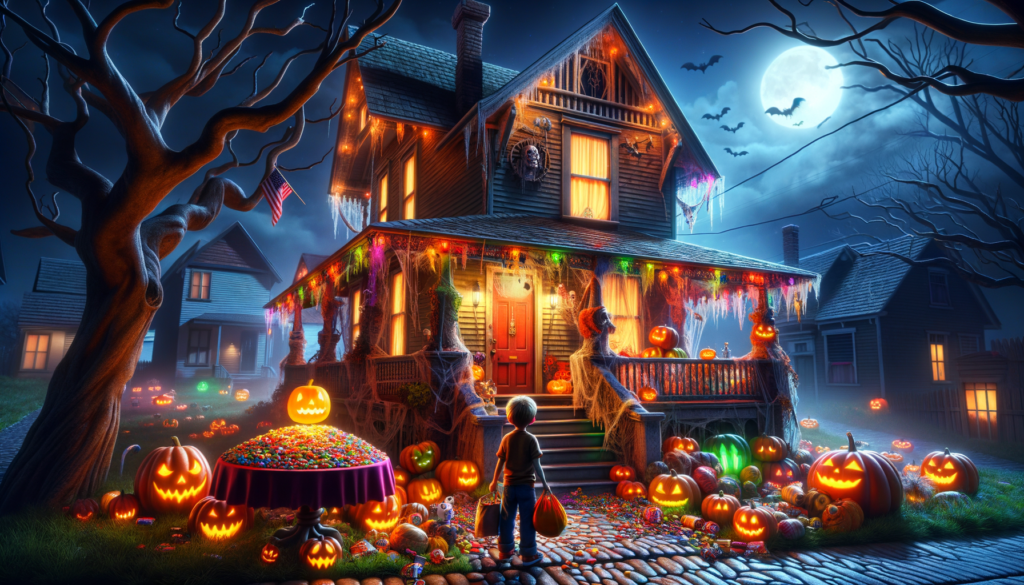
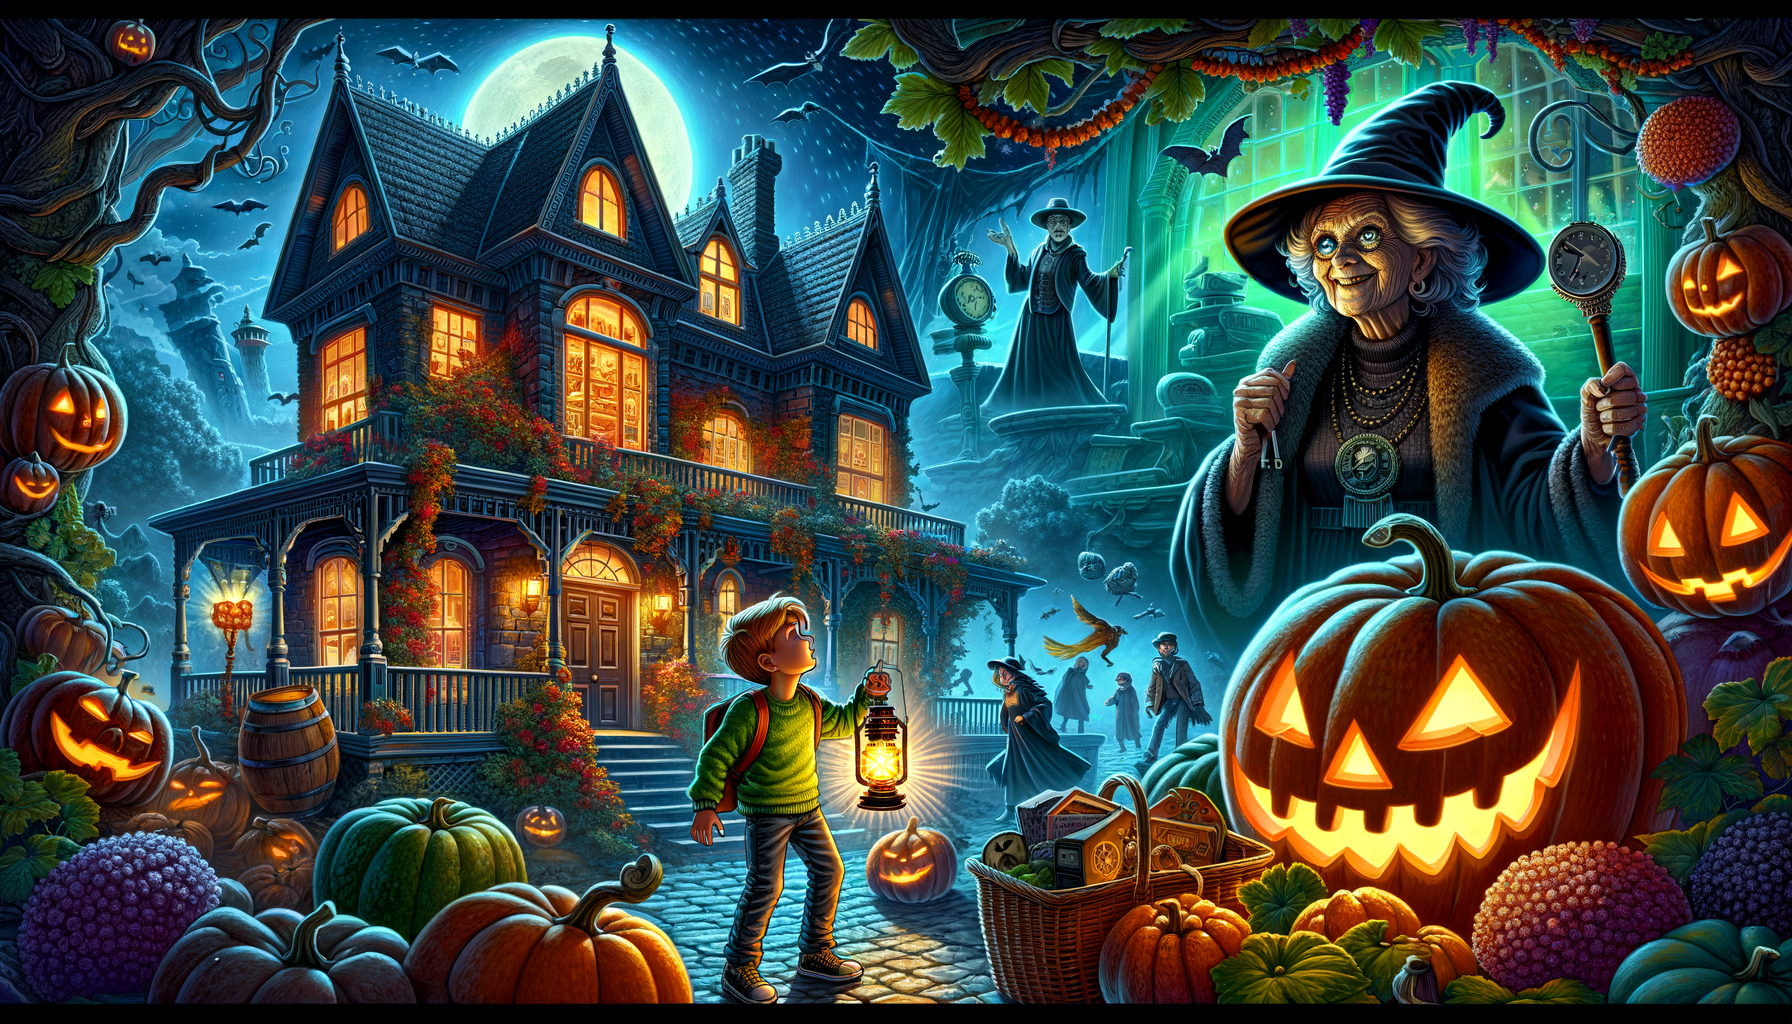
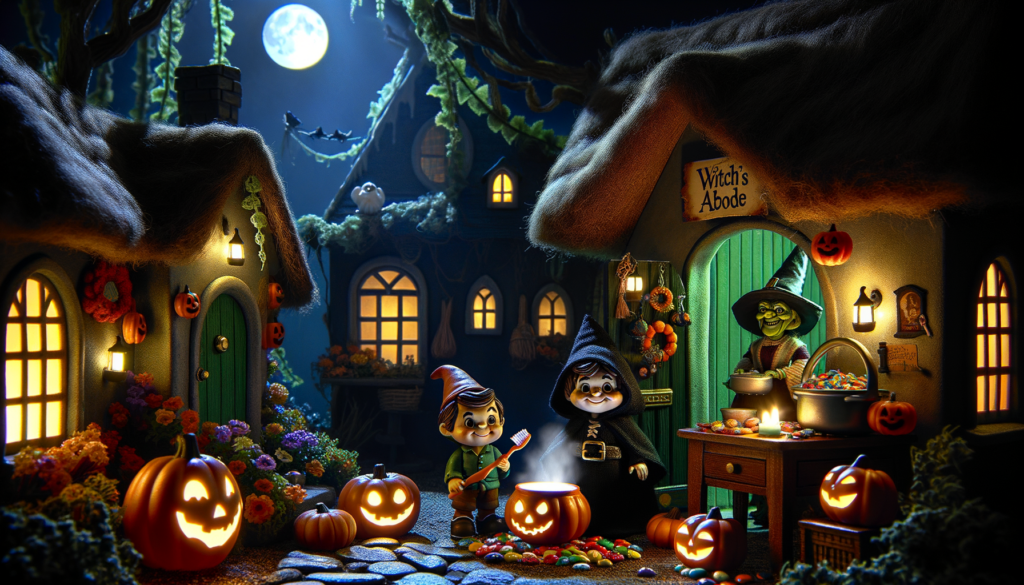
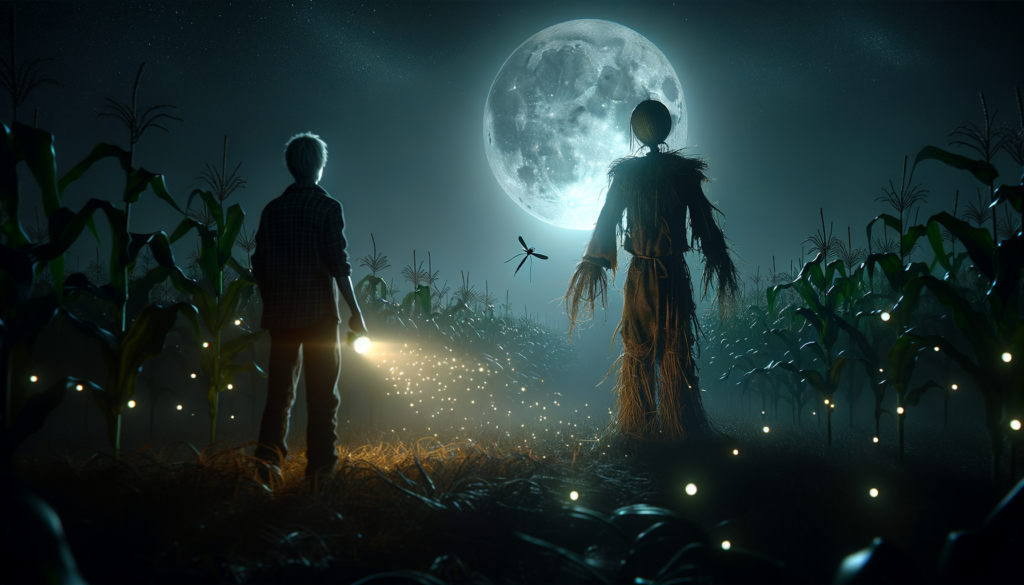
Once upon a tombstone black, in the town of Fiddleback, lived a little ghost named Jamboree, the spook who couldn’t manage a single ‘Boo’. Everyone had tried to help, the brown witches down the street, even Igor, the harmless hunchback – Alas! It all ended in a pitiful ‘Poo’.
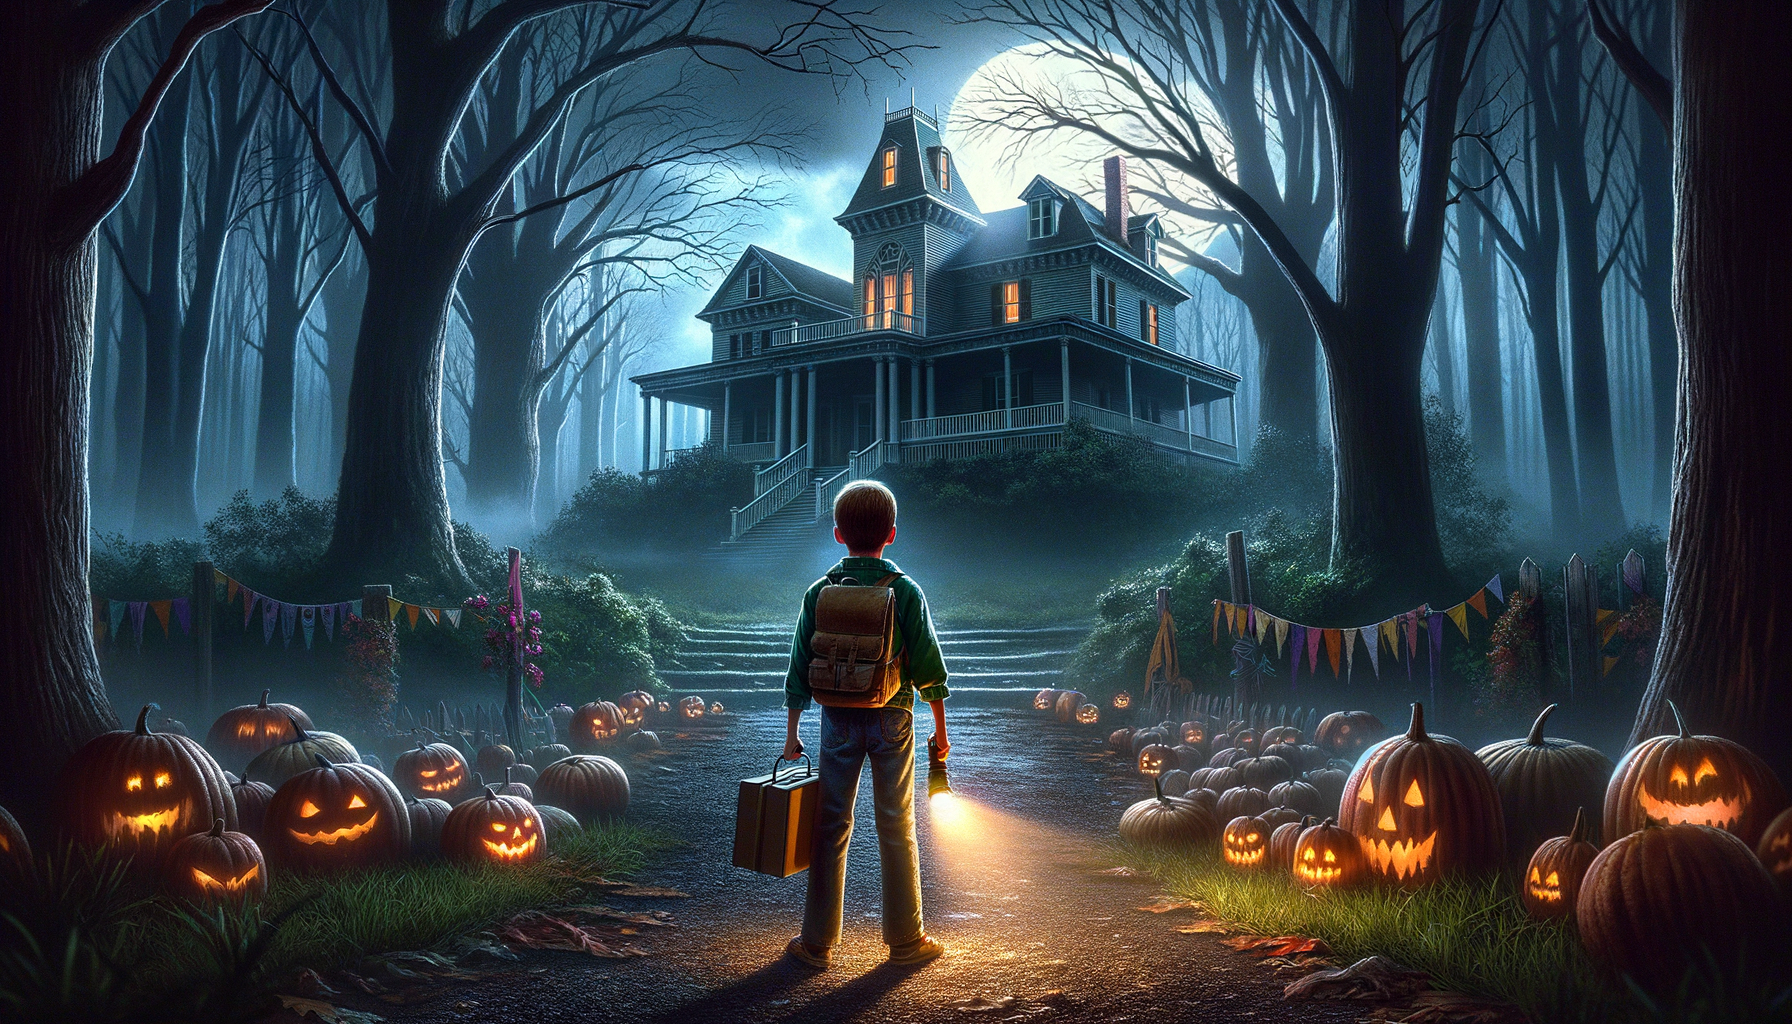
Until one Halloween night, as the moon shone large and bright, came a dreadful beast, a vampire named Count Drool. The town trembled and quaked, candles flickered and baked, as Drool threatened to turn them into ghoulish fuel.
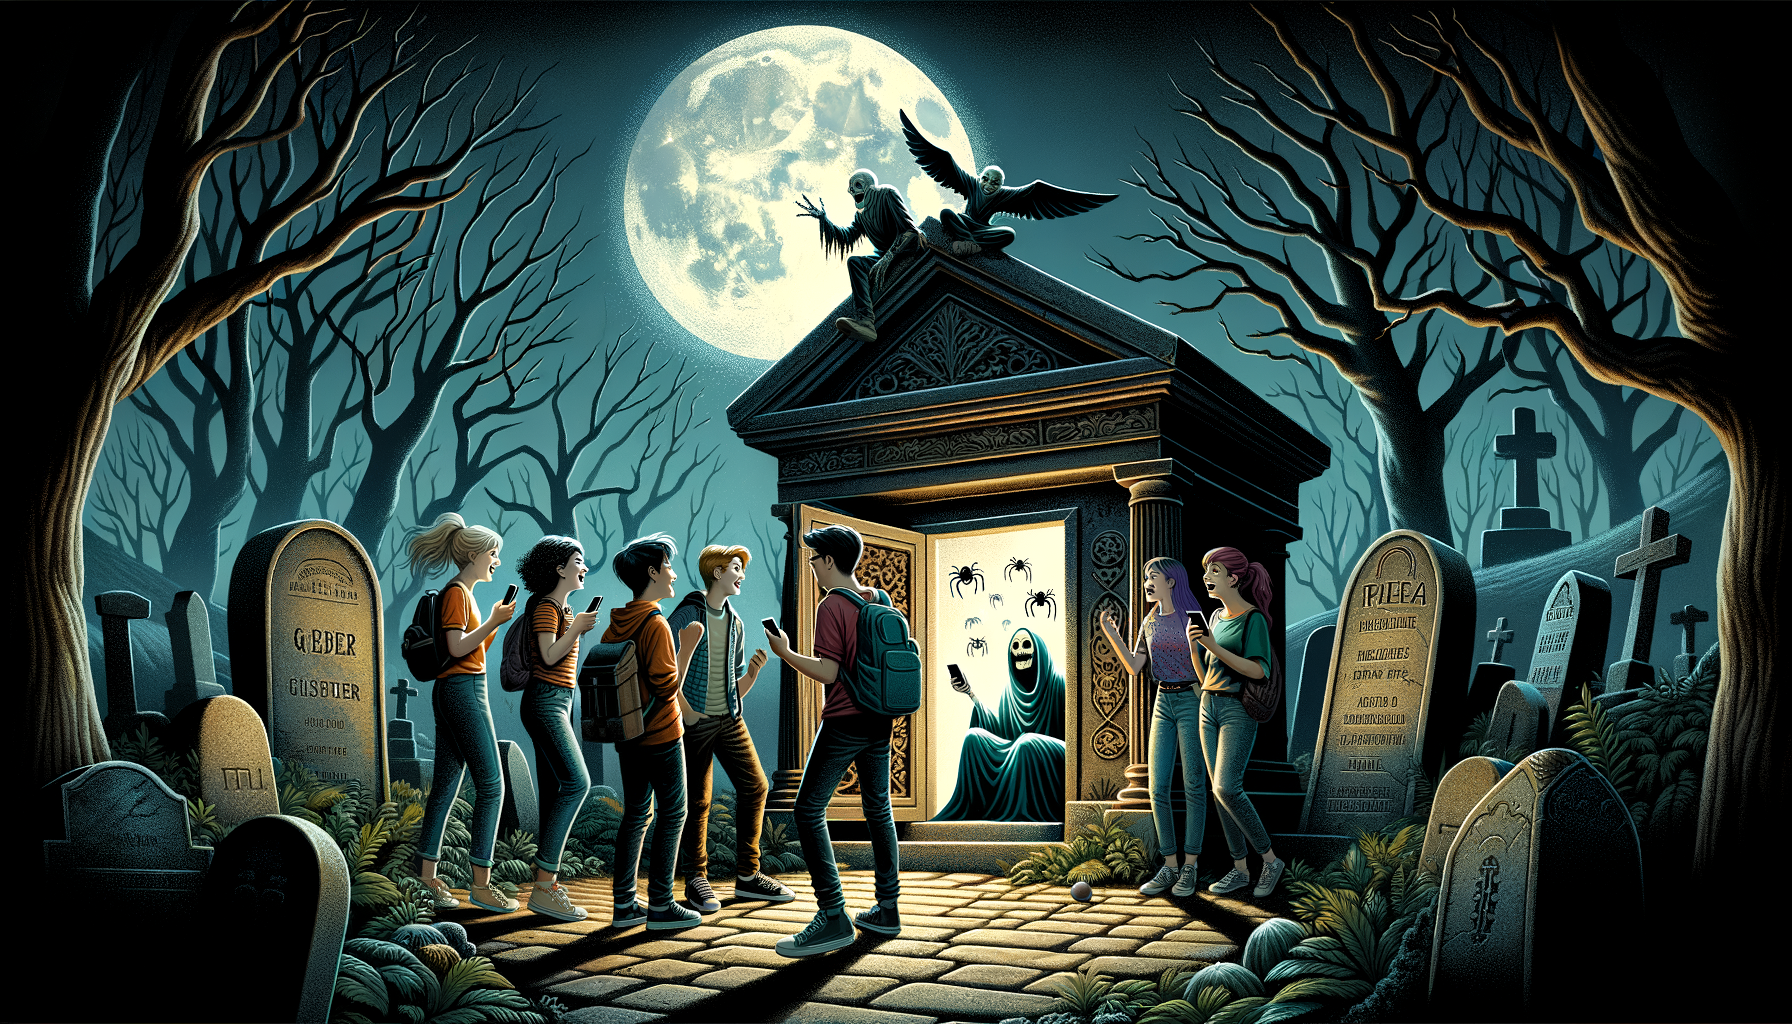
In floated Jamboree, quiet as the silent sea, his heart soft, yet filled with an untamed resolve. With all eyes glued to the little specter, who seemed upon a daring vector, he opened his mouth, and… ‘Moo’ echoed in the vault.
The blood sucker paused, jaws dropped, eyes crossed. Then, with a ‘pop’, turned into a bat, fleeing so fast, you’d lose your hat! The town erupted in cheer, and from that fateful year, no ‘Boo’ would do, for Fiddleback feared only the ‘Moo’.
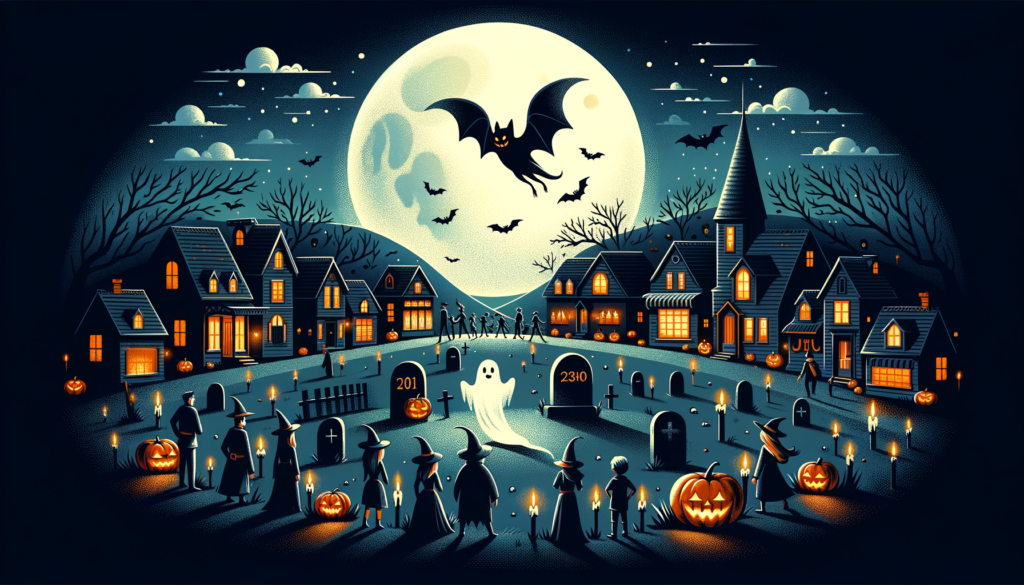
And so, every Halloween night, beneath the moon so bright, remember – when you aim to spook, an unexpected ‘Moo’ may be more profound than every ‘Boo’.
Title: “The Specter of Fiddleback: The Spooky Power of a ‘Moo'” Read More »