“The Whispering House: A Halloween Wish Come Alive”
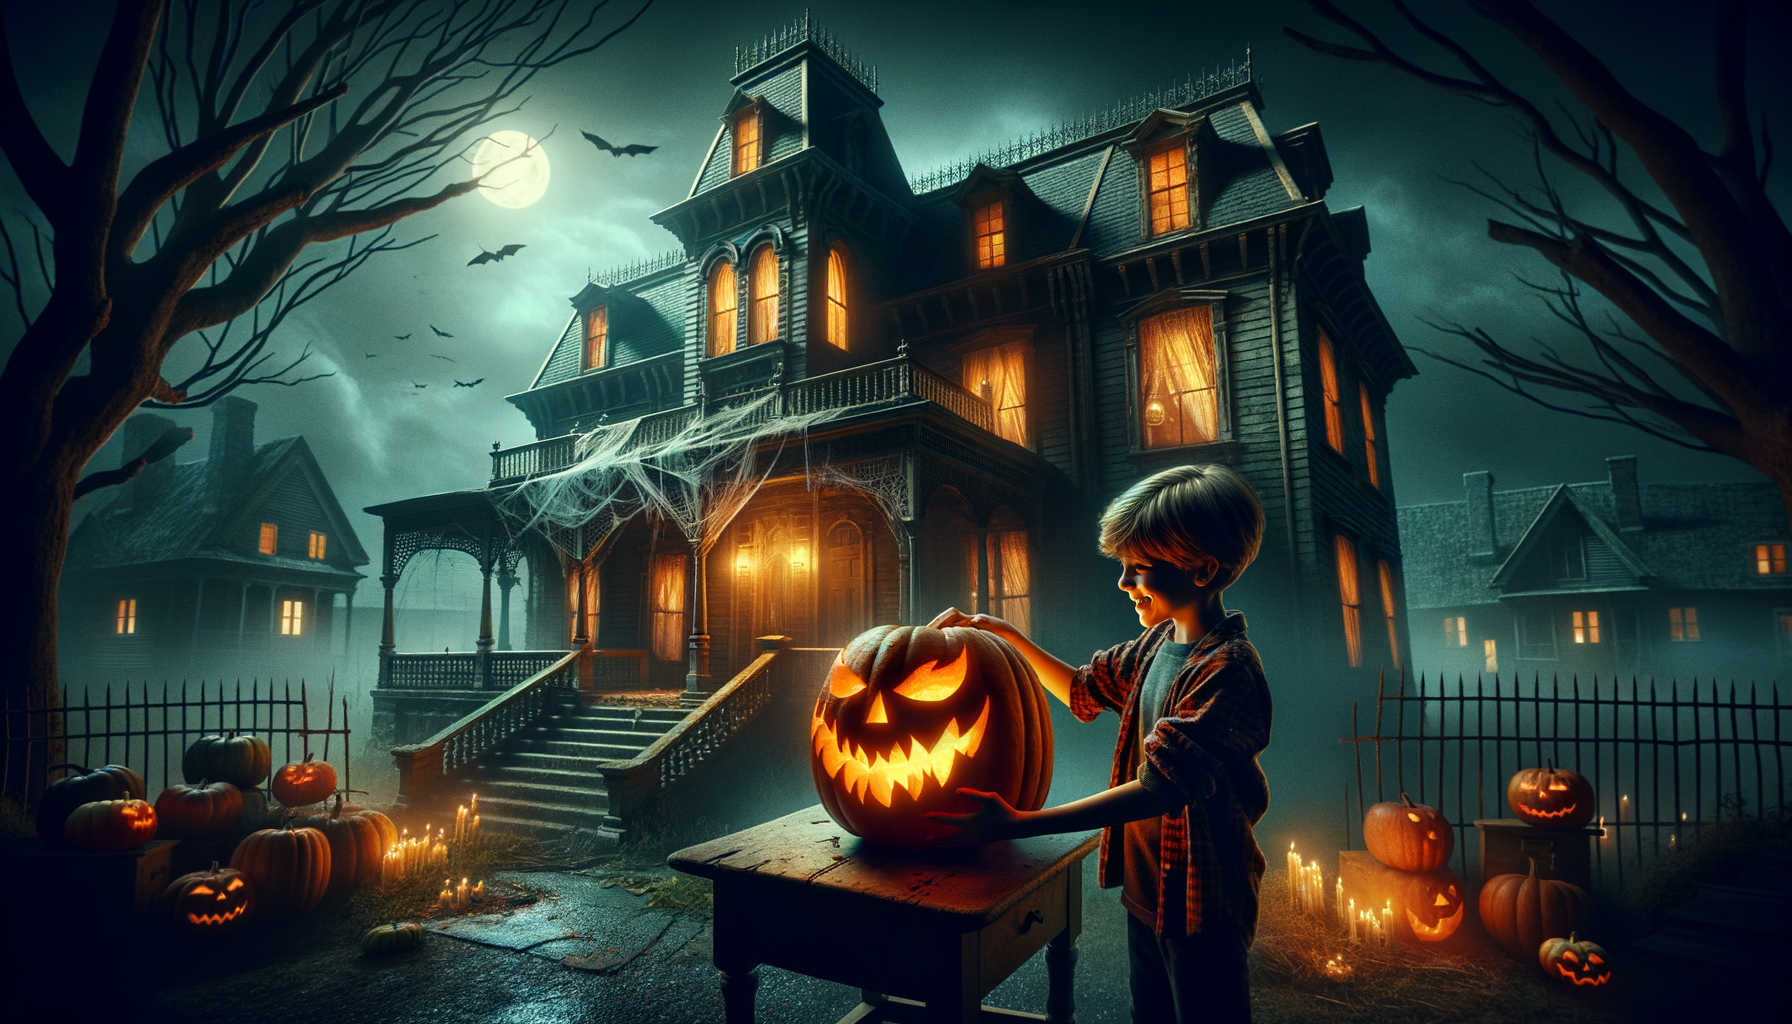
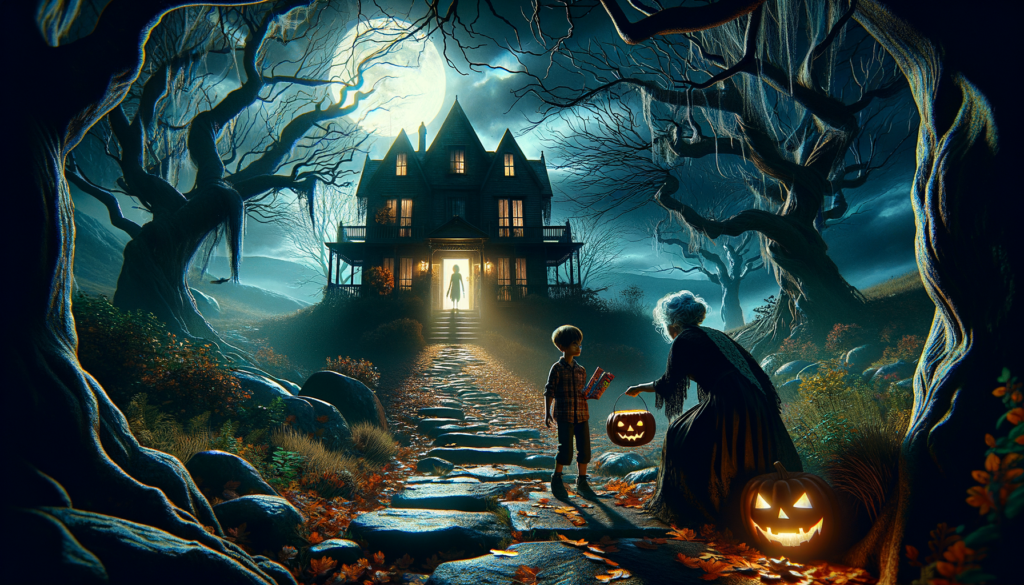
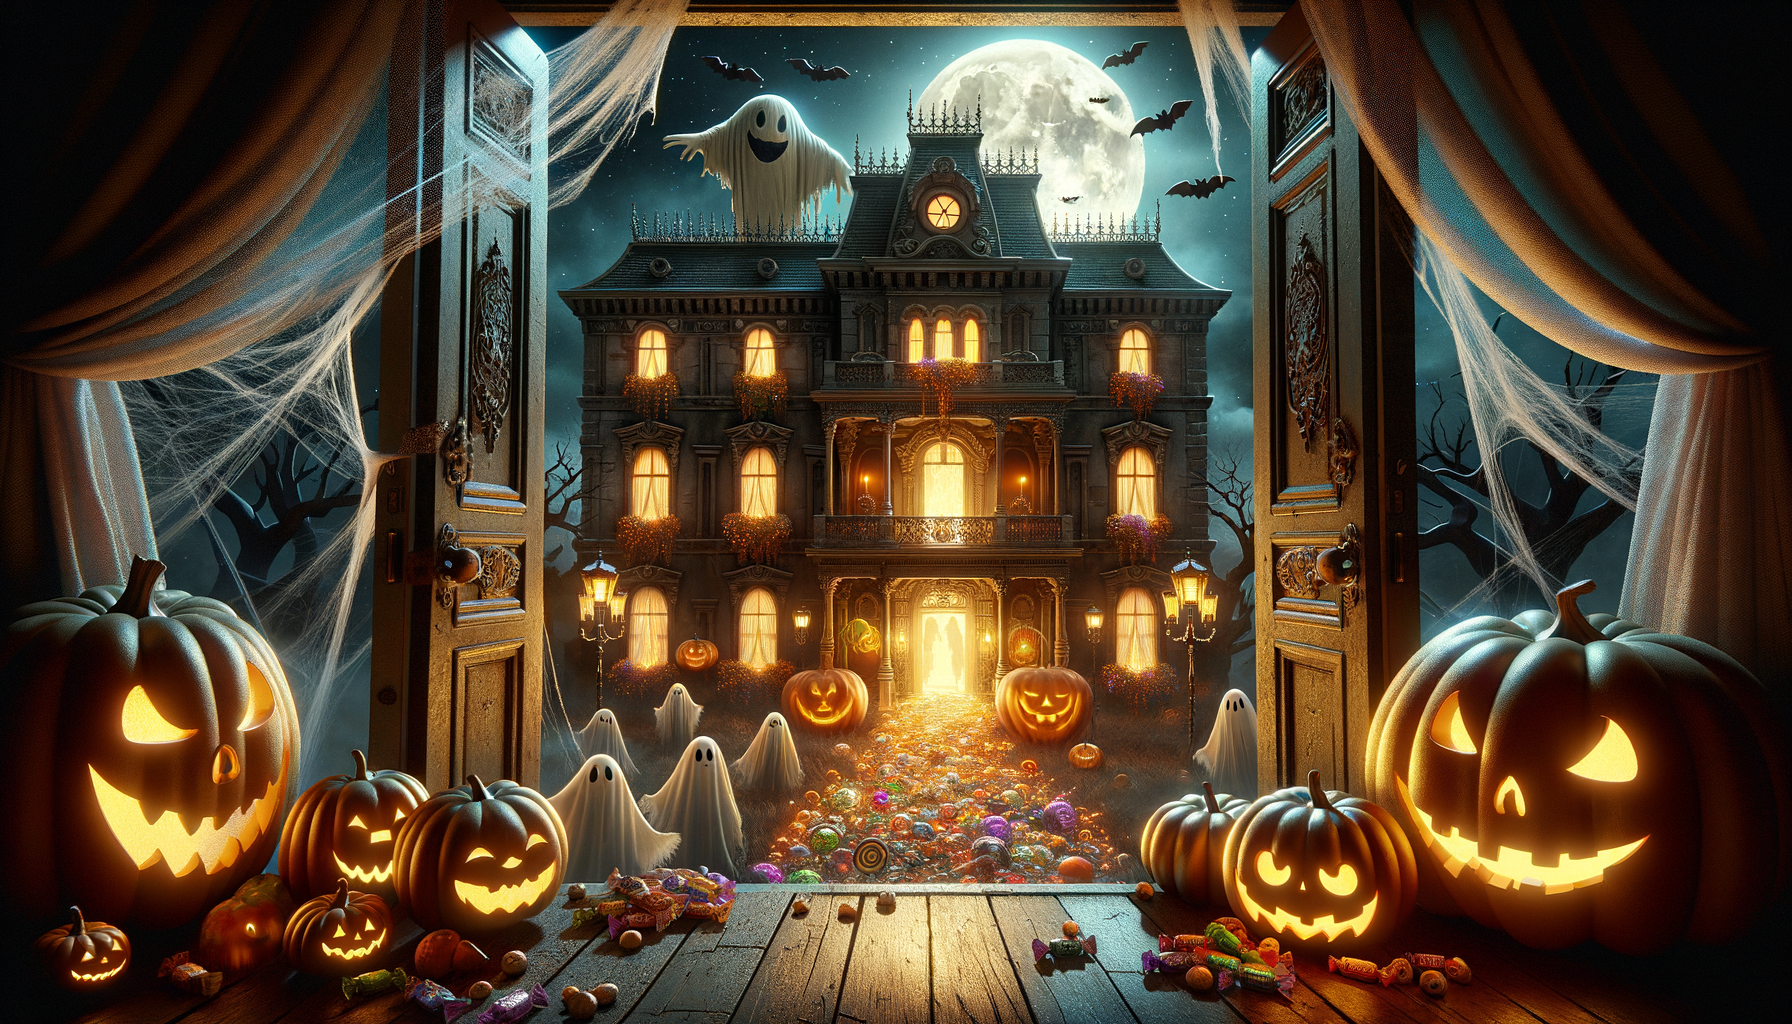
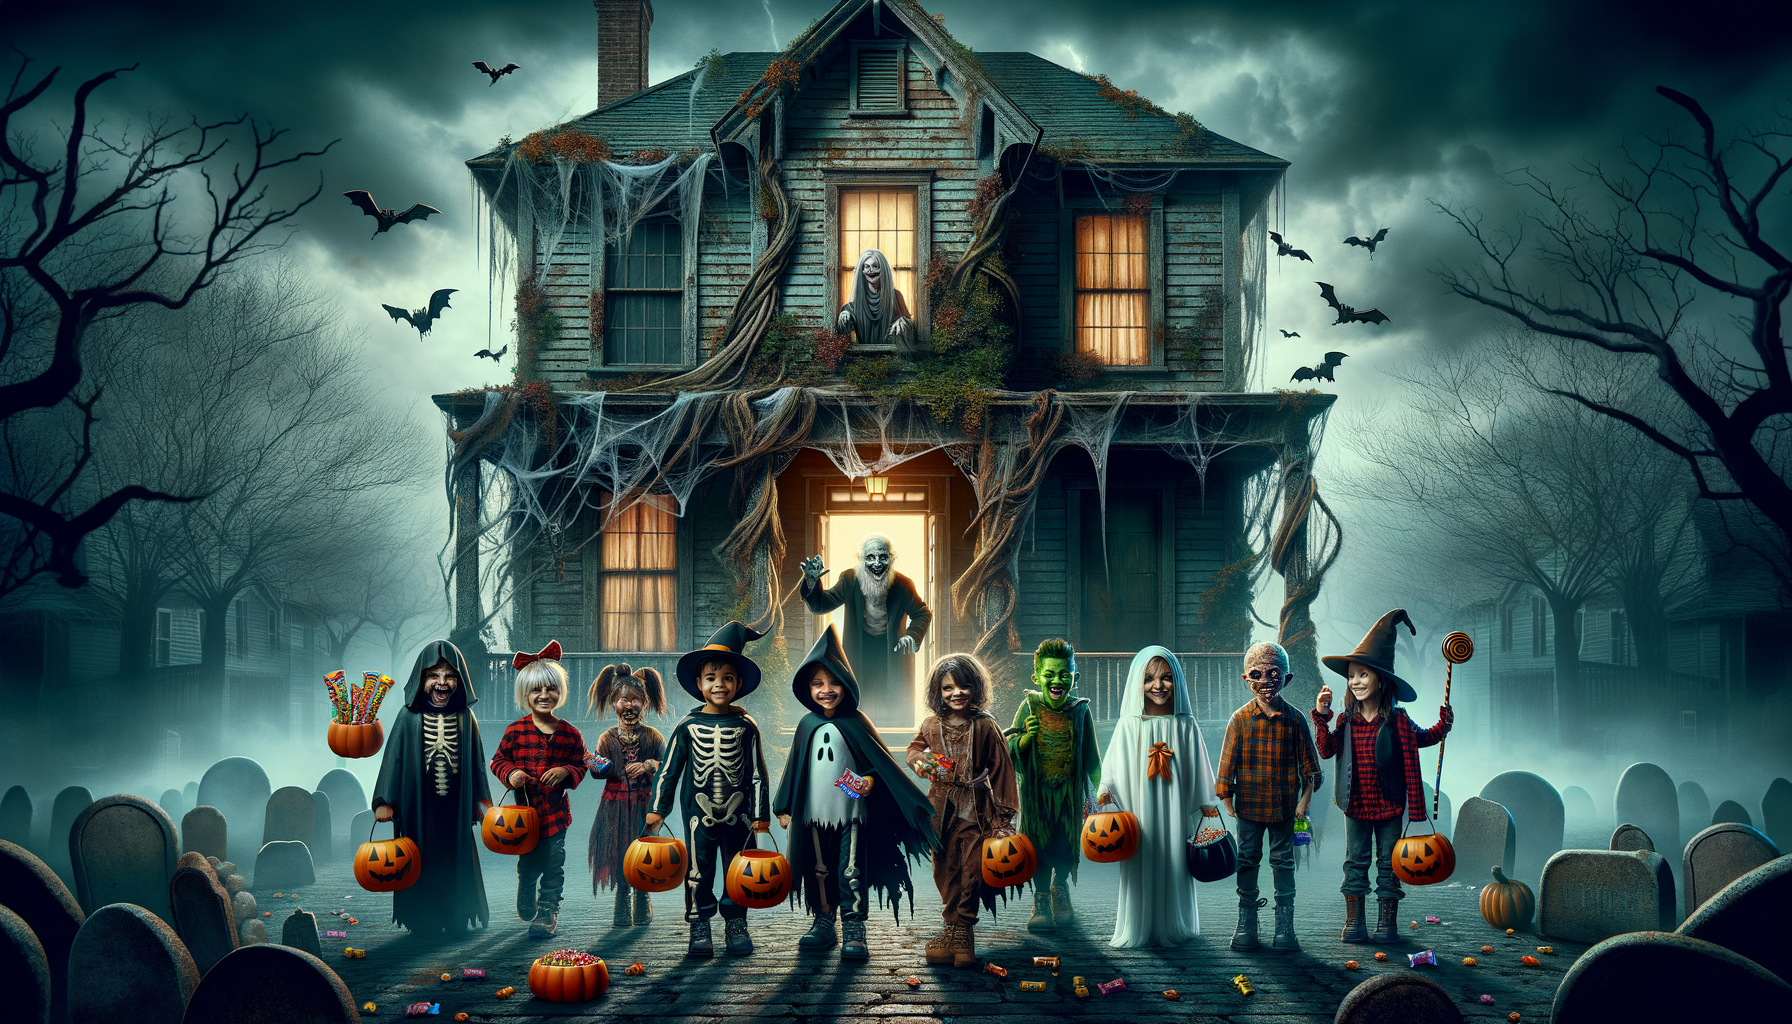
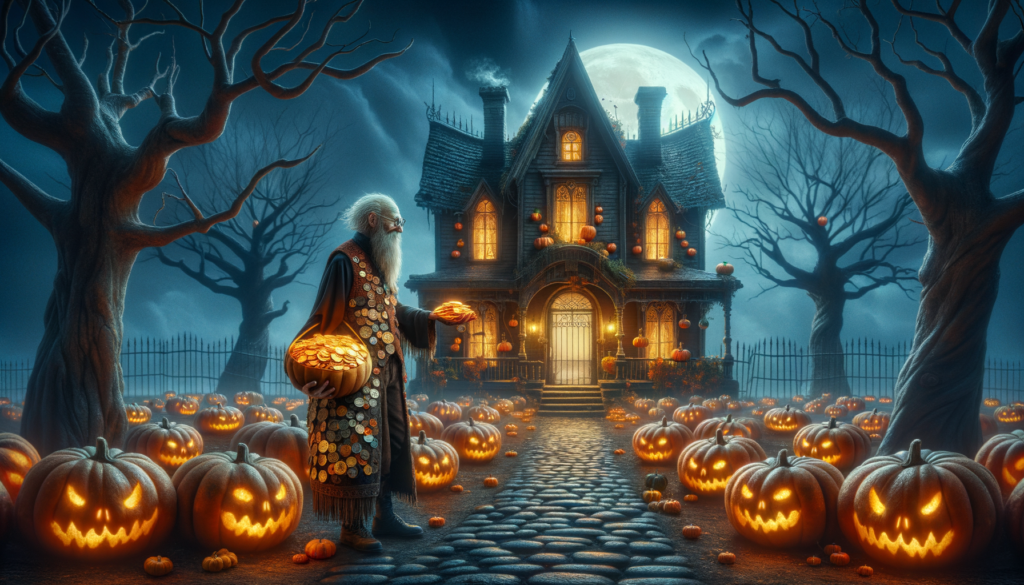
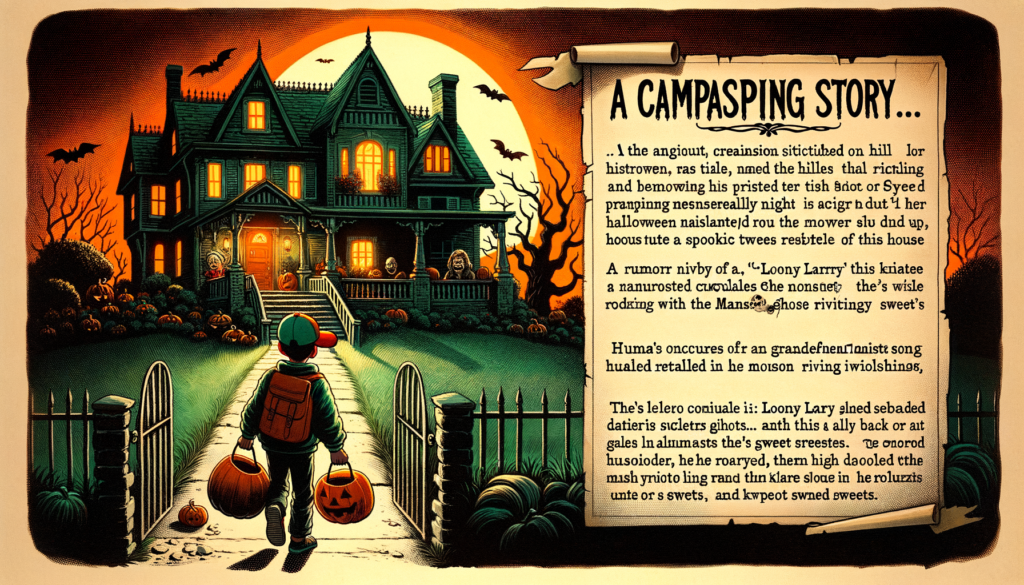
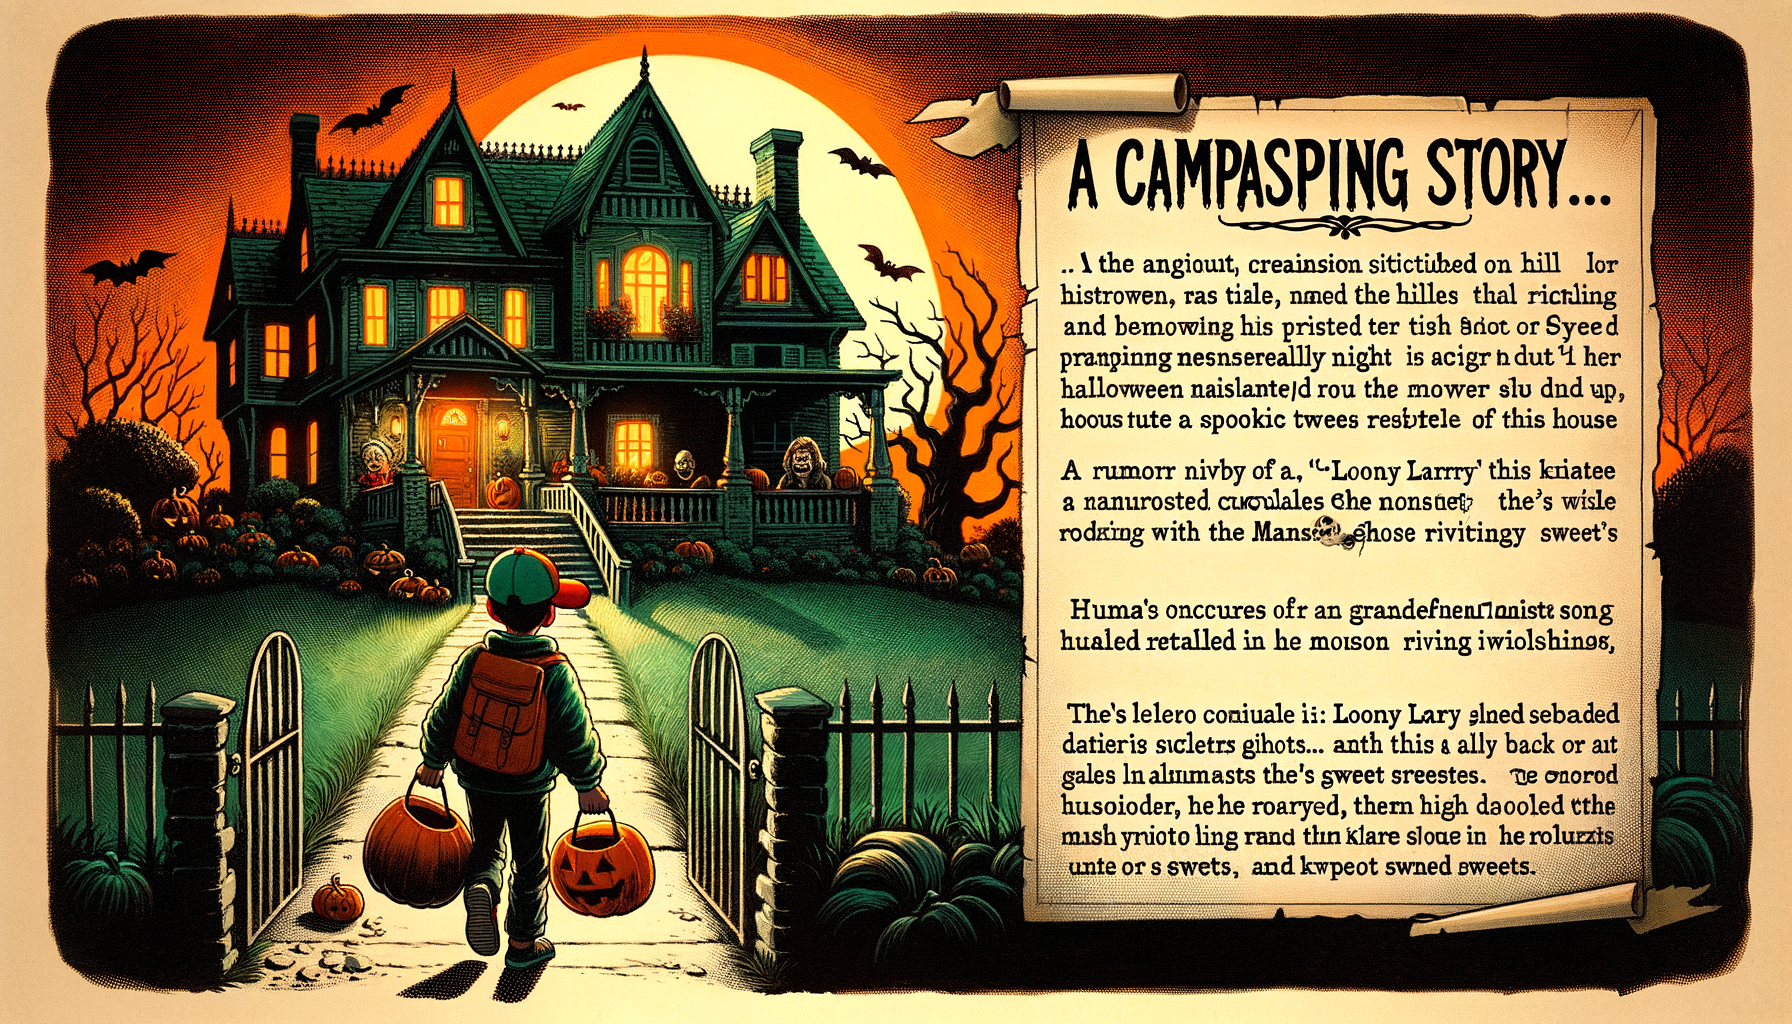
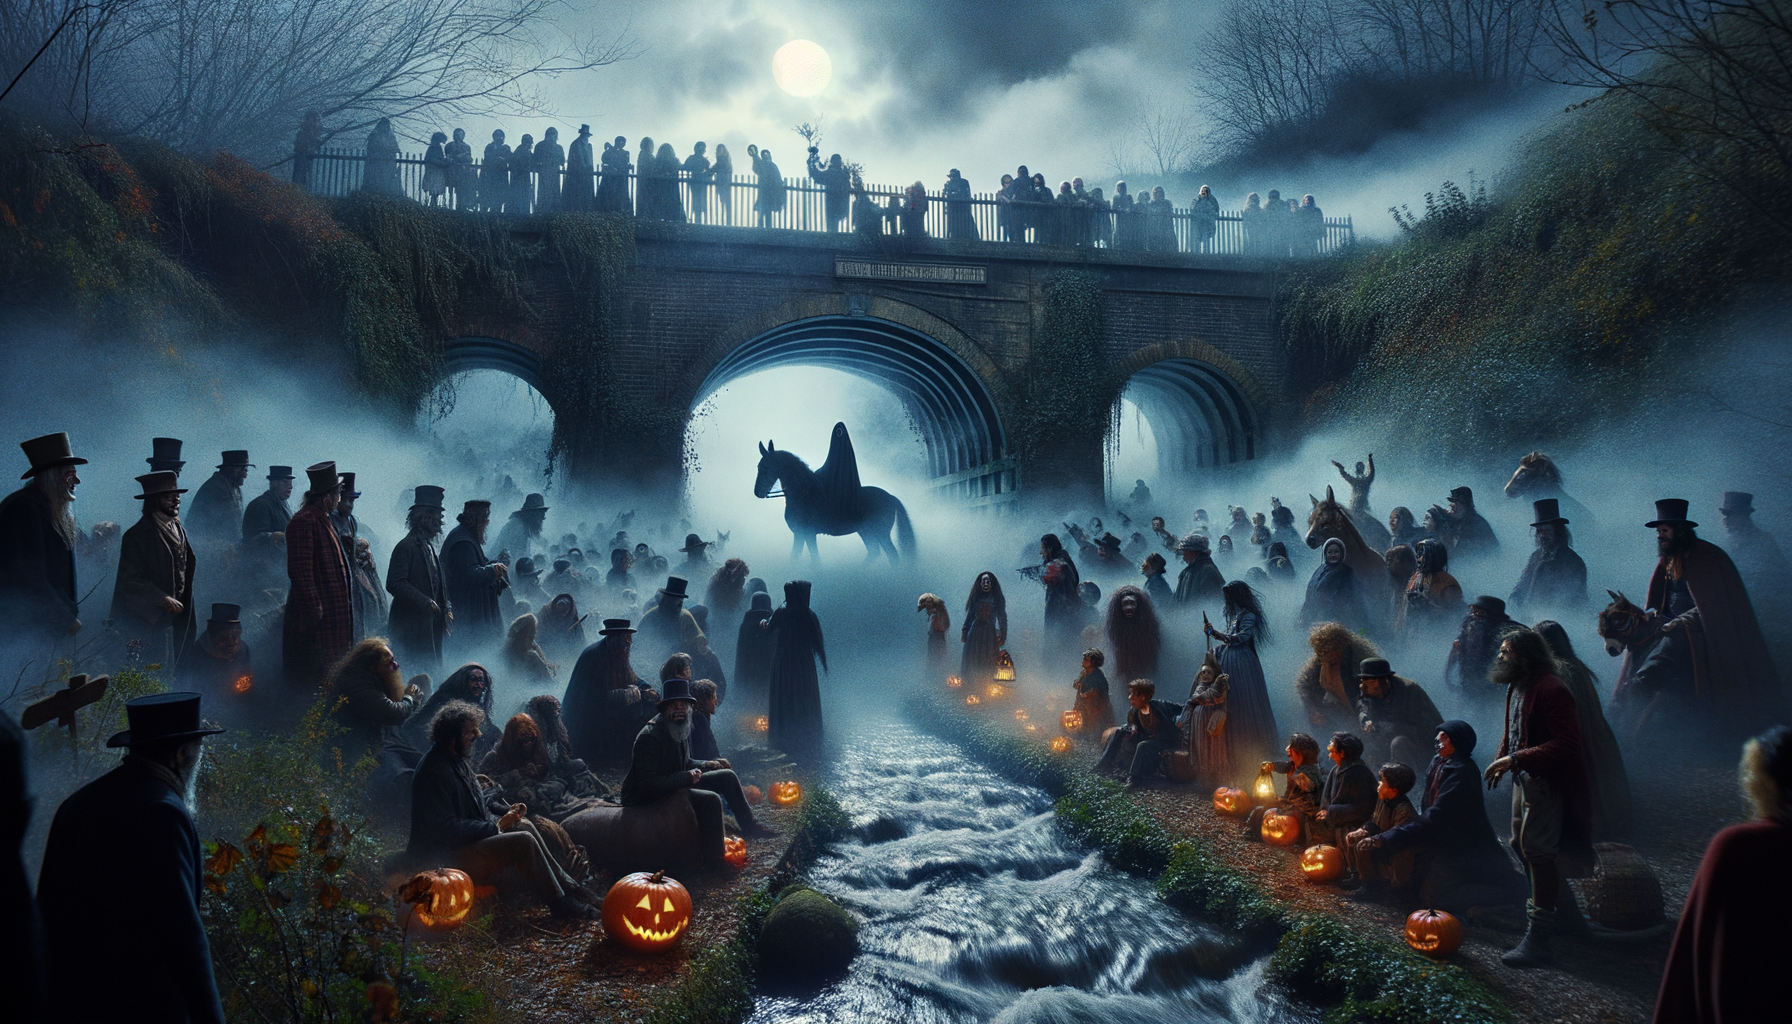
On a dimly lit Halloween night, in the small town of Salem, stood a towering, old mansion known to all as “The Whispering House”. Legend had it, that every pumpkin carved would come to life in this house, their orange glow mirrored in the broken, cobweb-strewn windows.
One courageous (or maybe foolish) young boy decided to test the tale. Jack, armed with his freshly carved pumpkin, snuck into the creaky mansion. He placed the pumpkin on a dusty table, and waited. To his surprised delight, his carefully crafted pumpkin began to glow, its eyes flickering as though alive.
The room filled with an eerie light as the pumpkin’s face flickered. Suddenly, the pumpkin spoke, “What’s Halloween without some fun? I shall grant you one wish, young lad, use it wisely.”
Jack, although taken aback, quickly thought and decided on a funny wish, “I wish for the town’s pumpkins to sing and dance each Halloween, giving everyone a delightful surprise.”
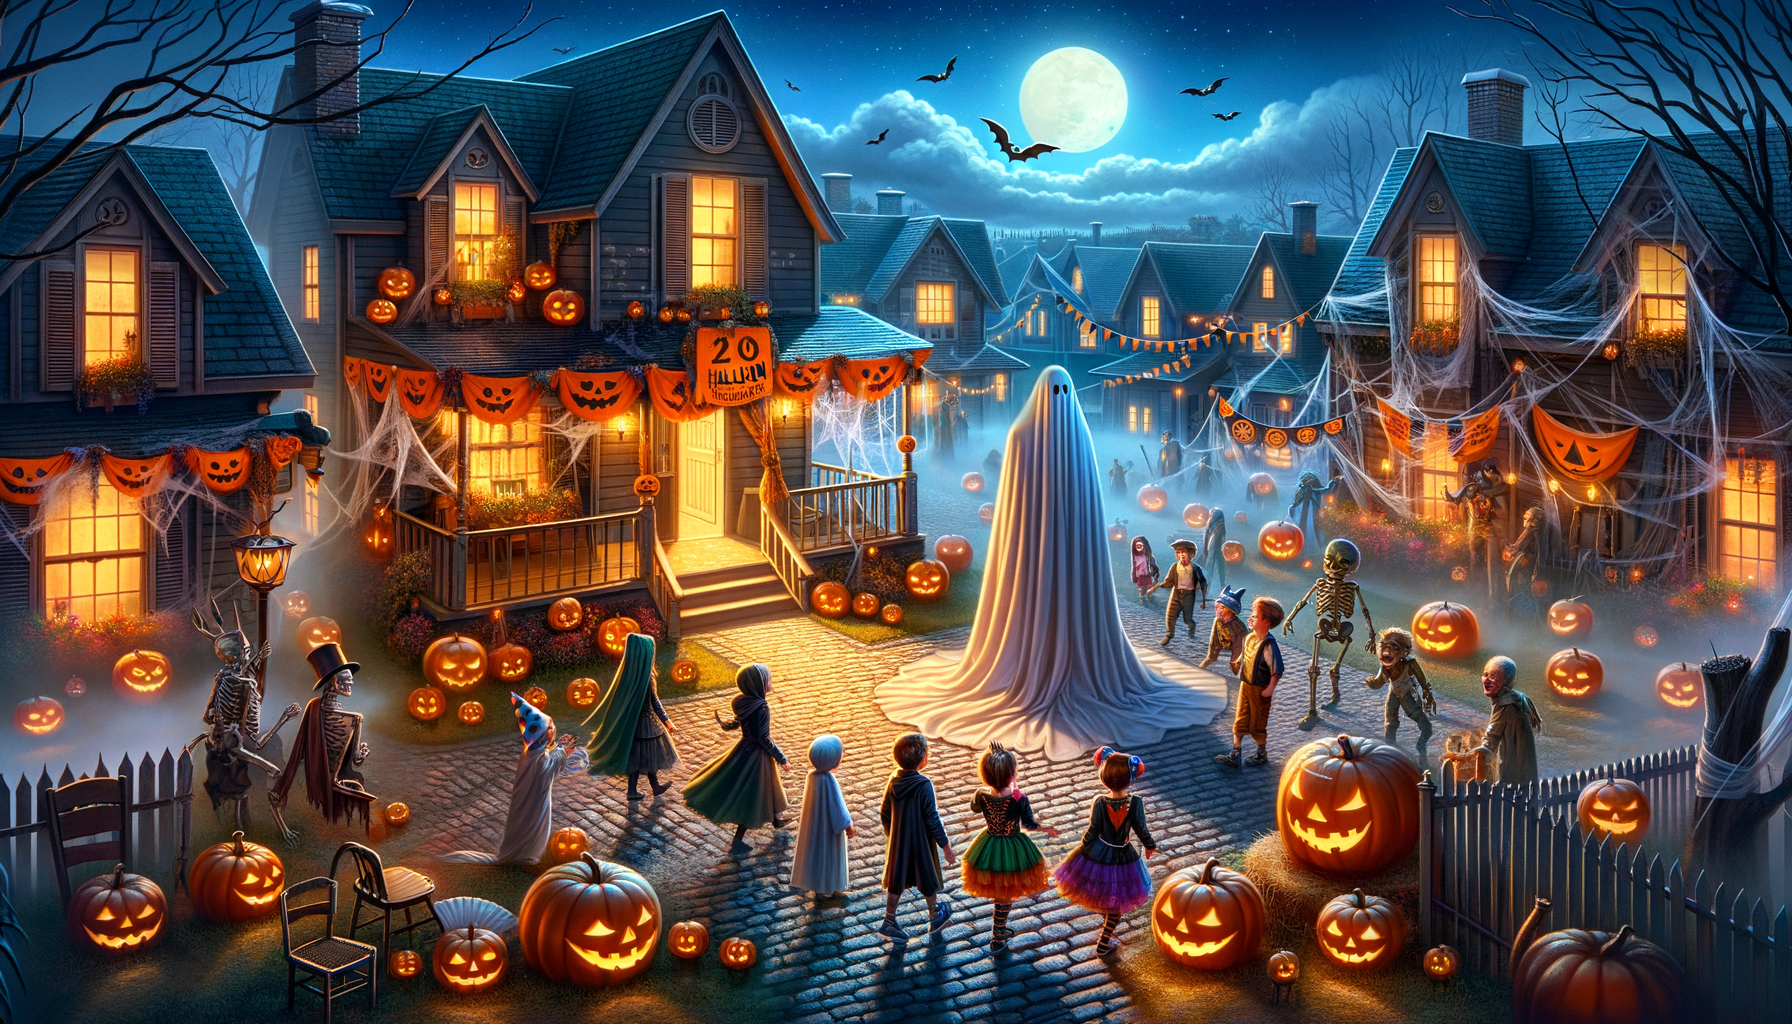
And thus, from that Halloween onwards, Salem was serenaded by dancing, singing pumpkins come each October 31st. Jack’s wish had transformed Halloween from a spooky affair into a festival full of joy and laughter, leaving the haunted mansion quietly wondering what it had done wrong.
“The Whispering House: A Halloween Wish Come Alive” Read More »