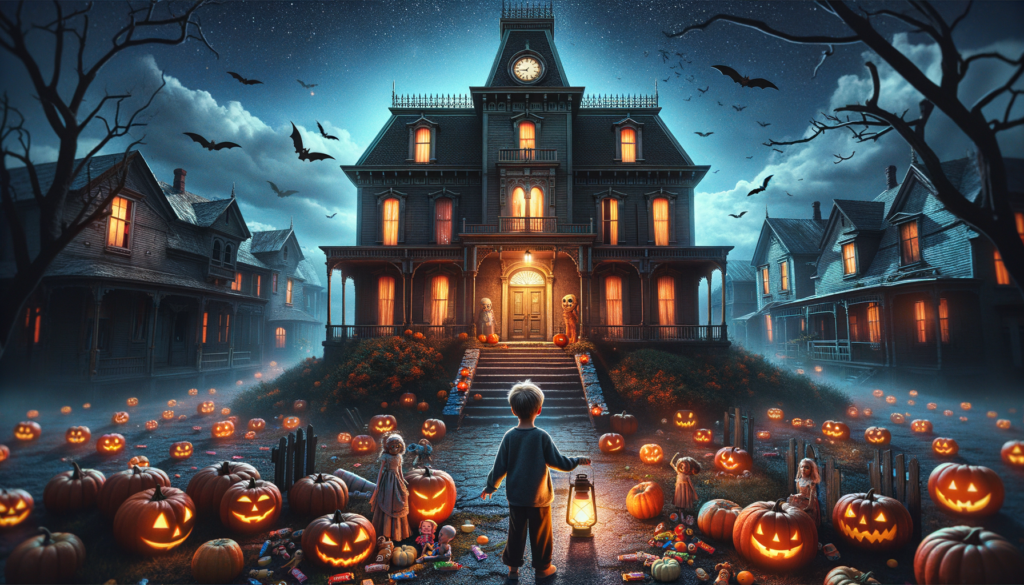
“The Legend of Halloween Pete: A Pumpkin’s Haunting Glow”
Once upon a chilly Halloween night, in a little town quite alike ours, lived a peculiar pumpkin named Pete. Pete wasn’t just your regular pumpkin; he had a charmingly crooked smile and a glow that lit up the whole town.
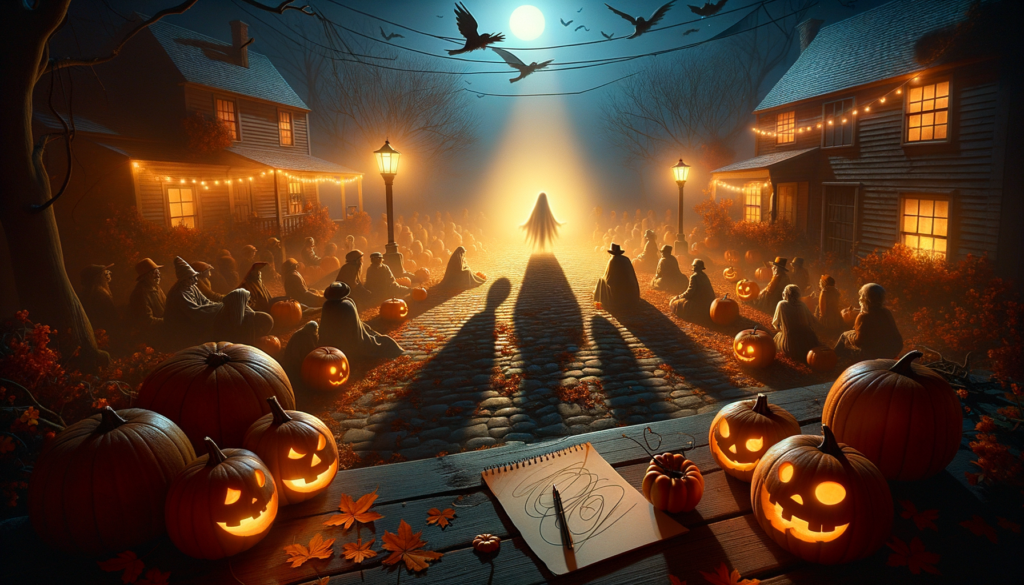
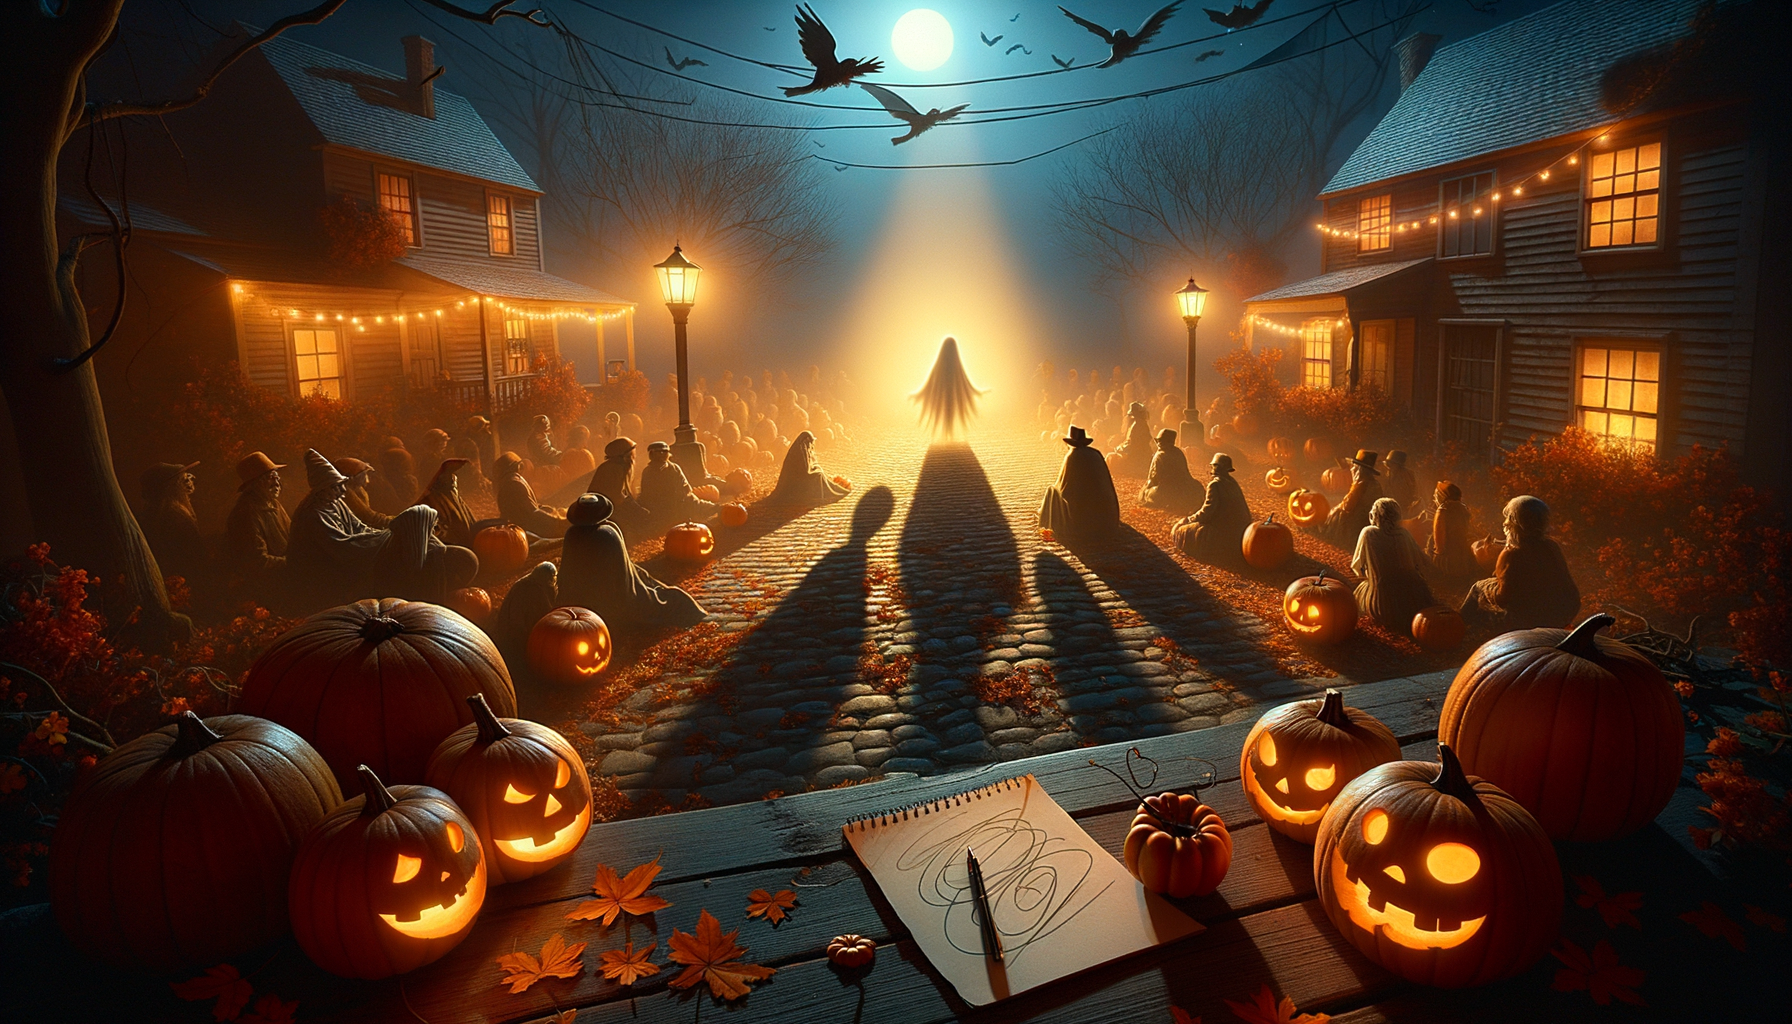
People from all around would come to witness Pete’s enchanting glow. But as the moon shone high that Halloween night, something unusual happened. The glow from Pete started to dim, casting long, eerie shadows everywhere.
The folks were bewildered. The bravest among them ventured towards Pete, only to gasp in horror. Pete had vanished, leaving behind nothing but his captivating specter and a note.
The note read, “Dear folks, don’t be shocked! My glow needed a refresh, so I decided to take a quick leap into the eternally lit lands beyond. Always remember, the brighter a light shines, the quicker it might need to refuel!”
And just like that, the folks realized, Pete hadn’t disappeared. He had transformed into the Halloween spirit itself. A laughter echoed through the night, a whisper stating, “I’m Halloween Pete, shining bright so you can revel in Halloween’s delight!”
Since then, every Halloween night, the town glows brighter than ever, attributing it to their legendary buddy, Halloween Pete, the pumpkin who had become the spirit of Halloween itself!
“The Legend of Halloween Pete: A Pumpkin’s Haunting Glow” Read More »