Title: The Quirky Quack’s Eerie Laughter Potion

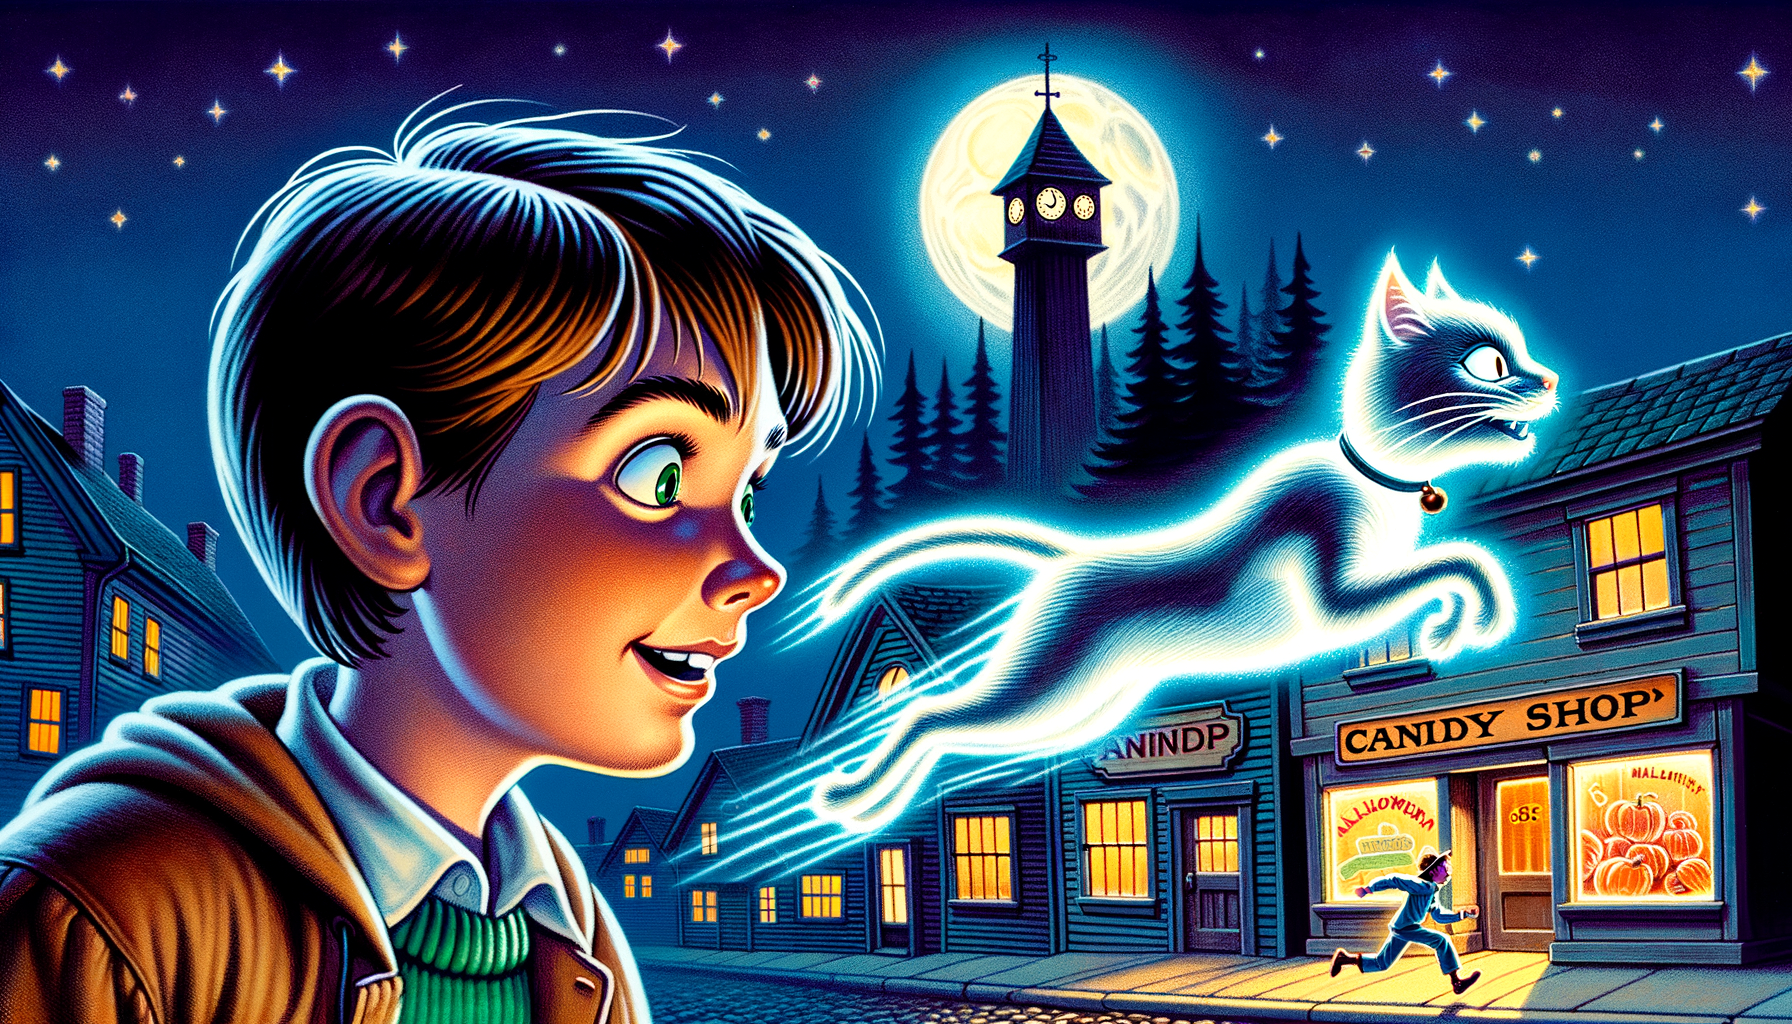
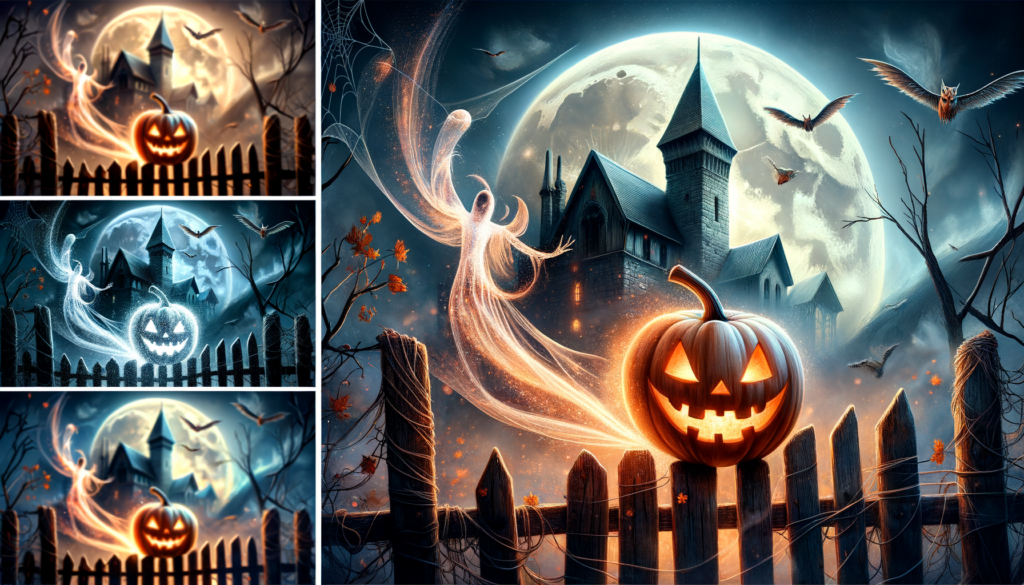
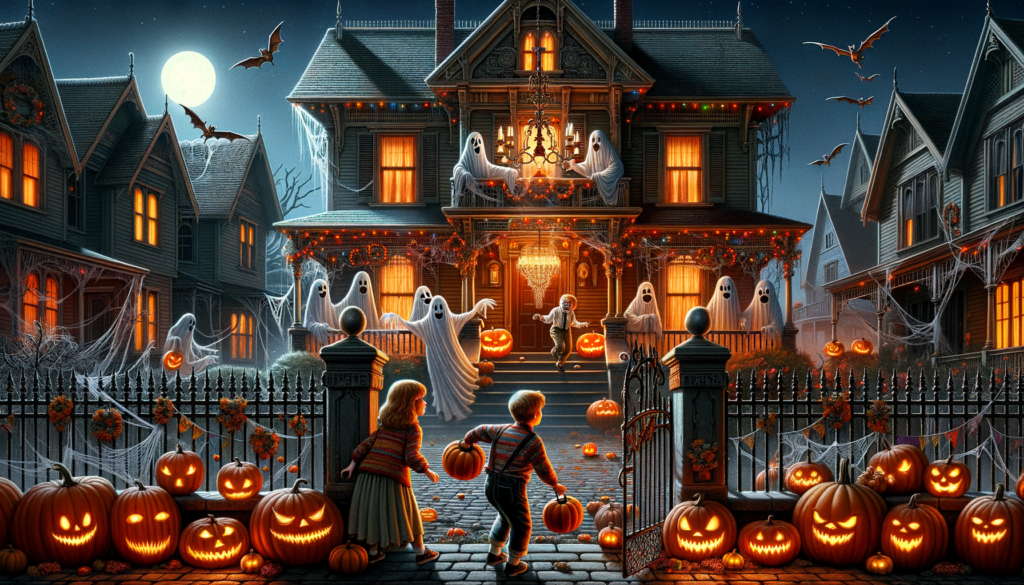
On a gloomy Halloween night, in the crooked house at the end of Peculiar Path, lived the Quirky Quack family. Everyone shuddered at the mere mention of their name, for their house was always filled with an uncanny charm.
Mister Quack was always up to startling shenanigans. He had a knack for unsettling inventions, like the bone-chilling Chattery Teeth or the horrifying Half-bed that swiveled at night.
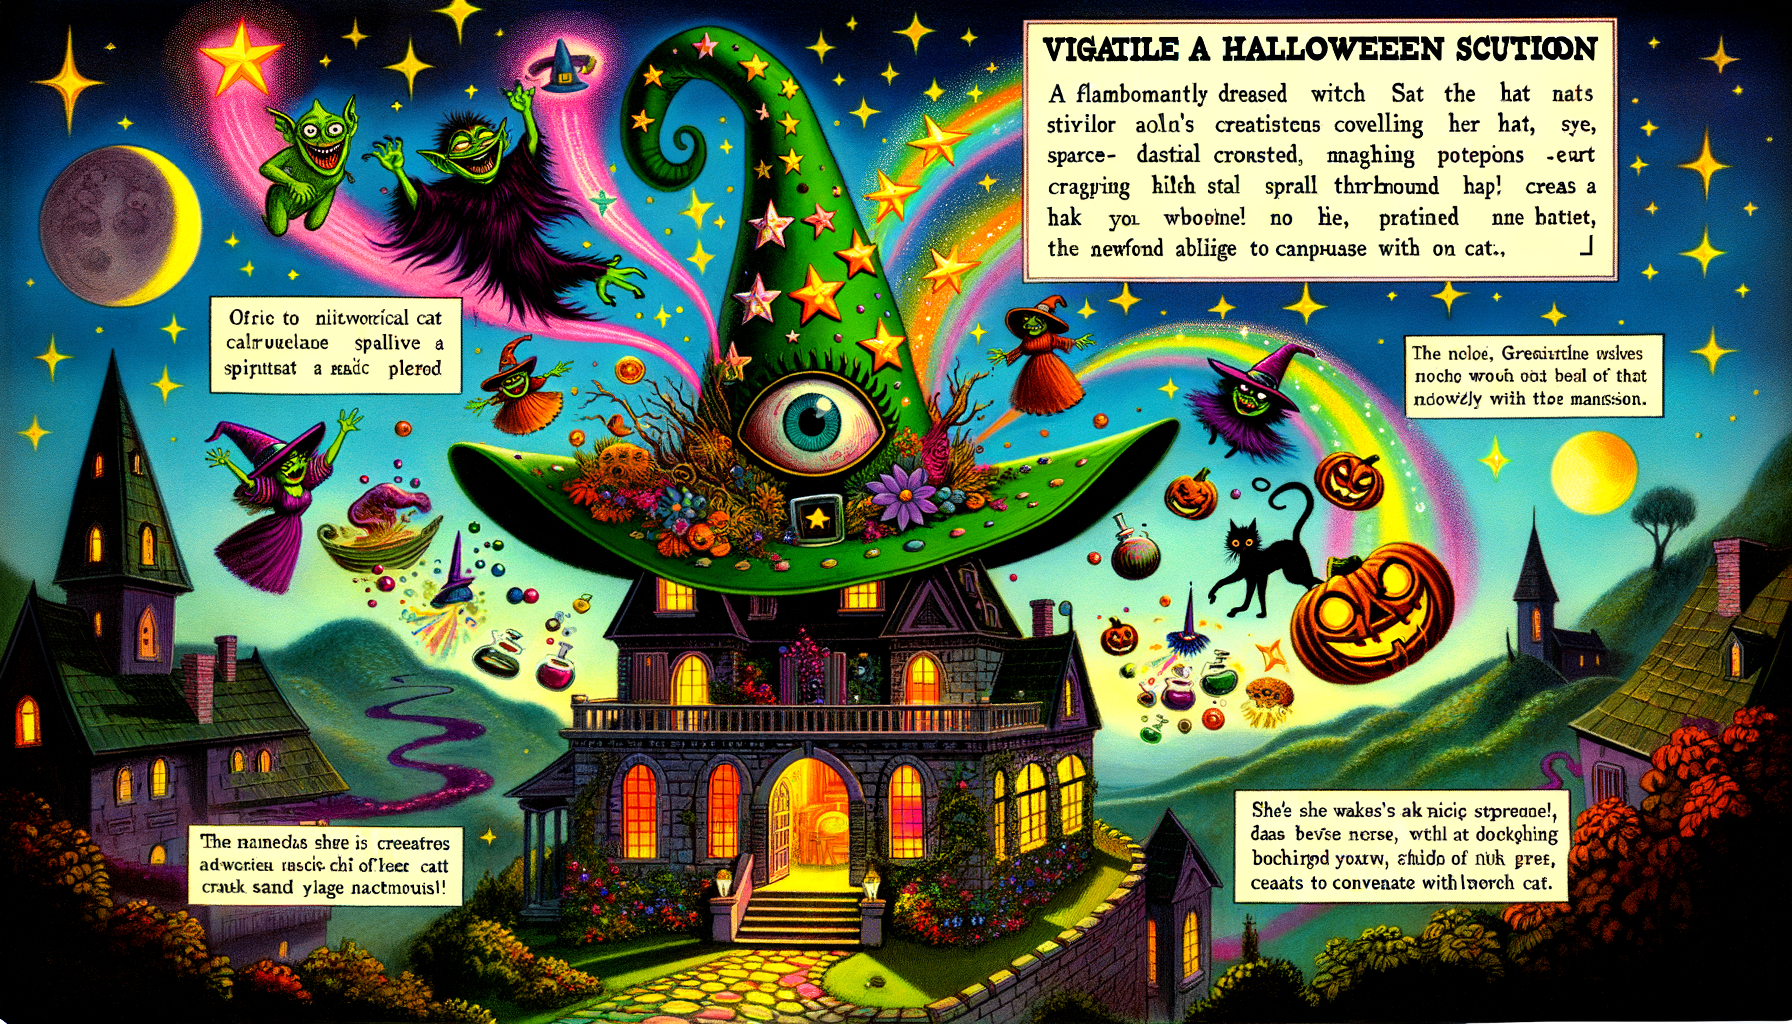
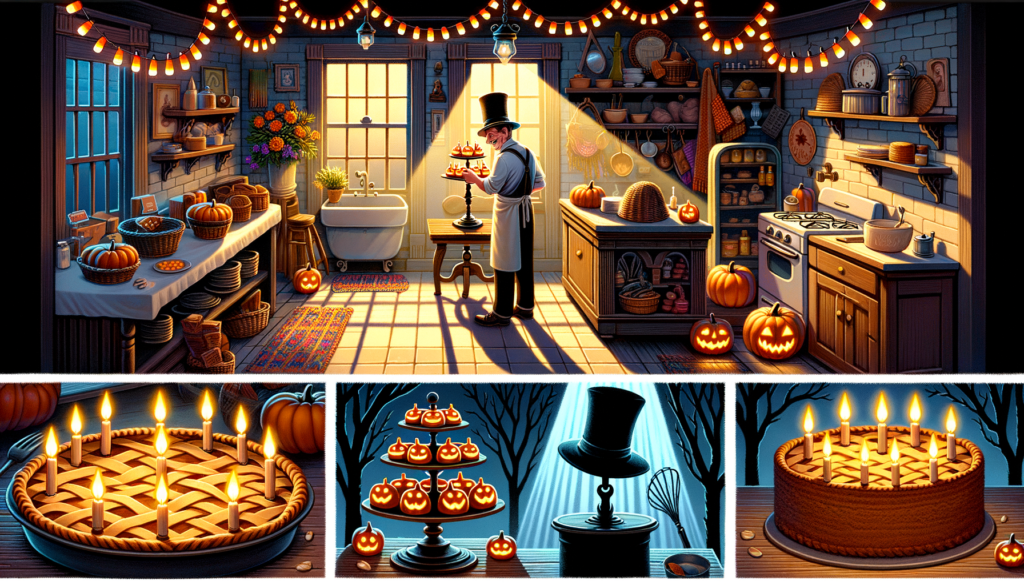
However, this Halloween, things were unusually strange. Mister Quack labored day and night, brewing a mysterious potion. Mrs. Quack remained tight-lipped simply squeaking, ‘Surprise!’ Whenever she was asked about it.
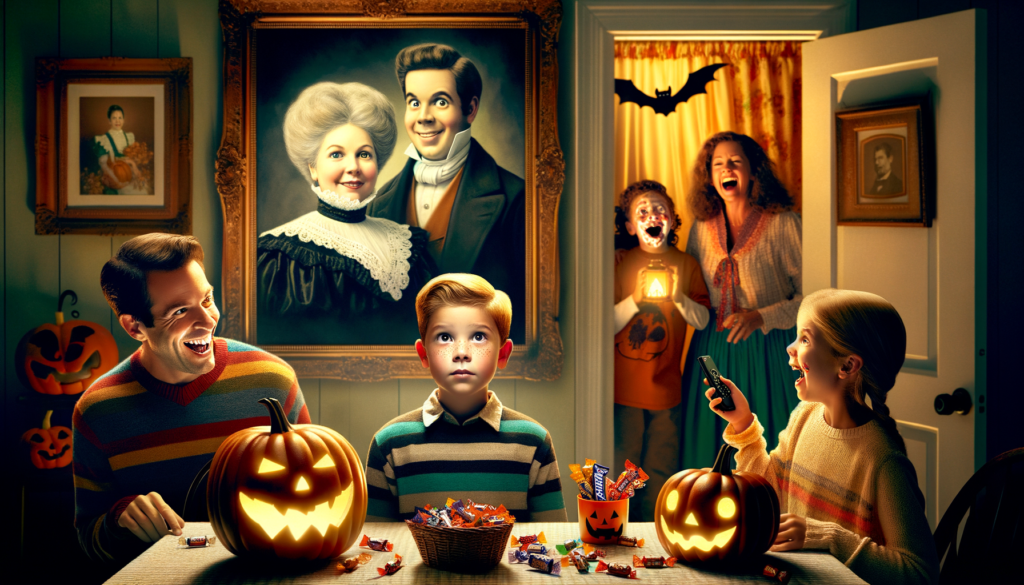
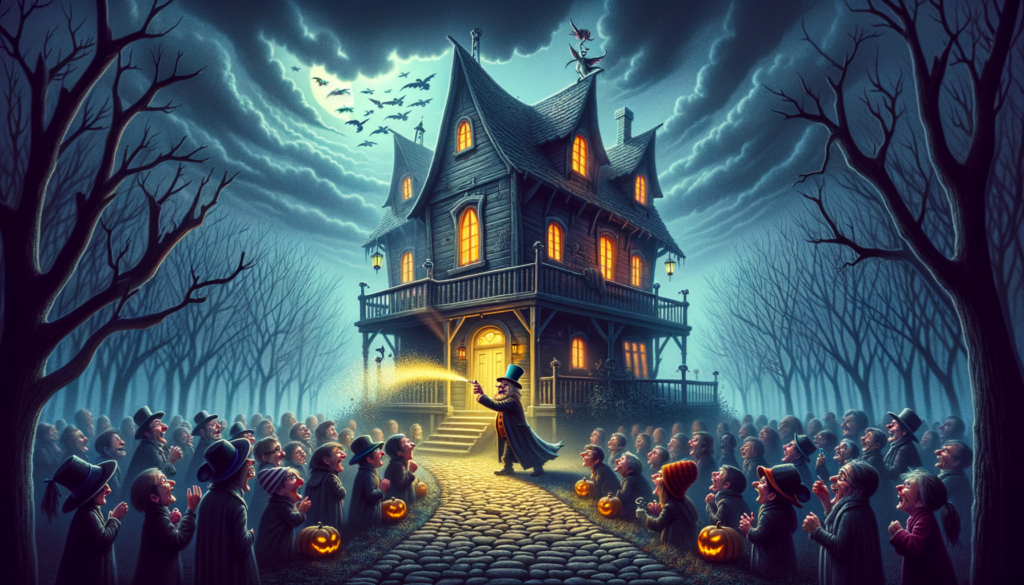
The day of Halloween arrived with an eerie mist that clung to the house. Everyone gathered, eyes wide in apprehension and curiosity. Mister Quack held aloft a gleaming bottle, the potion inside glimmered eerily. He sprayed it into the crowd.
Suddenly, to the crowd’s shock, they began to giggle uncontrollably, a sound that echoed around the spooky lane. It was a potion of laughter! From then on, Peculiar Path was renamed Jovial Junction, the place where Halloween is always tricky yet plagued by hearty laughter!
Title: The Quirky Quack’s Eerie Laughter Potion Read More »