Halloween Crafts with Pipe Cleaners
Today, you’re going to learn about how to make cool Halloween decorations using something called pipe cleaners. Imagine twisting and turning colorful, fuzzy sticks into shapes like pumpkins, ghosts, and spiders. It’s going to be super fun and easy, and you can do it all by yourself or with a little help from someone older. You’ll see how pipe cleaners can turn into amazing Halloween crafts that you can hang in your room or give to your friends to spook them in a fun way!

Introduction to Halloween Crafts with Pipe Cleaners
Brief overview of pipe cleaners in crafting
Pipe cleaners are thin wires covered in a soft, colorful material. They are very bendy and can be twisted together to make lots of different shapes. Because they are so flexible, people love using them to create cool crafts, especially during Halloween.
Benefits of crafting with pipe cleaners for Halloween projects
Crafting with pipe cleaners for Halloween is great because they are safe to use, affordable, and you can find them in many colors. Making Halloween decorations and characters with pipe cleaners is not only fun but also helps you get better at being creative and solving problems. Plus, it can be a cozy way to spend time with family and friends, making spooky decorations together.
Getting Started: Materials and Tools
List of essential materials needed for pipe cleaner crafts
To start your Halloween crafts with pipe cleaners, you’ll need some basic materials. You’ll want lots of pipe cleaners, of course. Try to get a variety of colors like black, orange, white, and green to fit the Halloween theme. You’ll also need some glue, scissors, and perhaps some googly eyes to bring your creations to life.
Overview of additional tools for enhancing pipe cleaner crafts
To make your pipe cleaner crafts even cooler, consider using some extra tools. Things like colorful beads, tiny pompoms, and felt can add more details to your crafts. Using wire cutters can also help you cut pipe cleaners more easily than scissors, but always ask an adult for help with that.
Safety tips when handling pipe cleaners and tools
Remember to be careful when using scissors and when bending pipe cleaners, so you don’t poke yourself. Always use tools like wire cutters under adult supervision. Keep your crafting area clean to avoid any accidents, and make sure to put away all your materials when you’re done crafting.

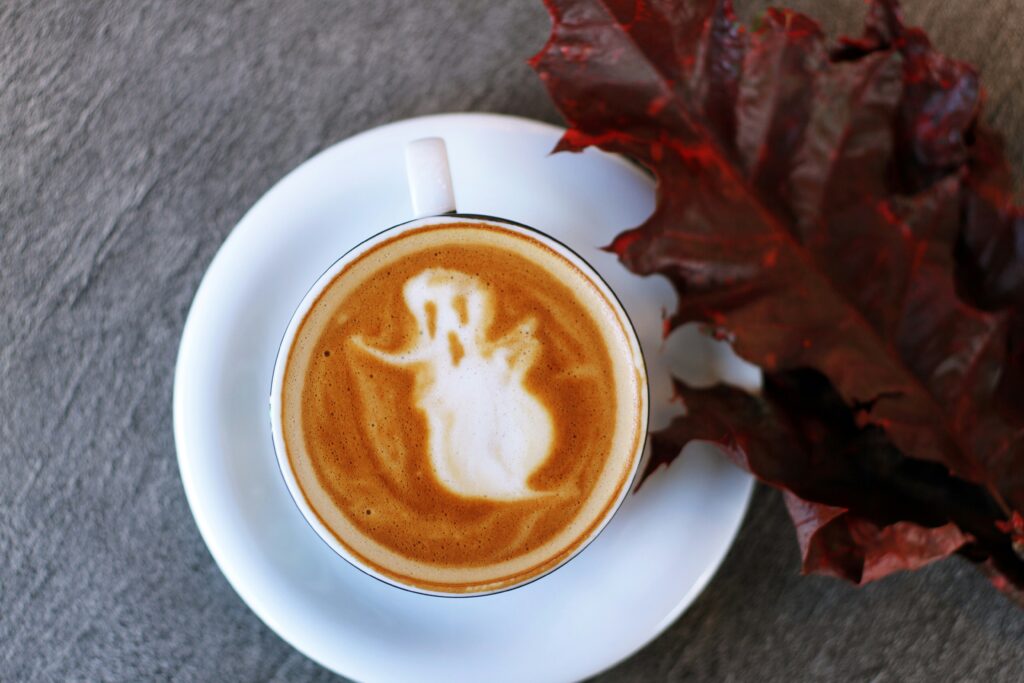
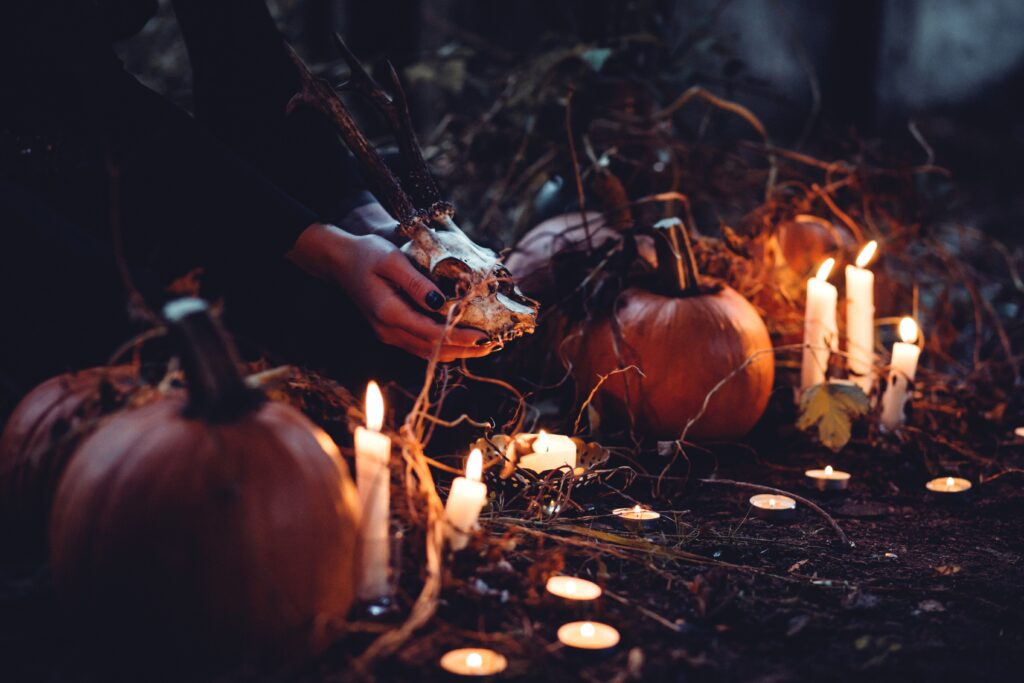
This image is property of images.unsplash.com.

Pipe Cleaner Halloween Characters
Instructions for creating a pipe cleaner witch
To make a pipe cleaner witch, you’ll need black, green, and orange pipe cleaners. Twist a black one into a cone shape for the hat and wrap a green one around a pencil to make the head. Then, add an orange pipe cleaner for the hair. Twist them all together, add a face with a marker, and you have a tiny witch!
Steps to make a pipe cleaner ghost
Making a pipe cleaner ghost is super easy. Take a white pipe cleaner and wrap it around a pencil to make it curly. Then, pull it off and shape the top into a head. Draw two small eyes with a black marker, and you’ve got a cute ghost!
How to craft a pipe cleaner vampire
For a vampire, use black, red, and white pipe cleaners. Make a little body with white, then add a black cape around it. Use a red pipe cleaner for a scary cape collar and add a little face. Don’t forget two tiny fangs with a marker!
Creating a pipe cleaner black cat
To create a black cat, start by making a small loop with a black pipe cleaner for the head and add two small pieces for ears. Twist more black pipe cleaners to make a body and a tail. Add small pieces of white pipe cleaner for the eyes, and draw in the details with a marker.
Spooky Halloween Decorations
Making Halloween garlands with pipe cleaners
Stringing together various Halloween characters like ghosts, witches, and pumpkins you’ve made from pipe cleaners makes a perfect garland. Twist the top of each figure around a long string or use additional pieces of pipe cleaner to attach them. Hang your garland around the room for instant Halloween vibes.
Crafting spider webs from pipe cleaners
Take some white or silver pipe cleaners and cut them into pieces. Lay out one piece as the center, and then keep adding pieces around it, twisting at the middle to secure them. Connect the ends with smaller pieces to make the web pattern.
DIY pipe cleaner pumpkins for table decorations
For a pumpkin, wrap orange pipe cleaners around a marker to create loops. Remove them and twist all the loops together at one end to form the pumpkin’s top. Bend a green pipe cleaner into a stem and leaf, attaching it to the top. Make a few of these for a festive table display.
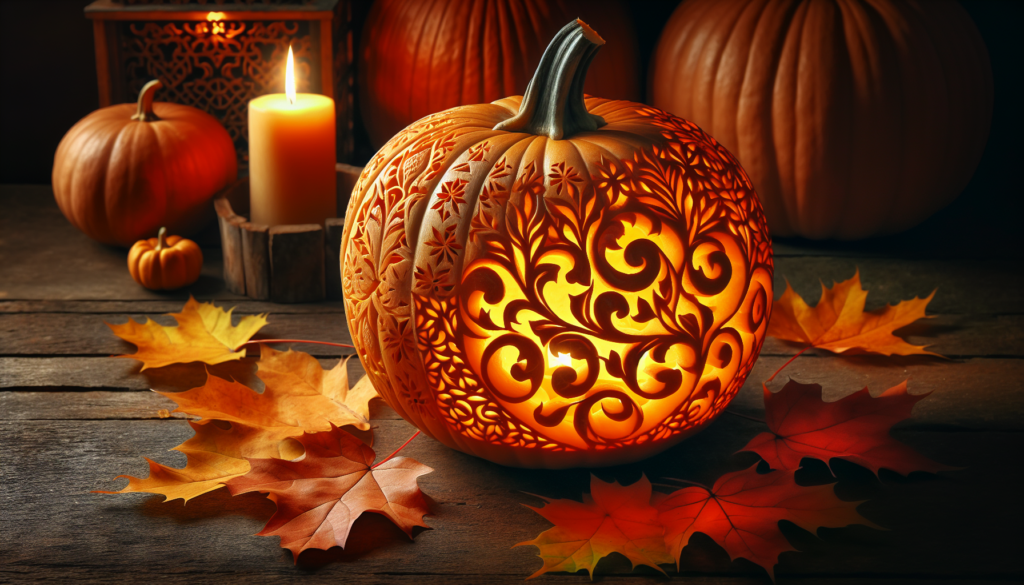
This image is property of images.unsplash.com.
Halloween Jewelry and Accessories
Creating Halloween bracelets with pipe cleaners
Twist orange, black, and white pipe cleaners together to make a cool, twisty bracelet. You can add small beads or cut pieces of different colored pipe cleaners to decorate it like a tiny pumpkin or ghost. Just wrap it around your wrist, and you’re Halloween ready!
How to make pipe cleaner spider rings
For a spider ring, wrap a black pipe cleaner around your finger to make the ring. Use another pipe cleaner to make the spider by bending four small pieces into legs and twisting them around the ring. Add a larger piece for the body and use googly eyes or small white pipe cleaner bits for eyes.
Designing pipe cleaner witch hats for pencils
Wrap a black pipe cleaner around a pencil to make a cone shape for the hat. Cut a circle from black felt and poke the pencil through its center. Slide the cone down to meet the circle, and you’ve got a witch hat topper for your pencil!
Interactive Halloween Crafts for Kids
Easy-to-make pipe cleaner finger puppets
Take your pipe cleaner characters and simply make them with longer bodies. Then, twist the bottom part to fit snugly around your finger, and voila! You’ve got Halloween finger puppets like witches, ghosts, or vampires to play with.
Crafting a pipe cleaner Halloween mobile for rooms
Create several Halloween characters and decorations out of pipe cleaners. Attach them with strings to a hanger or a stick. Hang your mobile from the ceiling, and enjoy watching your spooky creations dangle and spin.
DIY Halloween-themed bookmarks with pipe cleaners
Make a long, flat shape (like a ghost or pumpkin) with pipe cleaners. Glue it onto a piece of cardboard for stability, then cut around the shape, leaving a little border. You’ve just made a fun, Halloween-themed bookmark to keep your place in spooky stories!

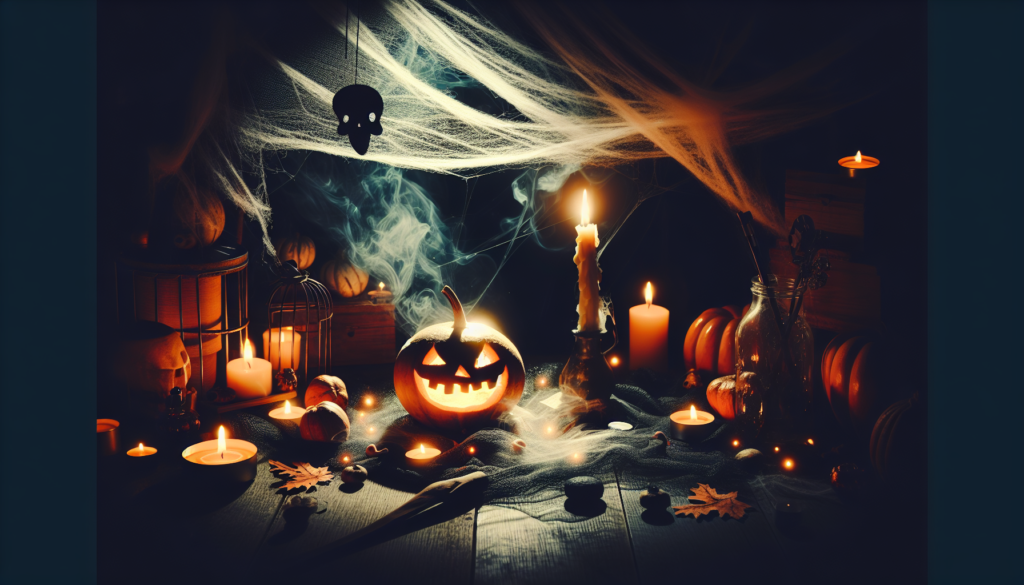
This image is property of images.unsplash.com.
Educational Halloween Crafts
Using pipe cleaners for Halloween-themed counting activities
Create 10 little pumpkins out of orange pipe cleaners. Number them with a marker. Ask a grown-up to write down simple math problems, and use your pumpkins to help you figure out the answers.
Making a color matching game with pipe cleaners
Cut small pieces of pipe cleaners in different Halloween colors. Draw matching colored circles on a piece of paper. Challenge yourself or a friend to match and place the right colored pipe cleaner on its corresponding circle as fast as you can.
Crafting a Halloween story wheel with pipe cleaners
Make a large circle from cardboard and divide it into sections. In each section, use pipe cleaners to create a different part of a Halloween story (e.g., a haunted house, a witch, a black cat). Attach a spinner in the middle. Spin to create random Halloween stories by combining the sections where the spinner lands.
Outdoor Halloween Decorations
Creating large outdoor spider decorations with pipe cleaners
Use black duct tape to join several large black pool noodles together for the spider’s body. Cut long lengths of black pipe cleaners for legs, and attach them to the body. Add large googly eyes or cut out eye shapes from white paper. Place your giant spider in the garden for a spooky surprise.
How to make a Halloween-themed wreath with pipe cleaners
Form a large circle with thick, black pipe cleaners twisted together. Decorate it with smaller Halloween-themed crafts like tiny pumpkins, ghosts, and bats you’ve made. Hang your wreath on the door to welcome trick-or-treaters.
Crafting hanging bats with glowing eyes using pipe cleaners
For a bat, twist a black pipe cleaner into wings and a body. Cut small pieces of a glow stick (with adult supervision) and insert them into the head part as spooky glowing eyes. Hang your bats around your porch for a glowing Halloween night.

Upcycled Halloween Crafts with Pipe Cleaners
Incorporating recycled materials with pipe cleaners for Halloween decor
Gather old jars, bottle caps, and other recyclables. Use pipe cleaners to add Halloween touches, like tiny ghosts on jars or spiders on bottle caps. It’s a great way to reuse stuff and make unique decorations.
Making eco-friendly Halloween party favors with pipe cleaners
Create small Halloween figures like pumpkins or ghosts from pipe cleaners. Add a tiny thank-you note, and give them as party favors. They’re not only cute but also a great way to be kind to the planet.
Crafting Halloween lanterns using jars, candles, and pipe cleaners
Wrap colored pipe cleaners around clean, empty jars to create Halloween patterns. Add a battery-operated tea light inside each jar. These lanterns will make your Halloween night glow in a fun, spooky way.
Conclusion
Recap of the diverse uses of pipe cleaners in Halloween crafts
From creating tiny characters to spooky decorations, pipe cleaners are an amazing tool for Halloween crafts. They’re easy to work with and transform into anything your imagination comes up with.
Encouragement to experiment and create unique Halloween crafts
Don’t be afraid to try new ideas and mix different materials with your pipe cleaners. Make your own special Halloween decorations that show off what you love about this spooky season.
Sharing your Halloween pipe cleaner crafts on social media
When you’re done crafting, take pictures of your creations and share them on social media. It’s a fun way to show your friends what you’ve made and maybe inspire them to get crafty, too! Who knows? Your pipe cleaner crafts could become the next Halloween trend.

Halloween Crafts with Pipe Cleaners Read More »