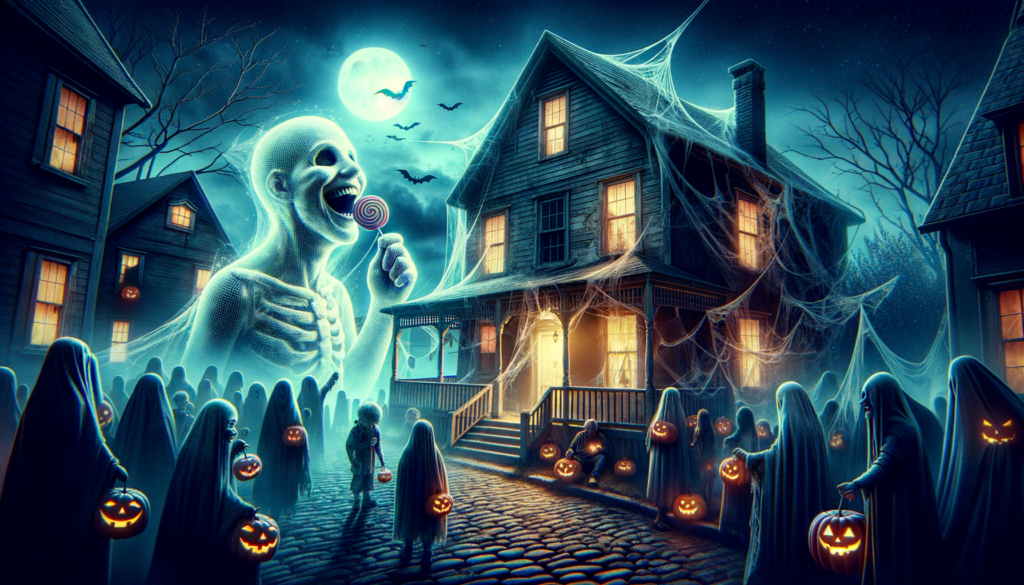
“The Sweet Haunting of Old Jack’s House: A Lollipop Tale”
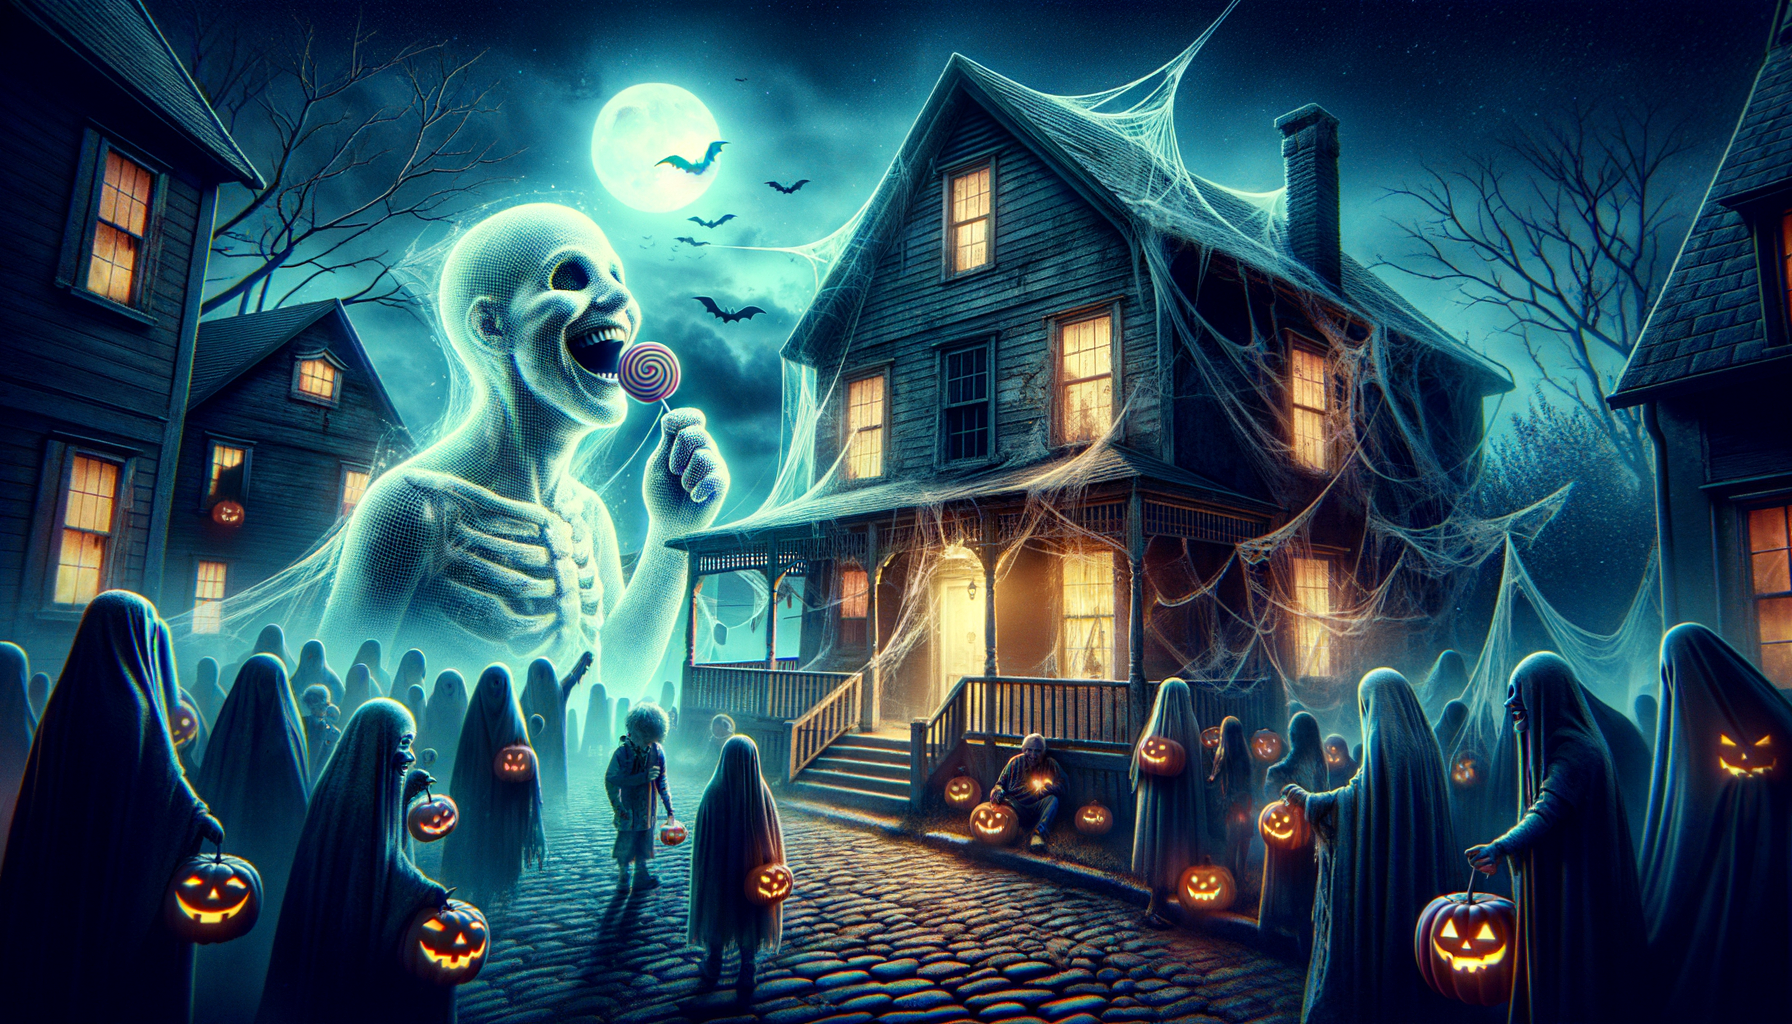
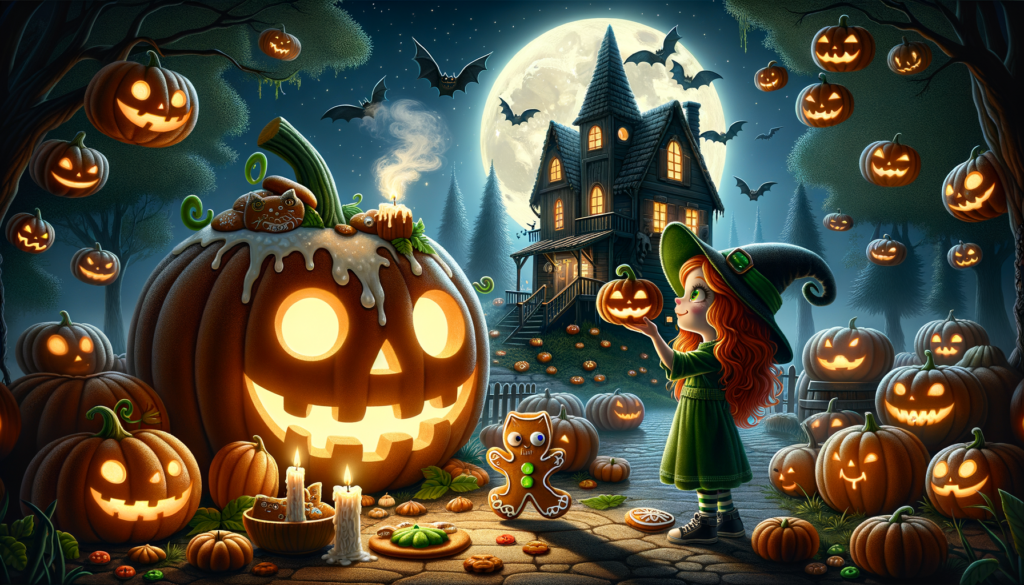
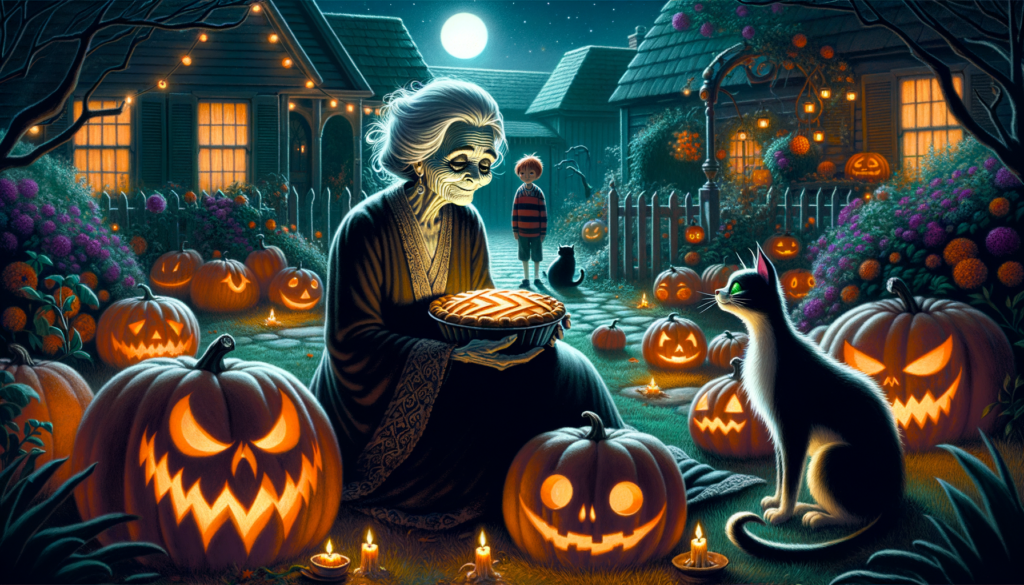
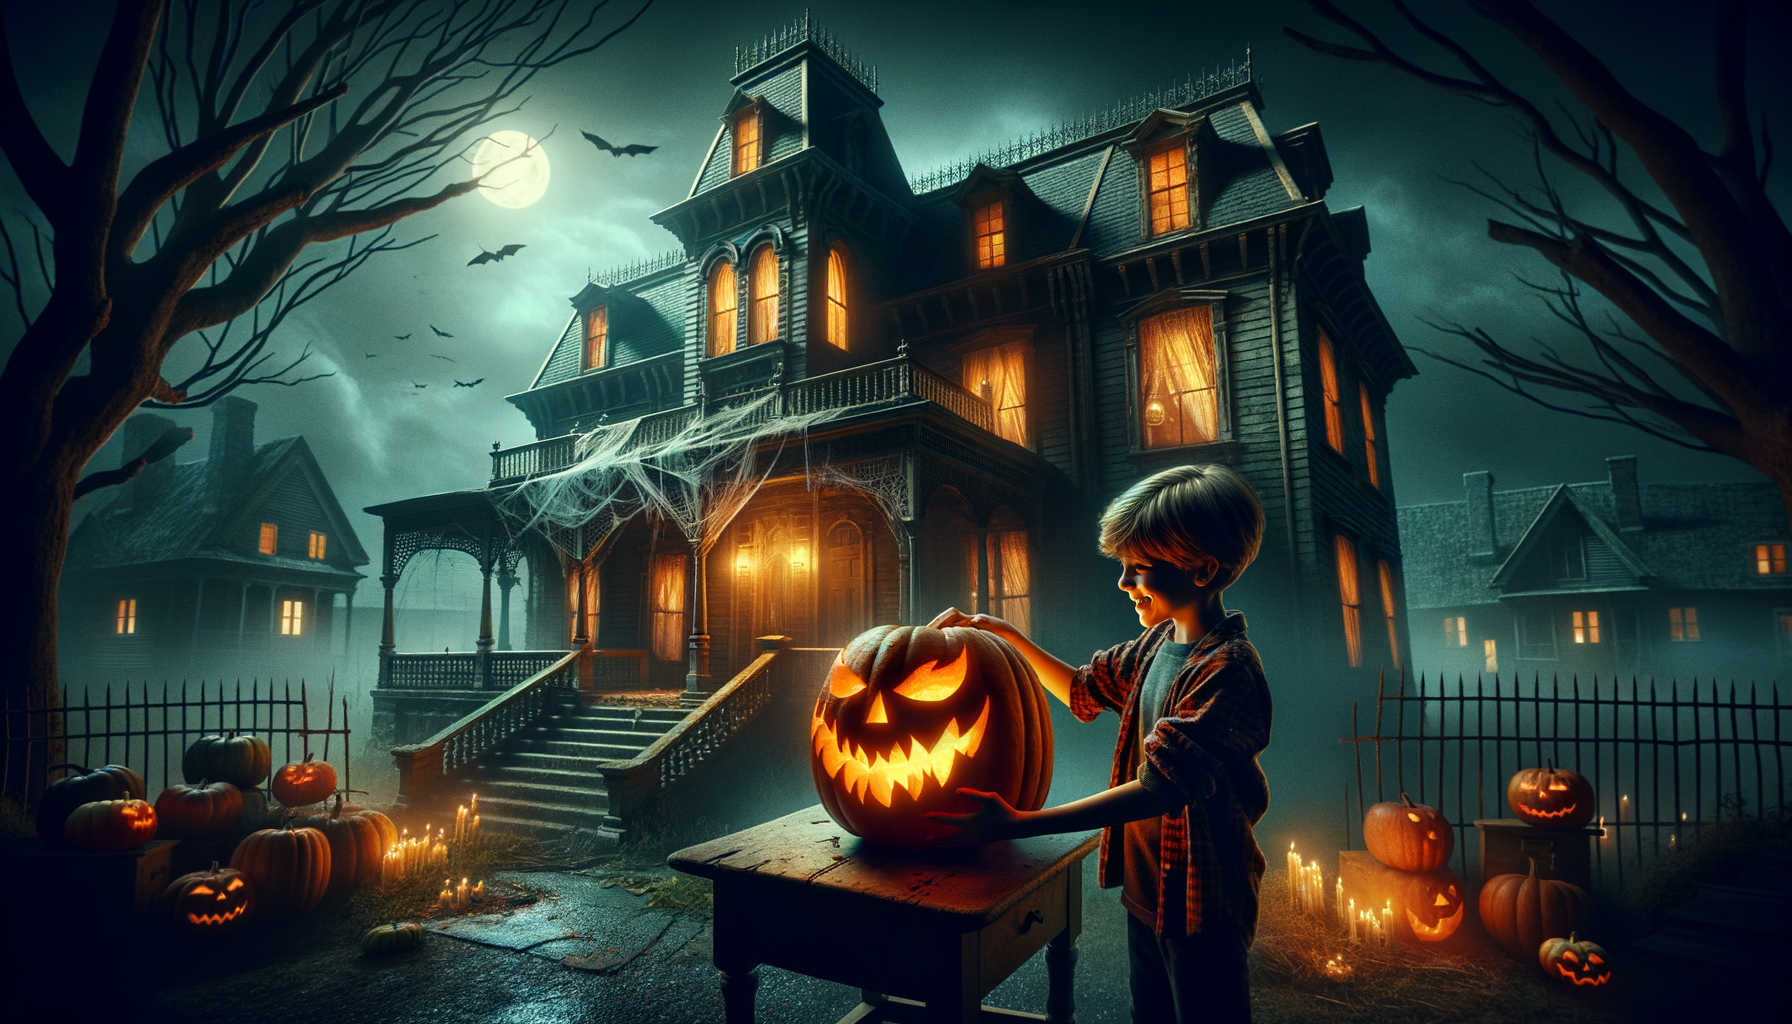
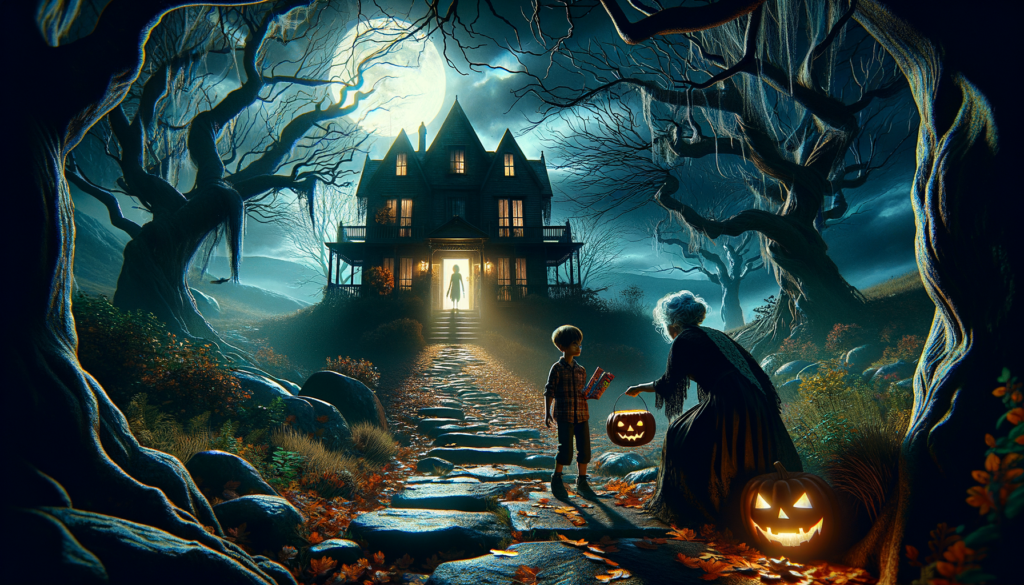
Every Halloween, the dilapidated house at the end of Maple Street bore an uncanny glow. Our town’s most infamous legend, Old Jack, was said to reside there. Despite Jack being as spooky a specter as a ghost could be, he had an inexplicable fondness for lollipops.
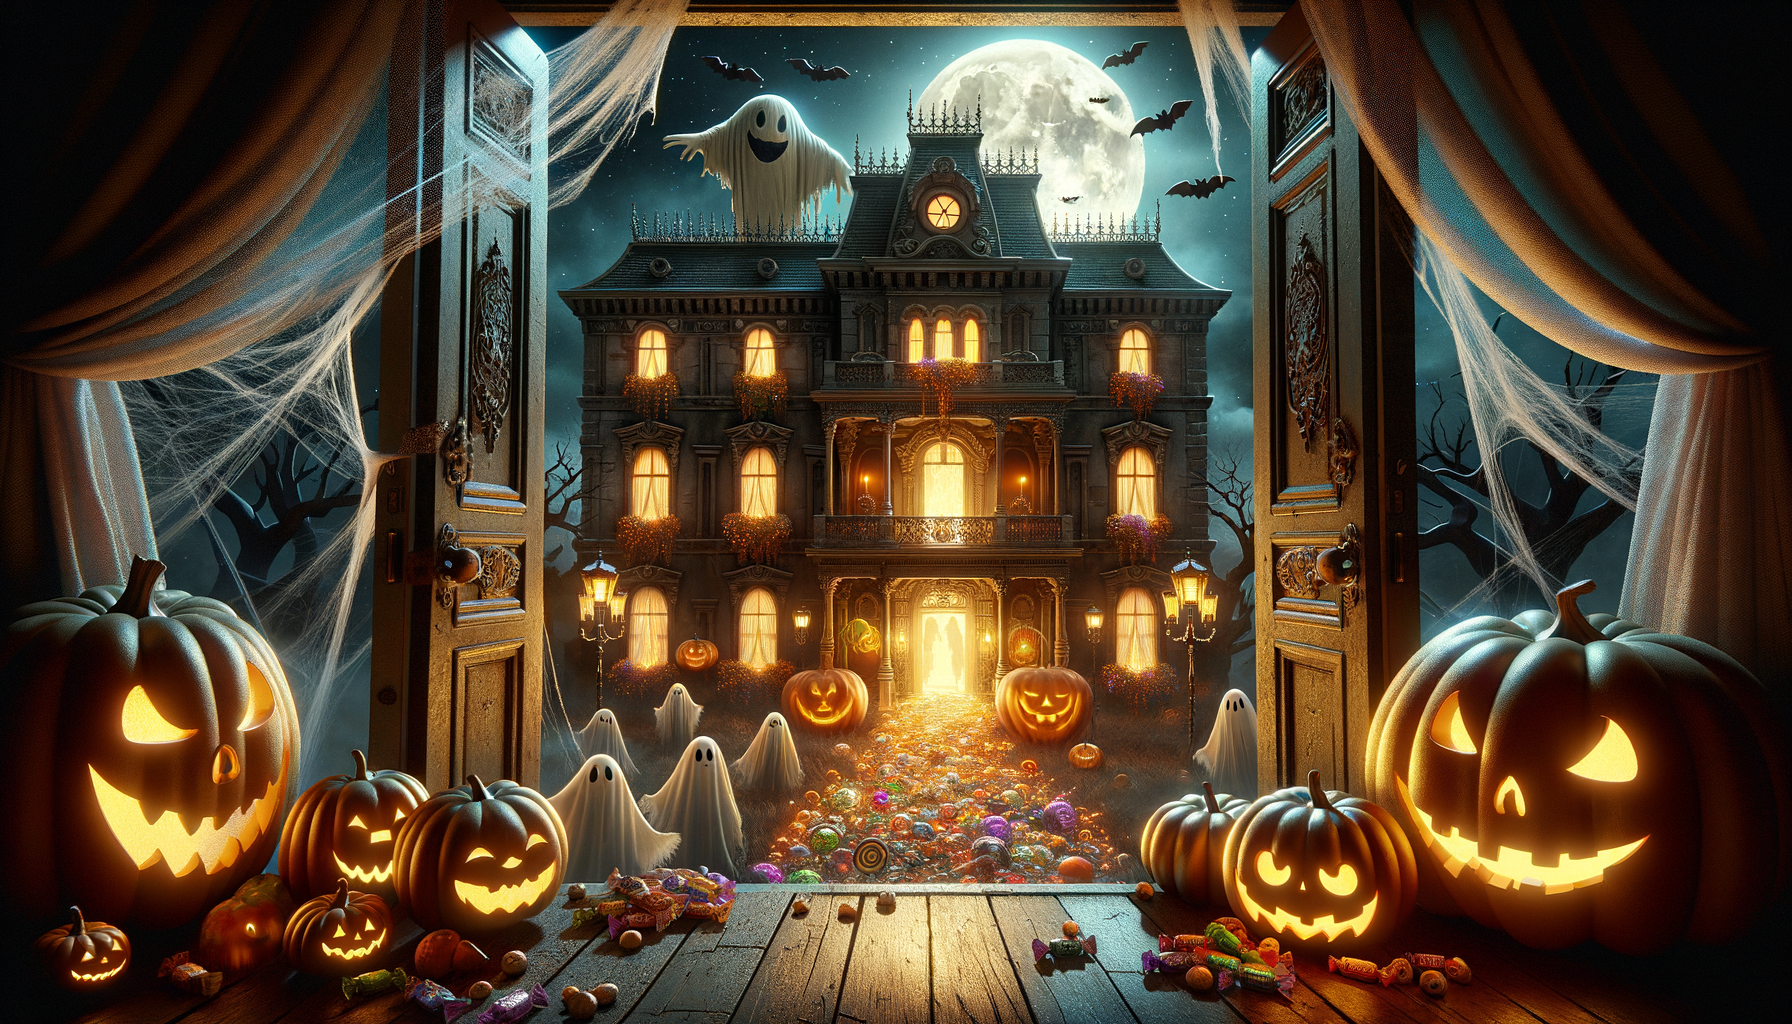
This particular Halloween, I daringly decided to soothe Jack’s sweet tooth. Sucking on my own swirly lollipop, I ventured towards the creepy dwelling. The eerie house creaked under my steps, its shadowy interior suddenly a rush of candy-colored hues. As I placed the precious treat on a desolate table, an unearthly chill swept around me. I hurriedly turned to dash out but froze at the sight of an ethereal, grinning figure, joyously licking a lollipop!
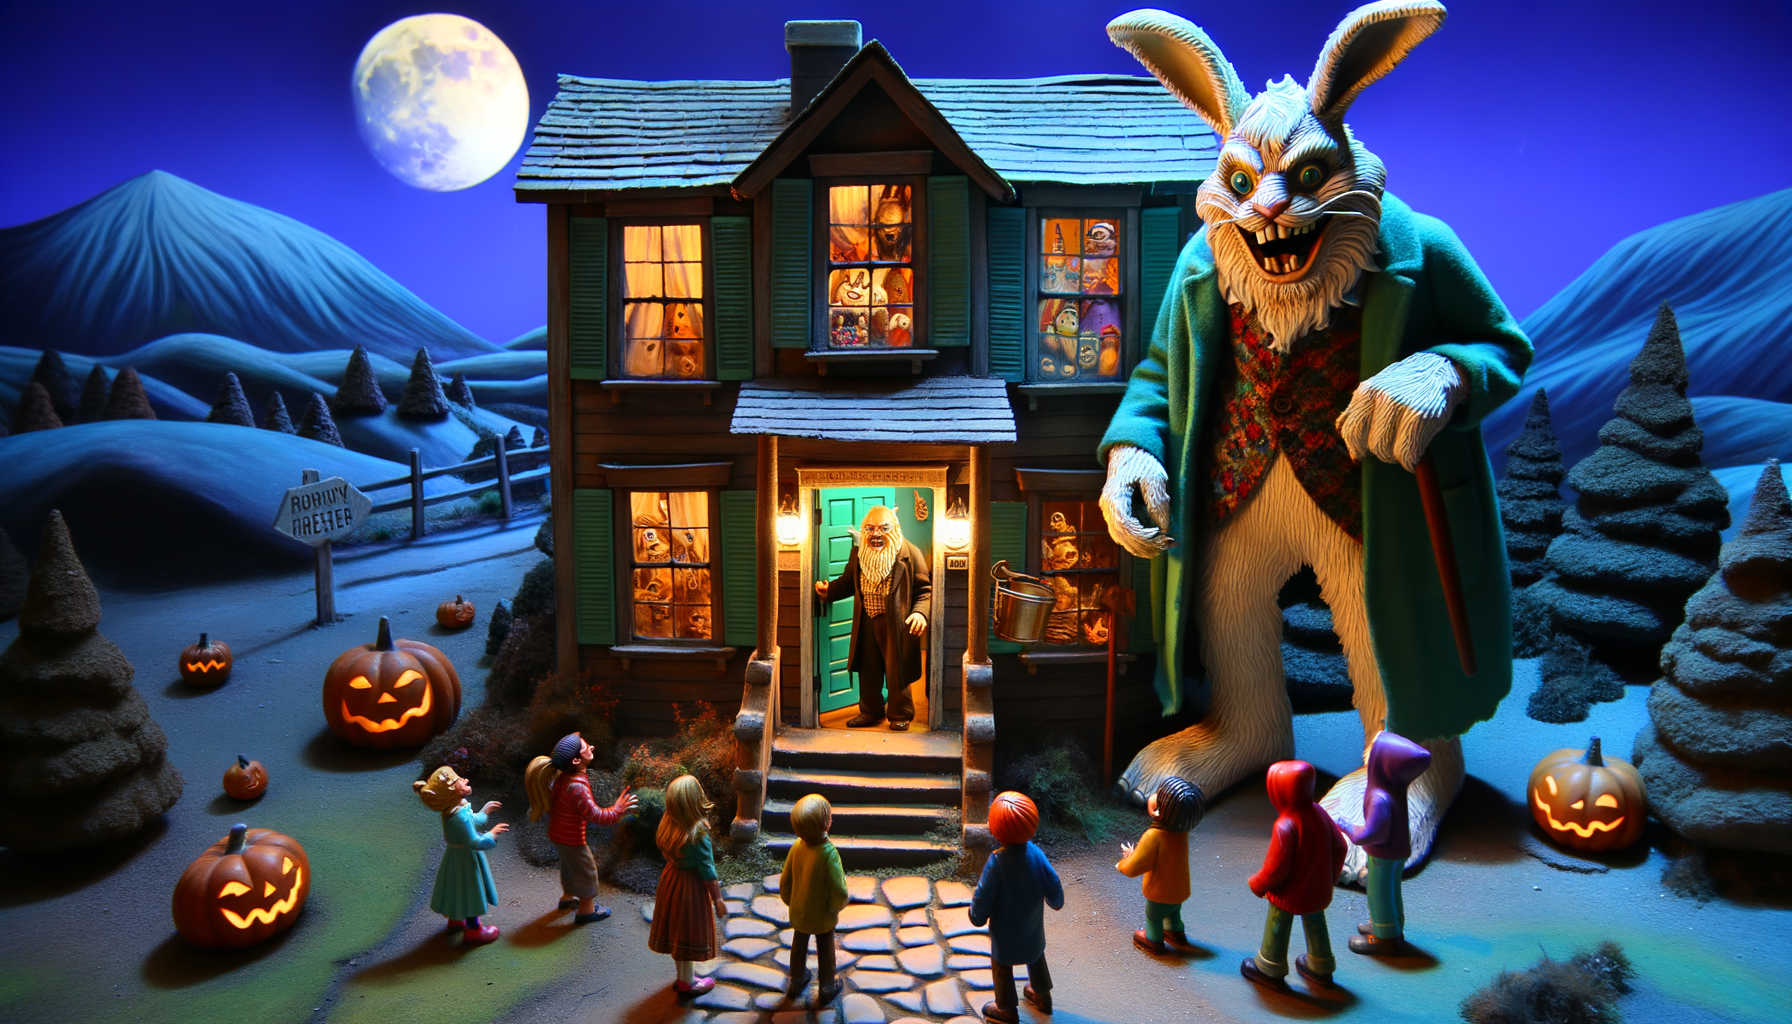
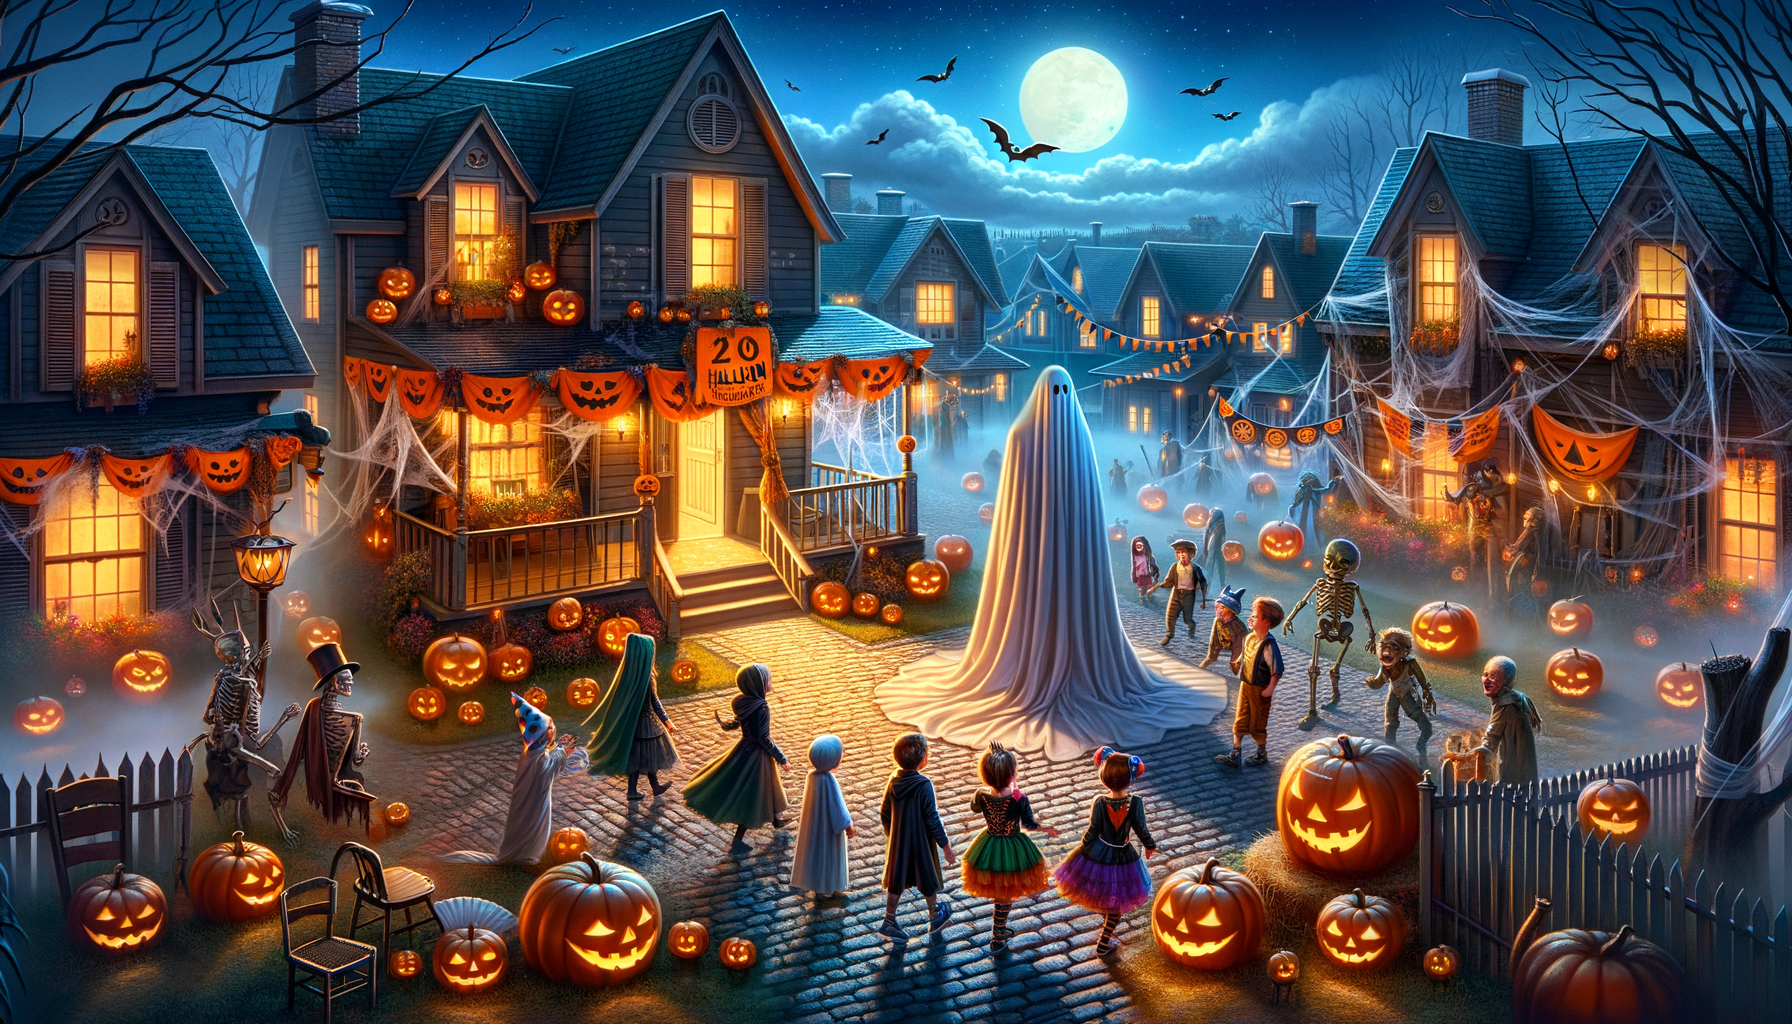
From that spooky night onwards, the haunted house was no longer a place of horror, but a spot of local allure. Each Halloween, we’d visit bearing lollipops, always greeted by the glow of gleeful Jack. And there, amid daunting cobwebs, Jack found not just sugary sustenance but a village of friends – a treat indeed.
The real surprise, though, was yet to come. On all other nights, the legendary house stood coldly silent. So who, pray tell, kept the lollipop factory running all year round?
“The Sweet Haunting of Old Jack’s House: A Lollipop Tale” Read More »