“Pumpkin Spice and Wicked Delights: A Spooky Halloween Love Story”
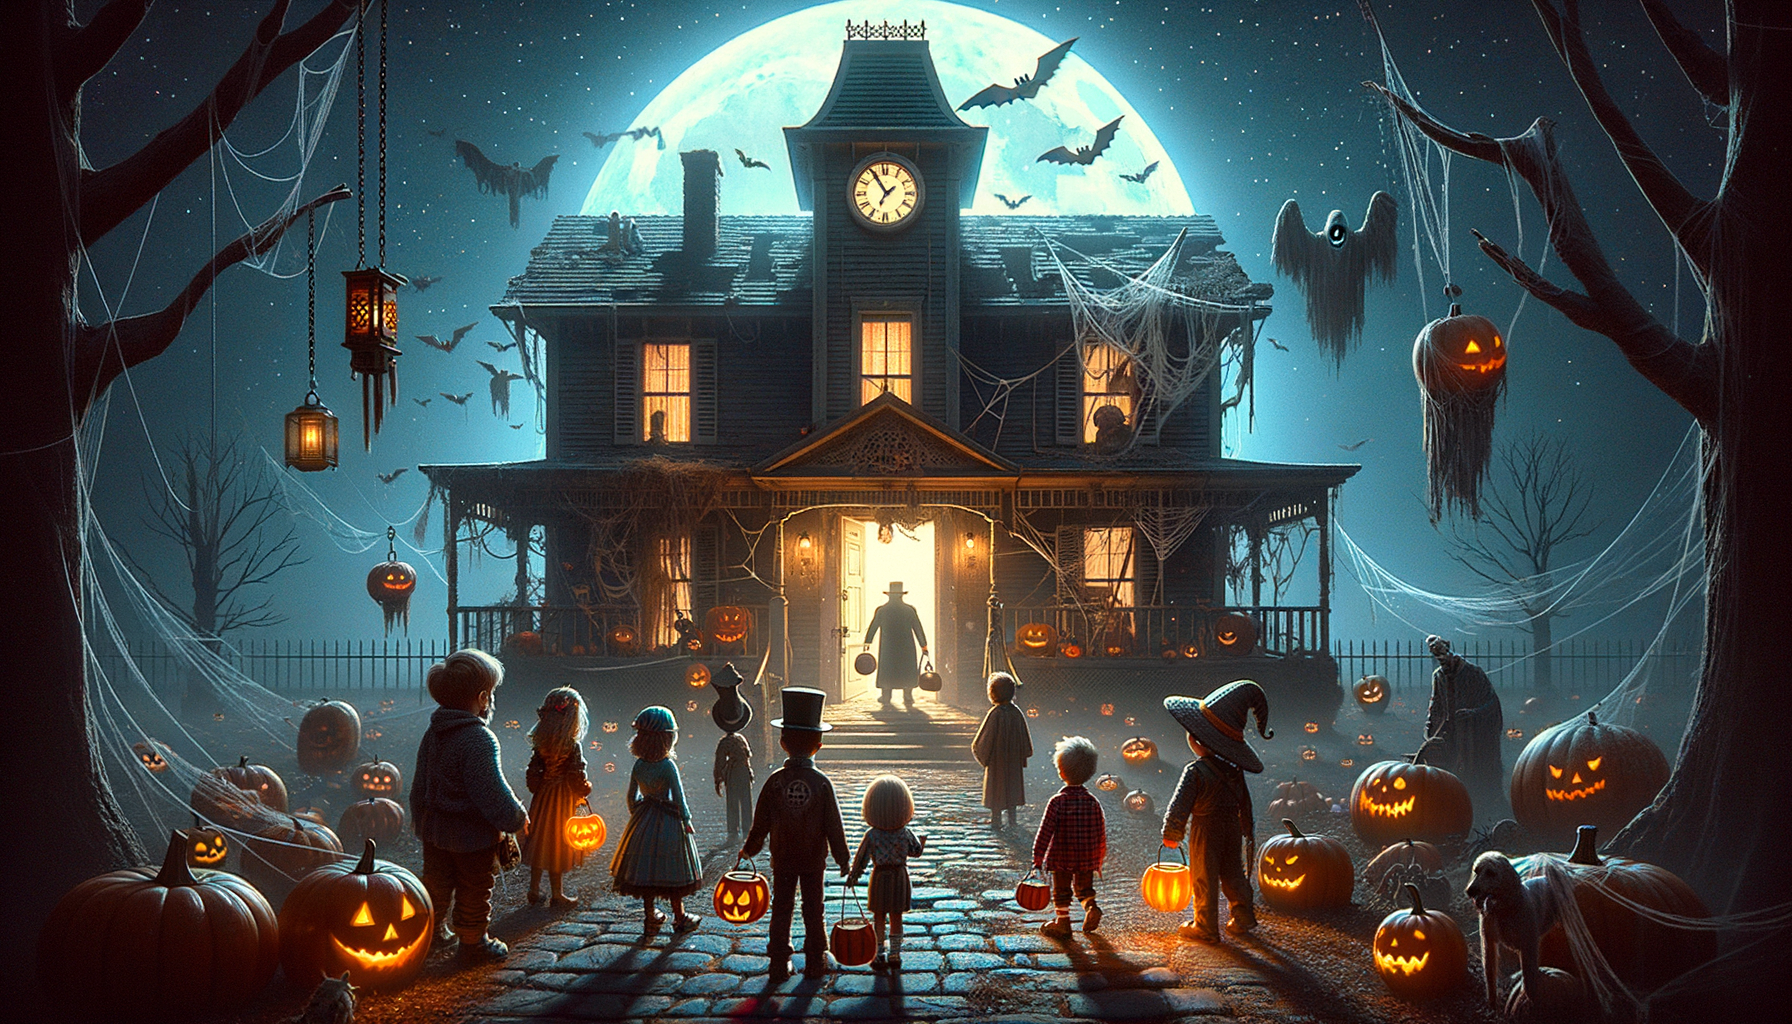
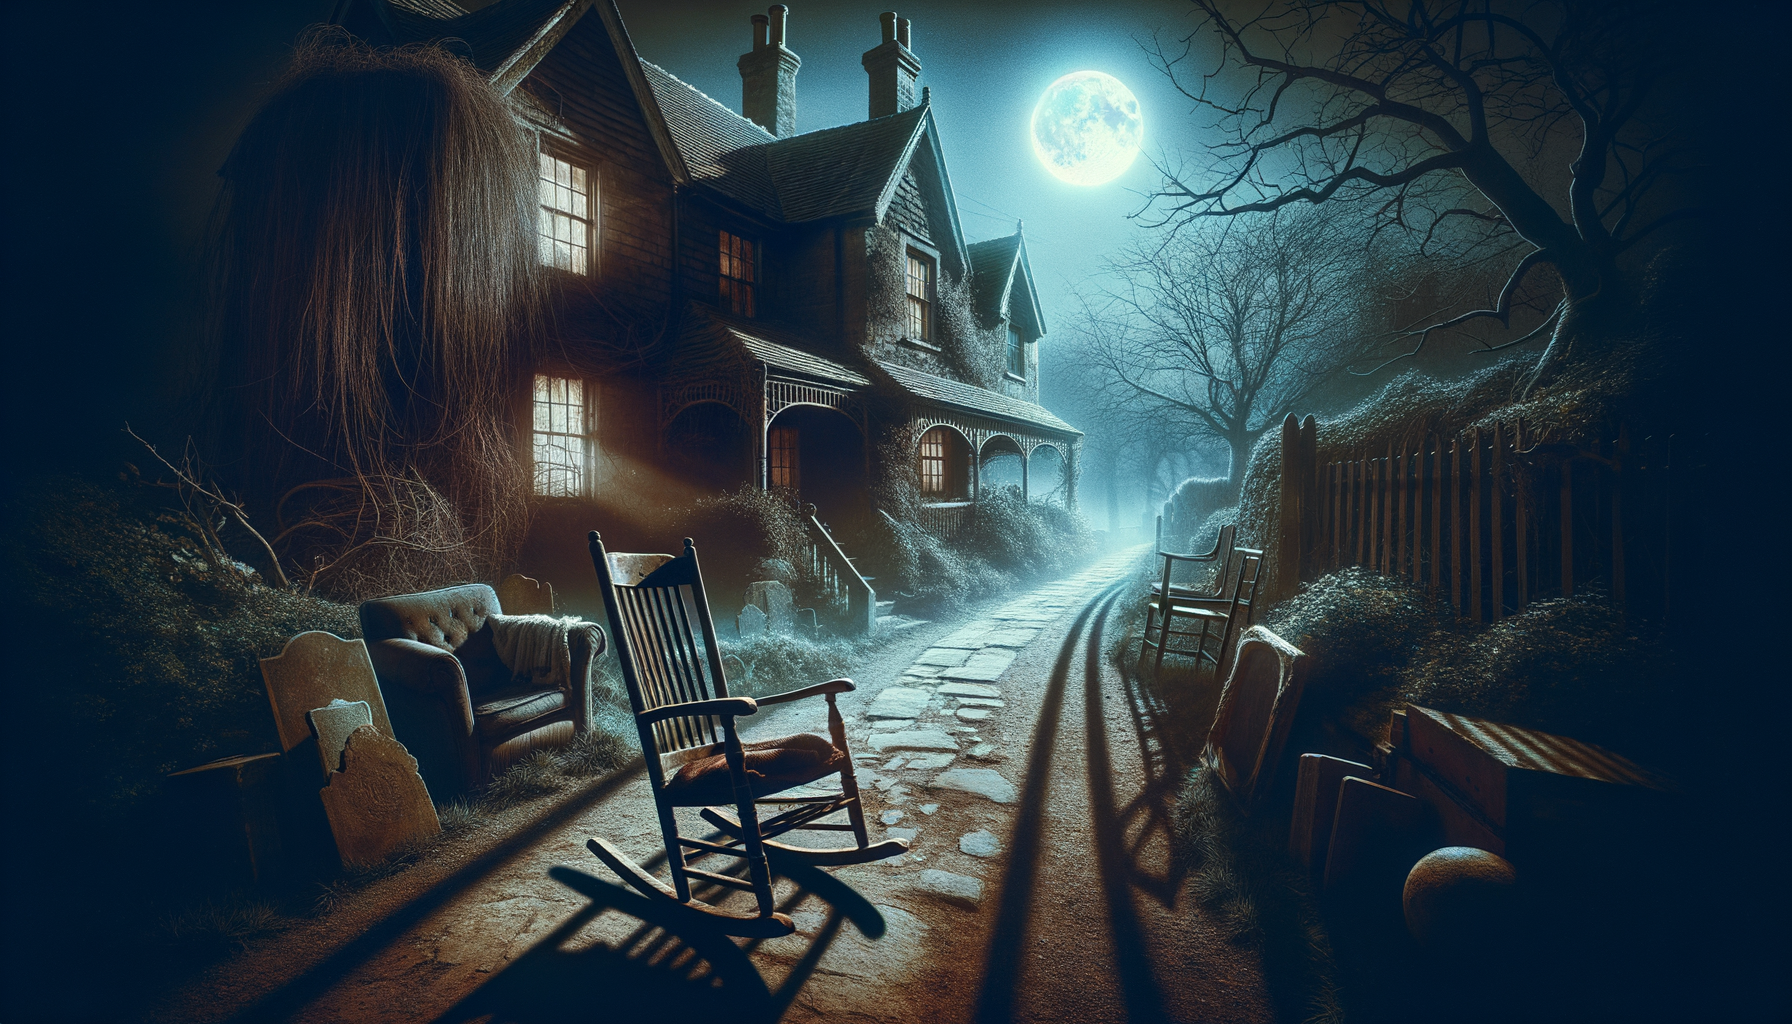
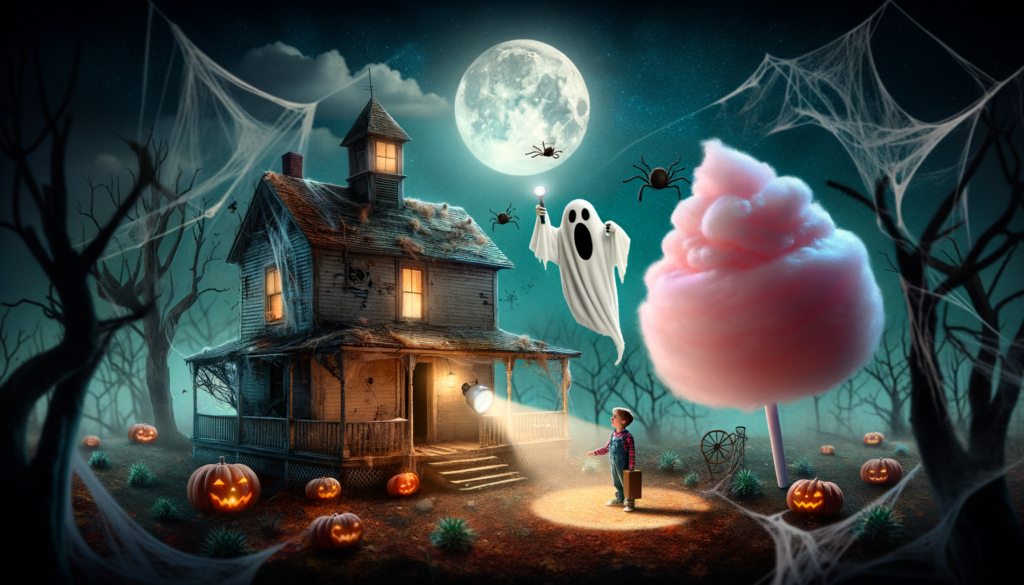
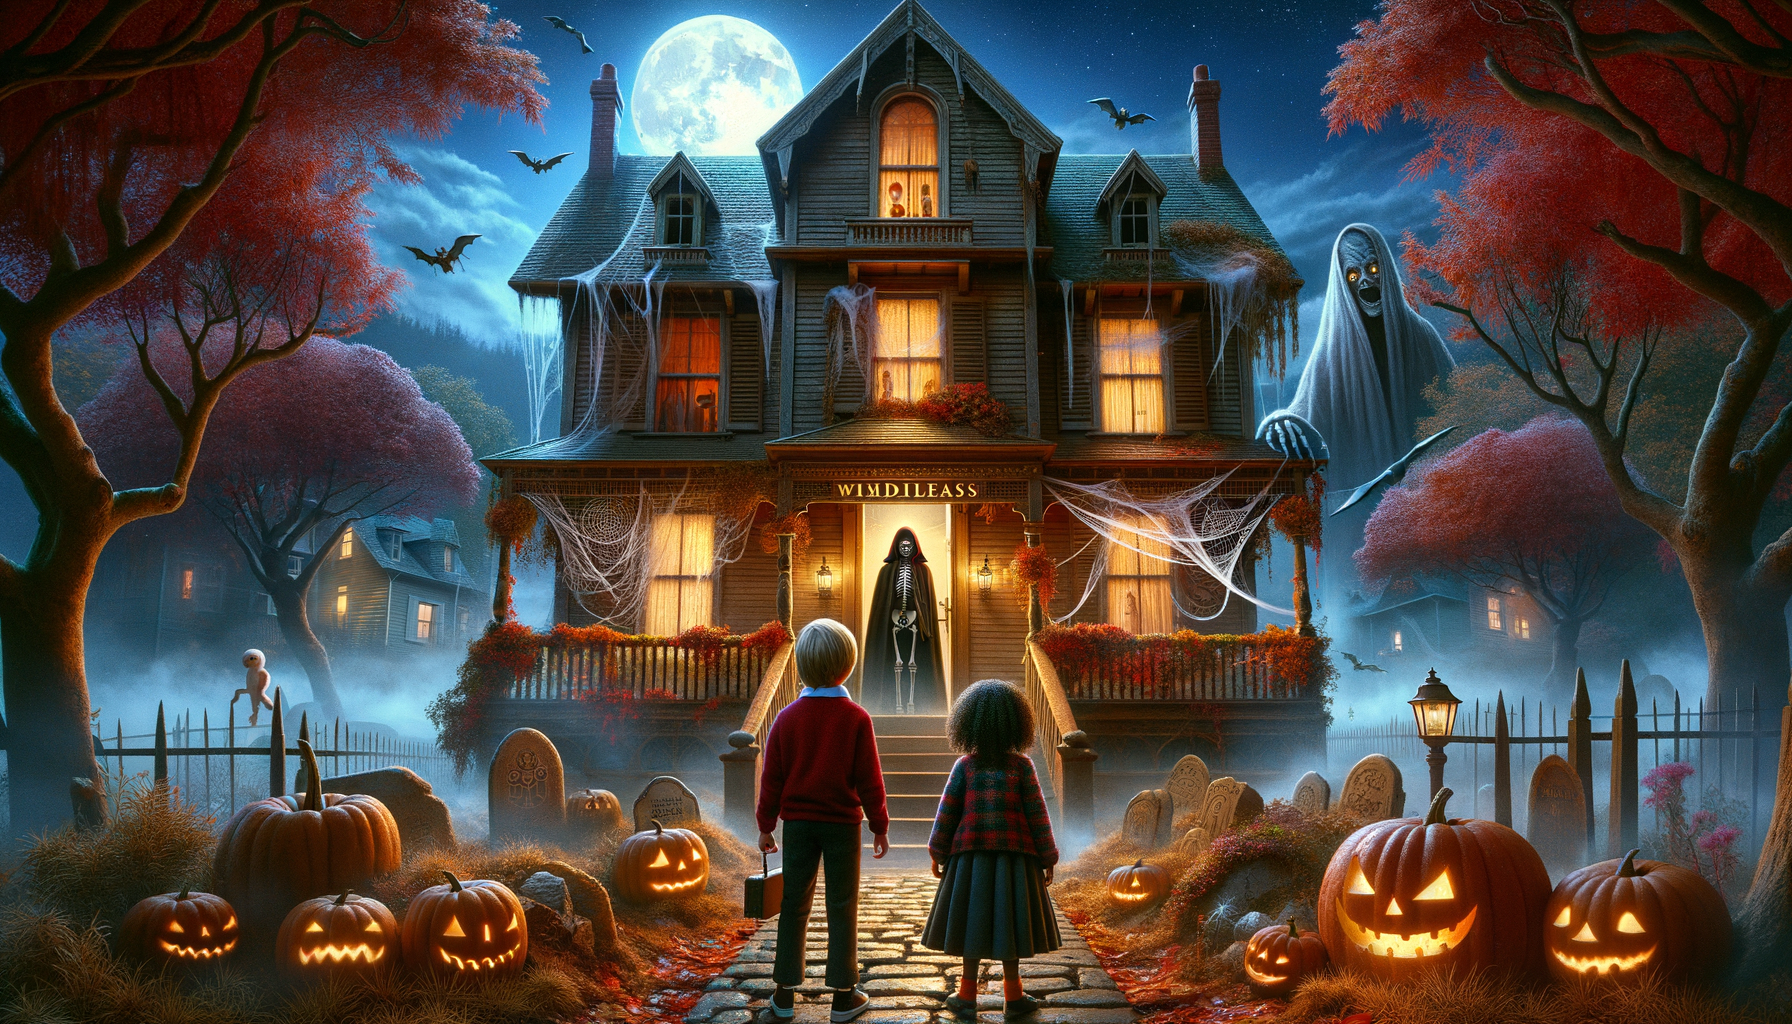
Once upon a time, in the tiny town of Spooksville, a wicked witch named Willa brewed her magic potions under a ghastly full moon. Her tattered old house creaked and groaned, futilely trying to compete with the melodies of the swirling winds.
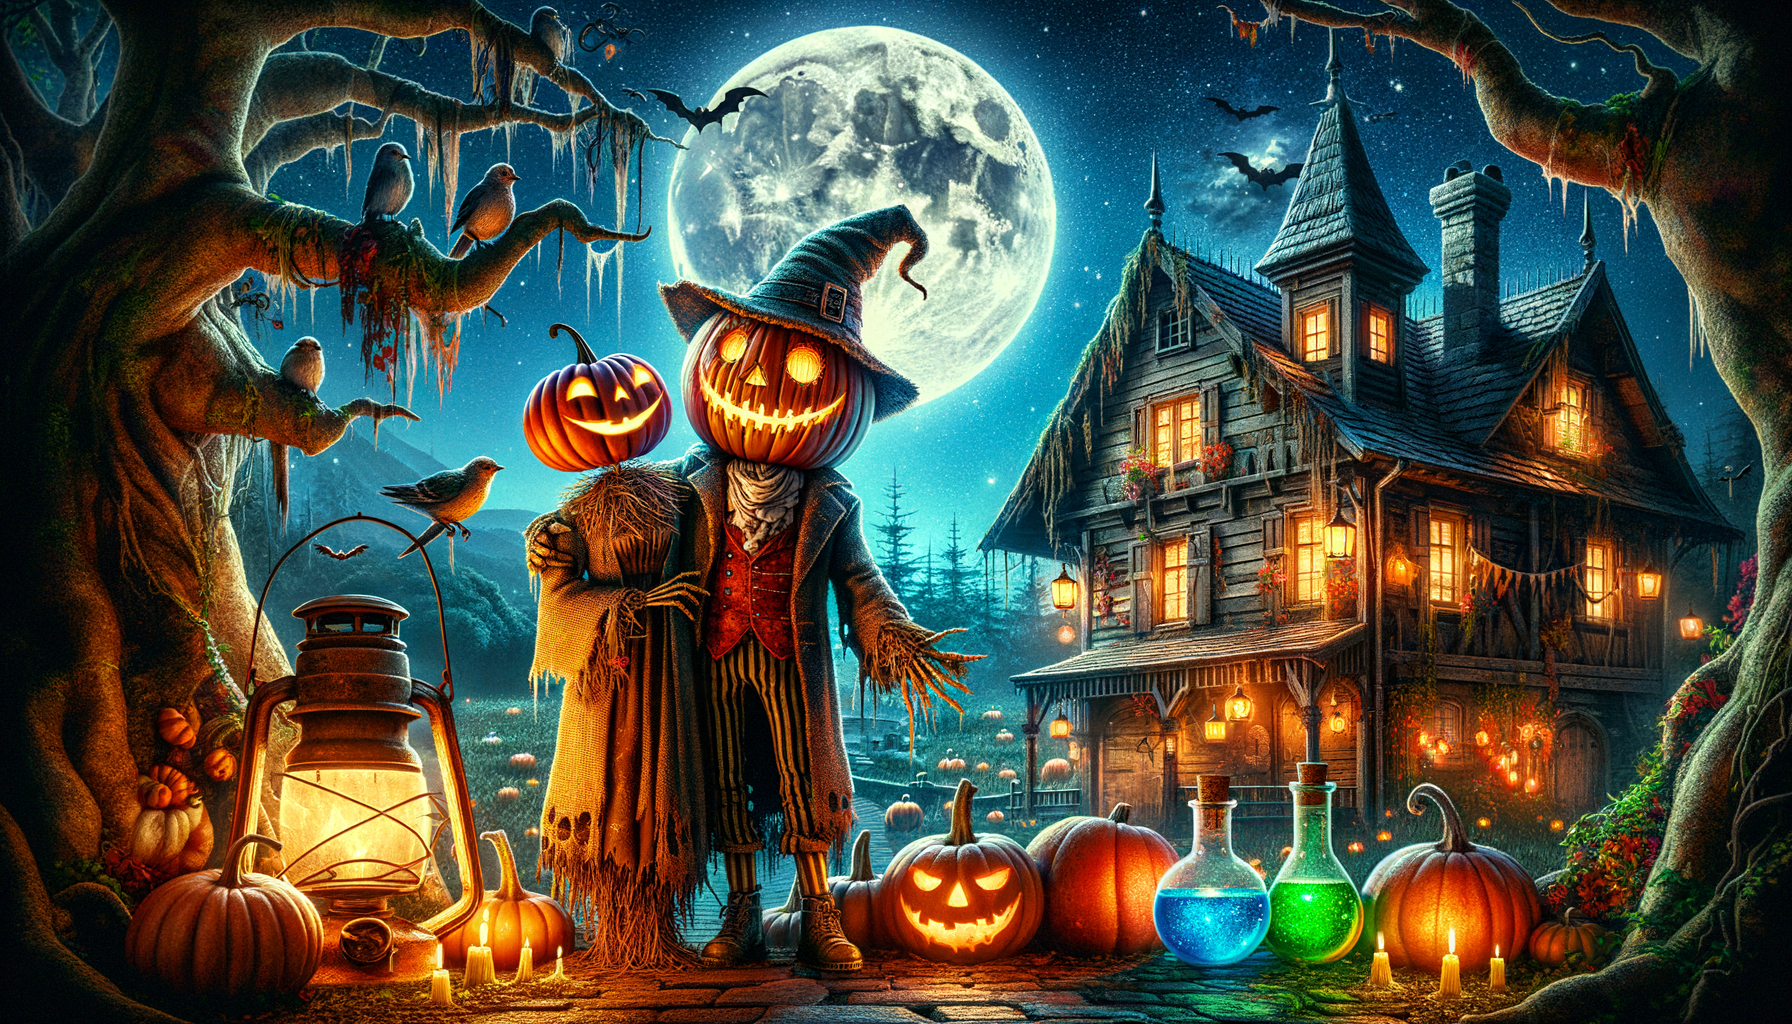
Every Halloween, she conjured a spell to bring Jack, her beloved scarecrow to life, merely for a night of walking and talking. Clad in a hat as crooked as his smile, Jack was brimming with charm.
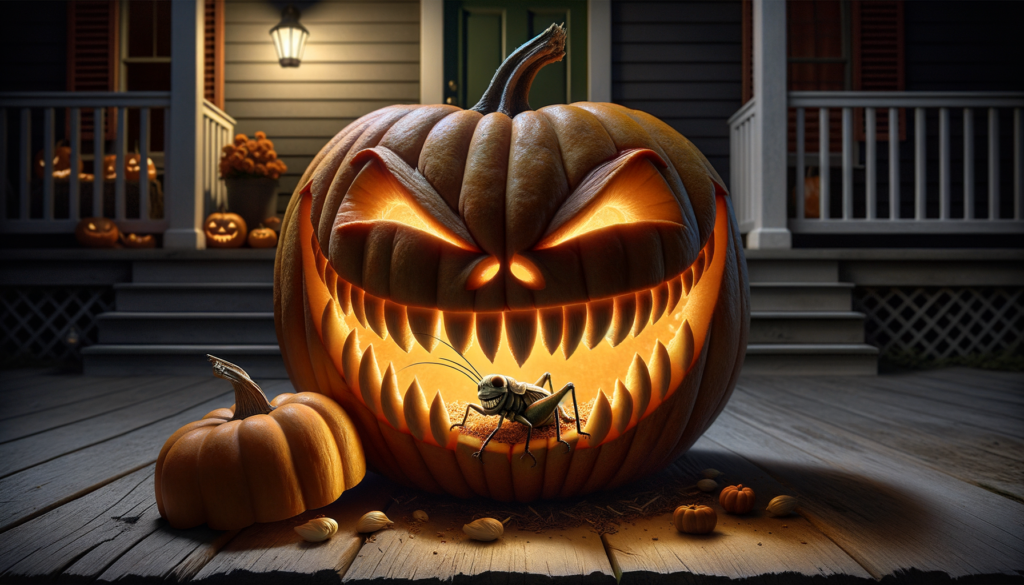
This Halloween, Willa decided to bake a pumpkin pie, enchanted with a spell claiming to make one fall in love; designed for Jack. She anxiously waited for him to bite, hoping it’d make him yearn to be human.
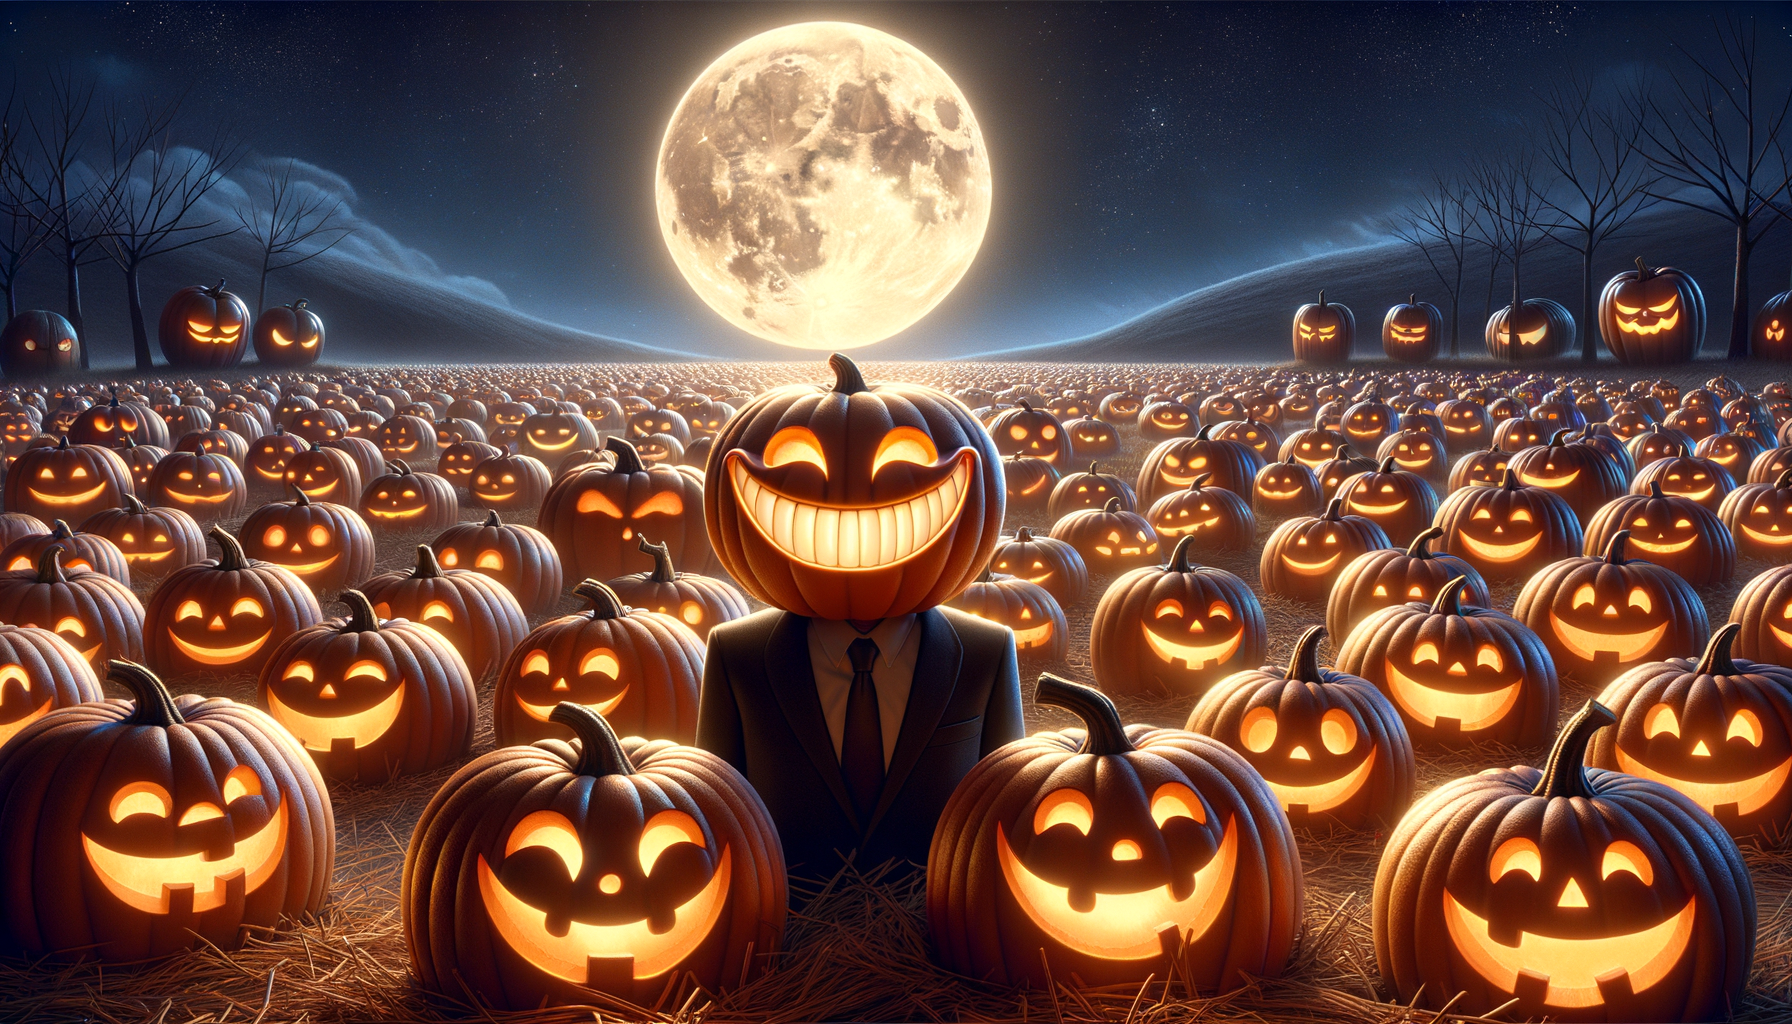
Who knew twists were part of the witch’s book too! The love spell, ironically, worked on the pumpkin pie itself. The pie burst into laughter, then transformed into a handsome talking pumpkin-head, declaring its love for Jack.
Yet the biggest surprise, Jack accepted the weird proposal! With a warm smile, Jack chuckled, “Love is love, even if you are oddly cute.” Laughing, they joyfully danced under the moonlit sky, making it the strangest yet, adorable Halloween never to be forgotten.
And that’s how Willa’s lonely Halloweens got some ‘pumpkin spice; miraculous indeed. Beware, you never know, your pumpkin pie might fall in love with you!
“Pumpkin Spice and Wicked Delights: A Spooky Halloween Love Story” Read More »