Title: “The Pumpkin Transformation Spell of Spooksville”

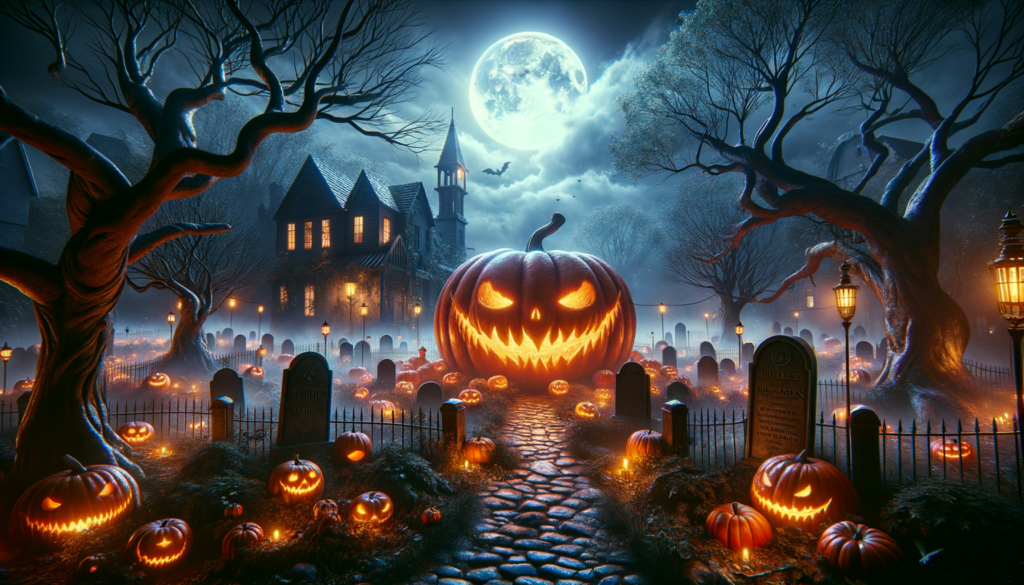
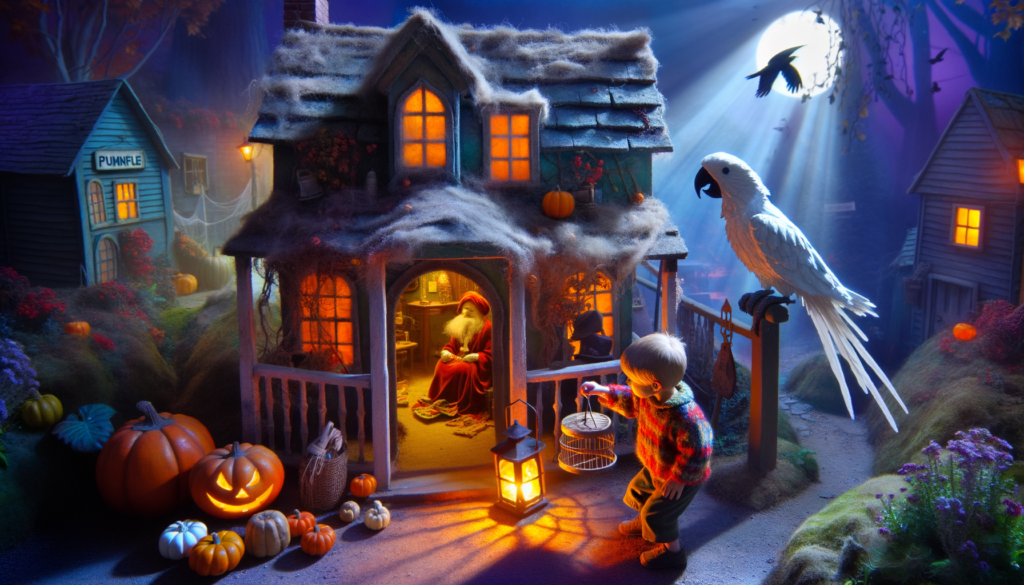
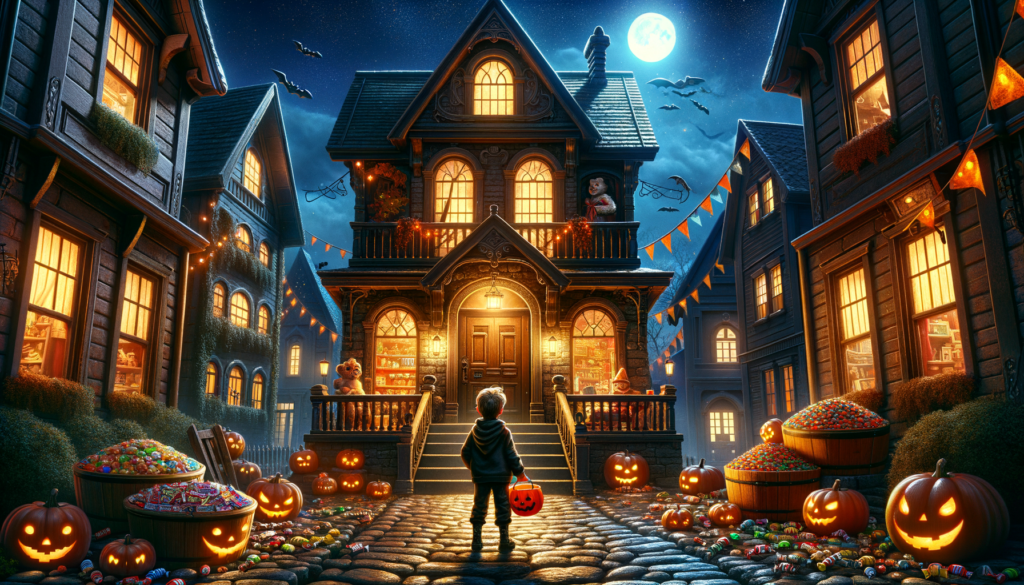
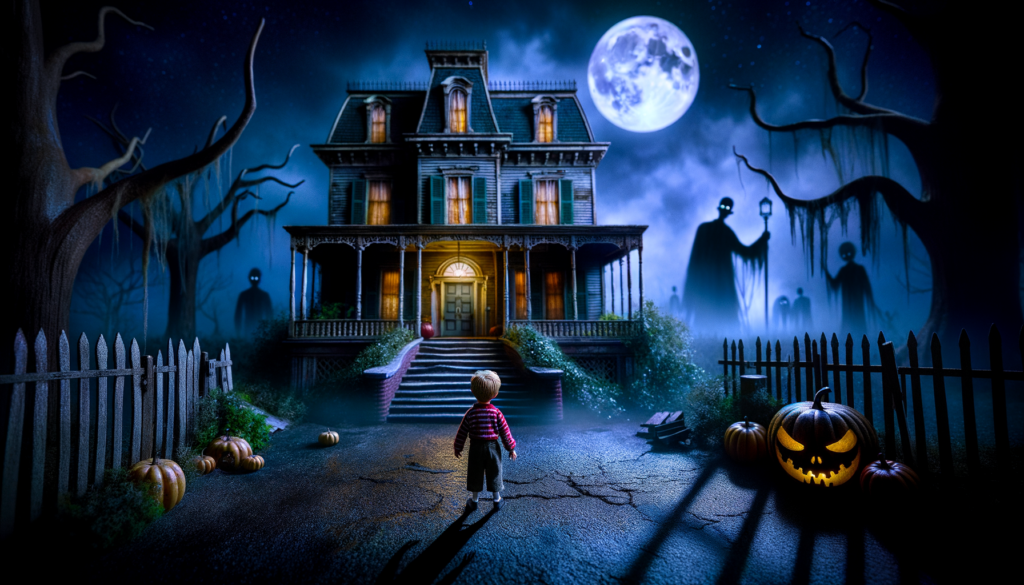
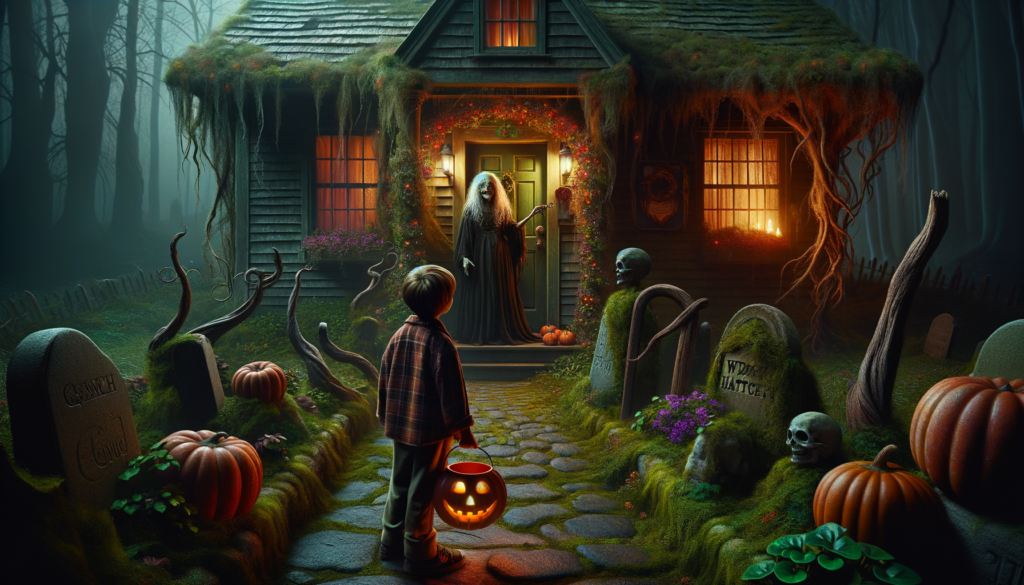
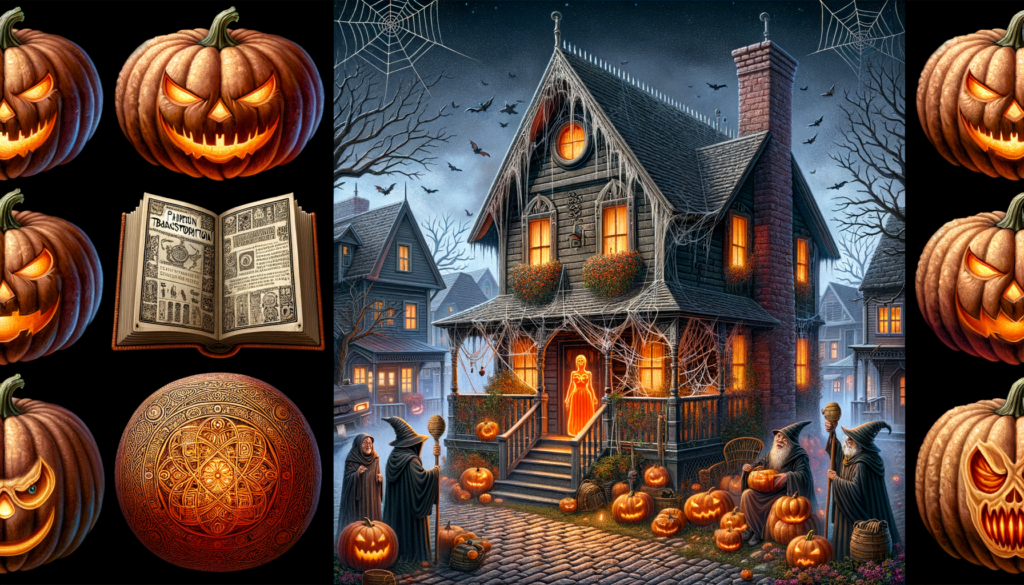
In the quaint little town of Spooksville, everyone looked forward to Halloween, especially Mrs. Jenkins, the eccentric widow who lived in the cobwebbed house at the end of the street. Each year, she’d dress as a hideous witch, cackle spookily and distribute candy to all the children in town.
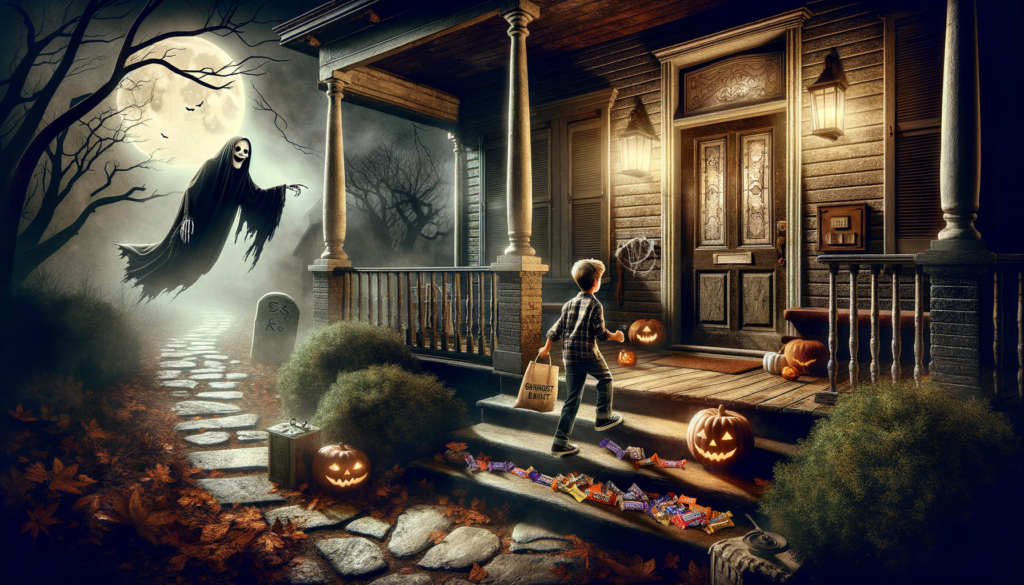
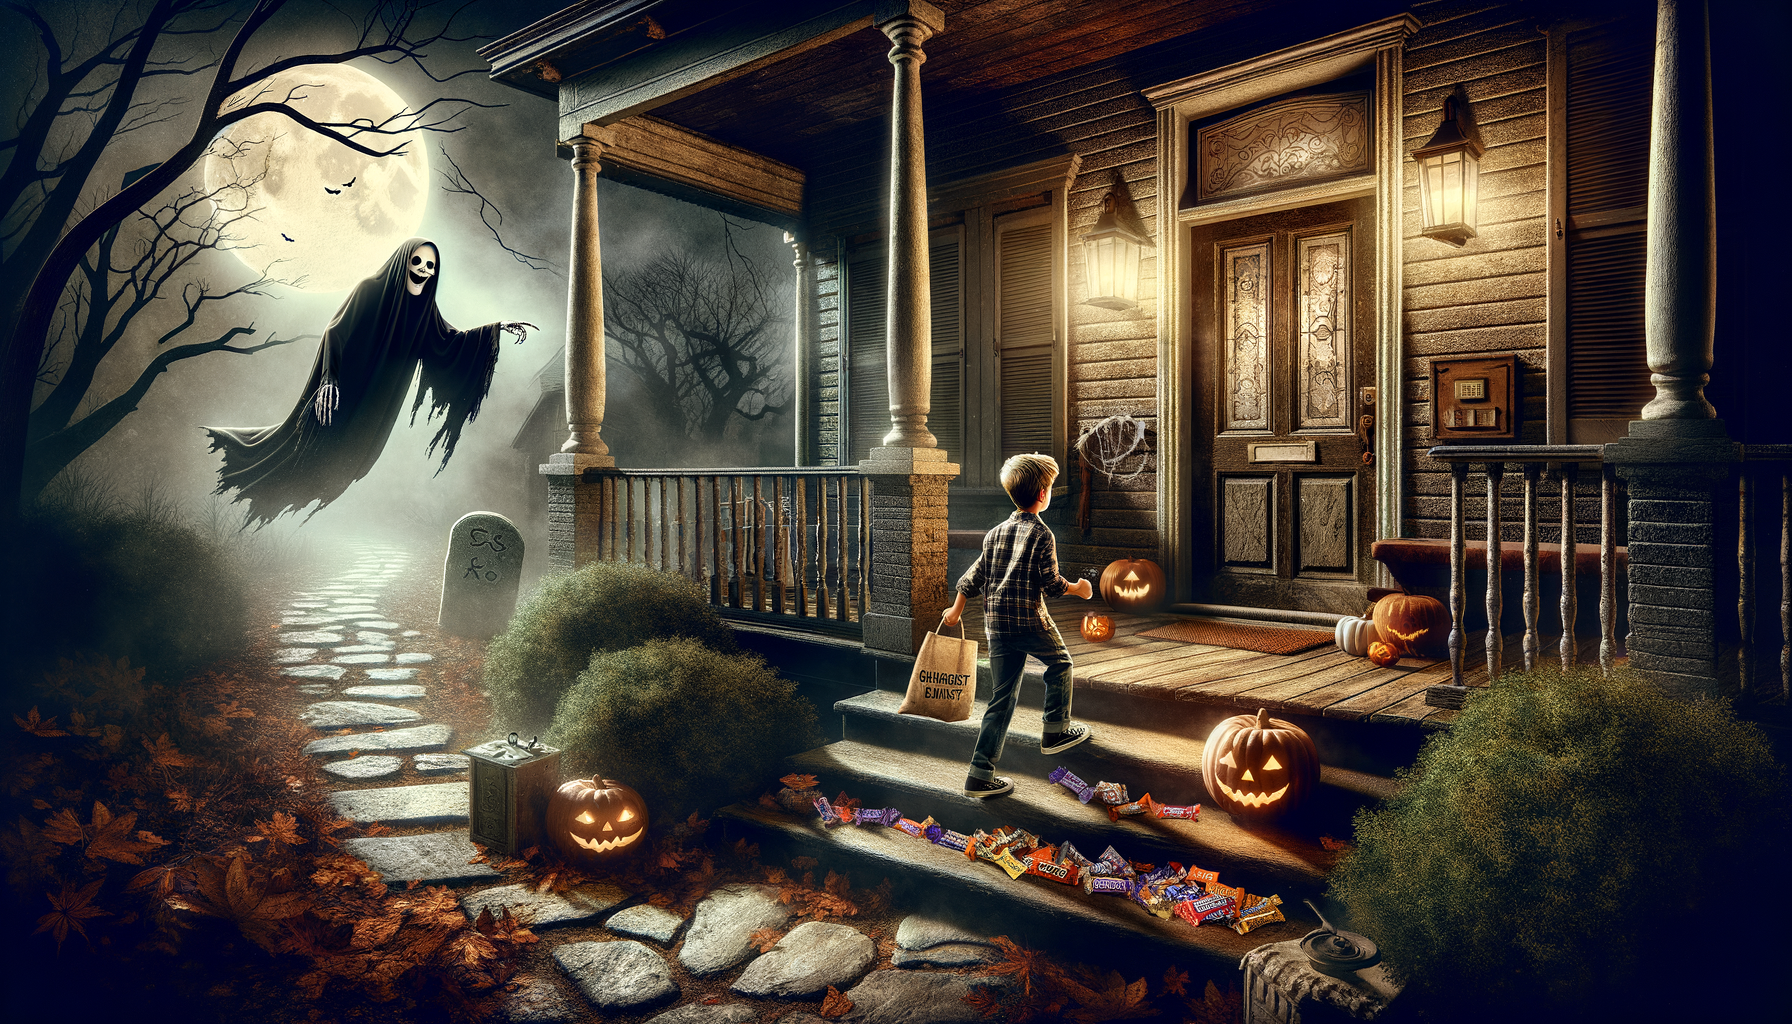
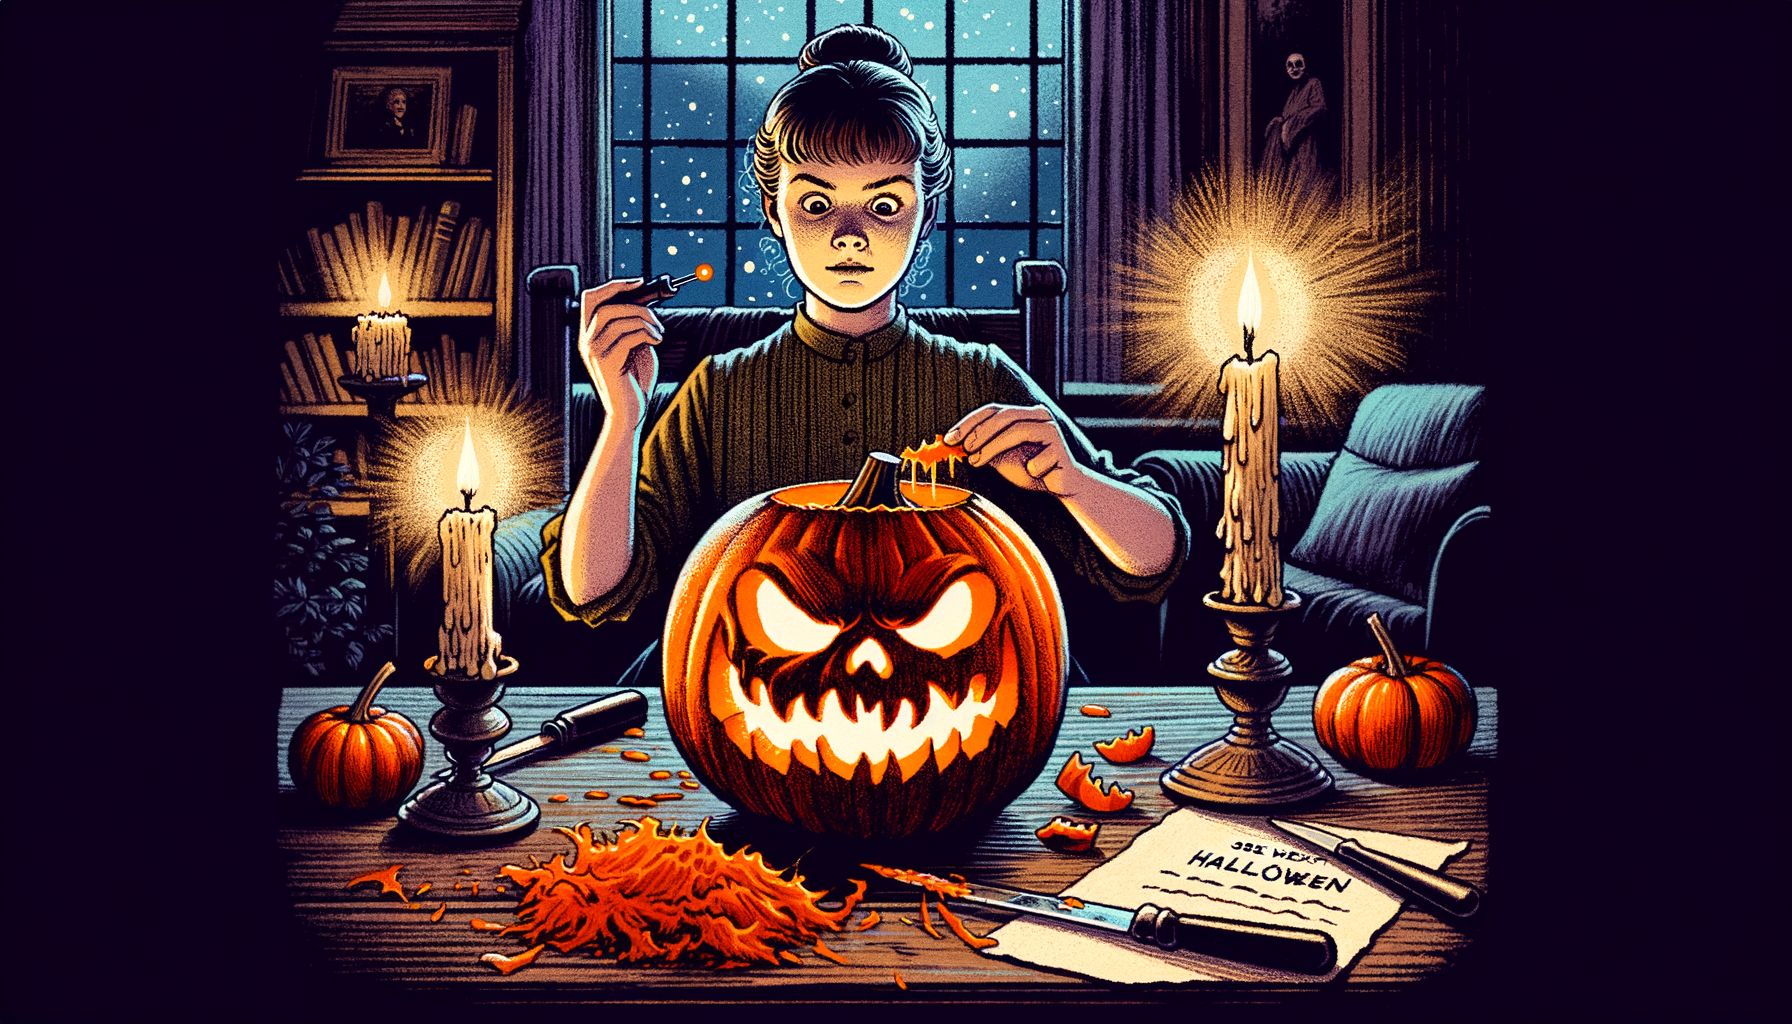
However, this year, the children noticed something amiss. Mrs. Jenkins house was eerily quiet, no cackling witch, no candy. In her place, a rotund pumpkin with an ominous smile now sat on the porch.
Frightened but curious, the brave elders of Spooksville decided to explore the spooky mansion. Inside, they discovered a timeworn magical book, open to a page about pumpkin transformation spells.
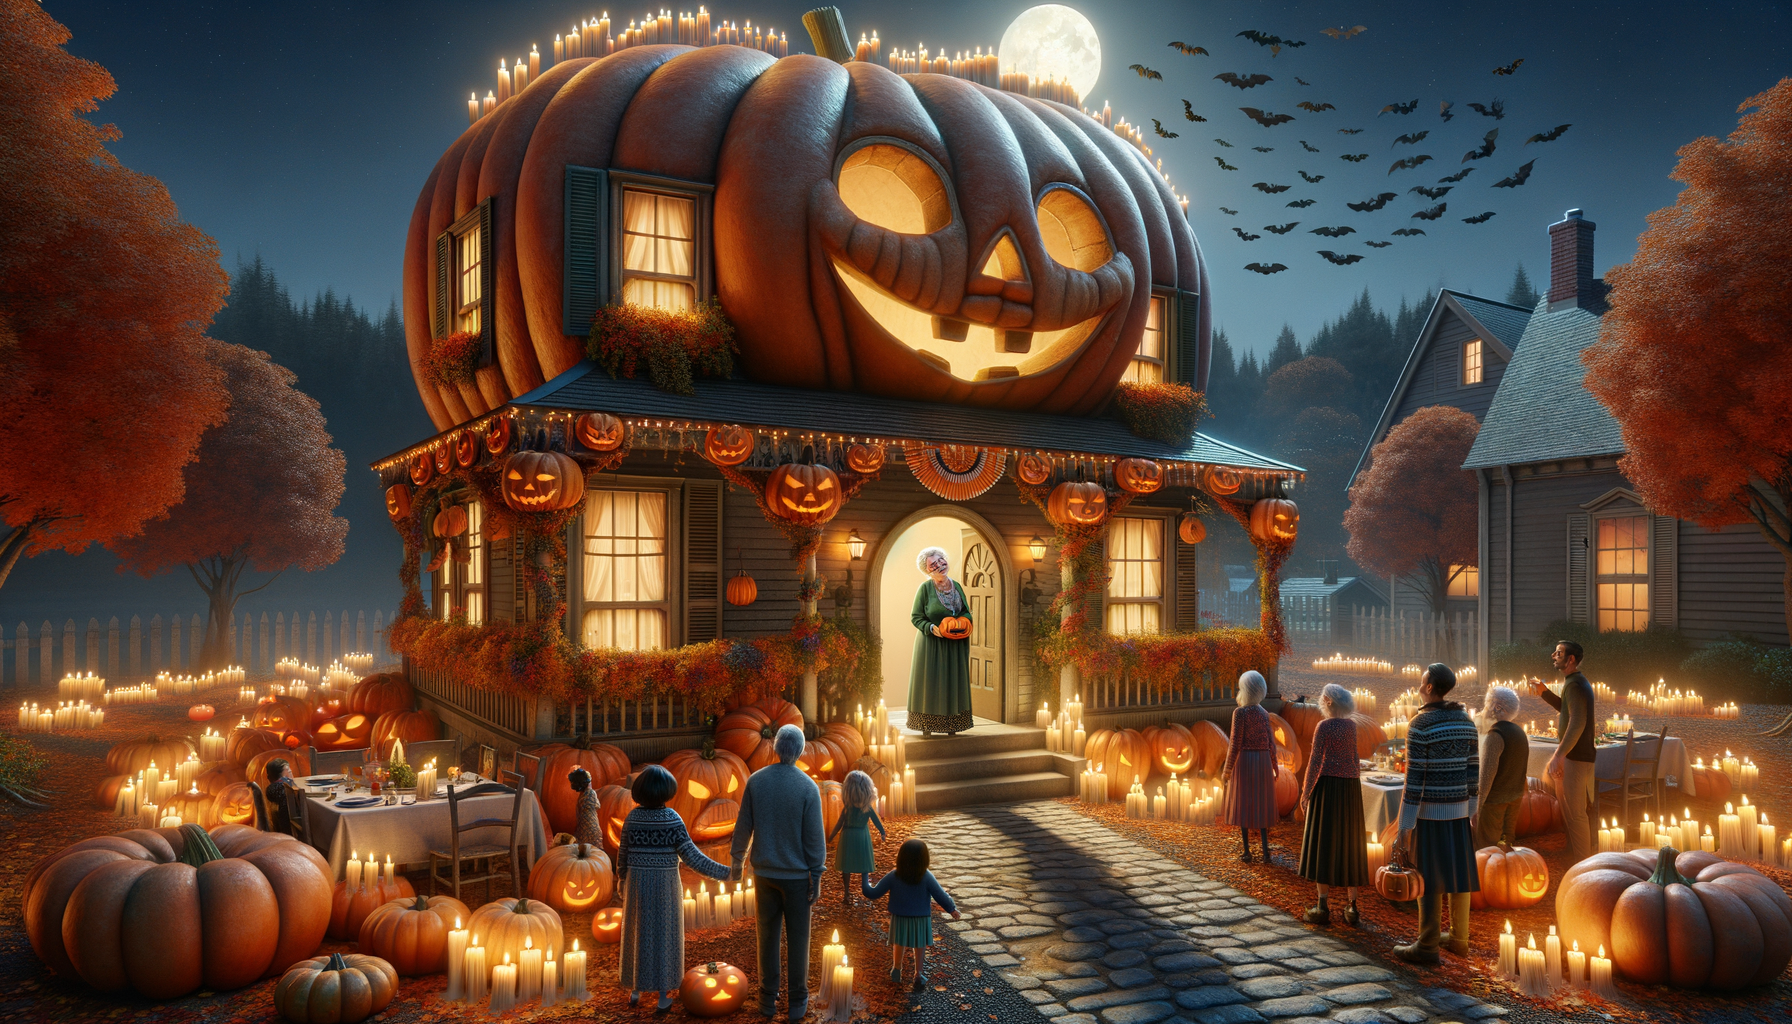
As everyone gasped in horror, the pumpkin outside started to wobble. Then, with a pop, the pumpkin transformed into Mrs. Jenkins! With a sheepish giggle she explained, she’d decided to try a new costume and accidentally turned herself into a pumpkin!
Everyone laughed, relieved. Halloween in Spooksville was not only spooktacular but had a peculiar way of adding magic to their humdrum lives. The incident became another haunting tale of Halloween for generations.
But remember dear reader, every time you see a smiling pumpkin this Halloween, it might just be Mrs. Jenkins continuing her magical shenanigans!
Title: “The Pumpkin Transformation Spell of Spooksville” Read More »