DIY Halloween Themed Knitting Projects
Imagine you can make your own Halloween decorations with just some yarn and knitting needles. You can create spooky ghosts, adorable pumpkins, or even a witch’s hat to wear! This article will show you how to make these amazing Halloween-themed knitting projects. So, grab your knitting tools, and let’s turn your home into a Halloween haven with your very own creations!

Overview of Halloween Knitting Projects
Importance of Handmade Decorations
Imagine being able to make your own Halloween decorations. You can make things like spooky spiders, ghostly garlands, and even pumpkin hats! Making things by hand is special because you get to decide exactly how they look, and you can feel proud that you made them. Handmade decorations also make your home feel cozy and unique for Halloween.
Benefits of Knitting Your Own Halloween Items
When you knit your own Halloween items, it’s like creating magic with yarn! You can make decorations and costumes that fit perfectly and look exactly how you want. Plus, knitting is a fun activity you can do while watching TV or hanging out with family. It’s also a great way to relax and make cool things at the same time.
Understanding Basic Knitting Techniques for Beginners
Knitting might seem tricky at first, but with a little practice, anyone can do it! There are two main stitches you need to know: the knit stitch and the purl stitch. Once you’ve got those down, you’ll be able to start making spooky and adorable Halloween projects. Remember, it’s okay to make mistakes. Every knitter starts as a beginner!
Creepy Crawly Knitted Spider
Materials Needed
To make a knitted spider, you’ll need some black yarn, two small googly eyes, a knitting needle, and some stuffing material. You’ll also want a pair of scissors and a needle to sew everything together.
Step-by-Step Instructions
- Start by knitting a small ball for the spider’s body. This is like knitting a tiny hat but closing it all the way.
- Knit eight skinny legs. These are just like tiny scarves!
- Sew the legs onto the spider’s body.
- Glue the googly eyes on the front.
- Stuff the body with stuffing material to make it chubby and cute.
Styling Tips for Display
Your spooky spider can hang out anywhere in your house. You could make a whole bunch and have them climbing up a wall or hanging from the ceiling with some thread. They also make cute decorations sitting on shelves or guarding your candy bowl!
This image is property of pixabay.com.

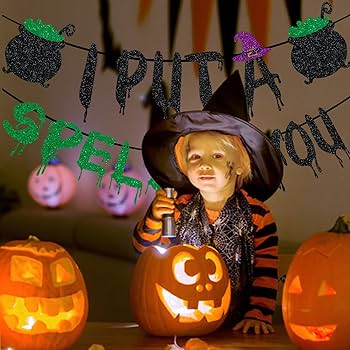
Ghostly Garland
Choosing the Right Yarn for Your Garland
For a ghostly garland, you want to pick a white or light gray yarn that’s soft and fluffy. This will make your ghosts look like they’re floating in the air.
Knitting Individual Ghosts
To knit a ghost, start by making a small triangle for the head and then a bigger, round shape for the body. You don’t have to worry about making them perfect; ghosts come in all shapes and sizes!
Assembling Your Garland
Once you have all your ghosts knitted, string them together with a strong piece of thread or yarn. You can space them out however you like. Some people even add little beads in between for extra decoration.
Ideas for Garland Placement
Your ghostly garland can decorate many places. It could hang in your window, across your fireplace, or even around your front door to greet trick-or-treaters. It’s a fun way to add a spooky touch to your home.
Pumpkin Patch Beanies
Selecting Colors and Materials
For pumpkin patch beanies, you’ll want to choose yarn in shades of orange, green for the stem, and maybe even a little brown for a cute vine or leaf. Make sure the yarn is soft and comfy, especially if you’re making it for a little one.
Pattern Instructions for Different Sizes
Beanies can be made in all sizes, from tiny ones for babies to bigger ones for adults. The pattern starts the same for all sizes, making a circle for the top and then knitting down to the size you need. Adding more rows will make the beanie bigger.
Adding Personal Touches with Facial Features
To make your pumpkin beanie extra special, you can add a face! Use black yarn to stitch on a jack-o’-lantern smile and triangle eyes. You could also make it goofy or surprised – whatever you like best.
Caring for Your Pumpkin Beanie
To keep your beanie looking great, wash it gently by hand in cool water and let it air dry. This will help it stay in shape and keep its colors bright.

This image is property of pixabay.com.
Witchy Kitchen Towels
Determining Towel Size and Yarn Type
For witchy kitchen towels, you want a yarn that’s absorbent and easy to wash, like cotton. Think about how big you want your towels – maybe you want them big enough to hang over your oven door or just small enough to use as hand towels.
Incorporating Witchy Designs and Patterns
You can knit in patterns like little brooms, cauldrons, or even cats. If you’re feeling really creative, you could try making a pattern that looks like a witch flying across the moon!
Finishing Touches and Hang Loops
Adding a loop to your towel makes it easy to hang up. You can make a simple knitted loop and sew it to the corner of your towel. This is also a good place to add a little extra decoration, like a small bow or a button.
Maintenance and Cleaning Tips
Since these towels will be used in the kitchen, they’ll need to be washed often. Luckily, if you chose a good cotton yarn, they can just be tossed in the washing machine. They’ll actually get softer and more absorbent with each wash.
Haunted House Scene Wall Hanging
Sourcing Materials and Tools
For a haunted house scene, you’ll need a variety of yarn colors, knitting needles, and maybe even some fabric for backing. You might also want tools like a frame to stretch the finished piece for display.
Sketching Your Design
Before you start knitting, sketch out your design. Think about including a spooky house, a full moon, and maybe even a witch or ghost flying in the sky. This will be your guide as you knit.
Knitting the Components of the Haunted House
Knit each part of your haunted house scene separately. You might knit a square for the house, a circle for the moon, and then small shapes for trees or creatures. You can make each piece as simple or as detailed as you want.
Assembly and Display Suggestions
Once all your pieces are knitted, sew them together according to your sketch. If you’re using a backing fabric, attach your knitted pieces to it now. Finally, frame your masterpiece or simply hang it up as is. It’s sure to be a conversation starter!

This image is property of pixabay.com.
Spooky Sweater Customizations
Design Ideas for Halloween Themes
To make a spooky sweater, think about what Halloween means to you. You could add pumpkins, ghosts, bats, or even candy corn designs to a plain sweater to make it perfect for Halloween.
Adding Halloween Elements to an Existing Sweater
You don’t have to knit a whole new sweater. You can add knitted patches or embroider directly onto an existing sweater. This is a great way to breathe new life into an old piece of clothing.
Knitting Hints for Intarsia or Colorwork
If you’re adding designs with different colors, you might use techniques like intarsia or colorwork. Remember to keep your yarns untangled and to follow your pattern carefully to get the best results.
Care Guidelines for Your Customized Sweater
Since your spooky sweater might have lots of different yarns and patches, it’s best to wash it gently by hand. This will help keep your designs looking sharp and your sweater in good shape.
Monster Mittens
Material Selection for Warmth and Comfort
For monster mittens, pick a yarn that’s warm and soft. Wool or a wool blend is great for keeping fingers toasty on chilly nights.
Pattern Adjustments for Various Sizes
Mittens can be a bit tricky because they need to fit well. You’ll find patterns for all sizes, and you can adjust the length of the cuff or the width of the mitten body to get a perfect fit.
Creative Ideas for Monster Features
This is where you can get really creative! Add big googly eyes, felt teeth, or even knitted spikes down the side to turn a simple mitten into a friendly monster.
Wearable Test: Ensuring Comfort and Mobility
Once you’ve finished your mittens, try them on. Make sure you can move your fingers comfortably and that the mittens aren’t too tight or too loose. This way you’ll stay comfortable and warm while you’re out trick-or-treating.

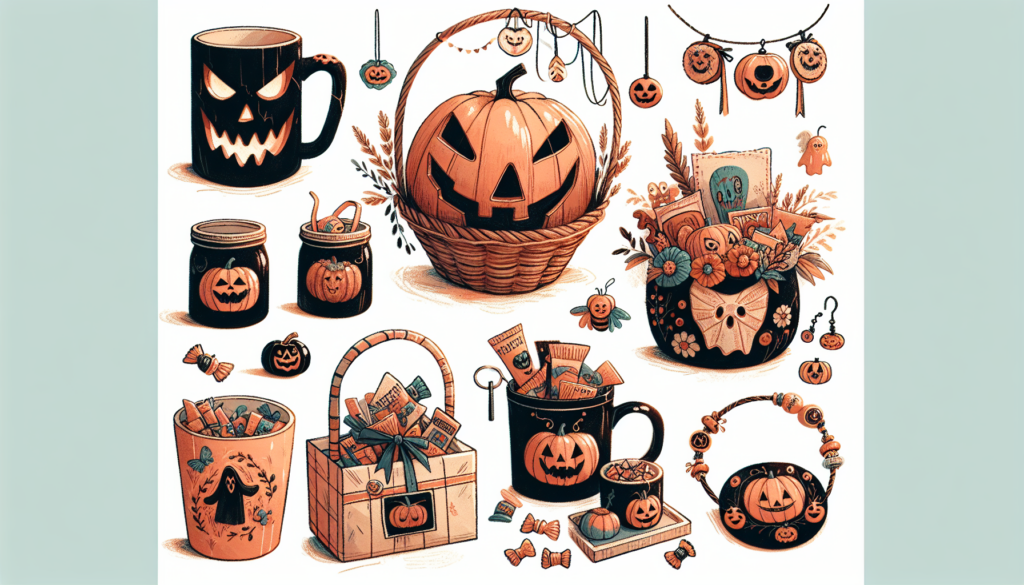
Ghoulish Gift Holders
Choosing Yarn and Colors
Pick spooky colors like black, orange, purple, and green for your ghoulish gift holders. You’ll want a sturdy yarn that can hold its shape, especially if you’re filling the holders with treats.
Patterns for Miniature Halloween Icons
You can knit tiny pumpkins, ghosts, or even little bats to decorate your gift holders. These small projects are a great way to practice your knitting skills and add a personal touch to each holder.
Assembly Instructions
Once you’ve knitted your holders and decorations, sew the decorations onto the holders. Then, sew up any sides if needed, and add a loop of yarn at the top so they can be hung up or carried easily.
Ideas for Filling and Presenting the Gift Holders
Fill your ghoulish gift holders with candy, small toys, or even a little note. They make perfect party favors or a special treat for friends and family.
Halloween Themed Throw Blankets
Selecting a Size and Yarn Type
Think about how big you want your throw blanket – something to snuggle under while watching scary movies, perhaps? Choose a yarn that’s soft and cozy, and that comes in the colors you need for your Halloween design.
Patterns and Designs
You can make your blanket with blocks of color that form a Halloween picture, like a giant pumpkin or a ghostly scene. Or, you could knit a simple blanket and add knitted decorations on top.
Knitting Methods for Larger Projects
Big projects like throw blankets take more time, so be patient with yourself. You might use circular knitting needles to help handle the large number of stitches. Taking it one row at a time, you’ll see your spooky design come to life.
Care Instructions for Your Halloween Blanket
Wash your blanket gently, especially if you’ve added decorations. A gentle cycle in the washing machine or hand washing in cool water can help keep your spooky creation looking its best for many Halloweens to come.

DIY Halloween Themed Knitting Projects Read More »