Handcrafted Halloween Spider Webs
Imagine your house turning into a spooky place full of creepy, crawly spider webs that you made all by yourself! With Halloween just around the corner, you can learn how to make your very own handcrafted spider webs. These aren’t real webs, but crafty decorations that will make your friends and family say “wow!” when they see how awesome your house looks. It’s time to get your scissors, glue, and all those crafty things ready, because you’re about to make some amazing Halloween spider webs that will give everyone the fun shivers!

This image is property of images.unsplash.com.

The Charm of Handcrafted Halloween Decor
Hello there! Have you ever felt that little tingle of excitement when you start to see pumpkins and skeletons popping up in your neighborhood? That’s the Halloween spirit starting to bubble up! Making your own Halloween decorations can be so much fun and can make this spooky time of year even more special. When you create things by hand, you’re not just making decorations; you’re making memories and smiles too.
Why DIY Decor Enhances Halloween Spirit
When you make your decorations, every little ghost or witch has a piece of “you” in it. These decorations can be extra scary, super silly, or just plain beautiful because they come from your imagination. And guess what? Decorating for Halloween together with family or friends makes for some great times and lots of giggles, especially when you see your handcrafted creations all finished!
The Appeal of Handmade Spider Webs
One of the coolest things you can make for Halloween is spider webs. Real spider webs are kind of magical, aren’t they? They’re delicate and a bit spooky, which makes them perfect for Halloween. When you make your own spider webs, you can decide how big they should be and where they should go. Imagine having a whole bunch of them around your house, making it look like a friendly family of spiders moved in!
Types of Handcrafted Spider Webs
There are lots of different ways to make spider webs. Different materials can make your webs look unique, and you can have a lot of fun choosing which ones you like best.
Cotton Batting Spider Webs
Cotton batting is the fluffy stuff that’s sometimes inside stuffed animals or pillows. You can pull it apart and stretch it into thin, webby sheets that look like a spider has been working really hard in your house.
String or Yarn Spider Webs
String or yarn is cool because you can twist and tie it to look like the beautiful patterns in a spider’s web. Imagine making a web that’s as big as you are!
Paper Spider Webs
Paper webs are pretty easy and a lot of fun to make. With just a few snips here and there, you can unfold a paper to reveal a fancy spider web pattern.
Glue Gun Spider Webs
If you have a grown-up to help you, a glue gun can make some really neat-looking spider webs. You can draw with the glue and create a web that looks like it’s just been spun.
Crocheted Spider Webs
If you or someone you know can crochet, then you can make some amazing spider webs with yarn. These can be really pretty and last a long time!

Materials Needed for Handcrafting Spider Webs
Before you start crafting your spider webs, you’ll need to gather up some materials.
Essentials for Cotton Batting Webs
For cotton batting webs, you’ll need some cotton batting, of course, and some scissors to help you cut and shape your webs.
Supplies for Yarn or String Webs
For yarn or string webs, you’ll need yarn or string in the color of your choice, tape, scissors, and maybe some pushpins if you want to hang your webs up.
Tools Required for Paper Webs
Paper webs will require some sheets of paper — white or colored — and a good pair of scissors. You might want a pencil to draw your pattern before you start snipping away.
Materials for Hot Glue Gun Webs
Hot glue gun webs are a little tricky because you need a hot glue gun and plenty of glue sticks. You’ll also need wax paper to draw your webs on, and a safe surface to work on because hot glue can be really hot!
Yarn and Tools for Crochet Webs
For crocheted webs, gather up some yarn, a crochet hook that’s the right size for your yarn, and some patterns for spider webs if you need some new ideas.
Creating Cotton Batting Spider Webs
Step-by-Step Guide to Shaping Cotton Webs
To start with your cotton webs, pull off a piece of batting and gently stretch it to make it look webby. Try not to pull too hard, or it might rip!
Techniques for Adding Realism
The key to making these webs look super real is to make them thin and delicate, just like a real spider’s web. You can add little bits of cotton here and there to make it look like it’s been around for a while.
Tips for Placement and Anchoring Webs
The best places for your cotton webs might be in the corners of a room or over furniture. Use a little bit of tape or some safe adhesive to stick your webs in place.

This image is property of images.unsplash.com.
Crafting Spider Webs from String or Yarn
Knotting Techniques for Web Patterns
To make a web from string or yarn, you can lay out some straight lines (called ‘radial lines’) like the spokes of a bicycle wheel, and then tie more yarn in circles (like ‘spiral lines’) around them to make it look like a web.
Creating the Web’s Radial and Spiral Lines
Start with a central point and work your way out, attaching your radial lines first and then connecting them with your spiral lines, making sure to knot everything securely.
Dyeing Yarn for Added Effect
You can make your webs look extra neat by using yarn that’s been dyed dark colors or even with some glow-in-the-dark paint.
Making Paper Spider Webs
Folding and Cutting Techniques
To make a paper web, fold your paper in half, and then in half again, and maybe one more time until it’s a triangle. Then draw a web pattern and start cutting out pieces — just like making a snowflake.
Design Variations for Different Web Styles
You can try all sorts of patterns to make each web unique. Maybe make some parts of the web look thick and other parts really thin, just to give it some variety.
Decorative Enhancements with Paint or Glitter
After cutting, you can paint your paper web or sprinkle some glitter to make it shine. It will look magical hanging up or stuck to a window!

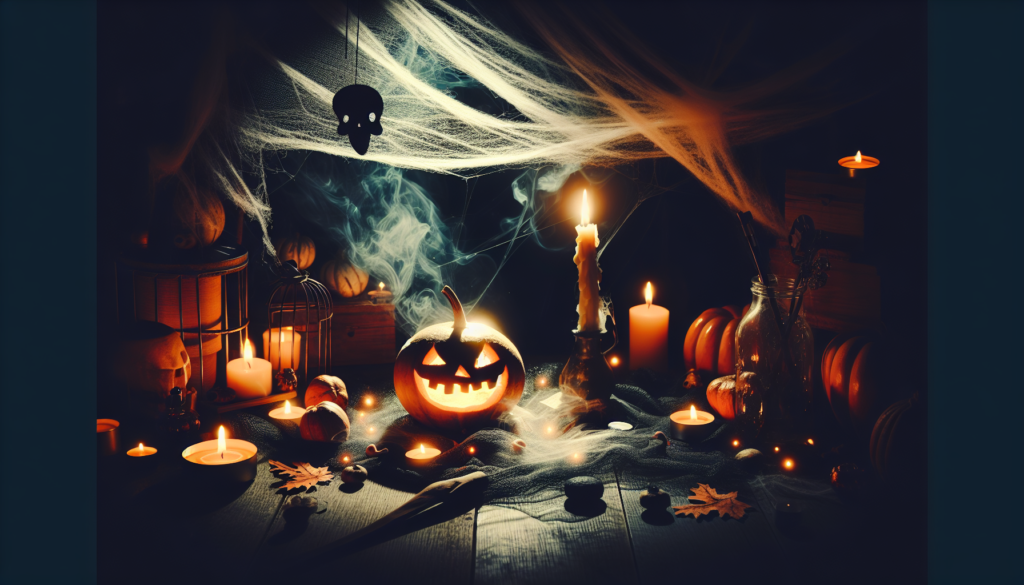
This image is property of images.unsplash.com.
Using a Glue Gun to Create Spider Webs
Safe Handling of Hot Glue Guns
Remember, only use a hot glue gun with an adult, and be super careful because the glue gets very hot.
Drawing Web Shapes on Wax Paper
You can draw your web pattern with the glue right onto the wax paper. Be creative with your design!
Peeling and Placing the Finished Webs
Once the glue cools down and gets hard, you can carefully peel it off the wax paper and you’ll have a perfect spider web.
Crocheting Spider Webs for Halloween
Basic Crochet Stitches for Webs
If you know how to crochet, you can make some lovely webs using some basic stitches like the chain stitch and single crochet.
Pattern Reading for Crochet Spider Webs
Reading a pattern can be like reading a treasure map. The pattern will tell you where to stitch so that you end up with a cool web.
Finishing Touches on Crochet Webs
Once your web is done, you might want to stretch it and pin it down to keep its shape, just like blocking a sweater.

Enhancing Handcrafted Webs with Spiders
What’s a web without a spider? It’s time to add some creepy crawlies.
Making Spiders to Complement Your Webs
You can make spiders out of pipe cleaners, pompoms, or even just a bit of black paper. Give your spiders lots of legs so they look busy and happy in their new homes.
Positioning Tips for Realistic Appearances
Place your spiders where they might naturally be, like at the edge of a web or hanging down on a string of silk.
DIY Spiders Using Pipe Cleaners or Other Materials
Pipe cleaners are great for spider legs because you can bend them into all sorts of shapes. You can use beads or buttons for eyes to give your spiders a little bit of personality.
Incorporating Handcrafted Spider Webs in Halloween Settings
Ideas for Indoor Decor
Inside your house, you can hang webs from the ceiling, drape them over lamps, or decorate the corners of your rooms. You can make it as eerie or as enchanting as you want!
Outdoor Display Recommendations
Outside, webs can go on bushes, around your front door, or even stretched between trees. Be sure to secure them well so that they don’t fly away if it gets windy.
Themed Party Decor with Handcrafted Webs
If you’re having a Halloween party, handcrafted webs can be everywhere! You can make a backdrop for pictures, decorate tables, or even create a spooky tunnel for your friends to walk through.
There you go, some fun ways to make your very own spooky spider webs. Happy crafting and have a wonderfully spooktacular Halloween!

Handcrafted Halloween Spider Webs Read More »


 today.")
")
 here.")
")
")
")
 here.")