Personalized Halloween DIY Gifts
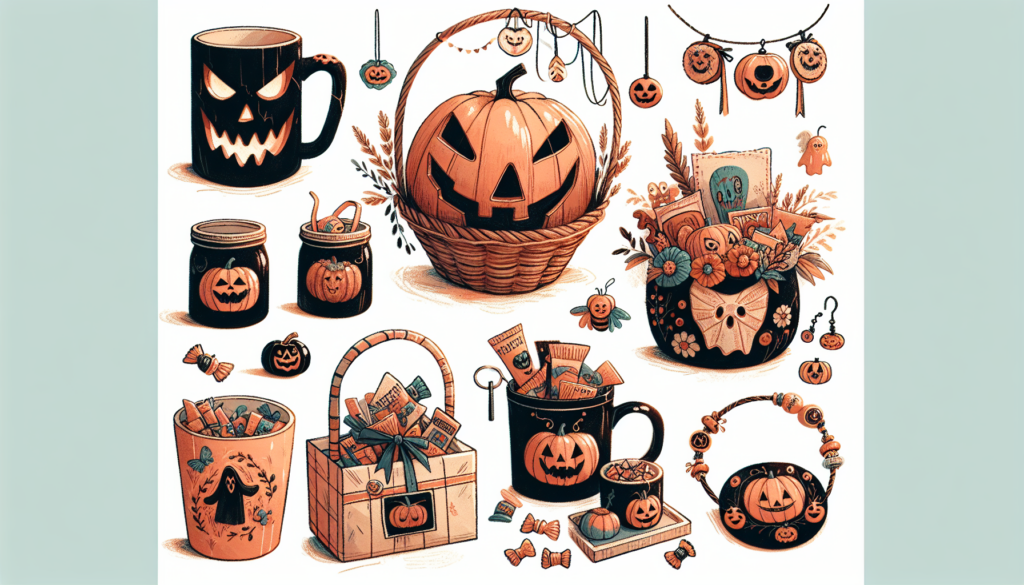
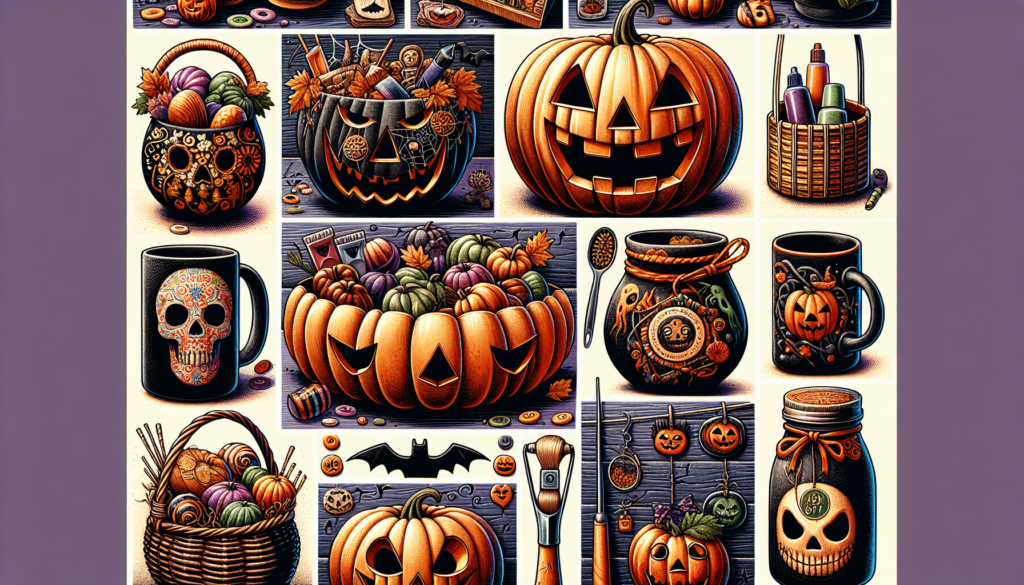
Imagine making your own special Halloween gifts that have your touch on them – they’re called Personalized Halloween DIY Gifts! This isn’t just any regular spooky Halloween decor; it’s stuff that you make all by yourself, and you can put your name on it or anyone else’s name to make it extra special for them. You might use paint, glue, and even some sparkly bits to create wonderful crafts that can be for decorating your room or giving to your friends as a super cool Halloween present. Keep reading to learn how you can make these one-of-a-kind Halloween treasures that will make everyone smile!
The Magic of Personalization
Understanding the Importance of Personal Touch
Imagine finding something that is just for you, with your name on it or a picture that you really love. It feels special, right? That’s the magic of personalization! When you create something for someone else and make it just for them, it’s like giving a piece of your heart. It shows you took the time to think about what they like, and that can make them smile big.
Why Halloween Gifts Matter
You know how on Halloween, everyone dresses up and gets treats? Well, giving a Halloween gift is kind of like giving a very special treat that’s different from all the rest. It’s not just candy; it’s something that you’ve made thinking about what the other person likes. It makes Halloween even more fun and shows that you care about making it a special day for them.
Customization Vs. Personalization
Customization is when you change something to make it the way you like it. Like when you build a scarecrow and decide to put a purple hat on it instead of a black one. Personalization is when you make something with someone specific in mind. Like if you made a scarecrow and put your friend’s name on it to show it’s just for them. Both are great, but personalizing makes it feel extra special.
Planning Your DIY Halloween Gift Project
Choosing the Right Theme
Thinking about a theme is like picking your Halloween costume. You choose what you like best, right? For your gift, think about what the person you’re making it for really likes. Do they love witches or maybe silly ghosts? Pick a theme that you think will make them the happiest.
Gathering Materials and Tools
Now that you’ve picked a theme, it’s time to collect everything you need to make your gift. It’s like getting all the parts of your costume ready. You might need things like paper, scissors, glue, and maybe some glitter to make your project extra sparkly. Make a list, so you don’t forget anything!
Timing Your Crafting Perfectly
Making your gift takes time, just like carving a pumpkin. Start early so you’re not rushing at the last minute. Plan your time like it’s a treasure map. Say, “I’ll spend this much time each day crafting,” so your gift is ready for Halloween without needing to race against the clock.

Personalized Halloween Baskets
Selecting the Right Basket
First, pick a basket that’s the right size for all the goodies you want to put inside. It’s like selecting the right pumpkin to carve. You want it not too big and not too small, but just right. Plus, it’s fun to choose a basket that matches your theme!
Themed Fillers and Goodies
Fill up the basket with treats that fit your theme. If you chose witches, you might add things like candy wands and little toy broomsticks. It’s like filling up your trick-or-treat bag with the best candy from the neighborhood.
Custom Tags and Messages
Make your gift super special with a tag that has a friendly message or the person’s name on it. It’s kind of like when you find a Halloween card in your trick-or-treat bag. Write something that will make them laugh, like a joke, or something sweet to show you care.
DIY Spooky Mason Jars
Craft Materials Needed
What do you need to make a spooky Mason jar? Think about things like paint, stickers, and maybe some ribbon. These jars are like little glass homes you can decorate for tiny Halloween creatures.
Step-by-Step Creation Process
Start by painting or decorating the outside of your Mason jar. It’s like painting a face on a pumpkin. Take your time and make it look great. Then, let it dry. You don’t want smudgy ghosts or smears on your spooky scene, do you?
Ideas for Filling Mason Jars
Once your jar looks fantastic, fill it with treats! You can add candy corn, little toys, or maybe some homemade slime. It’s like your jar is dressing up in its Halloween costume, and the treats are the exciting surprises inside.

Handmade Halloween Jewelry
Creating Spook-tacular Earrings
Earrings can be as fun as dangling spiders or as cute as tiny pumpkins. You make them by putting beads or charms on special hooks. It’s like making a mini mobile to wear on your ears, and they dance every time you move!
Designing Custom Bracelets
When you make a bracelet, you get to string together beads and charms that match your Halloween theme. It’s like making a friendship bracelet that whispers, “Happy Halloween!” every time your friend looks at it.
Assembling Unique Necklaces
Necklaces can have all kinds of fun things on them. You can put a spooky pendant like a ghost or a bat in the middle. It’s like hanging a Halloween decoration around your neck that says, “This is my costume, and it’s just for me!”
Customized Halloween Apparel
T-Shirts with Personal Messages
Imagine having a T-shirt that says something fun like “Boo-tiful” or “Fang-tastic,” and it’s in your favorite colors! You can make T-shirts with special messages or pictures using paint or special paper that you can iron on.
Creating Halloween-themed Face Masks
Face masks can be part of your Halloween look too. You can decorate them to match your costume or make them look like a vampire’s smile. It’s like playing dress-up for your face!
DIY Halloween Socks and Accessories
Your feet can celebrate Halloween too! Paint or sew fun designs onto socks, like cauldrons or black cats. It’s like each foot is going to its own little costume party.
Personalized Pumpkin Carvings
Selecting the Perfect Pumpkin
Finding the right pumpkin is a bit like finding the best spot to trick-or-treat. You look for one that’s smooth and the right size for your design. You want it to be just perfect so your carving will look amazing.
Transfer Techniques for Designs
Transferring your design onto a pumpkin is like drawing your own map to a haunted house. You can draw it freehand, or use a stencil to trace it onto the pumpkin. That way, you know exactly where to carve.
Preservation Tips for Pumpkin Art
You want your pumpkin to last as long as your Halloween candy stash, right? To keep it from getting yucky, you can use special sprays or Vaseline on the cut edges. It’s like putting on a coat so your pumpkin doesn’t catch a cold.
DIY Halloween Scented Candles
Choosing Seasonal Scents
Picking a scent for your candle is like picking your favorite Halloween candy. You can choose smells like pumpkin spice or apple cinnamon that remind everyone of Halloween and all the fun that comes with it.
Customizable Container Ideas
The container for your candle can be as unique as a costume. You can use jars, tins, or even hollowed-out pumpkins. It’s like your candle is playing dress-up too!
Adding Personal Touches with Decorations
Decorate your candle container with stickers, paint, or ribbons. It’s like putting the final touches on your Jack-o’-lantern. This way, when someone lights the candle, it’s not just the scent that makes them think of you but how it looks too.
Halloween Recipe Booklets
Compiling Favorite Spooky Recipes
Gather all the recipes for cookies, cupcakes, and treats that you love during Halloween. It’s like making a list of all the best treats you want to get when you go trick-or-treating.
Designing and Binding the Booklet
Put your recipes together in a little book. You can draw pictures or use stickers to make it fun to look at. It’s like creating a magic book of spells, but for yummy things!
Adding Personal Notes or Stories
Write little notes or stories next to the recipes. Maybe tell about the time you tried to make ghost cookies and they all looked like fluffy clouds instead. It makes the recipe book special because it’s filled with your own little stories.
Packaging and Presentation
Creative Wrapping Ideas
Wrap your gift like it’s a mummy, using strips of cloth or paper. Or make it look like a bat with black wrapping and little wings. It’s like giving your present its own Halloween costume.
Incorporating the Halloween Theme
Use Halloween colors like orange and black, or add stickers of ghosts and witches. It’s like decorating your house for Halloween, but you’re decorating the gift instead!
Adding the Final Personal Touches
Lastly, put on a card or a note that says something kind like, “Made just for you!” or “Happy Halloween!” It’s the last little sparkle on your gift, like the candle in a Jack-o’-lantern that makes it glow.
When you make personalized Halloween gifts, you’re doing something really special. You’re telling someone that you’ve thought about what makes them happy, and you’ve put effort into creating a one-of-a-kind gift that can only come from you. It’s like sharing a piece of your Halloween spirit with them. And that’s a kind of magic all on its own.
Personalized Halloween DIY Gifts Read More »


