Title: “The Haunted House of Chesterville: The Popcorn Ghost”

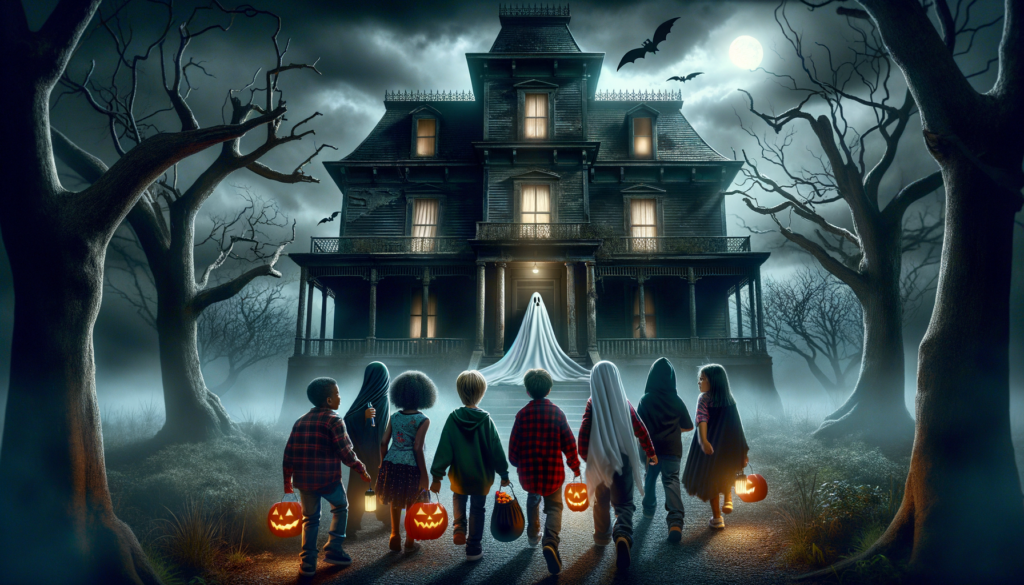
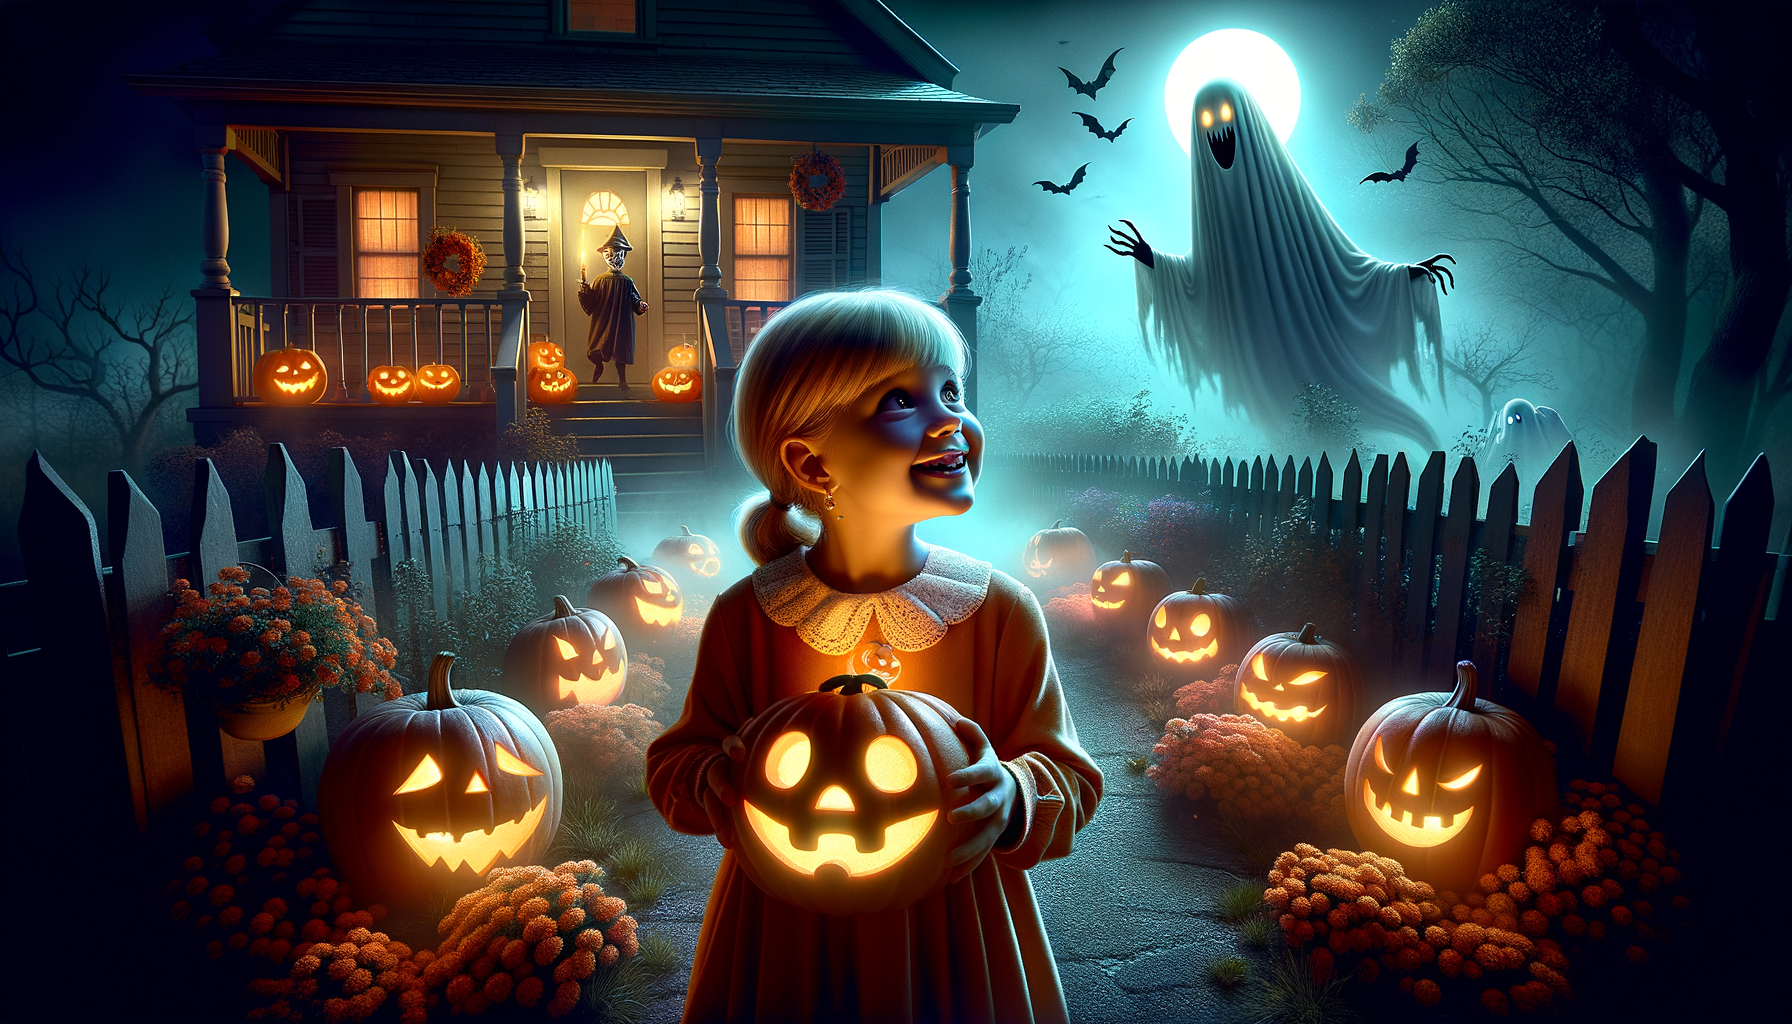
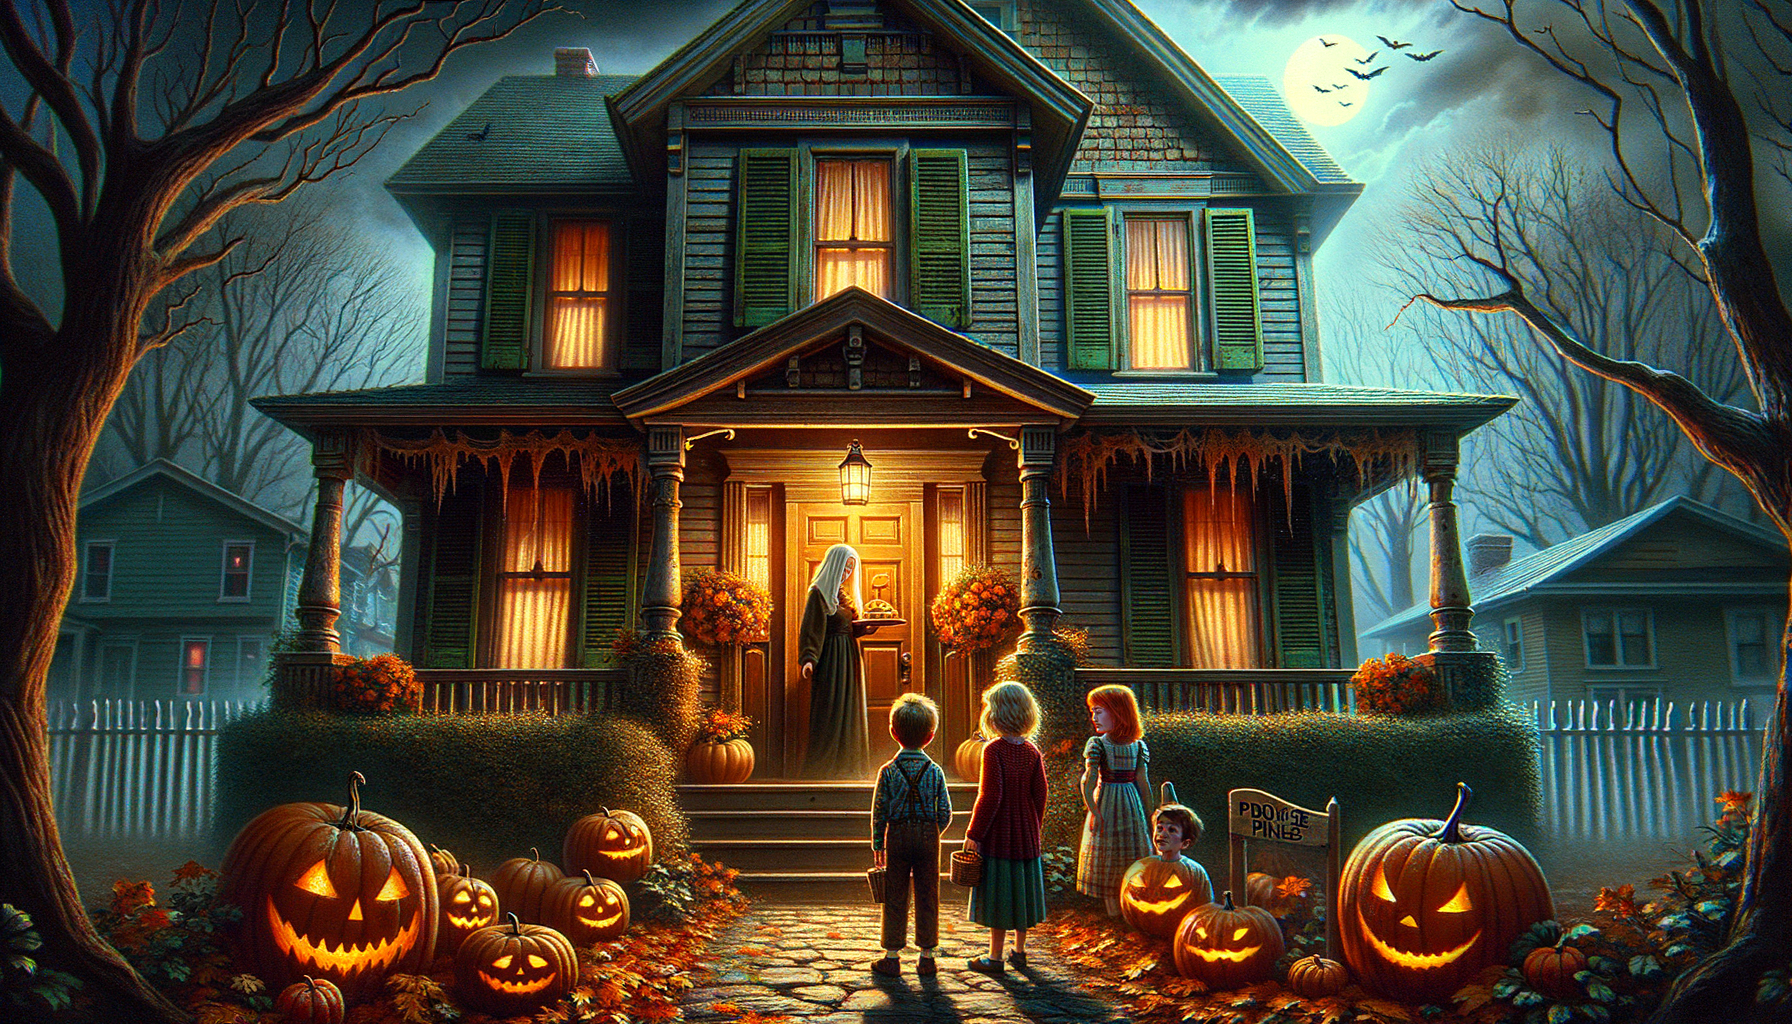
Once upon a time, in the quiet town of Chesterville, Halloween was afoot. As the young and old donned their spookiest costumes, whispers about the old Henderson house grew louder.
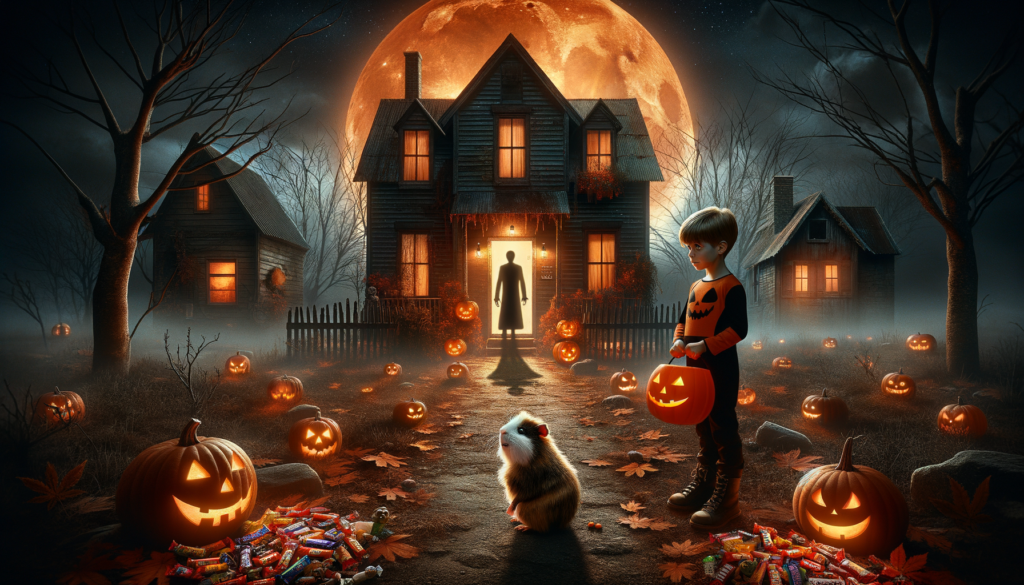
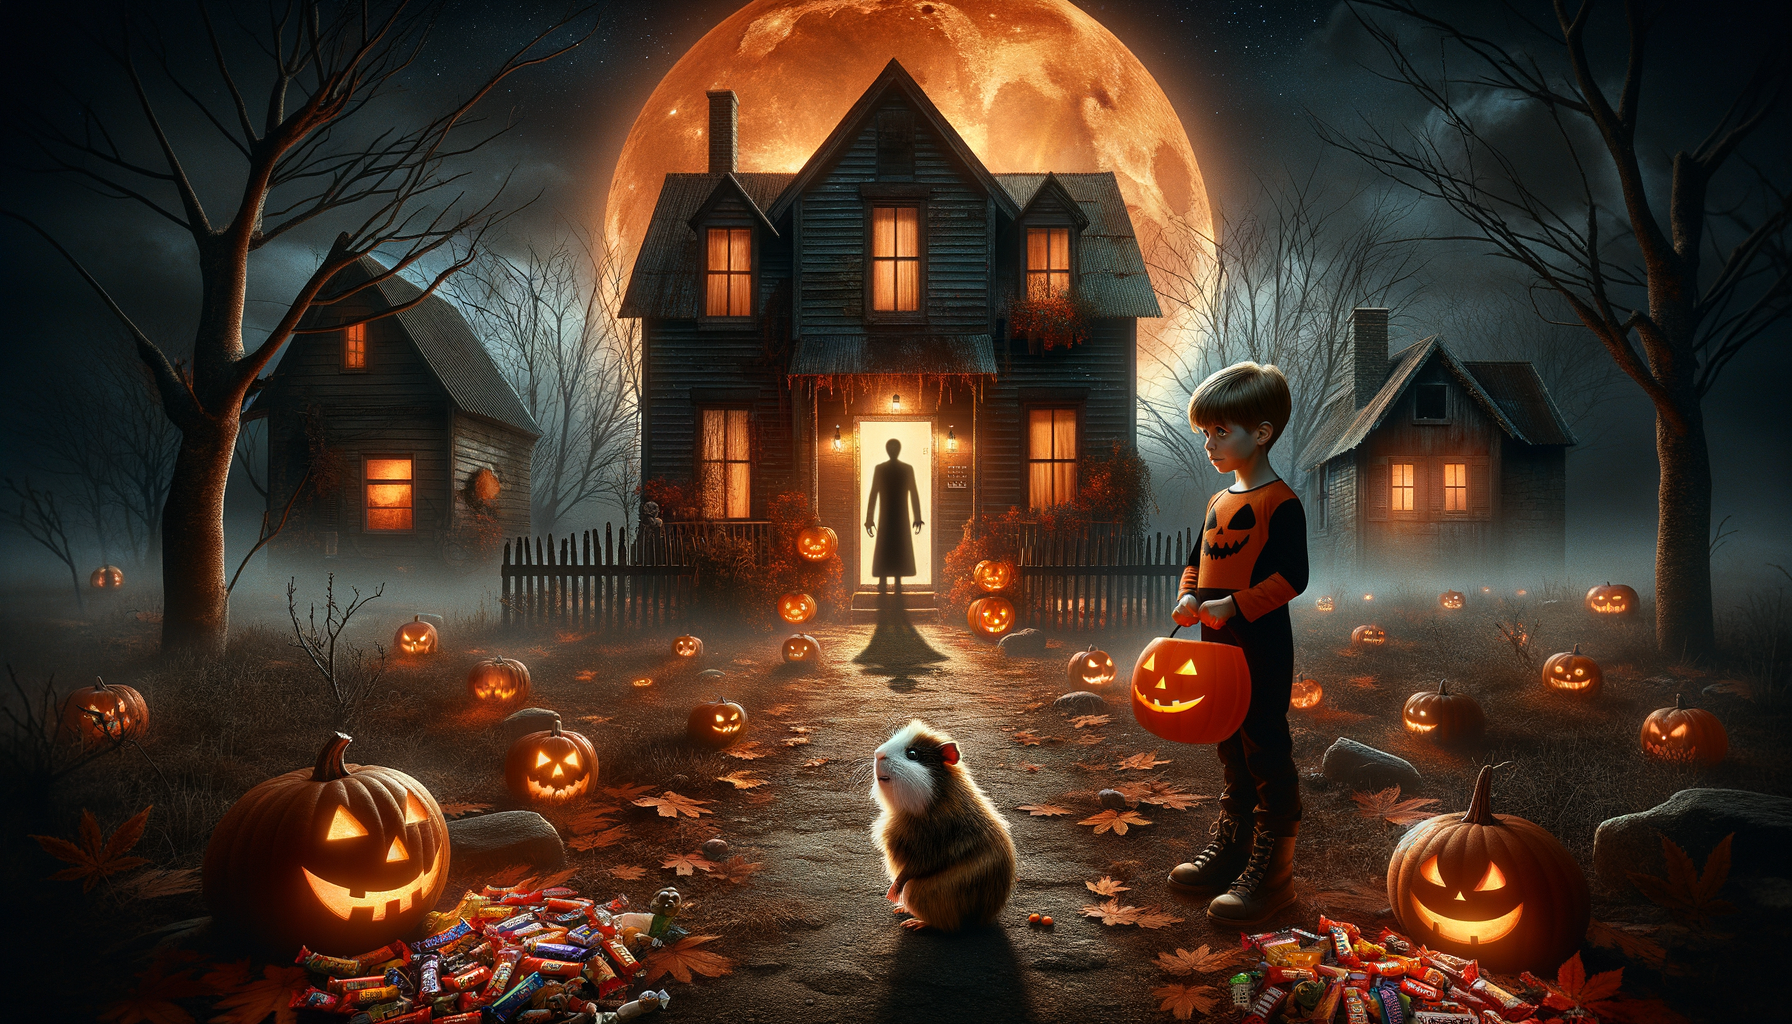
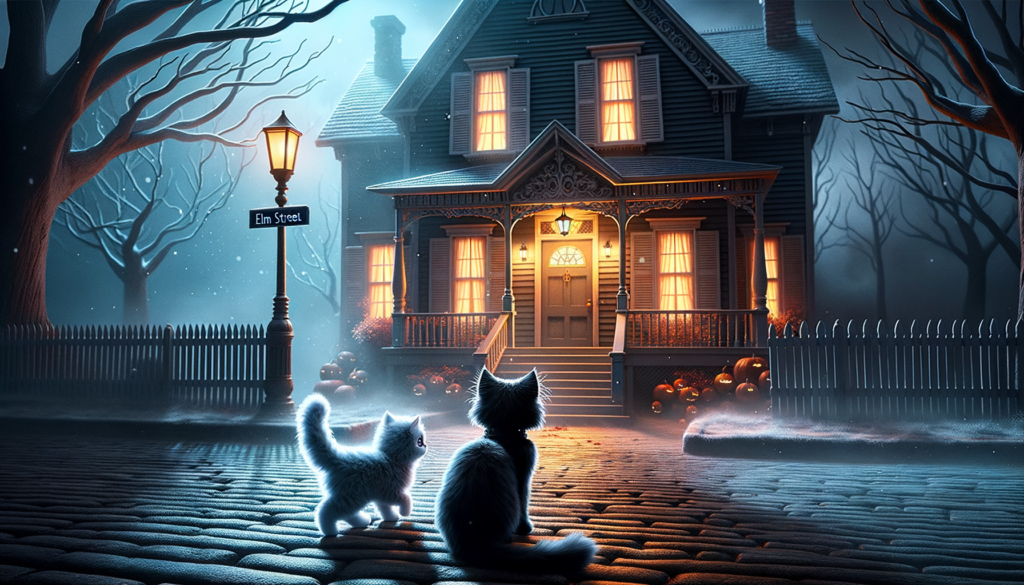
“Haunted,” they said, as children dared each other to approach the creaky, old mansion. Jonny, a brave lad of 10, decided to shatter the myth once and for all.
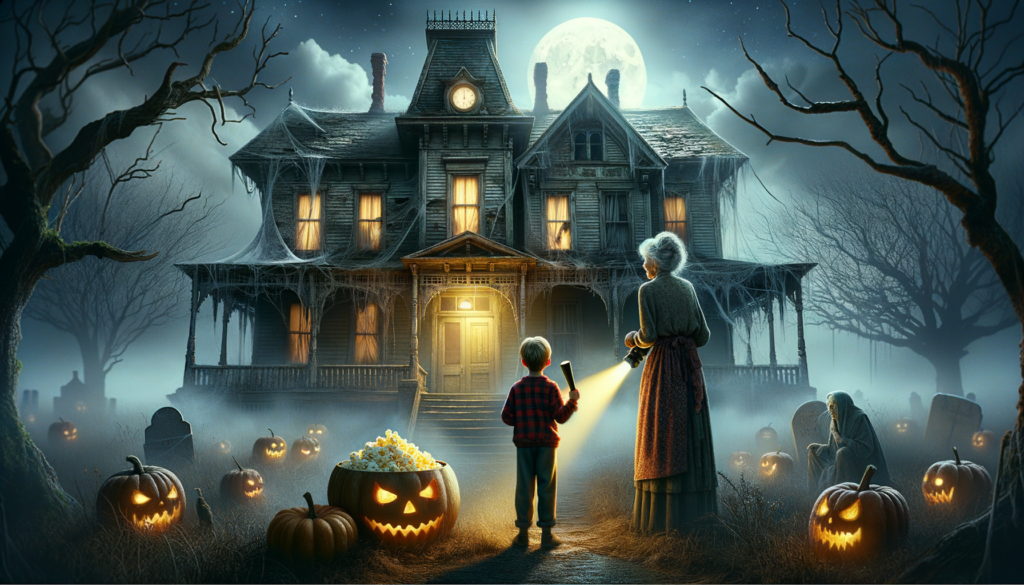
Armed with naive courage and a flashlight, he crept into the gloomy abode. Jonny was unfazed by the eerie atmosphere and the strange noises that plagued the house.
The night was long and filled with the creaks of the timeworn house. Yet, no ghost made its appearance. Until a chilling whisper clawed at Jonny’s heart, “leave while you can.”
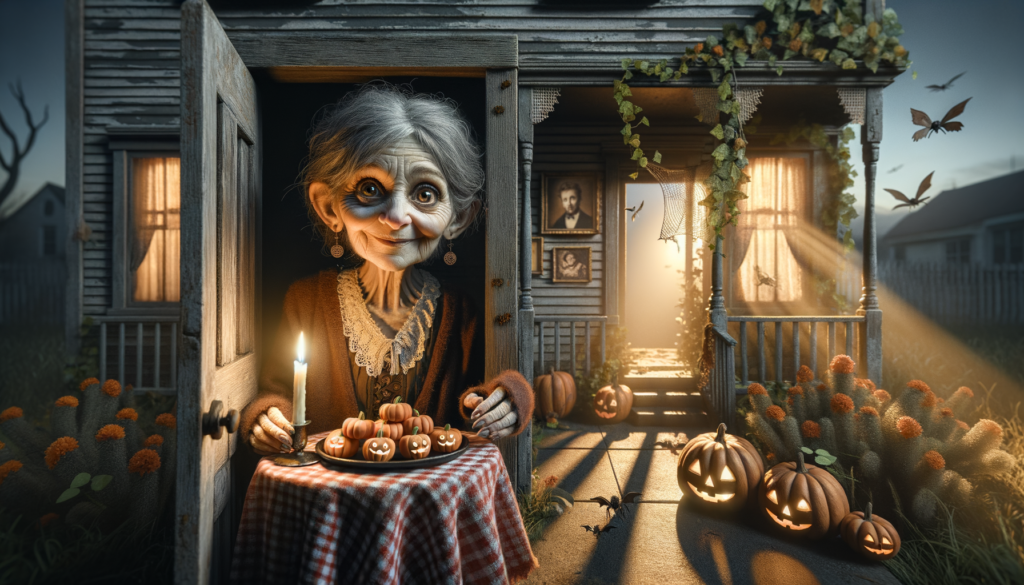
But, what Jonny saw next was anything but scary. The “ghost” was Mrs. Henderson, the house’s elderly owner, trying to make popcorn, but kept burning it! The smoky fog and spooky voice were simply the result of an old lady’s weak eyesight and a faulty microwave!
For years, the story of the haunted house and its popcorn ghost entertained the town, especially during Halloween. One thing’s for sure, nobody in Chesterville would ever look at popcorn the same way again.
Title: “The Haunted House of Chesterville: The Popcorn Ghost” Read More »