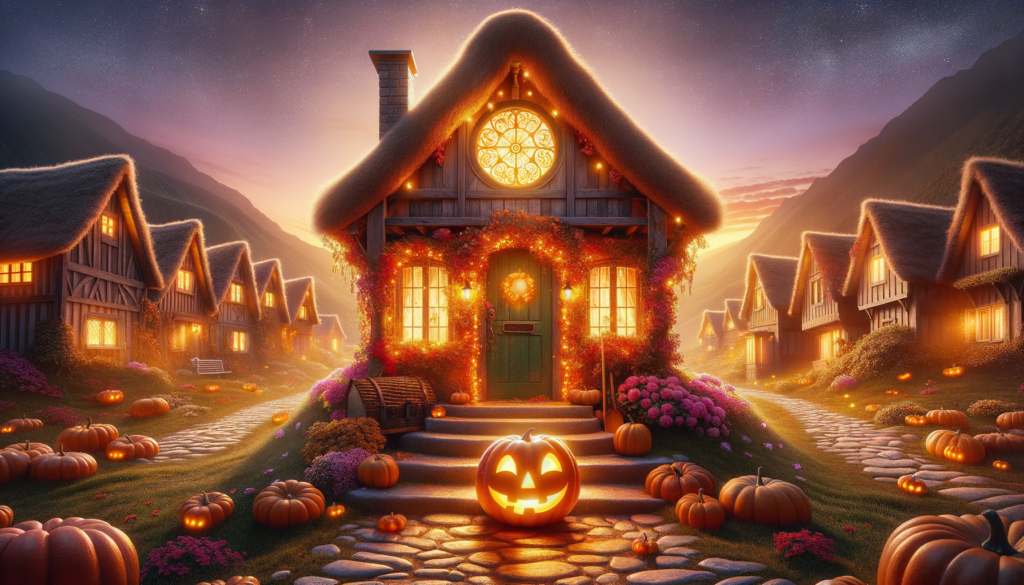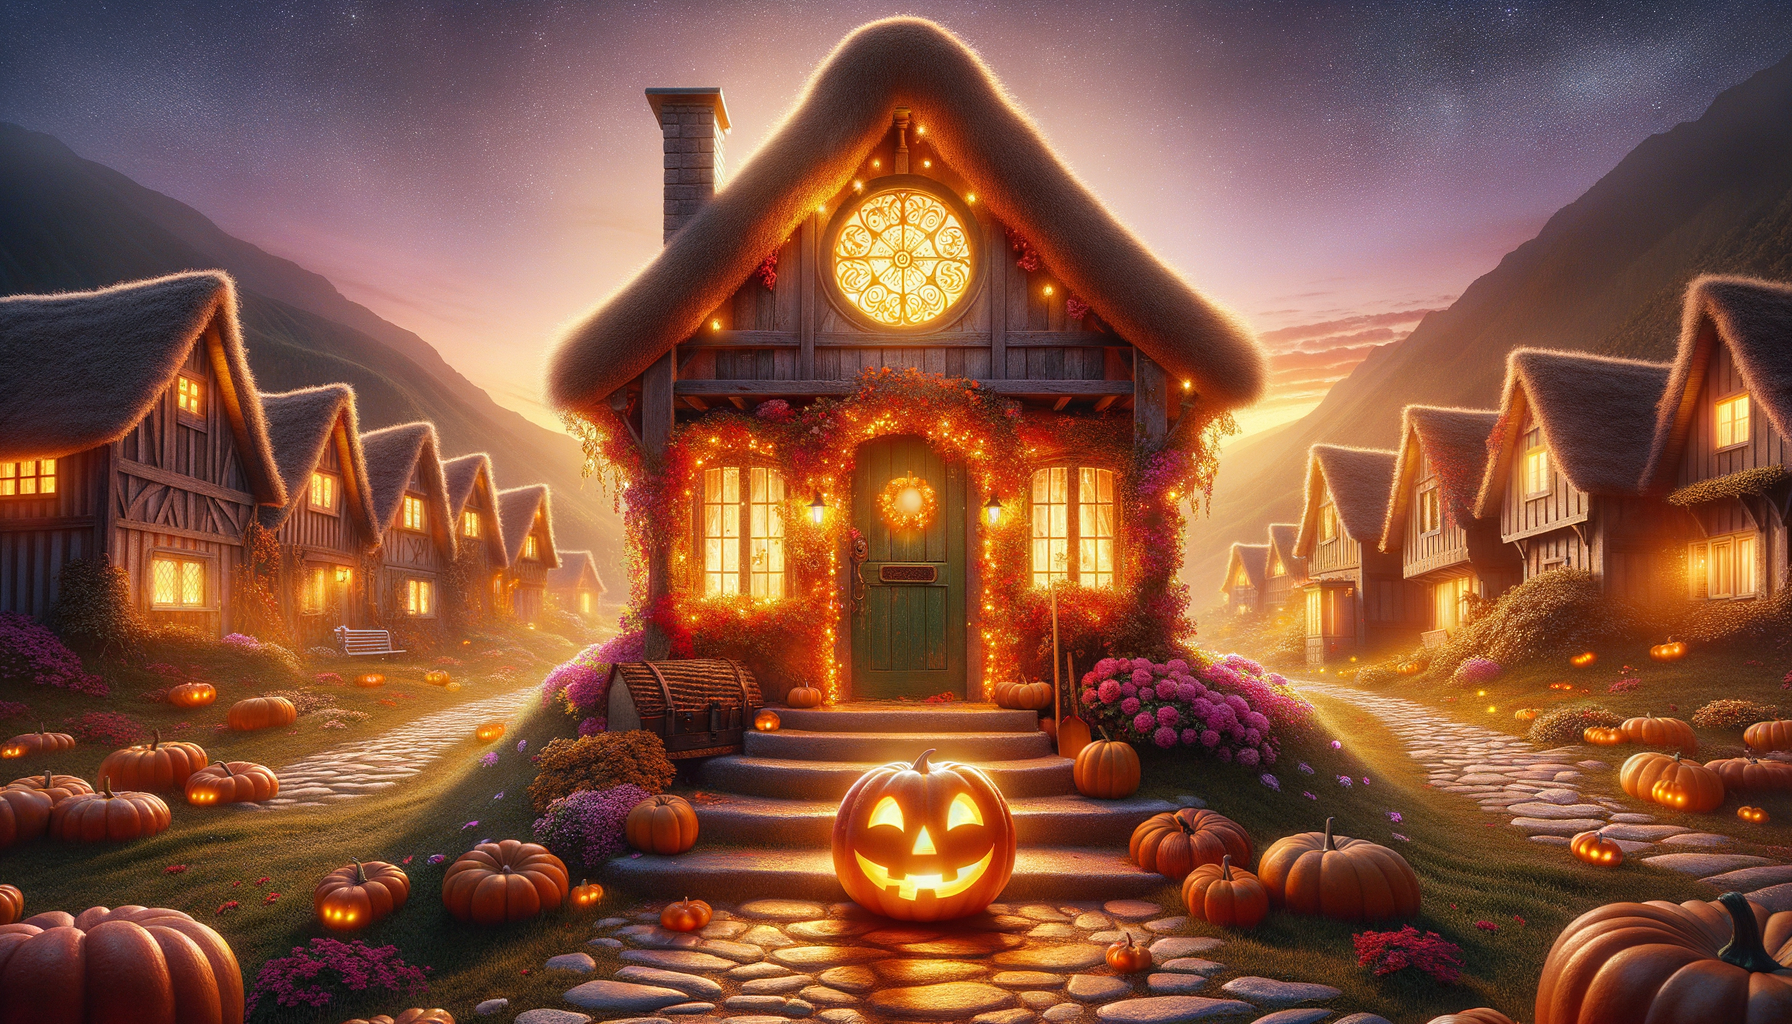
Title: **The Legend of Pumpkinton’s Mischievous Gardener**

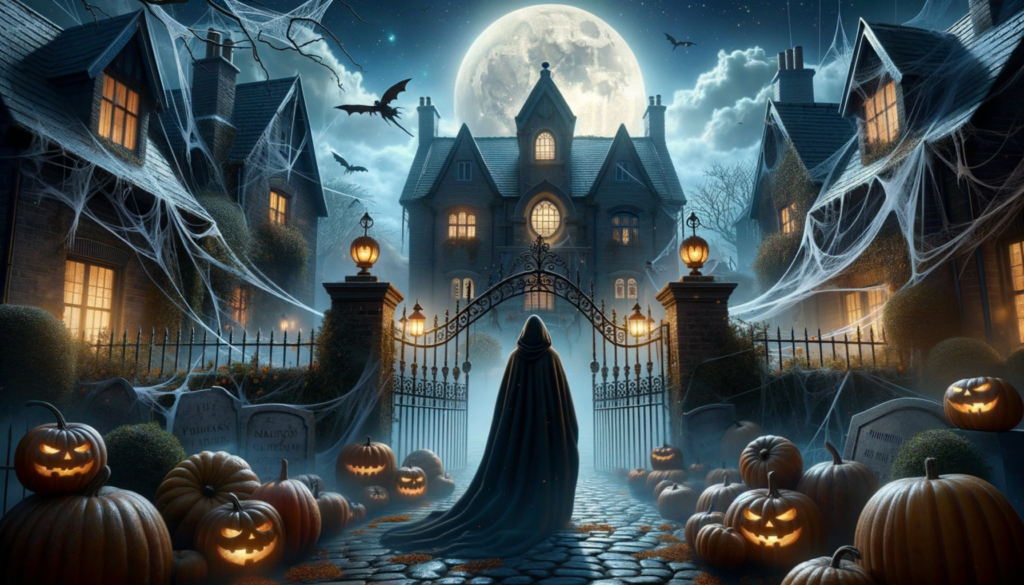
Once upon a moonlit Halloween night, in the cobweb-draped town of Pumpkinton, a mysterious figure donned in a cloak was seen darting between the houses. Everyone whispered about it, their hearts thudding in eerie anticipation.
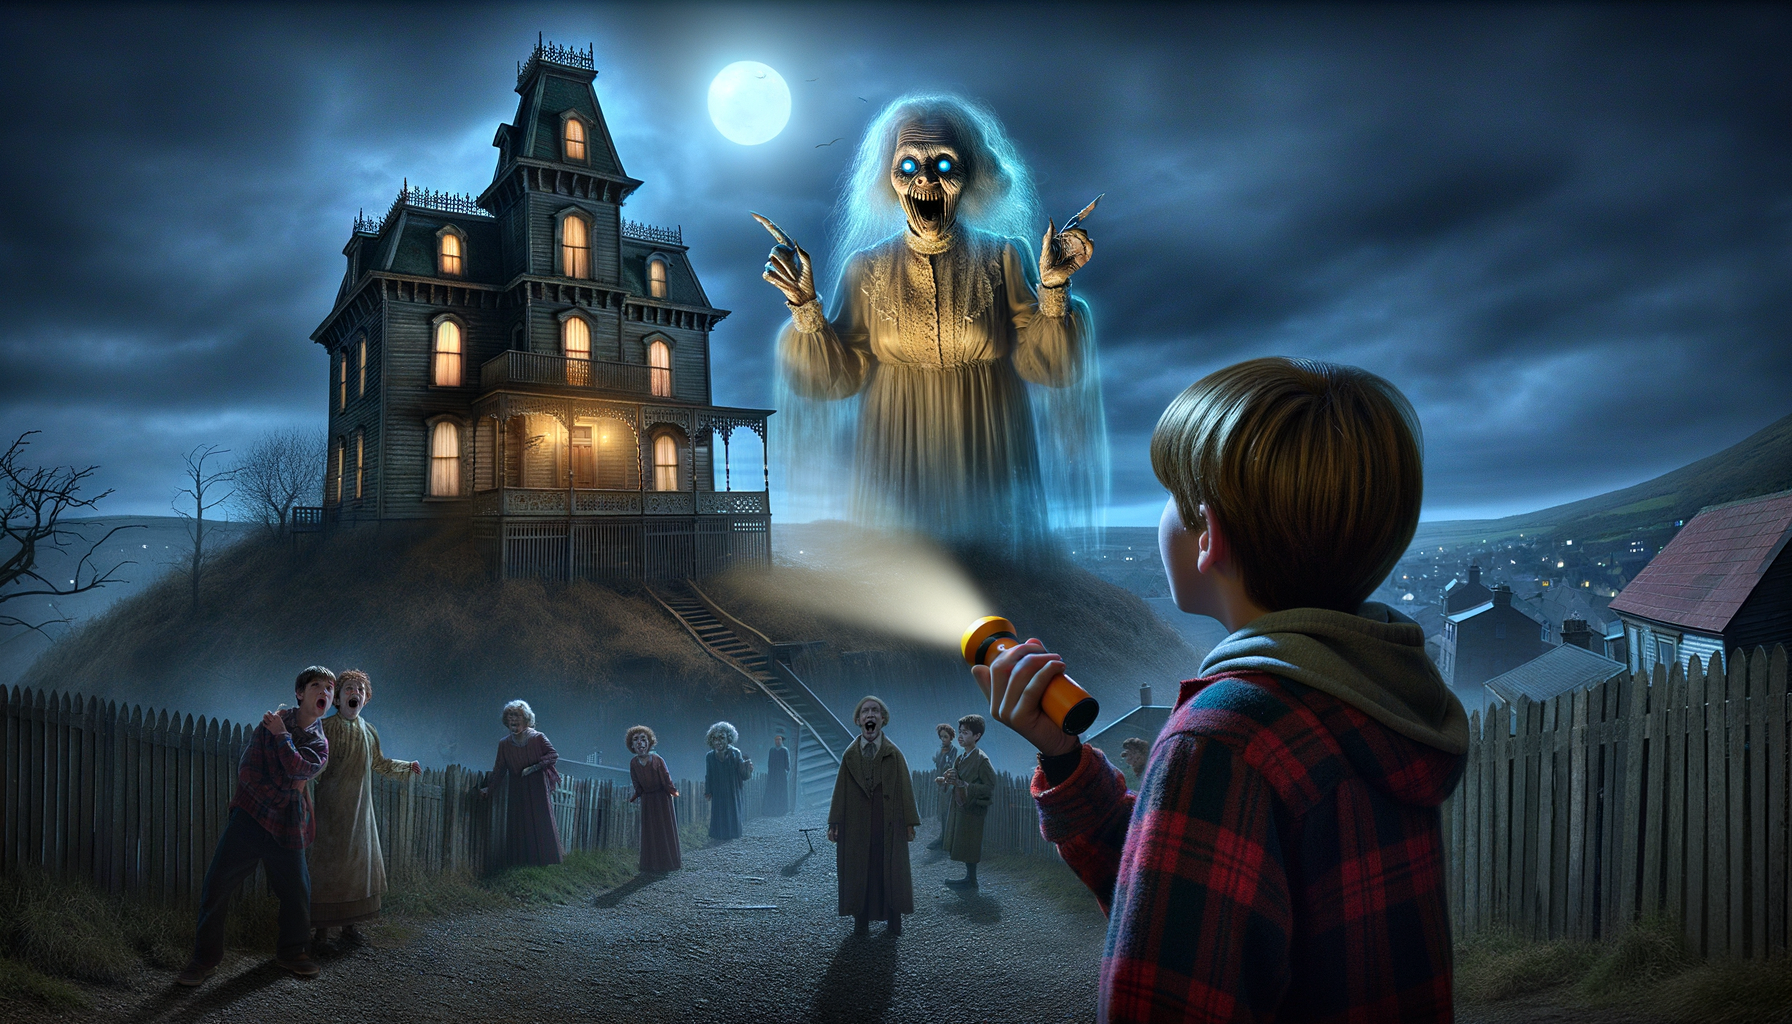
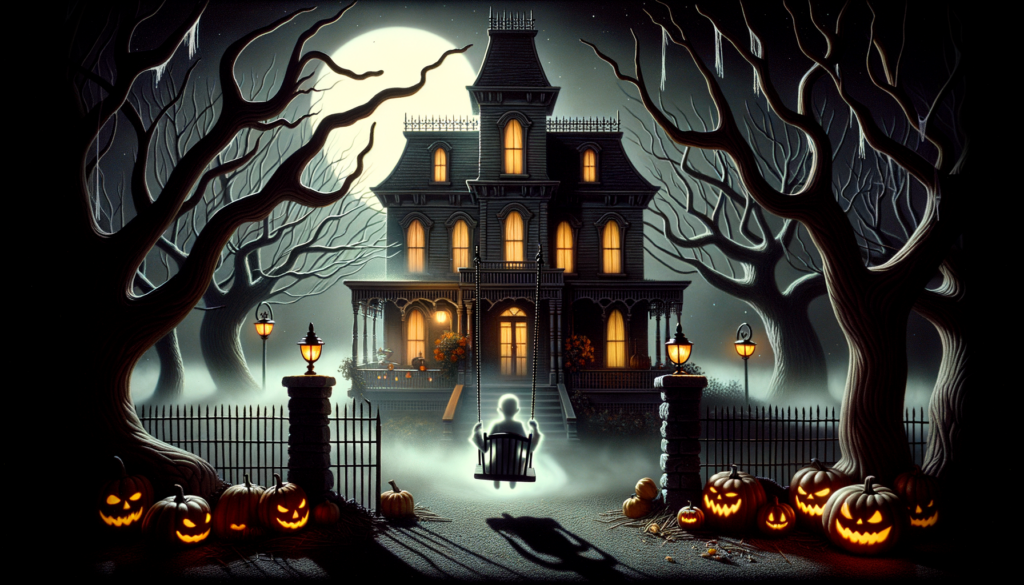
Even the bravest townsfolk felt a cold shiver snake down their spine. The silhouette silently slipped into the local mansion’s ancient iron gates which were believed to be haunted. The mansion had remained abandoned for centuries, hiding within it stories of spirits and eerie shadows.
With the clock ticking past midnight, suddenly, from deep within the mansion, came a low, haunting sound, making the leaves shutter and the wind whisper. The figure stepped out, its cloak flying around dramatically.
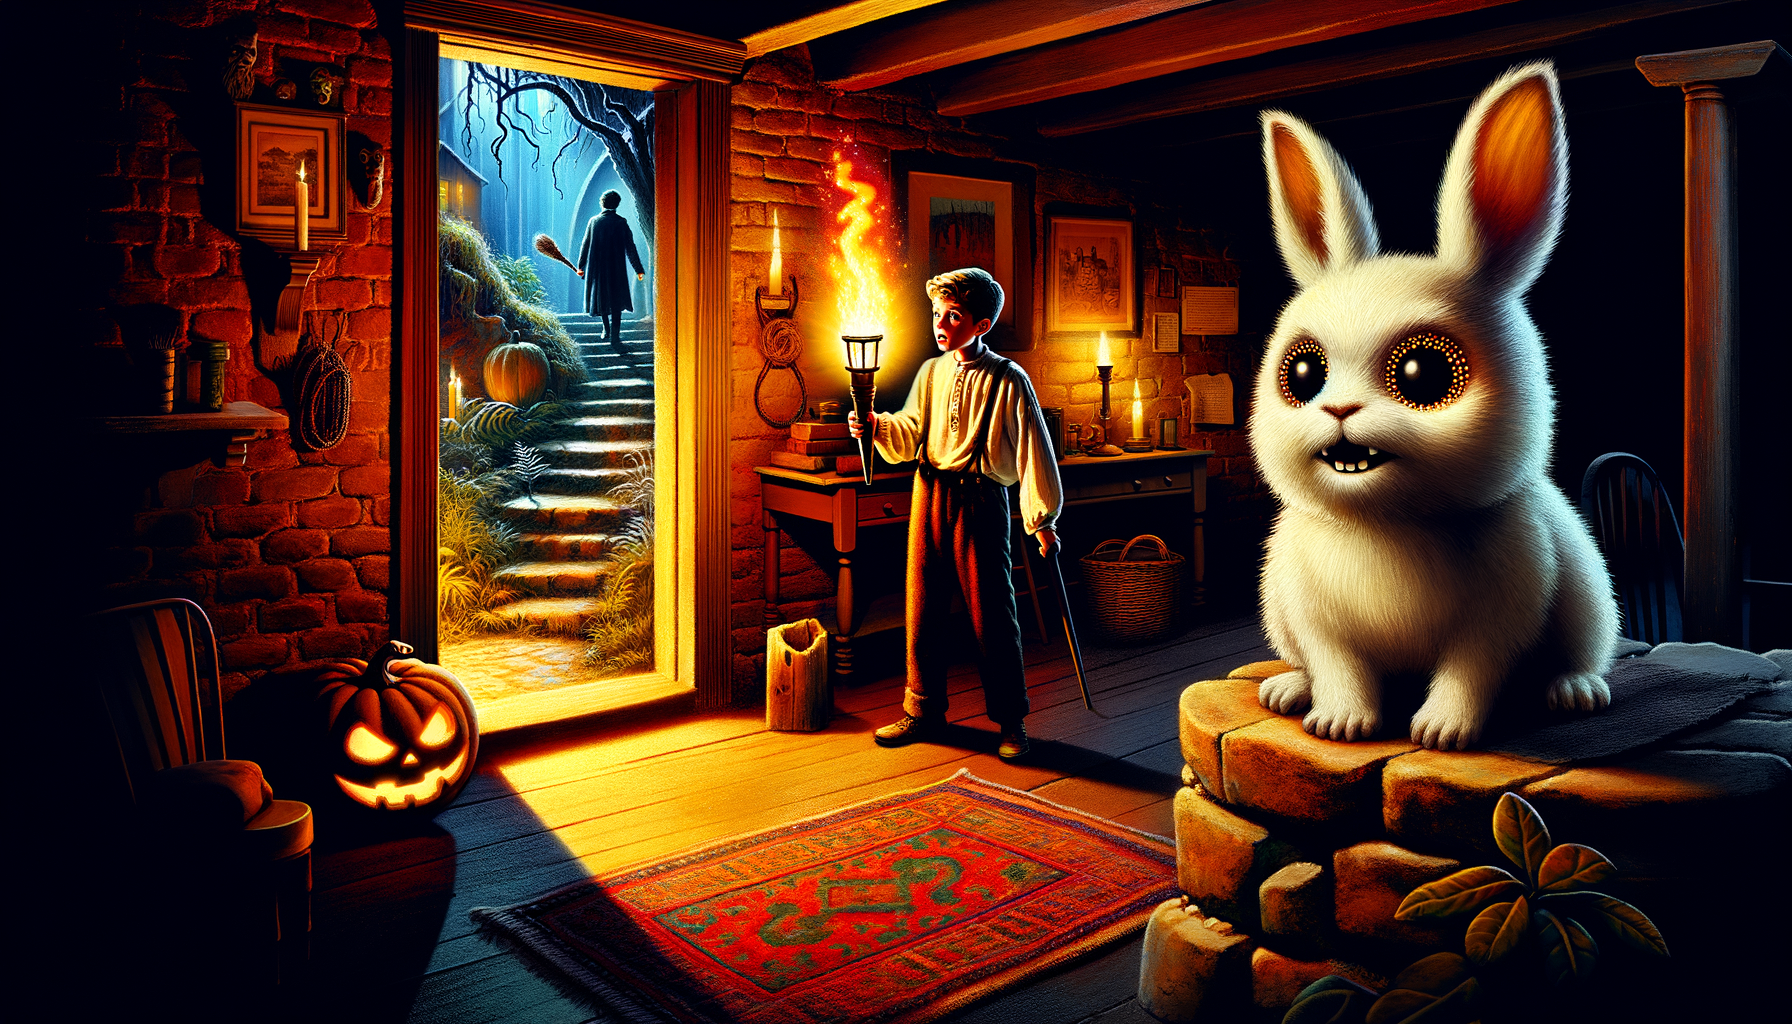
Just as the townsfolk were about to scream, out tumbled…pumpkins! There was a pause, then laughter filled the air. Underneath that cloak was not a ghost but clever old Herb, the gardener! His yearly tradition of finding the perfect pumpkins from the abandoned mansion for Halloween had become a fun, town legend.
And so, as dawn broke, Pumpkinton awoke not to shrieks of terror but roars of laughter. And Halloween was, once again, a ‘spooktacular’ success!
Title: **The Legend of Pumpkinton’s Mischievous Gardener** Read More »