“The Curious Case of Boots and the Haunted House on Elm Street”

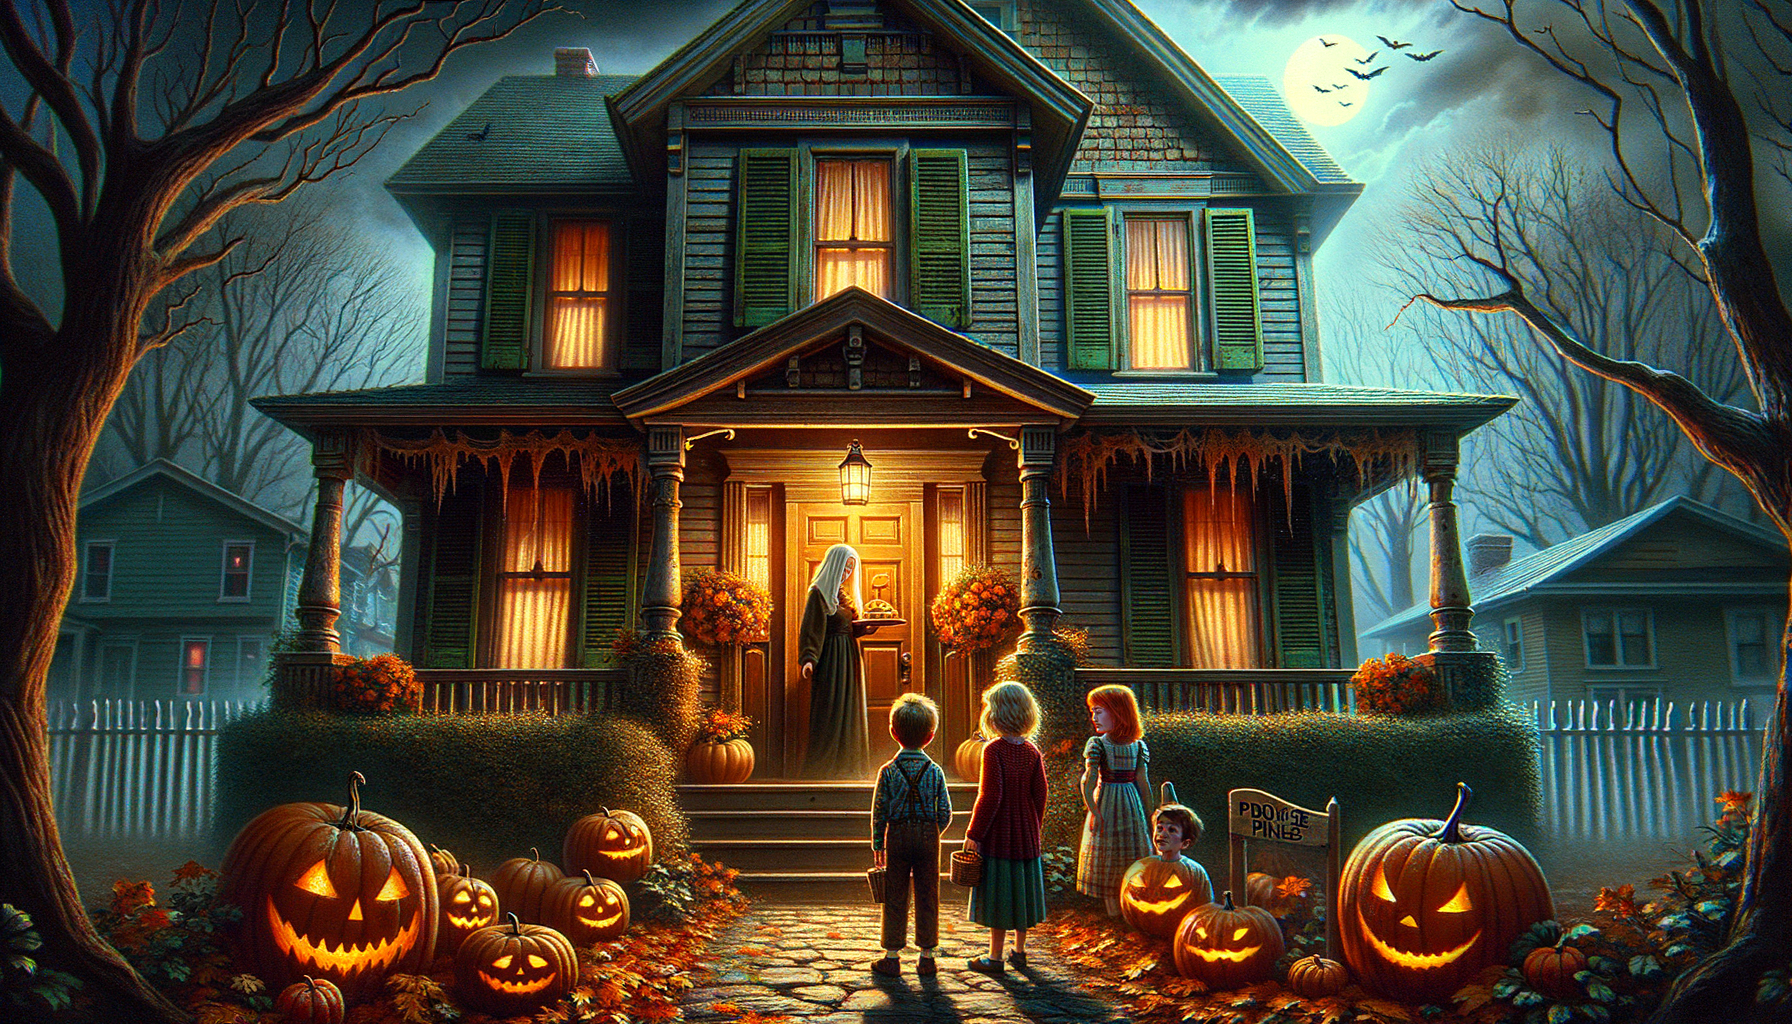
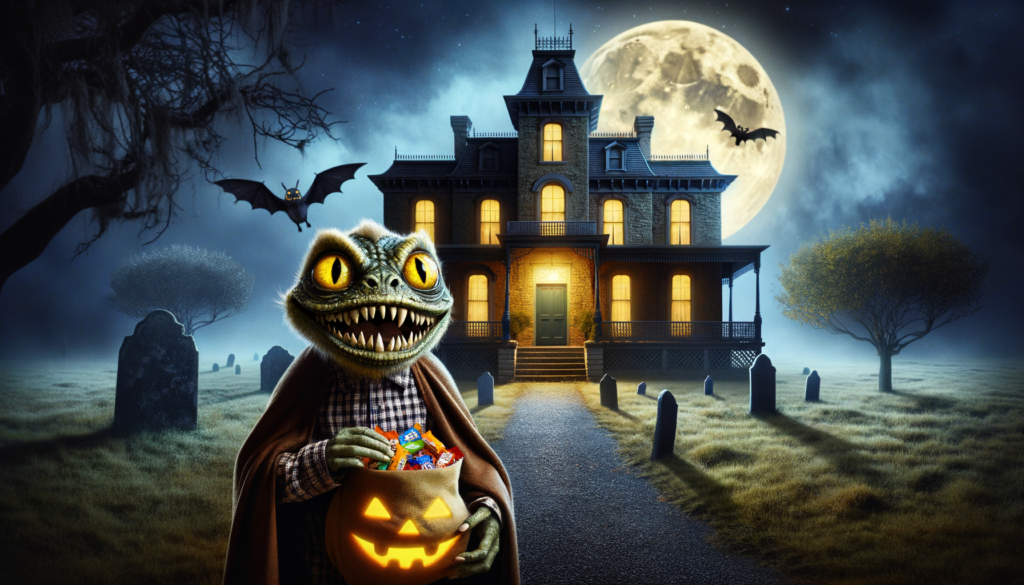
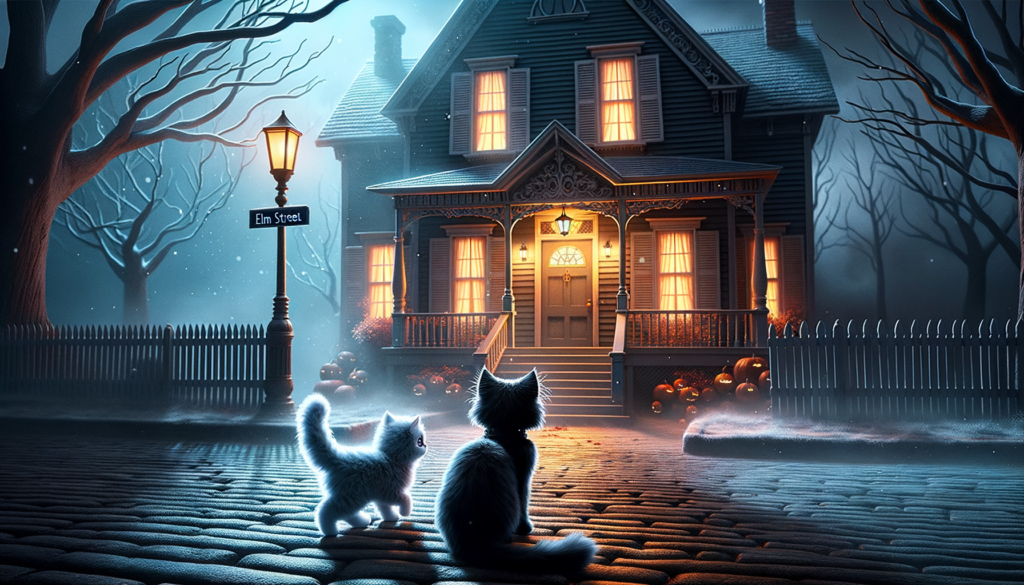
On a chilly Halloween night, in a place named Quiet Hollow, lived a peculiar cat named Boots for his immaculate white paws. Boots had a peculiar habit- he loved midnight strolls in the moonlight. However, that was not what made Boots strange; it was his strange friendship with the creaky old house on Elm Street!
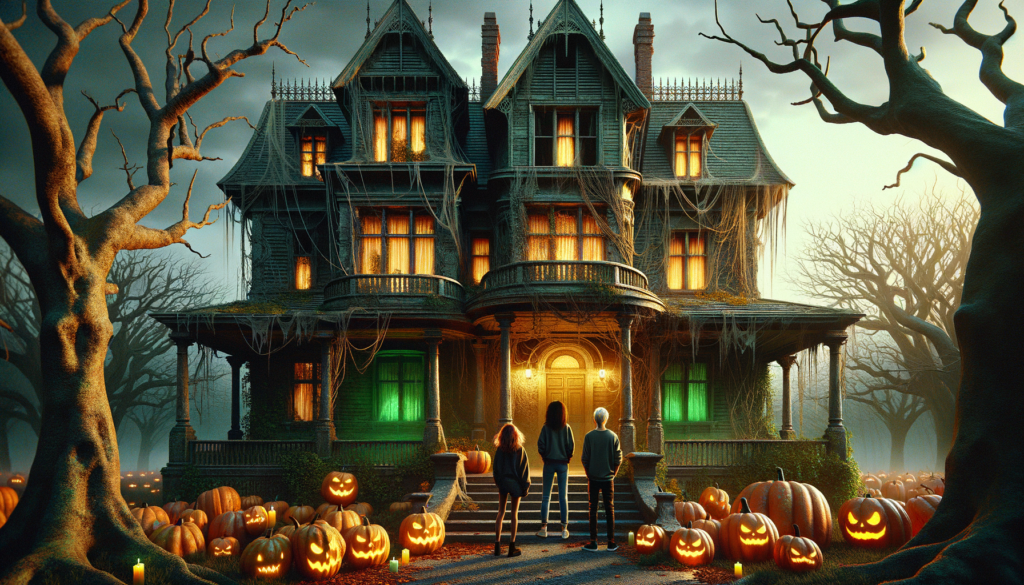
This house was rumored to be haunted, but Boots seemed to enjoy his time there, often seen playing around the eerie house. It was said that the ghostly inhabitant, Old Lady Hester, loved cats, and her spirit was only at peace in their company.
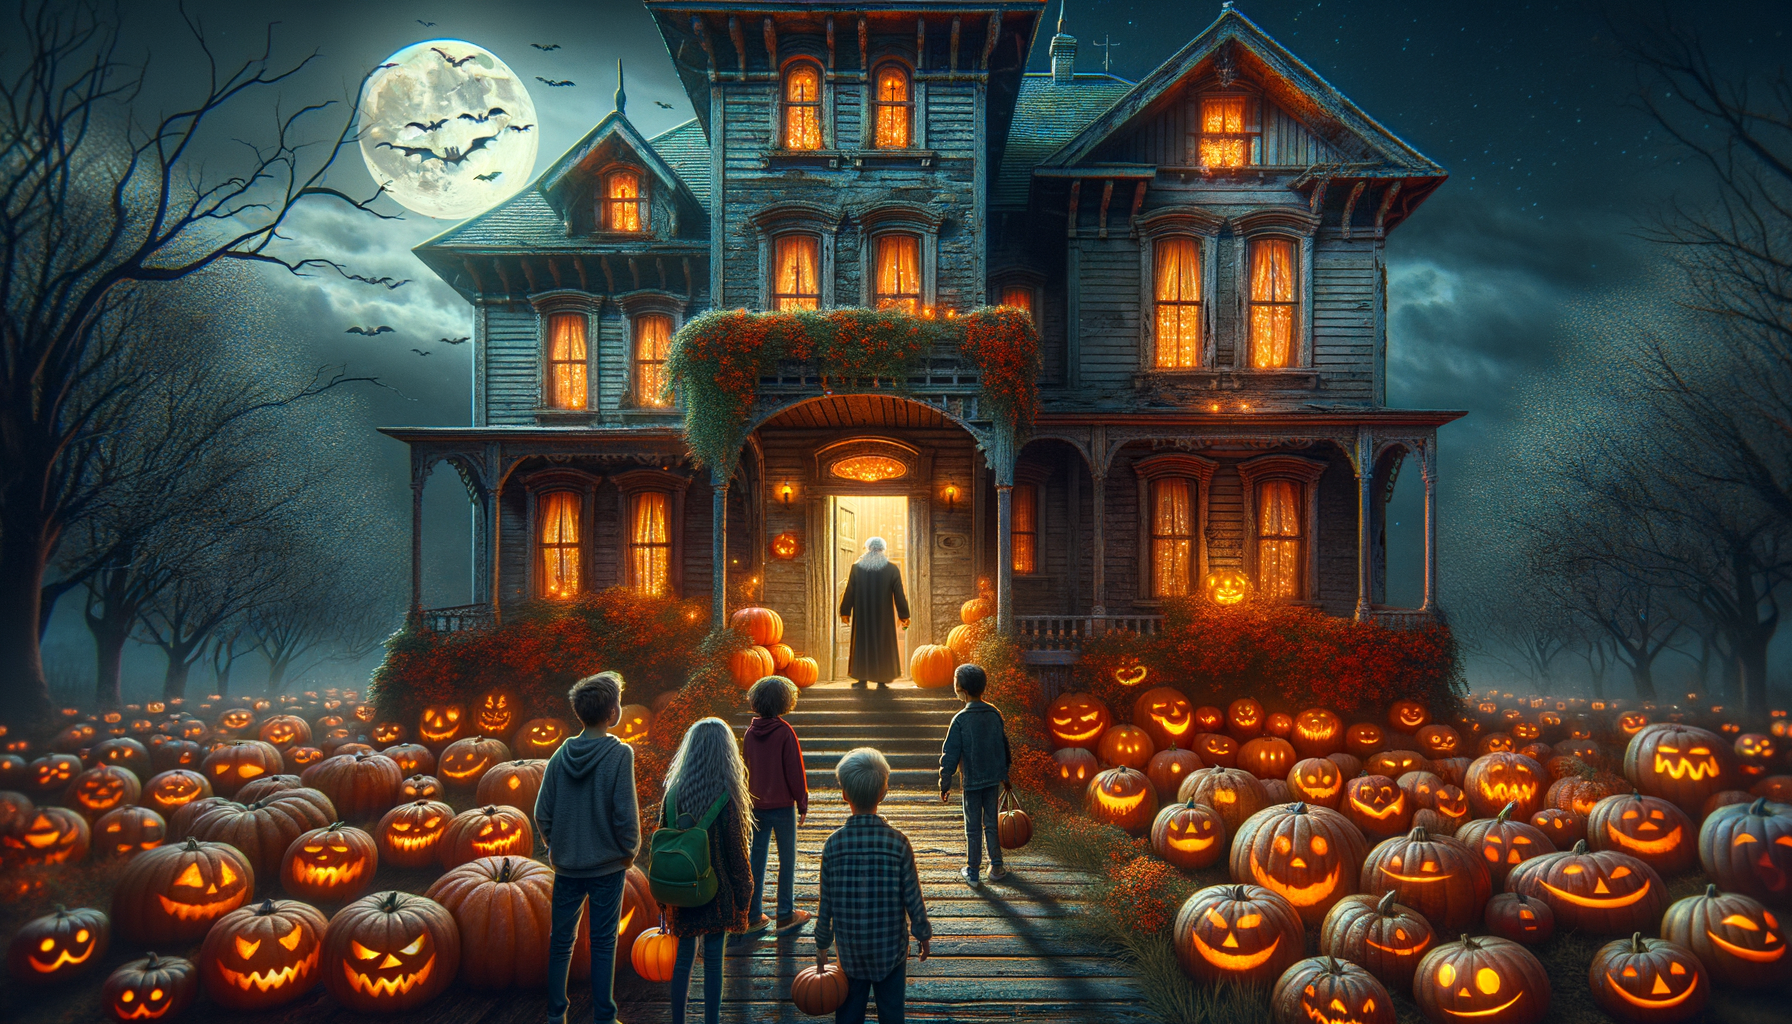
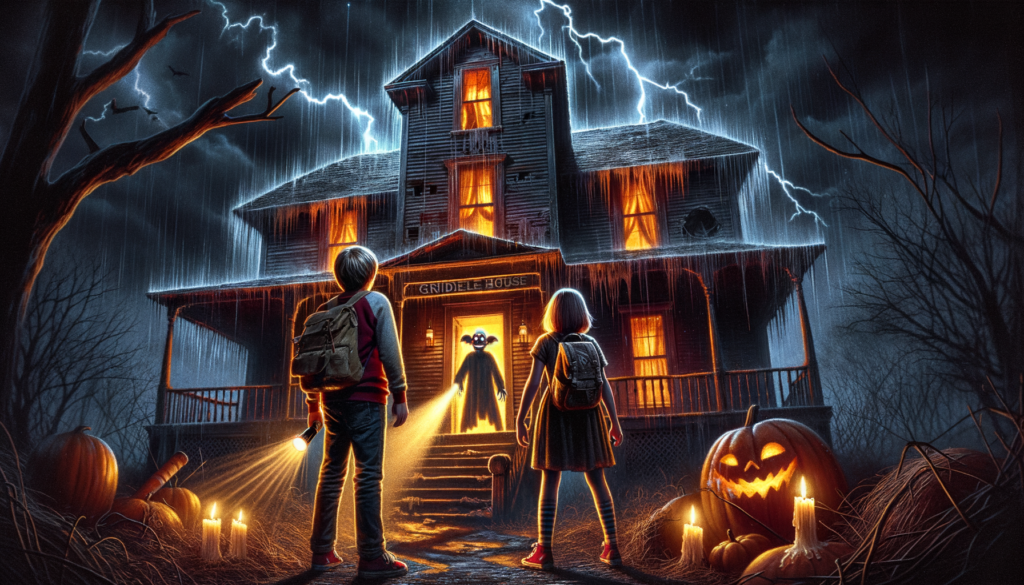
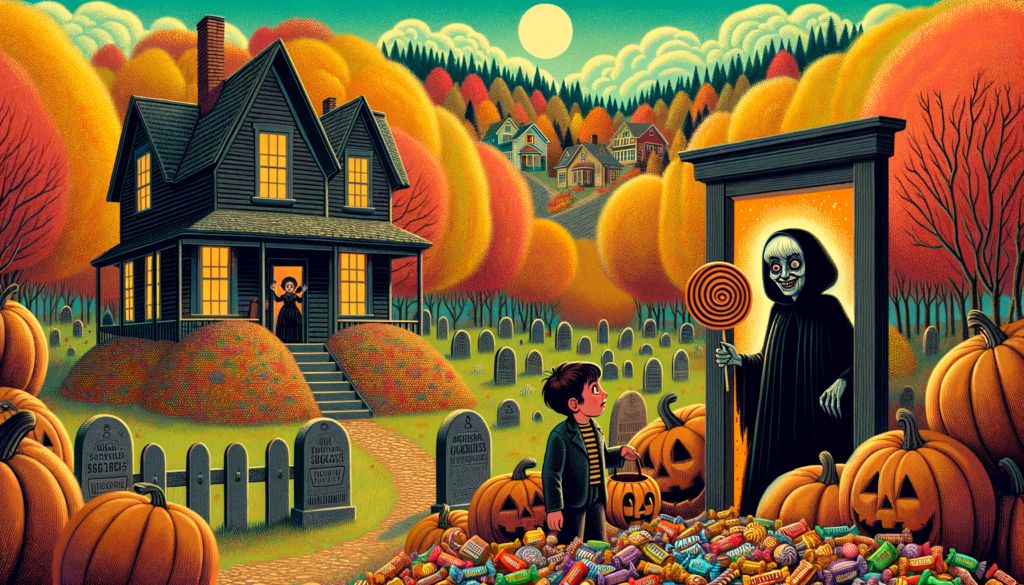
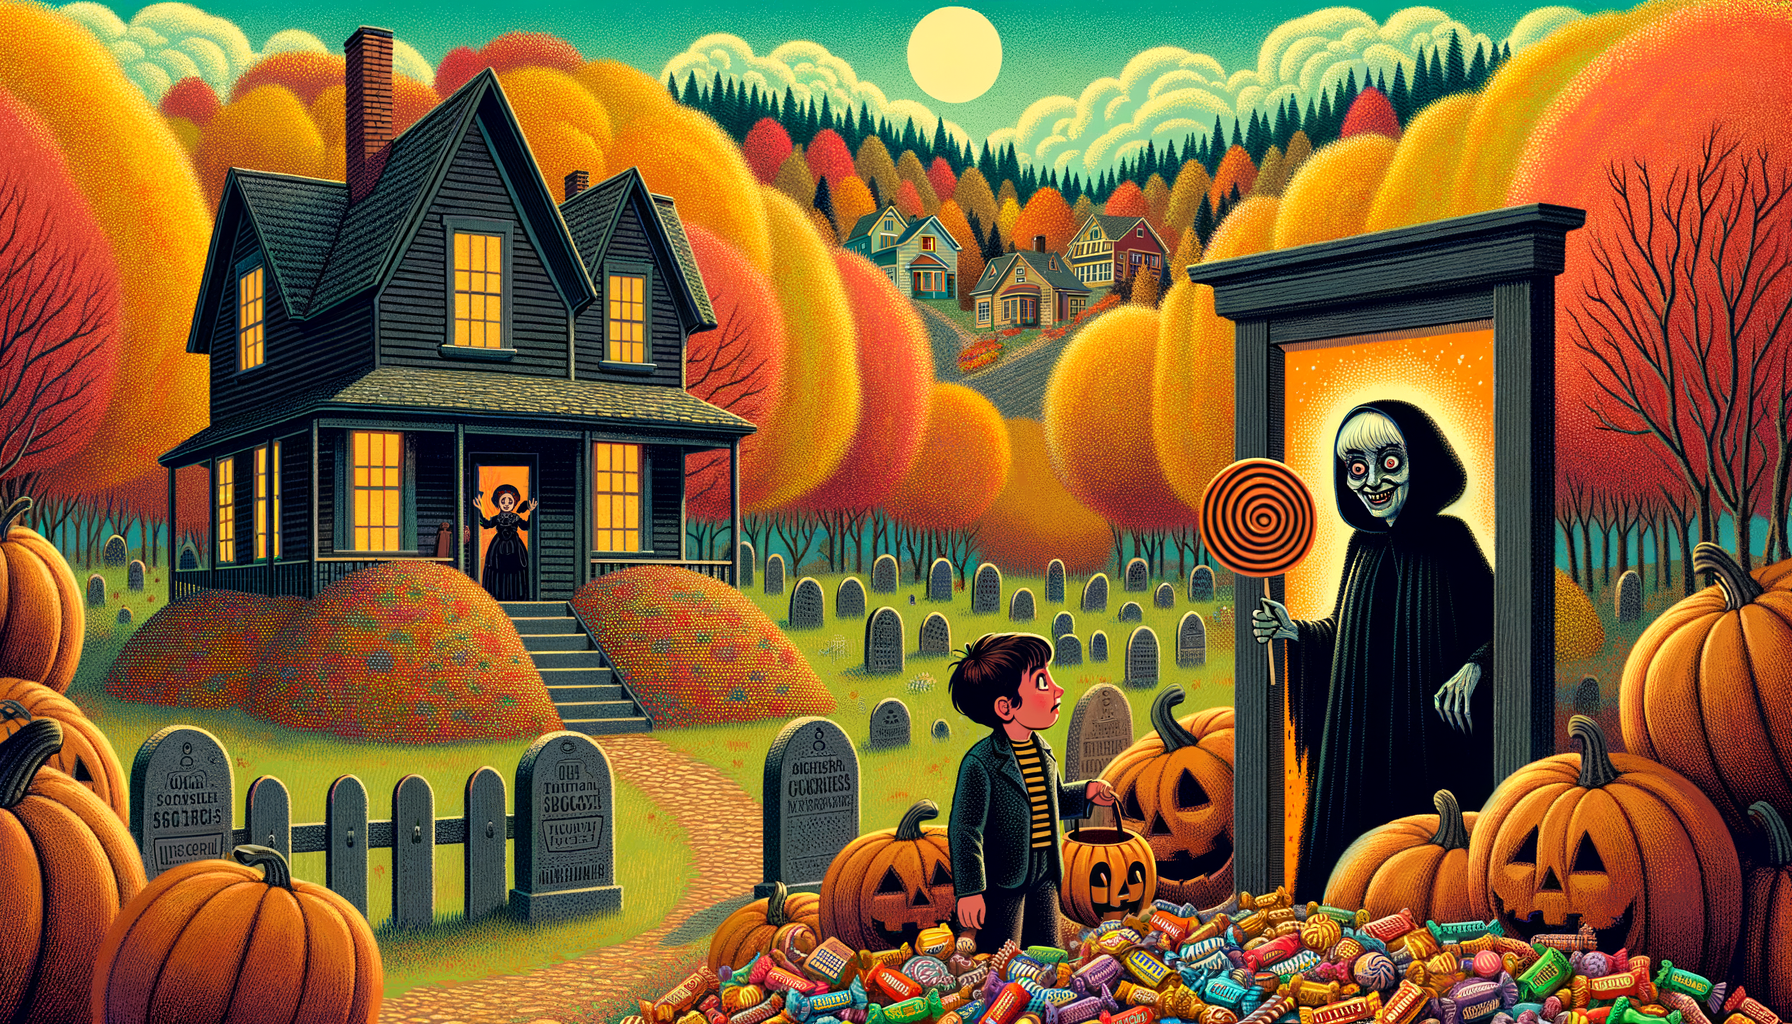
On this particular Halloween night, Boots was seen rushing towards the house as usual. Strangely enough, the house began to groan, walls started shaking, and the lights flickered. This sight was visible to the entire town!
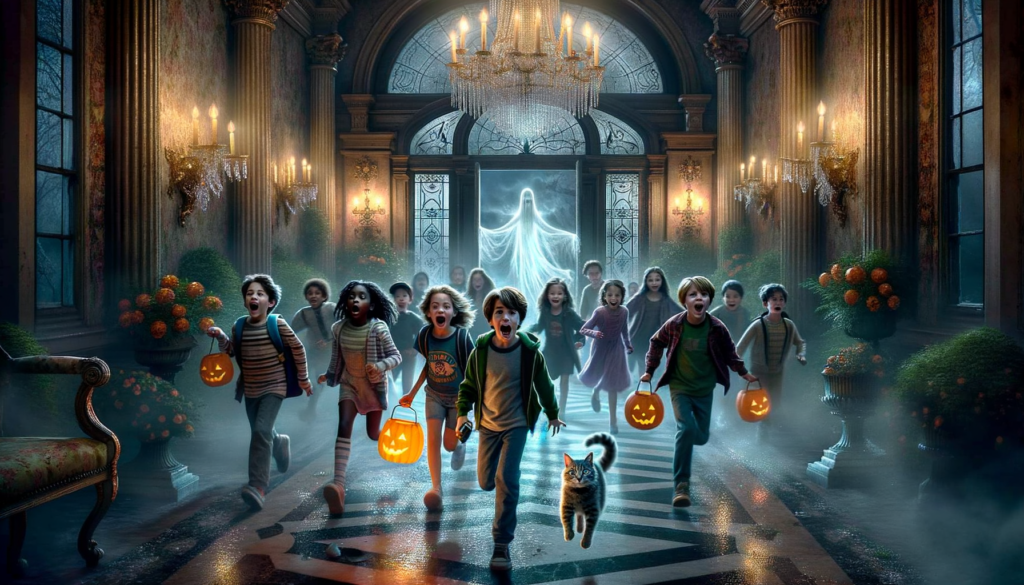
Suddenly, the door creaked open revealing a soft, eerie glow. Everyone gasped, fearing the sight of the ghost! With hearts pounding, they saw…a fluffy gray kitten, basking in the glow! Boots sauntered out, his job fulfilled: he’d gone hunting, not for mice, but for a companion. Mrs. Hester’s house wasn’t haunted; it was simply lonely.
So, when Boots prances towards Elm Street next Halloween, remember – ghosts may not always be what they seem. Sometimes, they’re just a lonely soul in need of a feline’s love.
“The Curious Case of Boots and the Haunted House on Elm Street” Read More »