Vintage Halloween Craft Ideas
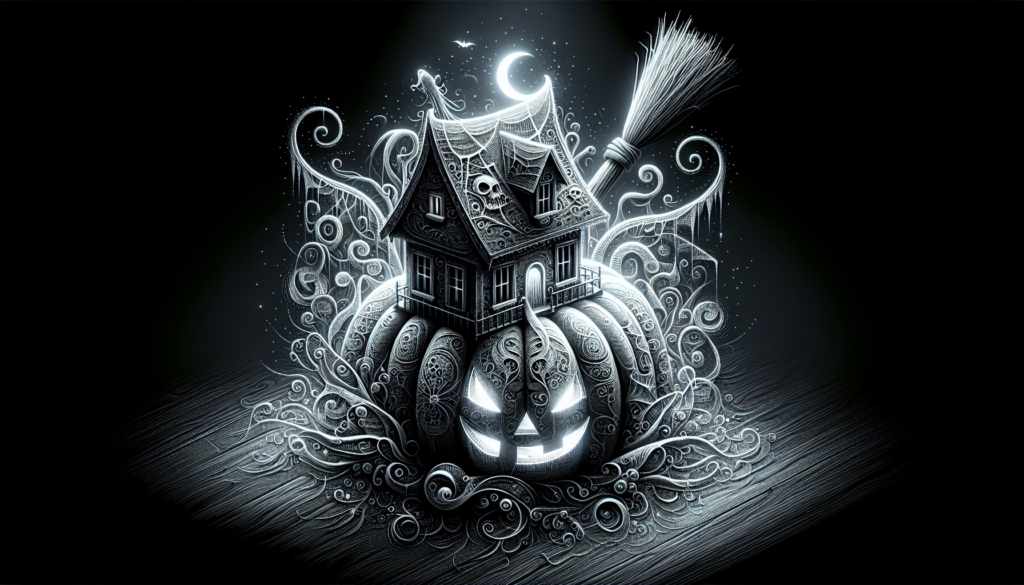
Get ready to make your Halloween super special and a bit old-timey with some cool vintage Halloween craft ideas! Imagine creating your own spooky decorations and fun crafts that look like they came right out of a storybook from a long time ago. You’ll learn how to make pumpkins that seem like they’ve been carved by wizards and ghosts that could have danced in an enchanted forest. So, grab your scissors, glue, and a sprinkle of imagination because we’re about to have a lot of fun turning your home into a vintage Halloween wonderland!

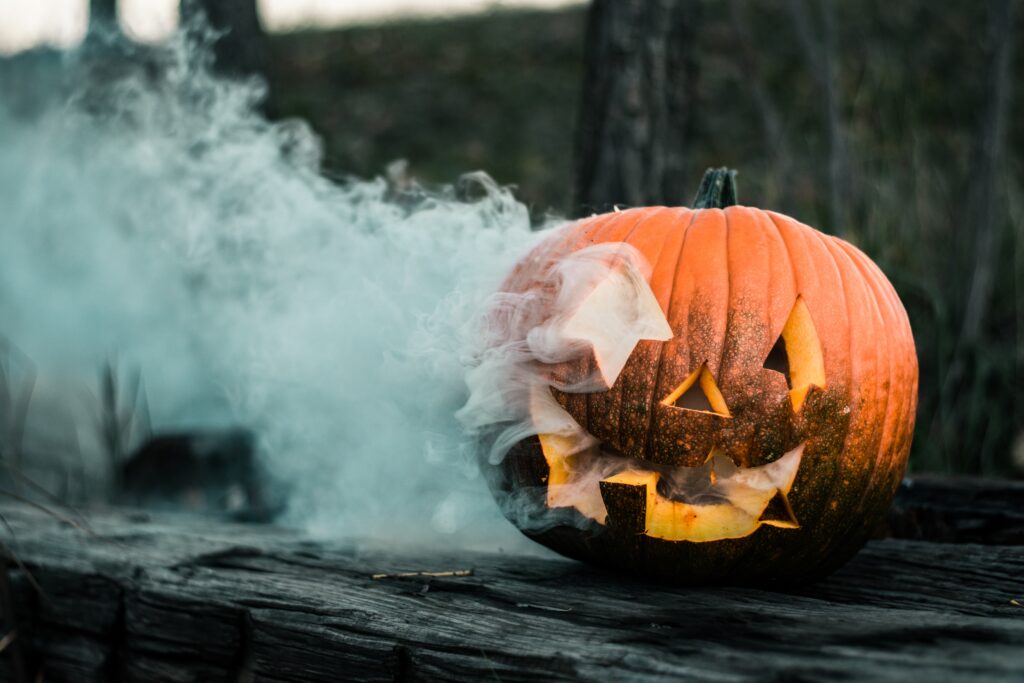
This image is property of images.pexels.com.

Vintage Paper Mâché Pumpkins
Materials needed: old newspapers, glue, balloons, paint
For making your very own vintage paper mâché pumpkins, you’ll need some old newspapers you don’t mind tearing up, glue to hold it all together, a few balloons to shape your pumpkins, and paint to give them that classic Halloween look.
Step-by-step crafting process
First, you’ll need to tear your newspapers into strips. Then, blow up a balloon to the size you want your pumpkin to be. Dip the newspaper strips into glue and place them over the balloon. Keep adding strips, crisscrossing them until the balloon is fully covered. Let it dry completely, then paint it orange with green for the stem. Now, you’ve got a paper mâché pumpkin!
Inspiration from vintage designs
To make your pumpkin look vintage, look at old Halloween decorations for inspiration. They often have softer, less bright colors and more whimsical shapes. Try to mimic these features in your painting and decorating.
Tips for achieving an aged look
To give your pumpkin an aged look, use a mix of orange and brown paint for a muted color. You can also lightly sand the painted surface once it’s dry to make it look worn.
Classic Halloween Garland
Materials: cardstock, vintage Halloween images, string or ribbon
You’ll need cardstock (a thick paper), some printed vintage Halloween images, and either string or ribbon to make a garland. You can find these images online or in old books!
Instructions for cutting and assembling
First, cut your cardstock into the shapes you want, like pumpkins or ghosts. Then, glue your vintage images onto these shapes. Make small holes in the top, and thread your string or ribbon through them to make a garland.
Ideas for incorporating vintage elements
To add that vintage touch, look for images with classic Halloween characters like black cats or witches. The older-looking, the better! You could even use tea to stain your cardstock for an aged effect.
Hanging and display suggestions
You can hang your garland across a mantel, doorway, or even around a Halloween-themed table. If you’re feeling extra crafty, add some old lace or ribbons between each piece for a more detailed look.

Victorian-inspired Ghost Decorations
Materials: cheesecloth, starch, wire, and antique doll faces
You will need some cheesecloth (that thin, gauzy fabric), liquid starch to make it stiff, some wire to create shapes, and antique doll faces for a truly vintage feel. You might find those at thrift stores or online.
Creating the ghost shapes and form
Bend your wire into a ghostly shape, like a head and arms. Dip your cheesecloth in the starch, then drape it over the wire form. Once it dries, it will hold the shape.
Adding vintage touches
Attaching an antique doll face to the head of your ghost will give it a spooky Victorian vibe. You could also dye the cheesecloth with tea before starching it for an old-fashioned look.
Setting up a spooky yet classy display
These ghosts look great in groups. Hang them from the ceiling or place them around your house where guests might not expect to find them for a little Halloween surprise.
Witch Hat Centerpieces
Materials: cardboard, fabric, and embellishments
To make a witch hat centerpiece, gather some cardboard for the structure, fabric to cover it, and any embellishments like vintage lace or ribbons you want to add.
Steps to construct and decorate the hats
Cut your cardboard into a cone and a circle for the brim. Glue these pieces together to form a hat shape, then cover with your fabric. Decorate with your embellishments to give it personality.
Incorporating vintage lace and ribbons
Using vintage lace and ribbons can add a classy, old-timey feel to your witch hats. Drape the lace around the brim or make a bow with the ribbon to decorate.
Styling tips for a Halloween table
Place your witch hat in the center of your Halloween table, perhaps on top of an old book or surrounded by vintage candle holders. It could be a spooky yet stylish centerpiece.

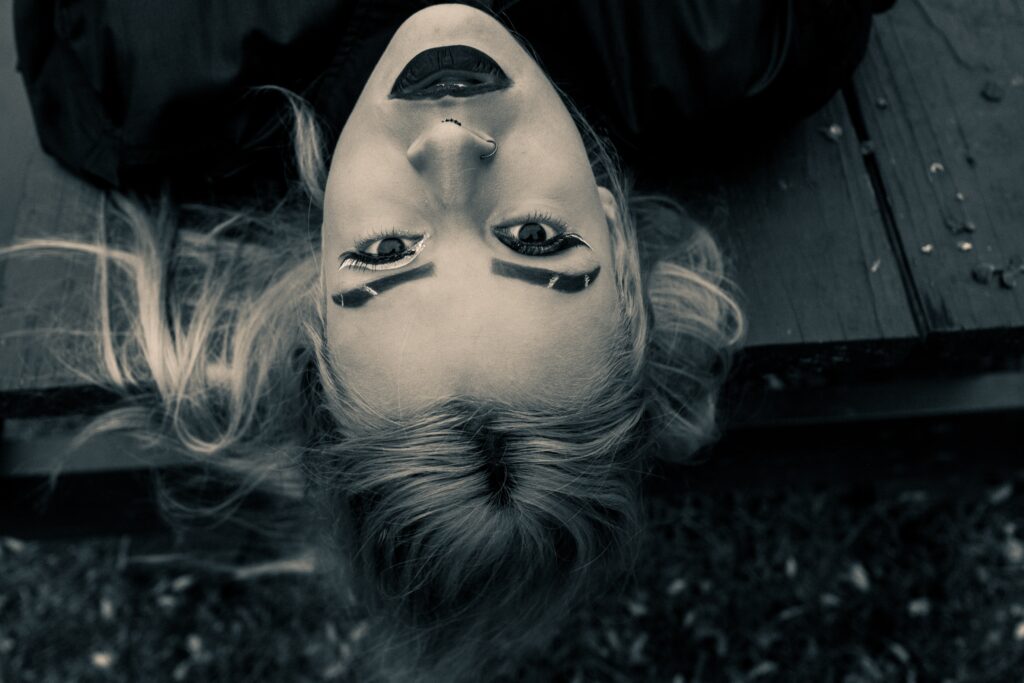
This image is property of images.pexels.com.
Antique Potion Bottles
Finding and selecting bottles
Look for old bottles at thrift stores or use recycled ones from home. The more unusual the shape, the better. Make sure they’re clean before starting your project.
Creating aged labels and seals
You can make labels look old by soaking them in tea or using brown ink around the edges. Writing mysterious potion names on them will add to the effect. Seal the bottles with wax if you have it, for an authentic look.
Filling ideas for a realistic look
Fill your bottles with colored water or harmless kitchen ingredients to mimic potions. Things like food coloring in water, olive oil, or dry herbs can look interesting and mysterious.
Decorating and display options
Arrange your potion bottles on a shelf or table amongst other vintage Halloween decorations. Adding old books, spider webs, or dried flowers can create a fascinating display.
Retro Halloween Candles
Materials: paraffin wax, vintage molds, wicks, and dyes
To make your candles, you’ll need paraffin wax, vintage-shaped molds (like pumpkins or skulls), wicks to burn, and dyes to color your candles.
Candle making basics
Melt your wax carefully following safety instructions, add your dye, and pour it into the molds with the wick in the center. Let them cool and harden, then remove from the molds.
Adding a vintage flair with molds and colors
Using molds that replicate vintage designs and choosing muted or classic Halloween colors like orange, black, and purple can give your candles a retro feel.
Safety tips and burning instructions
Always be careful when making and burning candles. Never leave them unattended and make sure they’re on a stable, heat-resistant surface away from anything flammable.

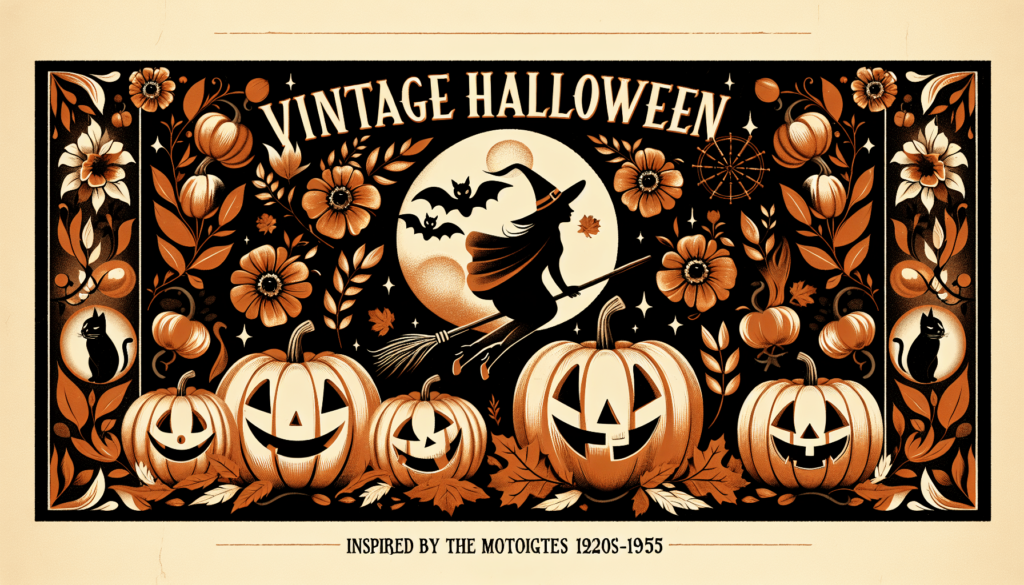
This image is property of images.pexels.com.
Gothic Halloween Wreaths
Material selection: grapevine wreaths, black foliage, and vintage decorations
Start with a grapevine wreath as your base. Look for black foliage or flowers and any spooky vintage decorations like small skulls or faux ravens.
Assembling your wreath
Attach your foliage and decorations to the wreath using wire or hot glue. Arrange them until you’re happy with the look, keeping it as spooky or as classy as you like.
Ideas for a vintage gothic look
Focus on dark colors and vintage elements. Adding an old brooch or lace can bring in that Victorian goth vibe. Think about using less typical Halloween items for a unique twist.
Maintenance and storage advice
To keep your wreath looking nice, dust it occasionally and store it carefully in a dry place where it won’t get squished. That way, you can use it for many Halloweens to come.
Old-fashioned Halloween Cards
Materials: cardstock, vintage images, and embellishments
Choose thick cardstock as your base. Print or find vintage Halloween images, and gather any embellishments like lace, ribbons, or old buttons.
Card design and construction tips
Fold your cardstock to the size you want, glue your image on the front, and then decorate around it with your embellishments. Remember, don’t overcrowd it; sometimes, simpler is better.
Writing fitting messages for Halloween
Inside your card, write a spooky message or a Halloween greeting. Using an old-fashioned font or handwriting can add to the charm.
Ideas for distressing and aging cards
To make your cards look old, use tea to stain them or a lighter to carefully burn the edges. This will give them an authentic vintage Halloween feel.
Spooky Vintage Photo Transfers
Choosing the right photos and materials
Look for old family photos or find vintage Halloween images online. You’ll need transfer paper that works with the type of printer you have.
Transfer process step-by-step
Print your image onto the transfer paper, then carefully press it onto the material you’re transferring it to, like fabric or wood. Follow the instructions on the transfer paper package closely.
Incorporating these into decorations
Once transferred, you can frame these images, use them to decorate pillows, or even include them in your garland. They add a personal and spooky touch to your Halloween décor.
Tips for a hauntingly realistic look
Choose images that already have a vintage or eerie feel for the best effect. Playing with the contrast or adding a sepia tone before printing can enhance the old-timey vibe.
Halloween Tin Can Luminaries
Materials needed: tin cans, paint, candles or lights
Clean empty tin cans, some paint (black works well for Halloween), and either candles or small LED lights. You’ll also need a hammer and nail to make holes.
Instructions for creating and spacing holes
Fill the cans with water and freeze them; this makes it easier to hammer in the holes without denting the can. Once frozen, use a nail and hammer to make holes in a design or pattern.
Vintage designs and painting techniques
For a vintage feel, paint your cans in muted Halloween colors, and when painting your designs or patterns, think about old-style Halloween motifs like bats, moons, or silhouettes of witches.
Safety tips and display ideas
Be careful when hammering the holes and handling the candles. When displaying, you can place your luminaries along a path, on steps, or as part of a table centerpiece. They’ll cast a spooky glow perfect for Halloween night.

Vintage Halloween Craft Ideas Read More »