Expressive DIY Halloween Masks
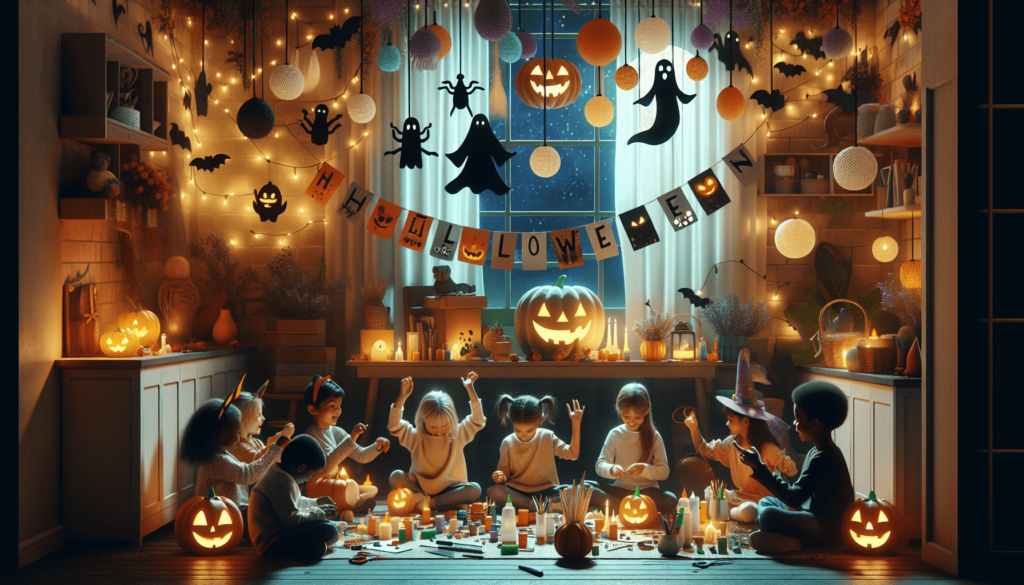
Today, we’re going to talk about something really fun: making your own Halloween masks! Imagine being able to become anyone or anything you want, just by creating a mask with your own two hands. You can turn into a spooky ghost, a fierce lion, or even your favorite superhero. It’s all about using your imagination and some crafty skills to make this Halloween extra special. Let’s discover how you can make expressive DIY Halloween masks and have a blast doing it.
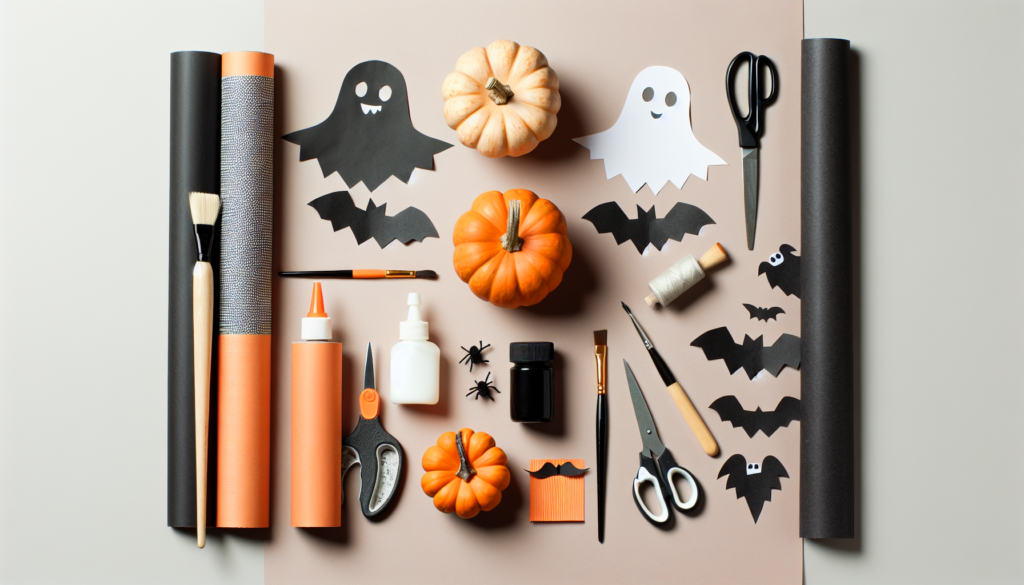
This image is property of images.unsplash.com.

Essentials for Crafting DIY Halloween Masks
When Halloween comes around, making your own mask can be a super fun project! Let’s start by figuring out what you need to make a really cool mask.
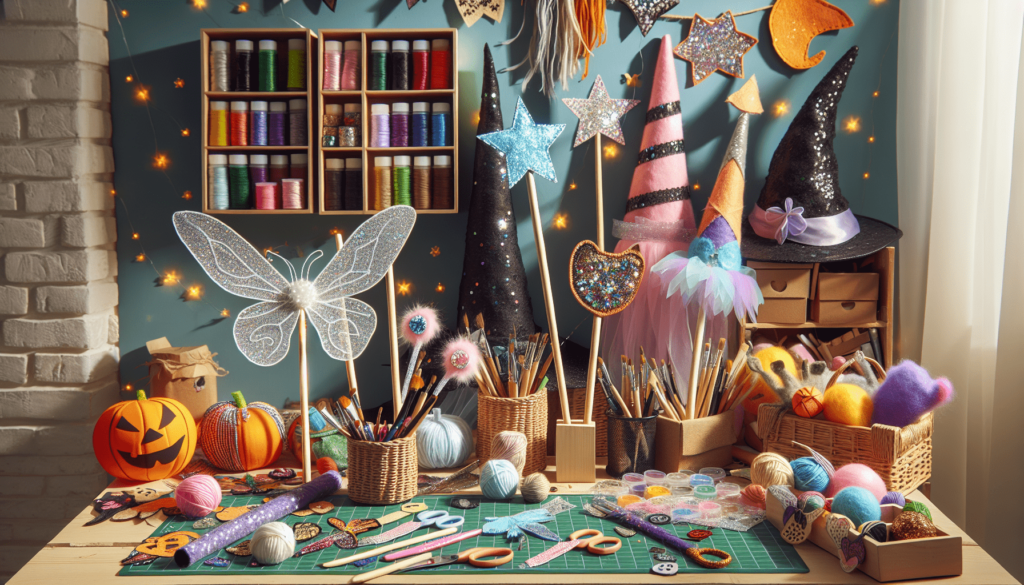
Gathering your materials
First, you need to gather your materials. This means finding things around your house like paper, old newspapers, scissors, glue, and maybe some paint. If you want to make something really special, you might also look for things like glitter, feathers, or even some old fabric!
Choosing the right adhesives
Adhesives are just a fancy word for glue or something sticky to hold your mask together. Not all glues are the same. For paper masks, a simple glue stick or some white glue (like school glue) is perfect. If you’re working with fabric or foam, you might need something stronger like hot glue. But always ask an adult to help when using hot glue because it can be very hot and burn you.
Types of paints and brushes
Painting your mask is where you bring it to life! Water-based paints are great for kids. They’re easy to clean up if you get them on your hands. You’ll also need some brushes. Have big ones for covering large areas and small ones for adding little details. Sometimes it’s fun to use your fingers, too, but make sure it’s okay with your grown-up first.
Sourcing eco-friendly materials
It’s also really cool to think about our planet while making your mask. Try to use things that can be recycled or that are already used. Old newspapers, boxes, or fabric scraps are perfect. This way, you’re not only making something awesome but you’re also helping the Earth!
Planning Your Mask Design
Before jumping into making your mask, it’s a good idea to have a plan. This will help make your mask-making adventure more fun and less messy!
Inspiration sources
Think about what you love! It could be your favorite animal, a character from a book or movie, or even something spooky for Halloween. You can also look at pictures online (with a grown-up’s help) or in books to get ideas.
Sketching your design idea
Once you have an idea, try to draw it on paper. It doesn’t have to be perfect. This is just to help you remember your great mask idea when you start making it.
Selecting a theme
Your theme could be anything from jungles filled with animals to outer space with aliens and astronauts. Choose something that really excites you because it’ll make creating your mask even more fun.
Color scheme considerations
Think about what colors you want your mask to be. If you’re a bat, you might choose black or dark purple. If you’re a pumpkin, you might pick orange and green. Colors can really help turn your mask into whatever you imagine.

Paper Mache Masks
Paper mache is a mixture of water, flour, and paper strips that you can mold into shapes. It’s like magic!
Creating the base with balloons and newspapers
First, blow up a balloon to the size you want your mask to be. Then, tear some newspaper into strips. Dip the strips into the paper mache mixture and lay them over the balloon. This is your mask’s base!
Applying paper mache layers
After the first layer dries, add a few more layers, letting each one dry before adding the next. This makes your mask strong and ready for decorating.
Smooth finishing techniques
Once your mask is dry, you can make the surface smooth by adding a layer of tissue paper or even using a bit of sandpaper very gently (ask for help from an adult).
Decorating your paper mache mask
Now comes the fun part – decorating! Use paint, markers, glitter, or anything else you like to bring your mask to life.
Foam Masks
Foam is another cool material you can use for masks. It’s light and easy to cut into different shapes.
Types of foam to use
Craft foam sheets are the best. They come in all sorts of colors and are easy to cut with scissors.
Cutting and shaping foam
Draw your mask shape on the foam sheet and carefully cut it out. You can cut out other shapes to glue on as features like ears or noses.
Adding texture and details
You can add texture by pressing different objects into the foam or by cutting small shapes and layering them to make your mask look more interesting.
Painting and finishing touches
Some foam can be painted, and some cannot, so test a small piece first. Then, add any final touches like feathers, sequins, or whatever else makes your mask special.

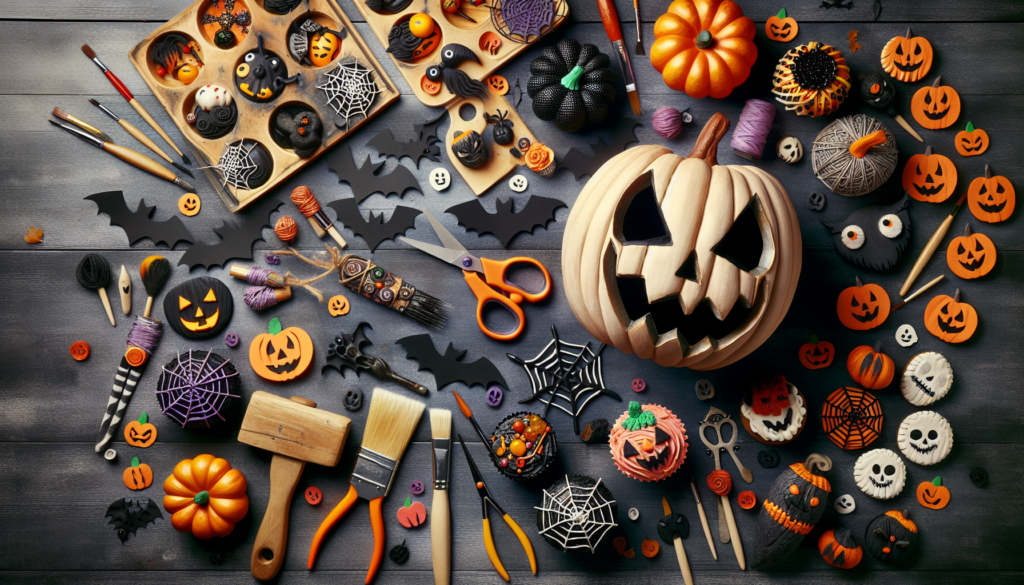
This image is property of images.unsplash.com.
Fabric Masks
Fabric masks can look really amazing and are great for more detailed designs.
Choosing fabrics
Look for fabric scraps around your house. Old clothes that nobody wears anymore are perfect. You want fabrics that are easy to cut and sew.
Pattern making for masks
Draw your mask shape on paper to create a pattern. Then, use this pattern to cut your fabric to the right shape.
Sewing tips and techniques
If you’re new to sewing, don’t worry. Simple stitches can go a long way. You can even use fabric glue if sewing isn’t an option.
Adding embellishments
Ribbons, lace, and buttons can add really cool details to your fabric mask. Glue or sew them on to make your mask unique.
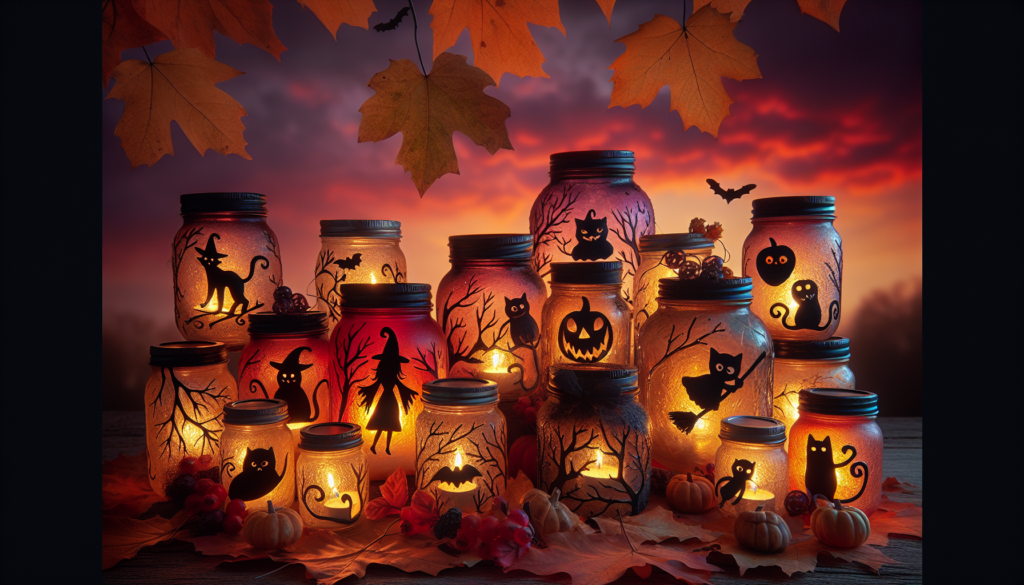
Eco-Friendly Masks
Making masks that are kind to the environment is something to be proud of.
Using recyclable materials
Use materials that can be recycled or that you’re reusing. Cardboard, paper, and fabric scraps are all great choices.
Biodegradable options
If you’re using new materials, try to find ones that are biodegradable, like paper and natural fabrics.
Natural dyes and paints
Did you know you can make paint from things like berries or vegetables? It’s a fun experiment to try and also great for the Earth.
Upcycling old costumes
Take a look at old costumes or clothing. You can cut them up and turn them into something completely new for your mask.

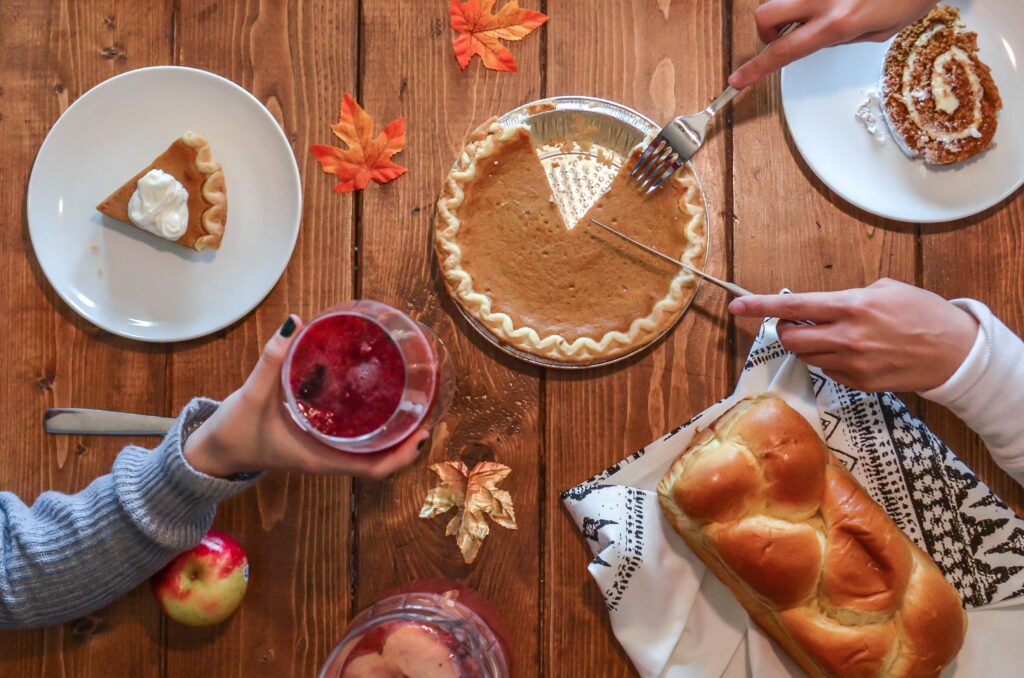
This image is property of images.unsplash.com.
LED and Glow-in-the-Dark Masks
If you want your mask to light up or glow in the dark, there are cool ways to do that safely.
Incorporating LED lights
You can buy LED lights that are safe for crafts. They’re not too hot and can be sewn or glued onto your mask. Just make sure to ask for help if you need it.
Safety considerations
Always make sure that any lights you use are safe and won’t get too hot. And make sure wires or batteries are covered so they won’t poke you.
Power sources for your lights
Many LED lights for crafts run on small batteries. Make sure the battery pack is placed where it won’t bother you, like at the back of the mask.
Glow-in-the-dark painting techniques
Glow-in-the-dark paint can be used on many materials. Apply it over your mask’s paint (it might need a few coats). Just remember it needs to be “charged” in light before it will glow in the dark.
3D Printed Masks
If you’re lucky enough to have access to a 3D printer, you can make some amazing masks.
Designing for 3D printing
You or an adult can use a computer to design the mask. There are also lots of designs online that you can use.
Material selection
3D printers use special materials called filaments. For masks, a flexible filament is a good choice so it’s comfortable to wear.
Post-processing and finishing
After the mask is printed, you might need to sand it to make it smooth. Then, you can paint it just like any other mask.
Combining 3D printing with traditional materials
You can add traditional materials to your 3D printed mask. Glue on feathers, fabric, or even LED lights to make your mask super special.

Mask Attachment and Comfort
Making sure your mask is comfy and stays on is really important.
Elastic bands vs. ribbons
Elastic bands can stretch to fit your head, making them super comfy. Ribbons can be tied to fit but might need to be adjusted now and then.
Padding for comfort
If your mask is a bit uncomfortable, you can glue some soft fabric or foam inside where it touches your face.
Adjustable designs for different sizes
Think about making your mask so it can fit different-sized heads. This way, it can be more comfortable and even shared with friends.
Ensuring breathability
Don’t forget to make sure you can breathe easily while wearing your mask. Make sure there are holes for your nose and mouth, but place them where they fit with your design.
Safety Tips for DIY Masks
Safety is super important when making and wearing your mask.
Allergenic materials to avoid
Some materials might make you itch or even allergic. Always use materials that are safe for you. If you’re not sure, ask an adult for help.
Maintaining visibility
Make sure you can see clearly while wearing your mask. Don’t put anything over the eye holes that will block your sight.
Breathing safety
Besides having holes for your nose and mouth, make sure the mask isn’t too tight so you can breathe easily.
Fire safety for LED and electronic components
If your mask has lights or electronics, always use battery-powered ones that are safe for costumes. And never go near open flames.

Expressive DIY Halloween Masks Read More »