Halloween Crafts Using Paper Plates
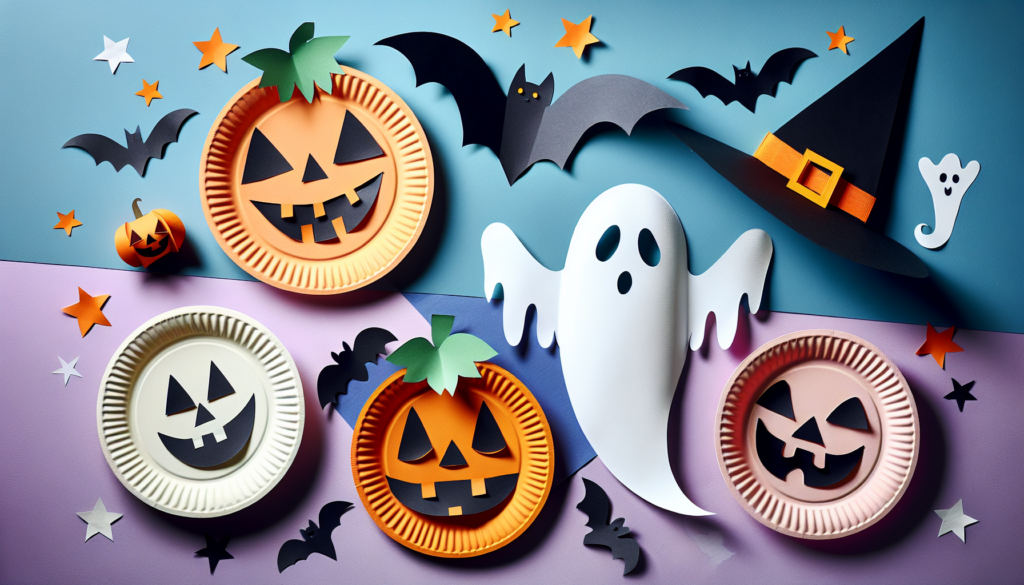
Imagine you have some paper plates, a few colors, and a big imagination! You can turn those simple plates into spooky, fun decorations for Halloween. From grinning pumpkins to silly ghosts, this article will show you how to make your own Halloween pals with just paper plates and a little bit of craft magic. Get ready to create your very own paper plate monsters, witches, and cats that will make everyone smile when they come to trick-or-treat at your door!


Benefits of Creating Halloween Crafts with Paper Plates
Inexpensive and Accessible Materials
You’ll be super happy to know that making Halloween crafts with paper plates is easy on your piggy bank! Paper plates are not only cheap, but you can find them almost anywhere, like at your local grocery store or party shop. You don’t need fancy stuff to start creating spooky Halloween decorations.
Encouraging Creativity and Imagination
Guess what? When you make your own Halloween crafts, you’re like an artist making a cool painting. The best part is that you can use your imagination to turn a simple paper plate into almost anything spooky, like a ghost, pumpkin, or even a black cat. It’s fun to see what wild and wonderful ideas you come up with!
Fun Activity for All Ages
Whether you’re a little kid or a grown-up, making crafts with paper plates is fun for everyone. You can sit down with your family or friends and everyone can pick their favorite Halloween thing to make. You might be surprised how much fun the older kids and grown-ups have when they’re crafting with you!
Eco-Friendly – Recycling and Reusing Materials
Did you know you’re also taking care of the Earth when you make crafts with paper plates? Instead of throwing them away, you’re turning them into awesome decorations. It’s a great way to recycle and reuse things, which is good for our planet.
Great for Classroom or at Home
Whether you’re in school or hanging out at home, you can make these Halloween crafts just about anywhere. Teachers love doing these projects in classrooms because all the kids can join in. And at home, you can spread out on the kitchen table and get crafty with your family.
Safety Tips for Crafting with Children
Non-Toxic Supplies
Make sure the supplies you’re using, like glue or paint, are safe. They should say “non-toxic” on them, which means they’re okay for children to use. If you get something on your skin, it shouldn’t hurt you.
Supervision with Scissors and Other Tools
Sometimes you need to use scissors to cut the paper plates. Since scissors can be sharp, it’s important that a grown-up is there to watch over you or help you with the cutting part. This keeps everyone safe while having fun.
Age-Appropriate Craft Selection
Choose Halloween crafts that are just right for how old you are. That means if you’re still very young, you might do projects that don’t need sharp tools or complicated steps. There are lots of easy and fun crafts perfect for younger kids.
Keeping the Crafting Area Clean and Safe
When you’re crafting, your space might get a little messy with pieces of paper plates, glue, and paint. It’s a good idea to keep your crafting area clean so nobody trips or spills stuff. Safety first!

Preparation and Materials Needed
List of Basic Supplies
Here’s a list of basic supplies you’ll need for your paper plate Halloween crafts:
- Paper plates (white ones are great, but any color will do)
- Scissors (make sure you have an adult help if you need it)
- Paints and paintbrushes
- Markers or crayons
- Glue or tape
- Decorations like streamers, glitter, or googly eyes
Organizing Your Workspace
Now, find a spot where you can spread out all your supplies. You can put down an old tablecloth or some newspapers to keep things clean. Make sure there’s enough room for you to work on your spooky creations.
Pre-Cutting Shapes for Younger Children
If you’re crafting with little brothers or sisters, it might be a good idea to pre-cut shapes they need for their crafts. This way, they can focus on the fun parts like painting and decorating.
Choosing the Right Paints and Markers
Remember, you want to use non-toxic paints and markers that are safe for kids. Water-based acrylic paints are good because they dry quickly. And washable markers are great too because they come off your skin easily.
Paper Plate Jack-O’-Lanterns
Creating the Pumpkin Base
First, you’ll paint your paper plate orange to make it look like a pumpkin. You might need a couple of coats to make the color nice and bright. Let it dry completely before moving to the next step.
Cutting Out Facial Features
Get creative with the pumpkin’s face! Think about the kind of face you want it to have – scary, funny, or maybe even surprised. Once you have an idea, have a grown-up help you cut out the eyes, nose, and mouth.
Adding Dimension and Texture
If you want to make your pumpkin even cooler, you can add things like yarn for a textured stem or use a sponge to add bumps to the pumpkin, so it looks more real.
Variations and Creative Ideas
There’s no limit to your imagination! You can make different kinds of Jack-O’-Lanterns with all sorts of faces. You could also use pieces of black paper to glue on the face instead of cutting it out for a different look.

Ghastly Paper Plate Ghosts
Simplicity of the Ghost Shape
For the ghost, the shape is super simple! Just turn your paper plate white if it isn’t already, and then cut the bottom to look like it’s floating.
Decorating with Floating Streamers
You can add streamers or even torn-up tissue paper to the bottom of your ghost to make it look like it’s floating through the air.
Glow-in-the-Dark Options
Want to make your ghost extra spooky? Use glow-in-the-dark paint to add details! When the lights go out, your ghost will gently glow.
Creating a Haunting Display
Once you’ve finished your ghosts, you can hang them up with some string. They’ll move around in the air and look like they’re really floating around!
Wickedly Fun Paper Plate Witches
Crafting the Witch’s Face
To start your witch, paint your paper plate green for the face. When it’s dry, you can add the features like a crooked nose, a creepy smile, or a wart.
Fashioning the Pointed Hat
Cut another paper plate or some cardstock to make a pointed witch’s hat. You can decorate it with stars, moons, or anything magical. Then, attach it to the top of your witch’s head.
Customizing the Witch’s Facial Features
Use markers, paint or even some craft supplies like yarn for hair to give your witch personality. Big googly eyes can make her look funny, or you can draw her eyes with a marker for a different effect.
Accessorizing Your Witchcraft
It’s fun to add accessories to your witch. Maybe she needs a broom made from a stick and some straw or paper tassels. Or you could make a little cat out of a smaller paper plate to go with her.
Creepy Paper Plate Spiders
Utilizing the Plate for the Spider’s Body
Your spider’s body starts with a paper plate painted black or any other creepy color you like. The round shape is perfect for a spider’s body!
Choosing Materials for the Legs
You can use lots of different things for the spider legs. Pipe cleaners work great because they are bendy. You can also cut strips of paper and fold them to make them look like legs.
Incorporating Movement with Bendable Limbs
If you’re using pipe cleaners or something similar for the legs, you can twist and bend them to make your spider look like it’s moving.
Hanging and Displaying Your Spiders
You can hang your spiders from the ceiling with some string or even tape them to the wall. If you put them all over, it will look like they’re crawling everywhere!
Chilling Paper Plate Skeletons
Building the Skeleton’s Body Structure
Starting with the top of your paper plate, draw and cut out a skull shape. Then use white paper to cut out bones for the arms, legs, and body.
Designing Skull and Limb Pieces
The skull can be simple with just eyes and a mouth, or you can get more detailed. For the limbs, use longer pieces for the legs and arms, and smaller pieces for hands and feet.
Assembling with Brads for Joint Movement
If you have little metal pieces called brads, you can use them to connect the bones together. This way, your skeleton can move its arms and legs!
Creative Variations of Skeleton Themes
You could make a pirate skeleton by adding a paper eye patch and a hat, or even a dinosaur skeleton by arranging the bones in a different shape. Get as creative as you want!
Eerie Paper Plate Bats
Designing the Bat’s Wing Shape
Cut the sides of your paper plate to make wings for your bat. It’s like making a big M shape on each side of the plate.
Painting and Detailing Techniques
You can paint your bat black or dark purple and then add details like eyes or fangs with white paint or a marker.
Creating a Flock of Bats Wall Decoration
Make lots of bats and then stick all of them to a wall like they’re flying together. It’ll look really cool, like a whole bunch of bats are swooping through your room.
Adding Features like Googly Eyes or Glitter
To make your bats even more exciting, glue on some googly eyes so they look like they’re watching you. Or you could sprinkle a little bit of glitter on the wings for a shiny effect.
Final Touches and Displaying Your Crafts
Protective Coatings for Durability
If you want to keep your crafts looking good, you can put a clear protective coating on them, like mod podge or clear glue. This helps them last longer and stops the paint from chipping.
Creative Use of Lighting
Imagine making your crafts glow with some fairy lights or a small flashlight! It would make your Halloween decorations even spookier when the lights are dim.
Display Tips for Parties and Gatherings
When you have friends or family over for a Halloween party, you can show off your crafts by hanging them up or placing them on tables. You can even make a special spooky corner with all of your decorations.
Storing Your Crafts for Next Halloween
After Halloween, you might want to keep your crafts for next year. Store them in a box in a dry place so you can use them again. It’s great to see your artwork come out every Halloween!

Halloween Crafts Using Paper Plates Read More »