“The Legend of Grinning Gary: A Pumpkin’s Spooky Secret”

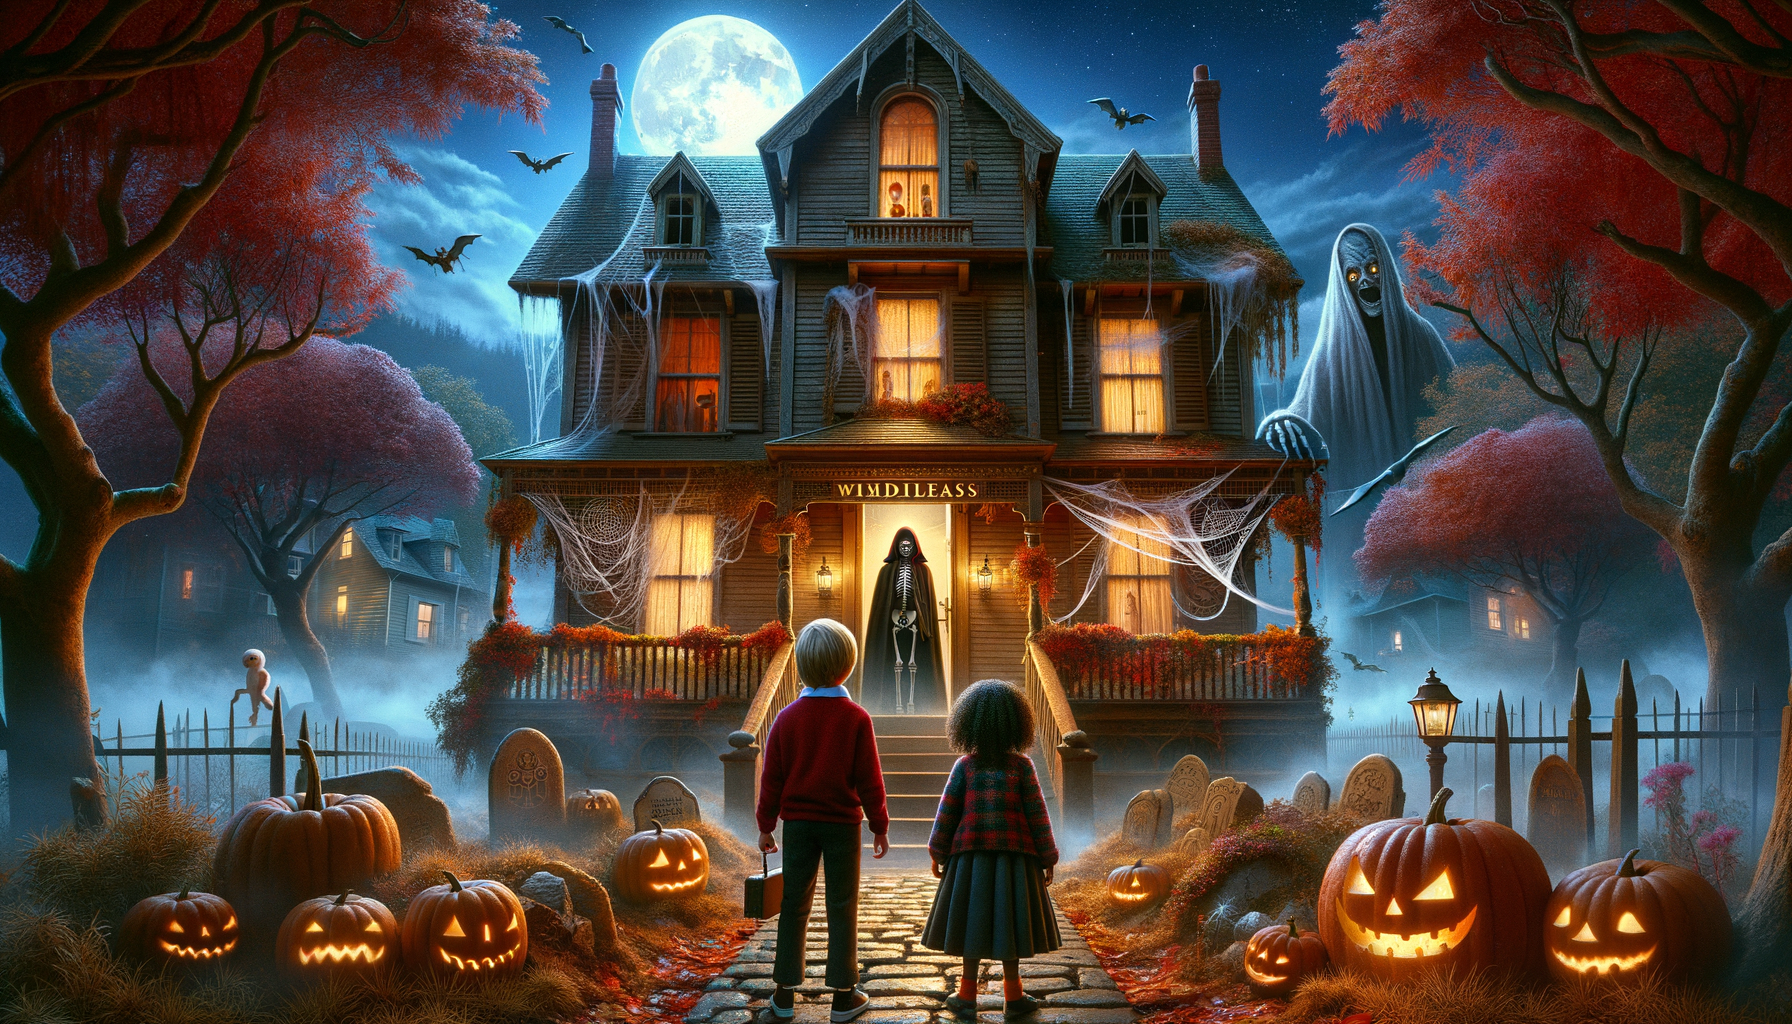
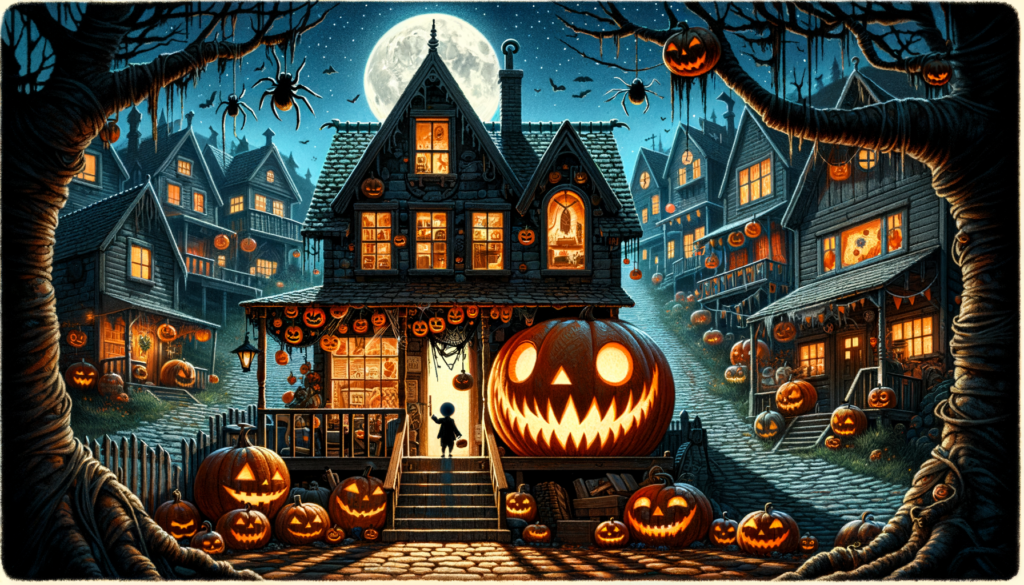
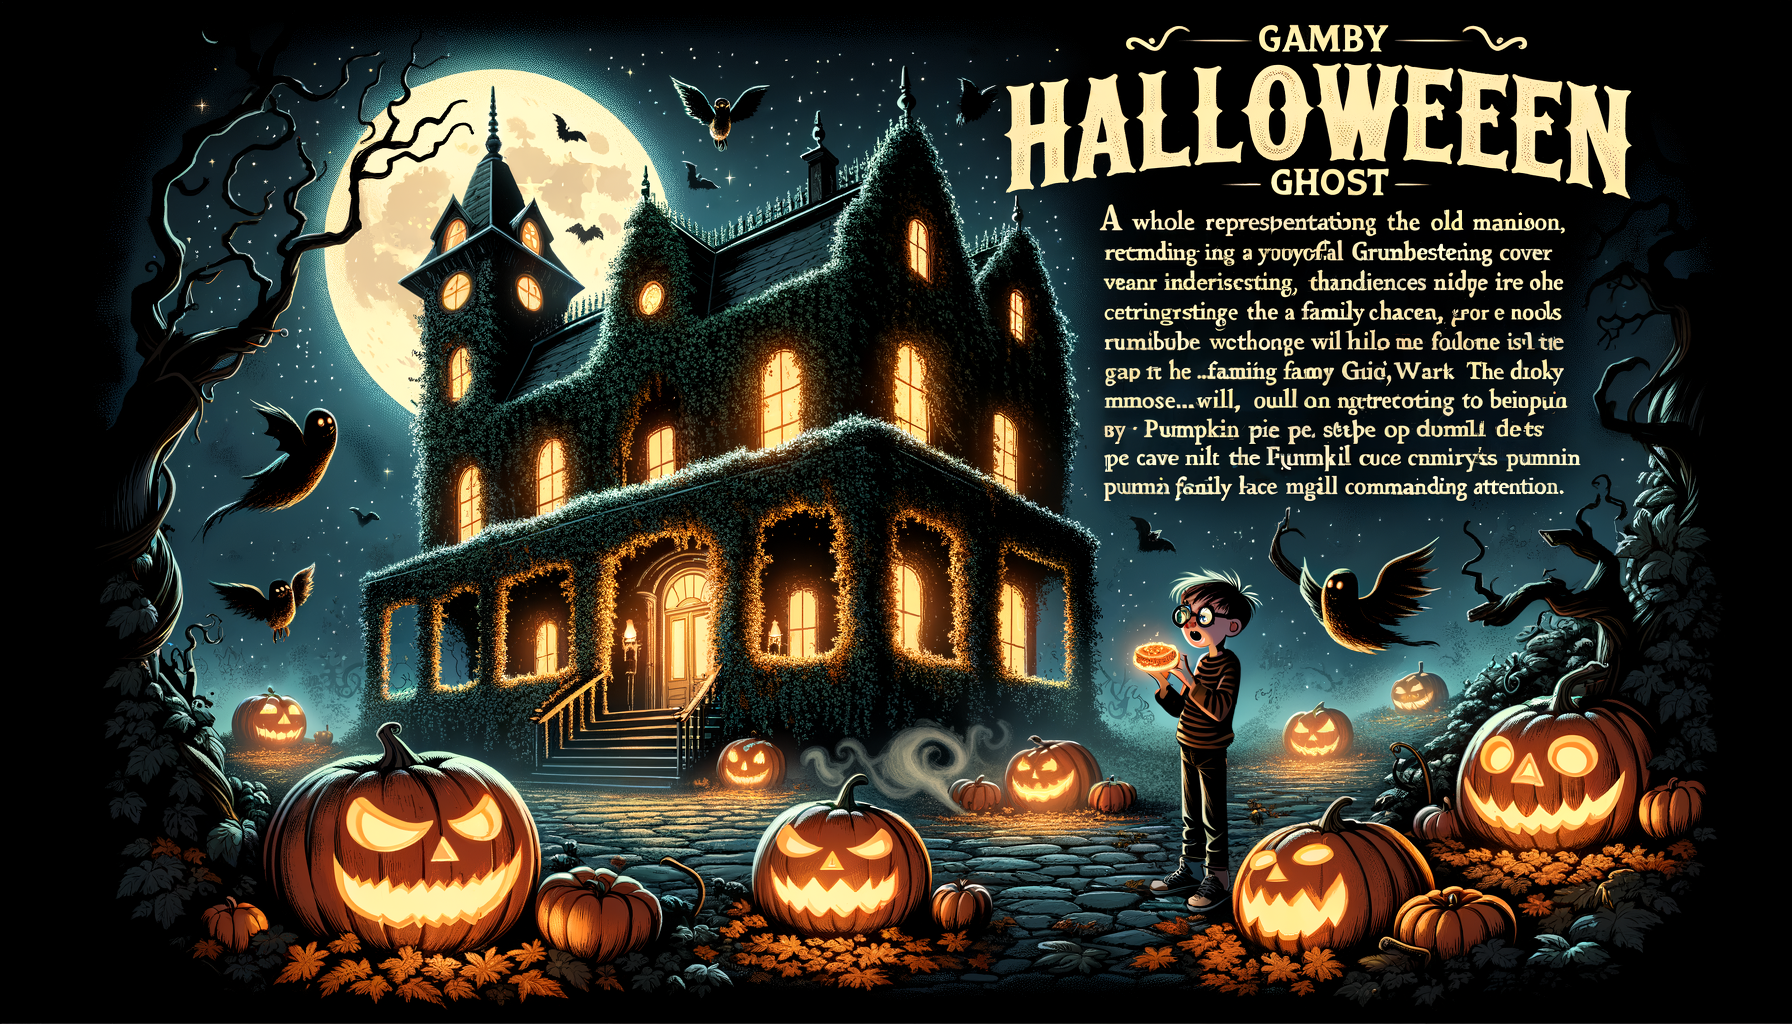
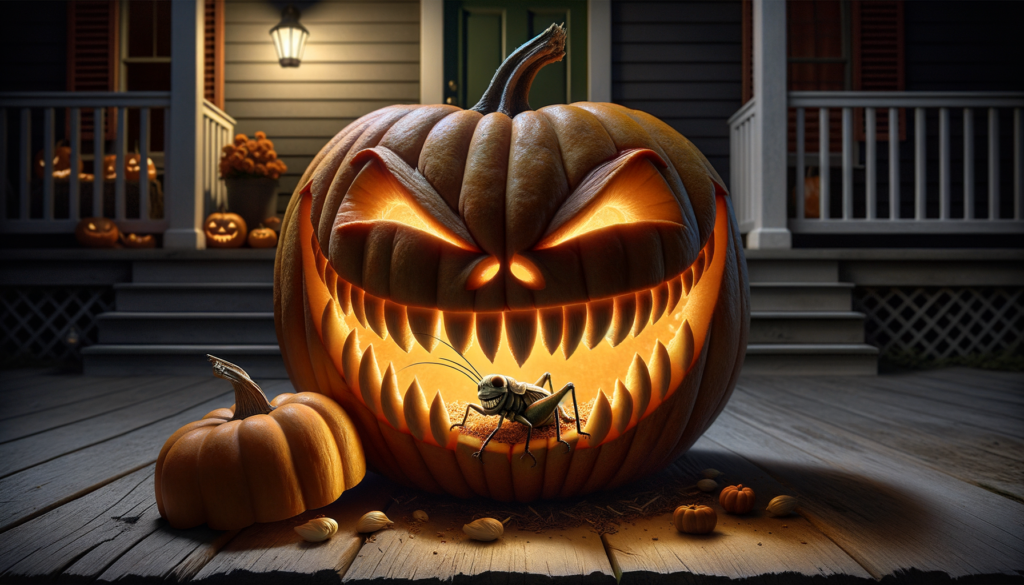
Billy, an avid Halloween enthusiast, carved a pumpkin that bore such a wicked grin that it made the brave quiver! He named it Grinning Gary. Positioned on a prime porch spot, Grinning Gary grew a notorious fame in Billy’s quaint little town.
However, peculiar things occurred as Halloween approached: unending eerie moanings and flickering lights! Locals sighted strange shadows pacing Billy’s porch, and they knew something was dreadfully off with Grinning Gary.
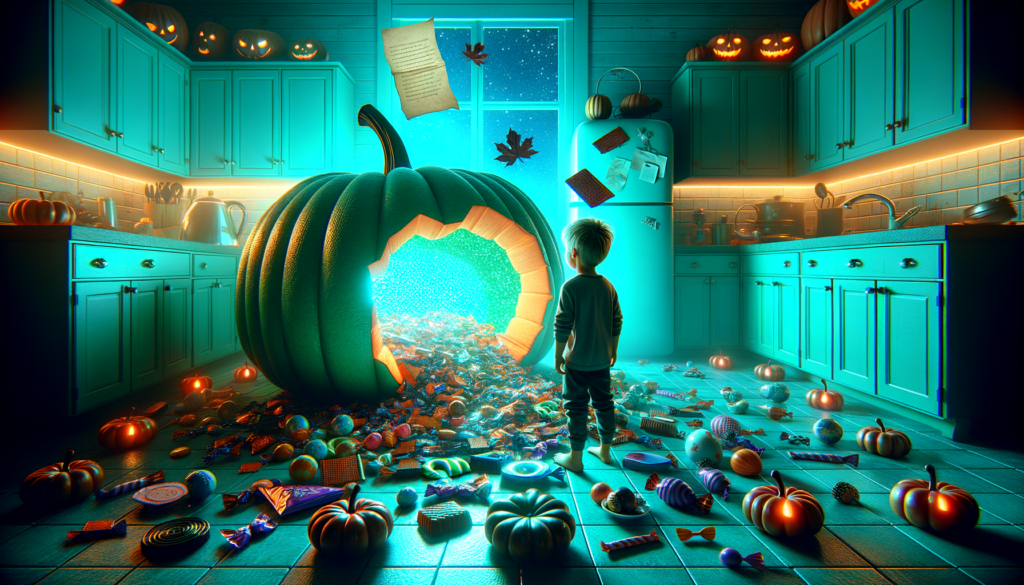
One chilling evening, as Grinning Gary glowed ominously, Billy decided to investigate. He tiptoed to the porch, candle in hand, and what he saw made his blood freeze. The shadows were not from anything outside; they were from something inside the pumpkin!
Billy carefully peered inside the frightful fruit and jumped back with a yell. He saw two little seeds in the pumpkin that were not just seeds but…tiny eyes! There, right there in his front porch, sat a little creature snuggled comfortably inside Gary.
Billy, amazed, could not help but laugh out loud. The monster wasn’t a scary beast but a tiny pumpkin cricket who had found a home inside the Grinning Gary, causing the spooky occurrences and quite naturally, becoming the town’s unexpected Halloween star!
“The Legend of Grinning Gary: A Pumpkin’s Spooky Secret” Read More »