DIY Halloween Witch Decorations
Imagine making your very own Halloween witch decorations that will make your house the spookiest on your street! This is a fun adventure where you can create all sorts of cool and scary witches using some things you might already have at home. You can make your witches look any way you want, with big hats, broomsticks, or even glowing eyes. It’s like putting together a puzzle, but this time, you’re making something special for Halloween. Let’s start this magical journey to fill your house with your handmade witchy wonders!

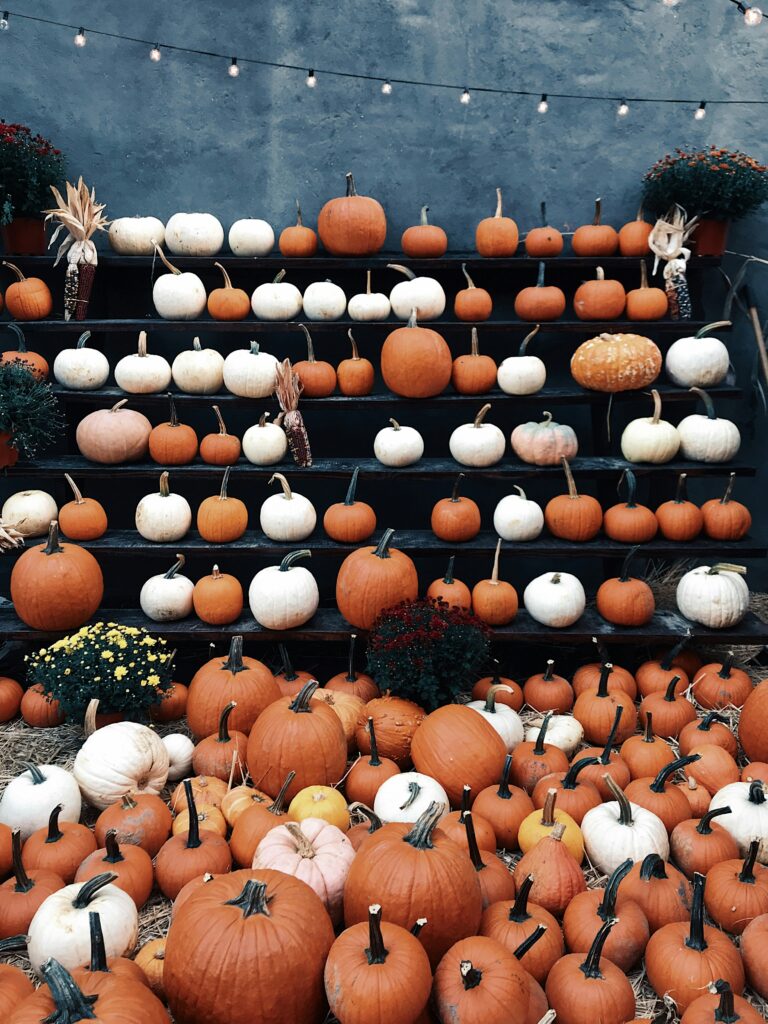
This image is property of pixabay.com.

Choosing Your Theme
Classic Witches vs. Modern Interpretations
When you start thinking about your Halloween decorations, you can think about whether you want classic witches with pointy hats and brooms or modern witches that might look a little different. Classic witches often ride brooms and have black cats, while modern witches could be characters you’ve seen in movies or TV shows, wearing all kinds of clothes. It’s like choosing between a fairy tale or a superhero movie; both are fun, just different kinds of stories!
Color Schemes: Traditional Black and Green vs. Pastel Goth
Next, think about what colors you want to use. Traditional witch decorations use a lot of black and sometimes dark green, like the color of a witch’s potion. But, there’s also something called pastel goth, which uses lighter colors like pink, purple, and baby blue, but in a spooky way! It’s like deciding between chocolate and strawberry ice cream; both are tasty, just depends on what you’re in the mood for.
Incorporating Other Halloween Motifs
You can also add other Halloween designs to your witch theme. Think about including pumpkins, ghosts, bats, or spiders. It’s like when you draw a picture and keep adding more things to make it even cooler. All these extra bits help make your witch decorations feel even more Halloween-y.
Materials and Tools
Essential Crafting Supplies
To start making your witch decorations, you’ll need some basic supplies like scissors, glue, tape, and maybe some paint. These are your tools to turn simple things into amazing decorations. It’s like how a wizard needs a wand; you need these tools to create your magic.
Recommended Fabrics and Papers
For some decorations, you might want to use fabric or paper. Black, green, and purple fabrics can make great witch clothes or hats. Paper, especially if it’s black or in your theme colors, is good for making things like witch silhouettes or potion labels. Choosing your fabric and paper is like picking out your outfit for the day; you want the one that fits what you’re planning to do.
Electronic Components for Interactive Decorations
If you want to make something super cool, like a decoration that lights up or makes sounds, you might need some electronic parts like little lights or a sound box. These are a bit like magic spells that make your decorations come alive. Remember, if you’re not sure how to use these, it’s a good idea to ask an adult for help.

Witch Hats Decorations
Creating a Hanging Witch Hat Luminaries
You can make the night magical by making hanging witch hat luminaries. All you need is some lightweight fabric to make the hat, and then you put a little light inside it. When you hang them up, they look like floating witch hats. It’s a super cool way to light up your room or your porch.
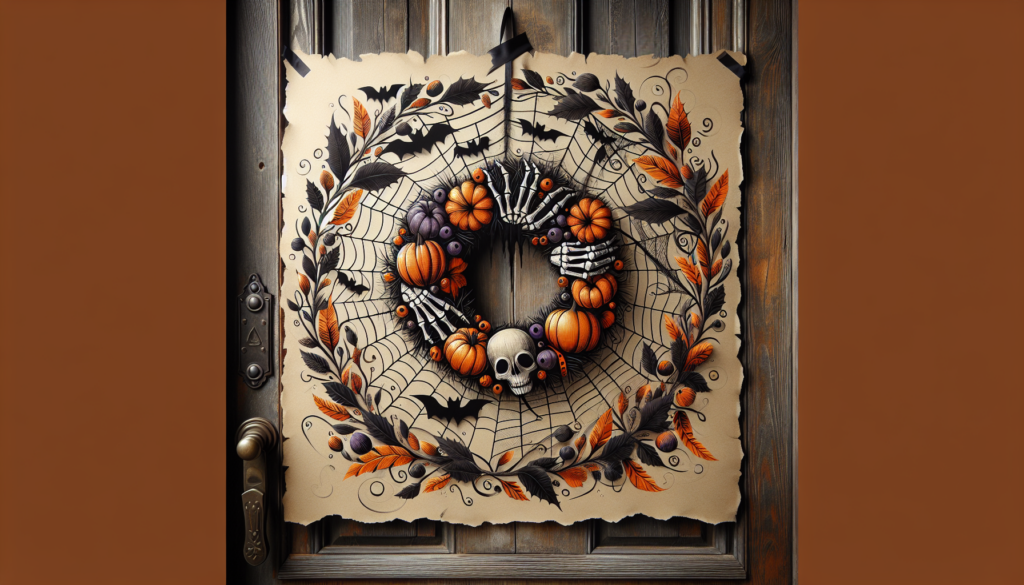
Designing a Witch Hat Wreath
Witch hat wreaths are a fun way to welcome everyone to your haunted house. You start with a circle, like a big ring, and then you decorate it with fabric, paper witch hats, and maybe some spooky items you find. It’s like making a crown, but for your door!
Personalized Witch Hat Place Settings for Halloween Dinner
If you’re having a Halloween dinner, you can make little witch hats for everyone’s place at the table. You can write their names on them or decorate them to match the person. It’s a fun way to make everyone feel special and part of your witchy world.
DIY Witch Brooms
Materials Needed for a Handmade Broom
To make your witch broom, you need a stick for the handle and some straw or other brush-like materials for the brush part. You could even use twigs from your backyard. It’s a bit like making your own wizard tool, using things from nature.
Customizing Your Broom with Colors and Accessories
You can paint your broom handle or add ribbons and glitter to make it your own. Maybe you want your broom to match your witch hat or have the colors of your favorite superhero. It’s a chance to be creative and make something unique.
Ideas for Displaying Your Witch Brooms
Once you’ve made your broom, you can lean it against a wall, hang it up, or even make a stand for it. It can be part of a bigger Halloween display or stand on its own as a cool piece of witch art in your room.
This image is property of pixabay.com.
Witch Potion Bottles
Collecting and Preparing Bottles
First, you’ll need some bottles for your potions. You can use old soda bottles, water bottles, or even jars. You’ll want to clean them out really well so they’re ready to be turned into potion bottles.
Creating Convincing Potion Labels
Next, you can make labels for your potions. Think of fun names like “Dragon Breath” or “Invisibility Juice.” You can draw the labels yourself or ask an adult to help print some out. Then, you stick them on your bottles to show what magical potion is inside.
Filling Your Bottles: Ideas for Safe, Non-Toxic Potions
You can fill your bottles with colored water, glitter, or even small beads to represent different potions. Just remember, these potions are for looking, not for drinking. Make sure everything you put inside is safe and non-toxic.
Witch-Themed Centerpieces
Designing a Witchy Table Runner
For a table centerpiece, you can start with a table runner. You could use a black cloth and then add some silver stars or moons to make it look magical. It’s like laying down a magic carpet for your other decorations to sit on.
Creating a Magical Cauldron Centerpiece
A cauldron is a big, black pot that witches use to mix their potions. For your centerpiece, you can use a small black bowl or pot. You can fill it with candy, fake spiders, or even use it to hold a small candle for a spooky glow.
Incorporating Crystals and Candles for an Enchanted Look
Adding crystals and candles around your cauldron can make your centerpiece look even more witchy and magical. The candles can give a soft, spooky light, and the crystals look like they could be part of a real witch’s spell.

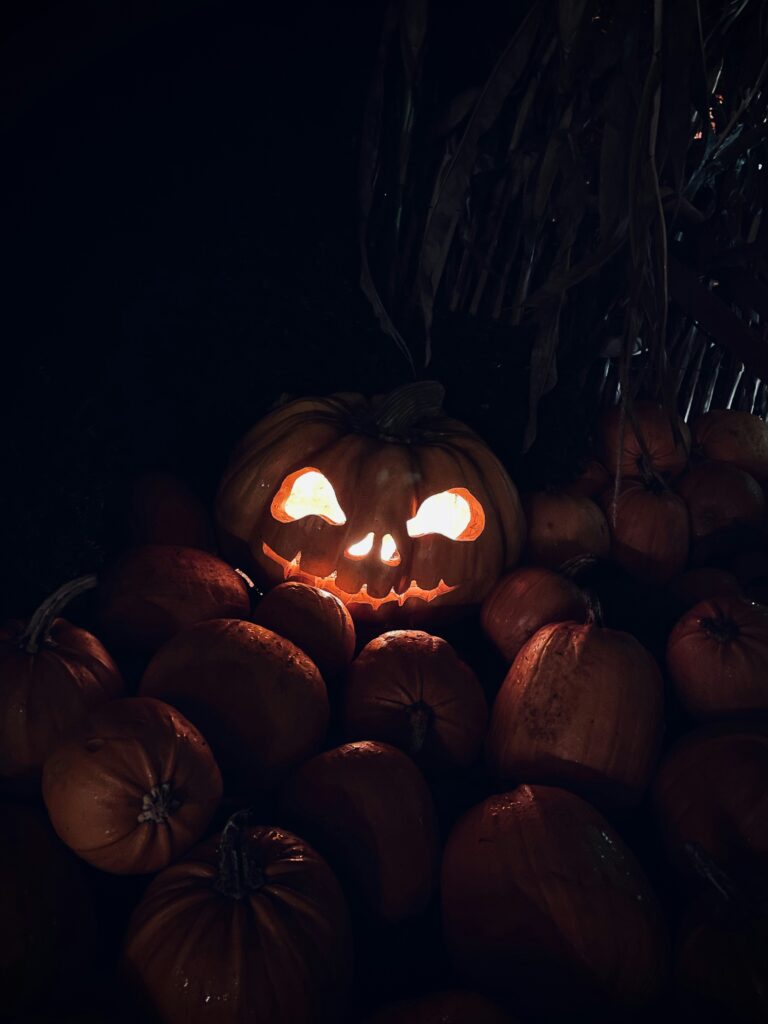
This image is property of pixabay.com.
Witch Silhouette Window Decor
Cutting and Placing Witch Silhouettes
You can make witch silhouettes out of black paper and then stick them on your windows. When people look at your windows from outside, they’ll see the shapes of witches, making it look like witches are inside having a meeting!
Backlighting for a Spooky Effect
Putting a light behind the silhouettes can make them stand out even more. At night, this can look really spooky and cool, like the witches are moving around.
Adding Additional Elements for a Scene
You can add more to your window scene, like a cat silhouette or a full moon made out of paper. It’s like creating a little story on your window for people to see.
Handmade Witch Dolls
Choosing Fabrics and Patterns
For your witch doll, you’ll want to choose fabrics that match what you think a witch should wear. You can even use scraps from other projects. Maybe your witch has a velvet cloak or a sparkly hat.
Sewing and Assembling Your Witch Doll
Sewing your witch doll might require some help, especially if you’re not used to sewing. But with a little patience, you can stitch together the body, clothes, and hat to bring your witch to life.
Customizing Your Doll’s Features and Accessories
You can make your witch doll unique by adding special touches. Maybe she has bright button eyes or carries a tiny broom. You can decide what makes her special.

Flying Witch Mobiles
Materials and Tools Required
To make a flying witch mobile, you’ll need some thin sticks or wire for the frame, string to hang it with, and paper or fabric to make the witches. You’ll also need scissors and glue to put everything together.
Assembling the Mobile Frame
First, you’ll build the frame for your mobile. You can use sticks or wire to make the shape you want. It could be a circle or maybe even a star.
Creating and Attaching the Witches
Then, you make your witches. You can cut out paper silhouettes or sew small fabric witches. Once they’re ready, you attach them to the frame with string, so they look like they’re flying around.
Safety Tips
Fire Safety with Candles and Electronic Components
When you’re using candles or electronic lights in your decorations, it’s really important to be careful. Never leave candles burning without watching them, and make sure your electronic lights are used correctly to avoid any accidents. It’s like being a good wizard who makes sure their spells don’t go out of control.
Non-toxic Materials and Substances for Potion Bottles
Make sure everything you use for your potion bottles is safe and non-toxic. This means it shouldn’t hurt you if you touch it. Always ask if you’re not sure something is safe.
Ensuring Secure Installations and Displays
Finally, when you’re setting up your decorations, make sure everything is secure. You don’t want anything to fall down or break. It’s like making sure your magic broom is ready for a safe flight.

DIY Halloween Witch Decorations Read More »