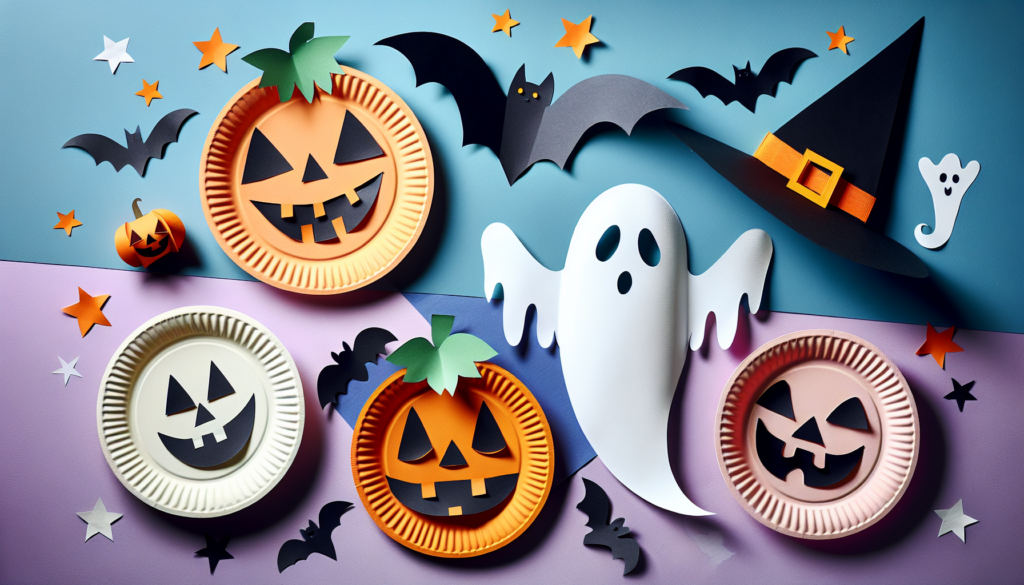
DIY Craft Ideas for Halloween Parties
Get ready to make your Halloween party super fun with your own crafty decorations! With some simple stuff like paper, glue, and maybe a bit of glitter, you can create cool things that will make your friends go “Wow!” Imagine hanging up your very own spooky bats or making a scary pumpkin that lights up. In this article, you’ll find lots of easy and awesome ideas to make your Halloween party decorations by hand. It’ll be like turning your home into a haunted house that everyone will remember!

DIY Haunted House Decor
Creating your very own haunted house decor is a super fun way to get ready for Halloween. You can turn your room or house into a spooky place full of ghosts, spiders, and all sorts of creepy creatures. Just follow these ideas, and you’ll have the best haunted house in the neighborhood!
Cardboard Tombstones
You can make your own graveyard with cardboard tombstones! Find some old boxes and cut them into tombstone shapes. Paint them gray, write funny or spooky names on them with a black marker, and maybe draw some cracks or moss to make them look old. Stand them up in your yard, and boom! You’ve got a mini cemetery.
Gauzy Ghosts
Make some ghosts to hang around your house. Take a white sheet or some gauzy fabric and drape it over a balloon or a ball. Draw two eyes and a mouth with a black marker to make a ghostly face. Tie a string at the top and hang your ghosts from tree branches or the ceiling. Oooh, spooky!
Creepy Crawly Spider Sacks
Spiders are super scary, right? Blow up some small balloons, and wrap them with white yarn dipped in glue. Once the yarn is dry, pop the balloons, and you’ll have a spider sack. Add some plastic spiders on the outside to crawl around, and hang them in the corners to give everyone a little scare.
Spooky Silhouettes
Make silhouettes to tape on your windows. You can cut out shapes of bats, cats, witches, or anything you find spooky. Stick them onto your windows, and when the lights are on at night, they’ll cast creepy shadows for all to see.
Handmade Halloween Lanterns
Light up the night with these homemade Halloween lanterns. They’re easy to make and will give your house a glowy, spooky vibe.
Mason Jar Mummies
Grab some mason jars and wrap them with bandages or gauze. Glue on a pair of googly eyes, and pop a candle inside (or use a battery-operated tea light if you want to be extra safe). Now you’ve got a little mummy lantern that’s more cute than scary.
Glowing Ghost Balloons
These glowing ghosts will look awesome in the dark. Inflate some white balloons and draw ghost faces on them. Put a green or white glow stick inside each balloon before you tie them, and they’ll glow like real little ghosts. Float them around the house for a ghostly glow.
Paper Bag Luminaries
Decorate some paper bags with Halloween cut-outs like pumpkins or bats. Fill the bottom of each bag with a bit of sand or pebbles, and put a candle inside. Remember only to use these outside and to keep an eye on them to stay safe. They create a lovely, flickering path for trick-or-treaters.
Witchy Tin Can Lights
Collect some old tin cans, and carefully punch holes in them to make Halloween designs. Paint them black, purple, or green, and once they’re dry, you can put some candles inside. They are perfect for lighting up your porch with a witchy glow.


Creative Halloween Wreaths
Welcome your visitors with a wreath that screams ‘Halloween’ right on your door. Let’s make some spooky wreaths together!
Black Cat Wreath
Use some black fur or fabric to create a fluffy wreath. Add a pair of yellow felt eyes with big pupils, a pink nose, and some ears to make it look like a black cat. Hang it on your door, and maybe you’ll get extra luck this Halloween!
Monster Eyes Wreath
Imagine a wreath full of eyes watching everyone who comes to your door – creepy! Glue lots of googly eyes onto a wreath form that you’ve covered in dark fabric or painted black. It’s a simple idea, but it’s sure to get lots of looks!
Spider Web Wreath
Create an eerie spider web wreath using white yarn or string to web around a circular frame. Don’t forget to add a big, fake spider sitting in the center! It’ll look like a spider is waiting to catch its next meal – let’s hope it’s not you!
DIY Skull Wreath
Get a bunch of plastic skulls from the store and glue them together in a circle. You might want to paint them a bit to make them look even more spooky. Hang the wreath up, and you’ll have a bony guard at your door.
Pumpkin Decorating Extravaganza
Pumpkins are a must-have for Halloween! Here’s how to decorate them in fun ways without having to carve.
No-Carve Pumpkin Ideas
Instead of carving, you can decorate your pumpkin with stickers, paint, or even dress it up. Give it some yarn hair, funny clothes, or use markers to draw on faces. You can even turn it into a favorite character. Get creative, and remember, no sharp knives needed!
Painted Pumpkin Faces
Get some paints and brushes, and give your pumpkins some personality! You can paint silly faces, scary faces, or anything you can think of. Let them dry and put them outside for a cheerful or frightful welcome.
Drilled Pumpkin Lights
If you can get help from an adult, you can create cool patterns on your pumpkin by carefully drilling holes. When you put a light inside, it’ll shine through the holes and create beautiful patterns.
Decoupage Pumpkin Art
Cut out pictures from magazines, use napkins with fun designs, or even pieces of fabric and glue them onto your pumpkin. You can cover the whole pumpkin or just add a few accents here and there – it’s your art!
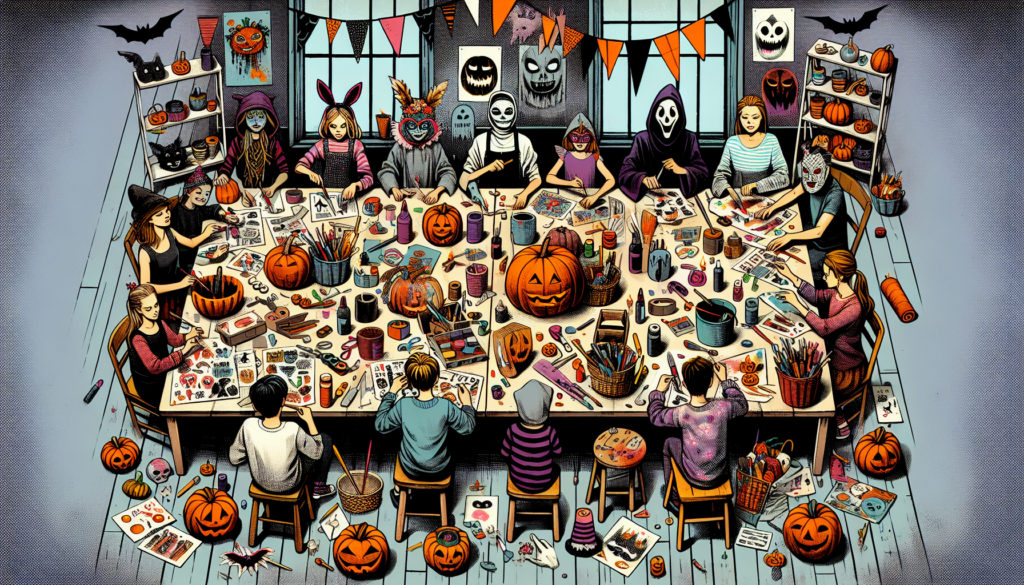
Frighteningly Fun Party Games
No Halloween party would be complete without some thrilling games. Try these games that you can make yourself for loads of fun!
Pin the Spider on the Web
Just like pin the tail on the donkey, but you’ll use a spider and a web instead. Blindfold your friends, spin them around, and see who can get the spider closest to the center of the web. Giggles are guaranteed!
Witch Hat Ring Toss
Create a few witch hats from cardboard and set them up as targets. Use glow stick bracelets or make rings from rope. Take turns tossing the rings to see who can land them on the pointy parts of the hats. Maybe you’ll score some witchy points!
Pumpkin Bowling
Use small pumpkins as bowling balls and set up some pins (you can use toilet paper rolls or water bottles). Roll your pumpkin and see how many pins you can knock down. Be prepared for some wobbly action!
DIY Monster Bean Bag Toss
Paint a big, friendly monster on a board with a hole for the mouth, and make some bean bags. Toss the bags and try to feed the monster. Each time you get a bean bag in its mouth, it might give you a monster-sized smile.
Eerie Edible Crafts
Make some scary-good snacks that are also fun to create. They’ll be a hit at your Halloween party, or you can enjoy making them just for fun.
Monster Cupcakes
Bake some cupcakes and decorate them to look like monsters. Use frosting, candies, and maybe some marshmallows or pretzels for eyes and mouths. They might be so cute that you’ll feel bad eating them – but they’ll taste too good to resist!
Witch Broomstick Snack
Take some pretzel sticks and tie them to the tops of cheese strips (cut them to look like broom bristles). These will look like tiny witch broomsticks, and they’re good for a quick, munchy snack.
Edible Eyeballs
Make some eyeballs using peeled grapes, lychee fruit, or even round candies. Use a bit of frosting or gel icing to add an iris and pupil. They are so creepy to look at but so yummy to eat!
Pumpkin Rice Krispie Treats
Use your usual Rice Krispie treat recipe, and add some orange food coloring. Shape the treats into little pumpkins while they’re still warm. Add a green candy or a small piece of a green fruit roll for the stem – now you’ve got Rice Krispie pumpkins!
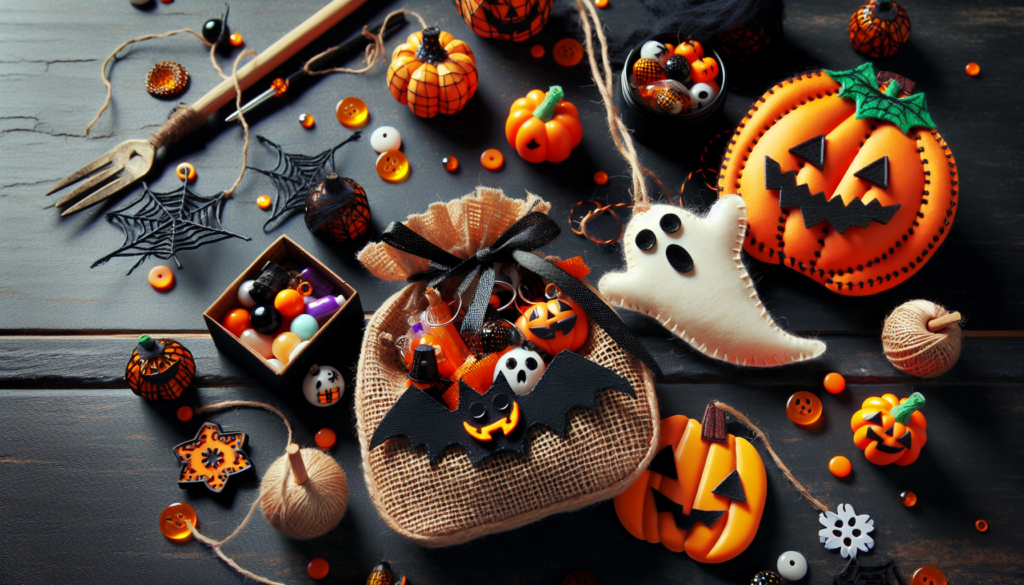
Customized Trick-or-Treat Bags
Sure, you could use any old bag for trick-or-treating, but why not make yours stand out? With these ideas, your candy haul will be riding in style.
Personalized Candy Buckets
Get a plain bucket and decorate it with your name and Halloween stickers or paint. You could even draw your favorite Halloween symbols like ghosts, bats, or candy corn.
Ghostly Drawstring Bags
Make a drawstring bag out of white fabric, and draw a ghost face on it. It’s simple, easy to carry, and it’ll match your Halloween spirit. Plus, it keeps your hands free for more trick-or-treating action.
Fabric Painted Totes
Find a plain tote bag, and use fabric paints to add your own designs, from pumpkins to haunted houses. Get as creative as you want and show off your artwork while you collect candy.
Halloween Applique Bags
If you know how to sew, you can make appliques (which are like little patches) in Halloween shapes and sew them onto a bag. Choose orange and black fabrics for a truly Halloween look.
Halloween-Themed Door Designs
First impressions are important, and your door will be the first thing trick-or-treaters see. Make it fantastically fearful with these DIY ideas.
Monster Mouth Door
Turn your door into a big monster mouth. Use paper or paint to make a huge, smiling mouth where the doorway is the open mouth. Add some giant paper teeth, and maybe even a tongue, and your guests will walk right into the monster’s mouth!
Morgue Entrance
Make a sign that says “Morgue” and hang it over your door. Use more old cardboard to create fake wooden boards across the door. It’ll look like a creepy place where zombies might be waiting inside.
Haunted House Gateway
Create a haunted house entrance by adding spooky elements around your door. Think fake cobwebs, eerie lanterns, even a doormat that says “Enter at Your Own Risk!”
Creepy Curtain Entryway
Hang some tattered fabric or black lace curtains in your doorway, so visitors have to push them aside to get in. It will feel like walking into a spider’s web or a vampire’s lair.
Bizarre Beverage Accessories
Even your drinks can be dressed up for Halloween. Check out these creepy-cute ideas to make your sodas and juices look like they came from a mad scientist’s lab.
Eyeball Ice Cubes
Freeze small plastic eyeballs or gumball eyeballs inside ice cube trays filled with water. When you put the cubes in drinks, they’ll look like eyeballs are floating in the glass – talk about chilling!
Ghoulish Glass Charms
Make little charms out of paper or felt in different Halloween shapes, like ghosts or pumpkins. Attach them to a loop of string or wire, and hook them onto glass stems so everyone can tell which drink is theirs.
Cauldron Drink Holders
Use large, black plastic cauldrons as ice buckets for your drinks. They’ll keep your drinks cold and add a witchy theme to your table.
Bloody Handprint Coasters
Dip your hand into red paint and press it onto some white coasters. Once they’re dry, it’ll look like you’ve left bloody handprints all over – it’s both spooky and a great way to protect your table surfaces.
Tabletop Terror Decorations
Make every table in your house look like it’s ready for Halloween with these scary decorations. They’ll be sure to bring the horror of Halloween right to your fingertips.
Bloody Candlestick Centerpieces
Drip red wax or red paint down the sides of white candles to look like blood. Place them in fancy candlesticks, and you’ve got a centerpiece straight out of a vampire’s dinner party.
Skeletal Table Runners
Get some fabric and paint or sew on bones to make it look like a skeleton is stretched out across your table. It’s a great way to spookify your dinner setting.
Jar of Pickled Brains
Take a big glass jar and fill it with cauliflower. Pour in some water and a drop or two of green food coloring to make it look like a jar of brains. It’ll be a great conversation starter!
Zombie Hand Napkin Holders
Find some creepy hand decorations, or make your own out of dough or clay. Use them to hold napkins on your table. It’ll look like a zombie is trying to grab a snack!
With all these DIY craft ideas, you’re sure to have a frightfully fun Halloween. Get creative and have a spook-tacular time creating and decorating! Happy Haunting!

DIY Craft Ideas for Halloween Parties Read More »