The Haunting Harmony
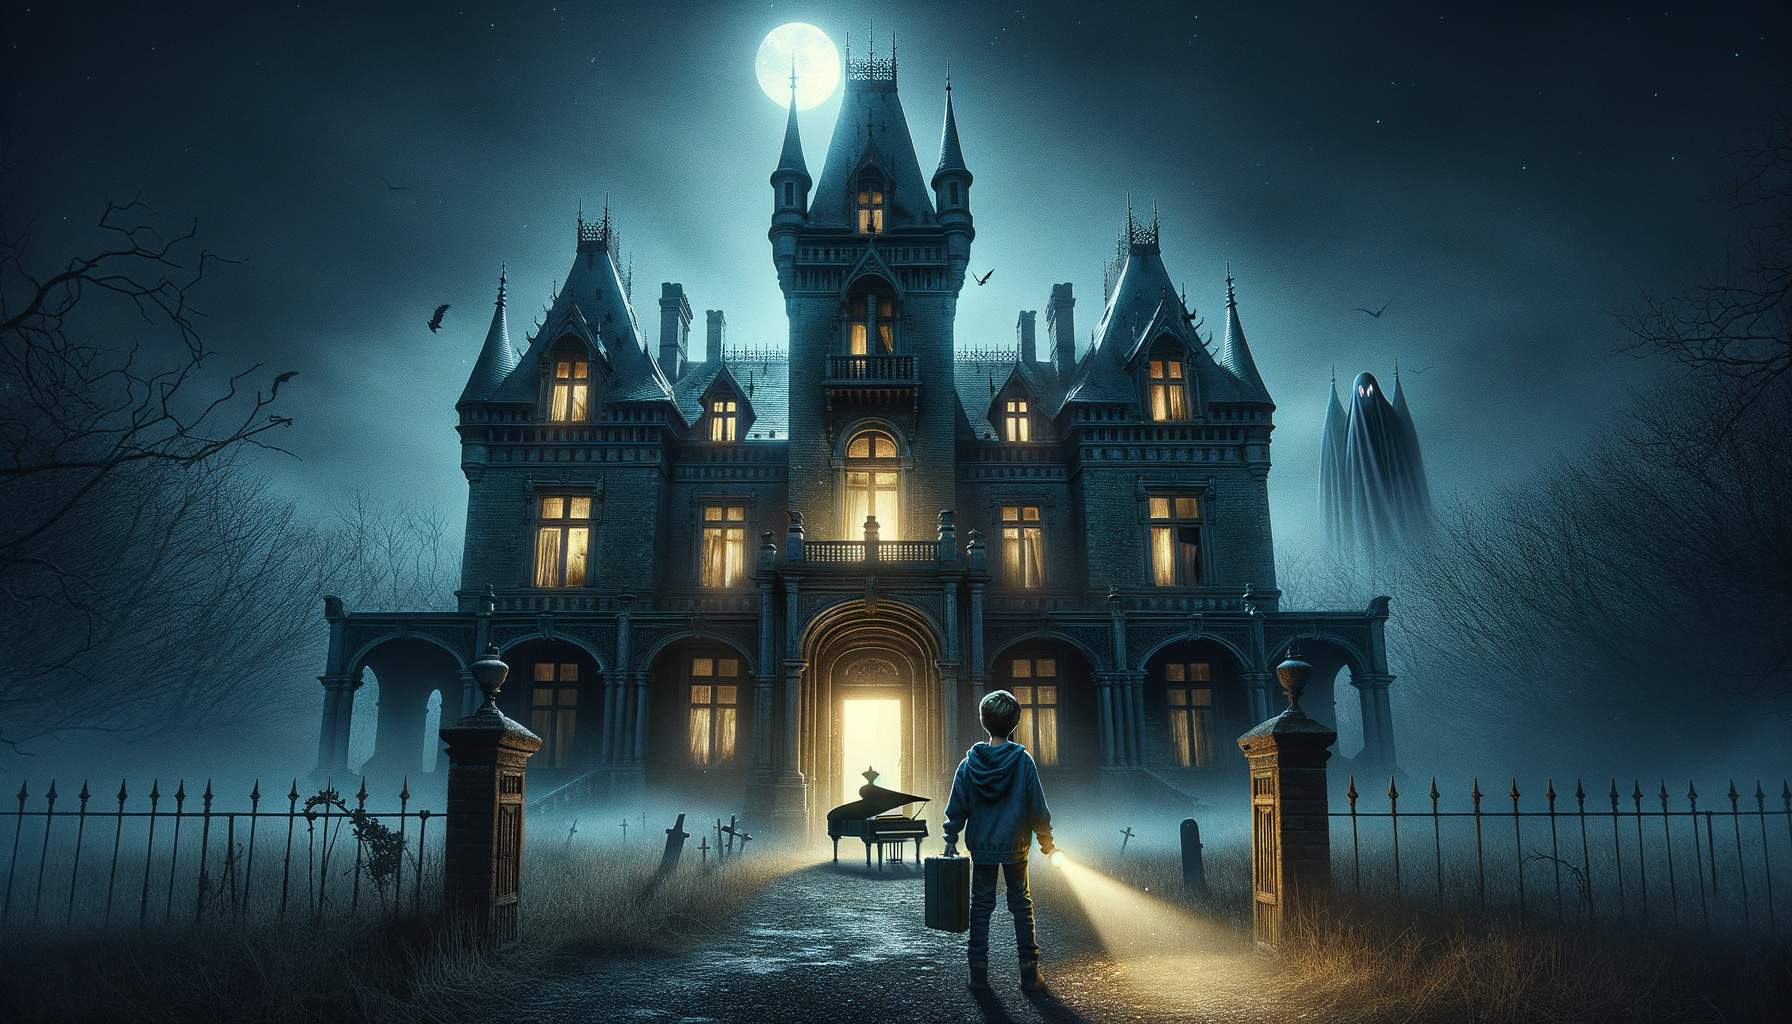
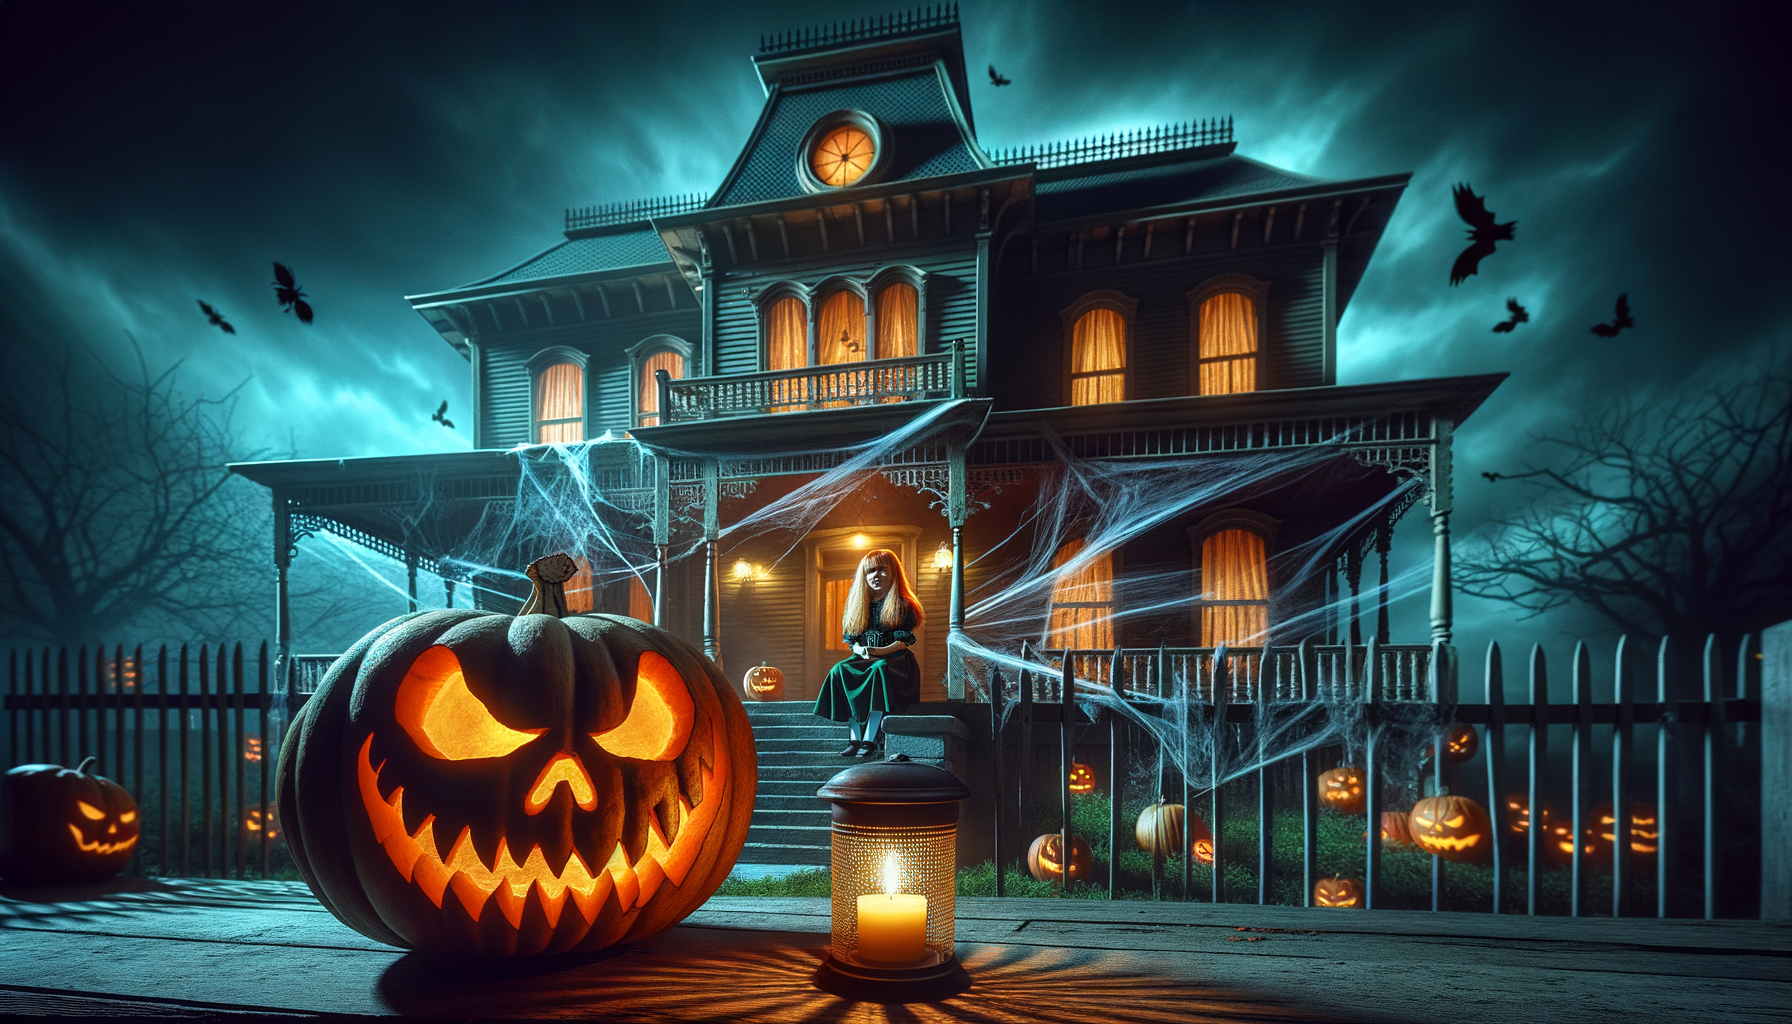
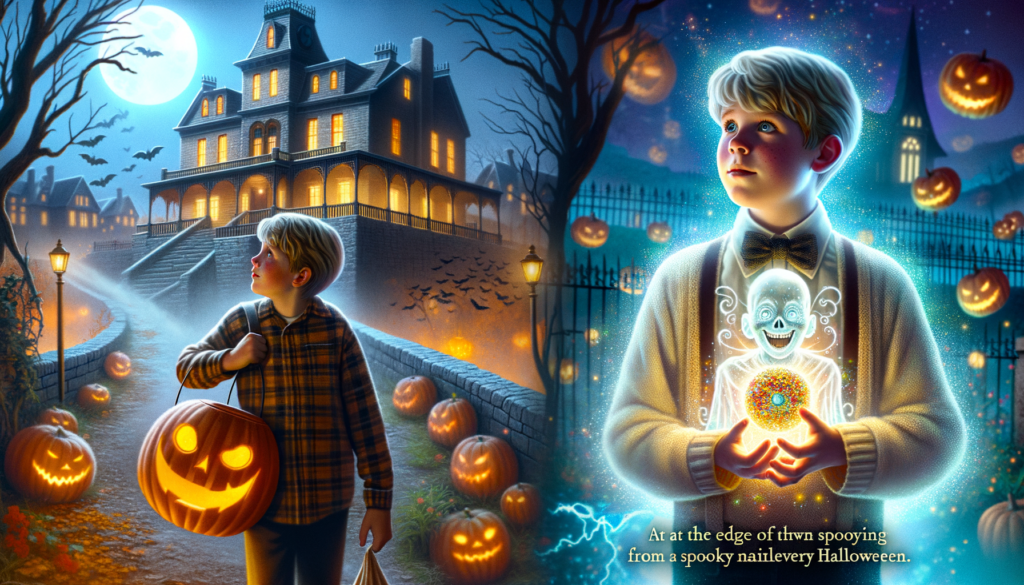
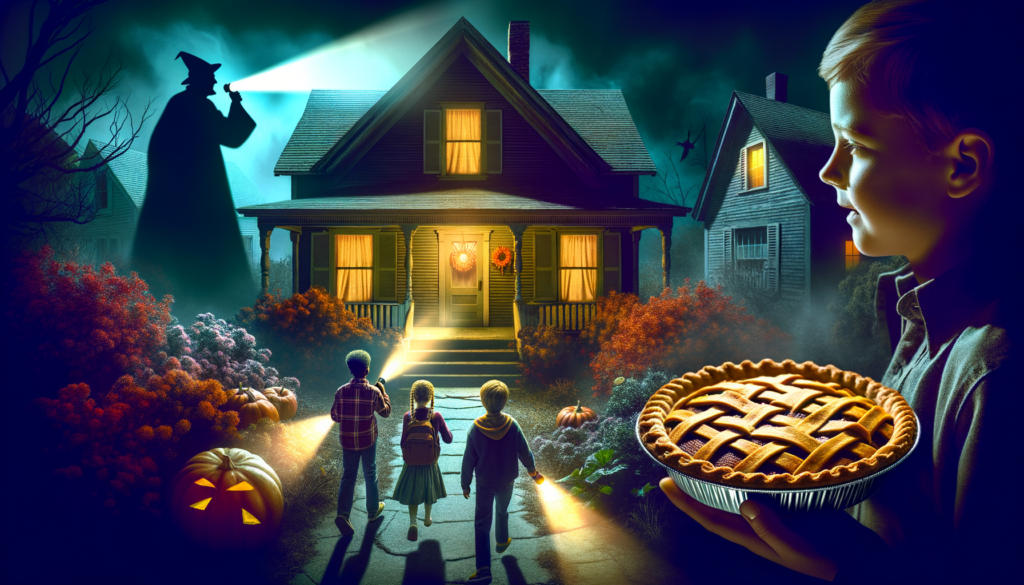
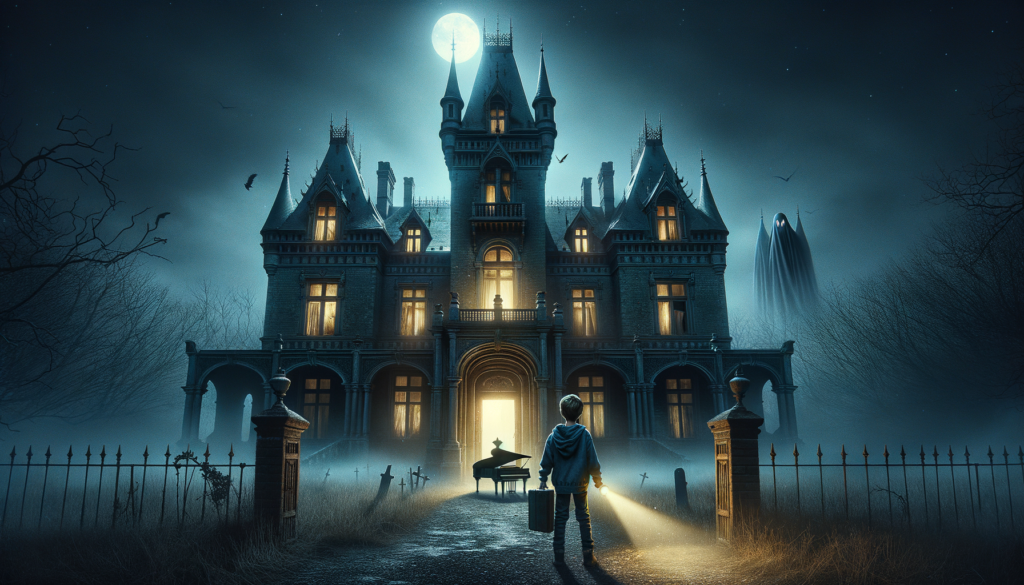
As the clock struck midnight this Halloween, young Peter, a daredevil by heart, found himself standing at the entrance of the old McCauley manor. The towering site had been abandoned for years, rumored to house the restless spirit of old man McCauley himself. Peter, unyielding in his quest for a thrill, stepped in.
The door creaked open revealing a room entrenched in darkness. He clutched his flashlight, his pulse quickening at the eerie silence that filled the air. His beam of light stumbled upon an old dusty piano, it’s keys glistening under a cobweb.
Being a fine pianist, out of an impulsive curiosity, he played a tune. To his surprise, another piano in the vicinity, unseen in the dark, responded with the same tune. It was harmonious yet chilling, sending shivers down his spine.
Returning home, Peter couldn’t shake off the terrifying, yet intriguing experience. Later that week, he stumbled upon an age-old article about McCauley, revealing him to be an incredible pianist in his time.
Next Halloween, Peter couldn’t resist visiting again, only this time, he didn’t go alone. He took his piano tutor along, for an unforgettable duet with McCauley’s ghost. Perhaps he knew then, he had made a friend that would be by his side, every key of the way!
The Haunting Harmony Read More »