“Cookies of Enchantment: A Spooky Tale of Baking Magic”

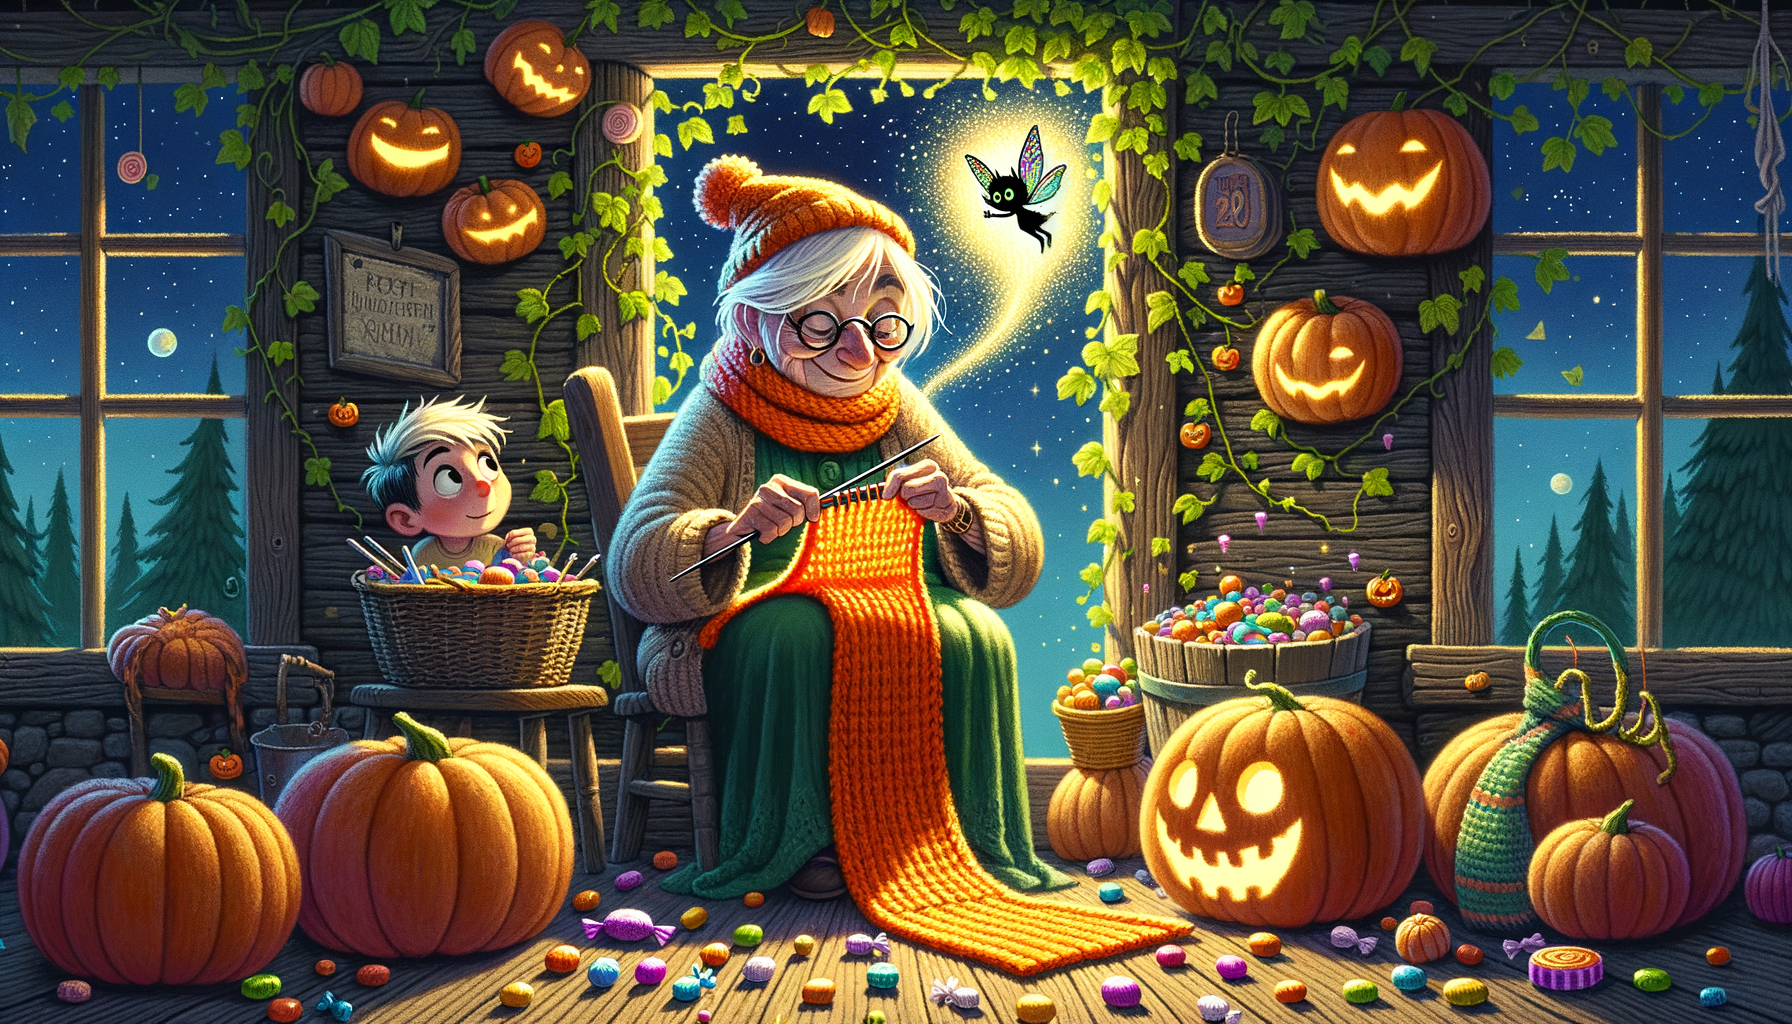
Once upon a moonlit Halloween night, in the town of Spooksville, lived a cookie-jar witch named Gertie. While adored for her ever-full cookie jar, Gertie was secretly tired of her magic. She wished to enjoy the thrill of baking!
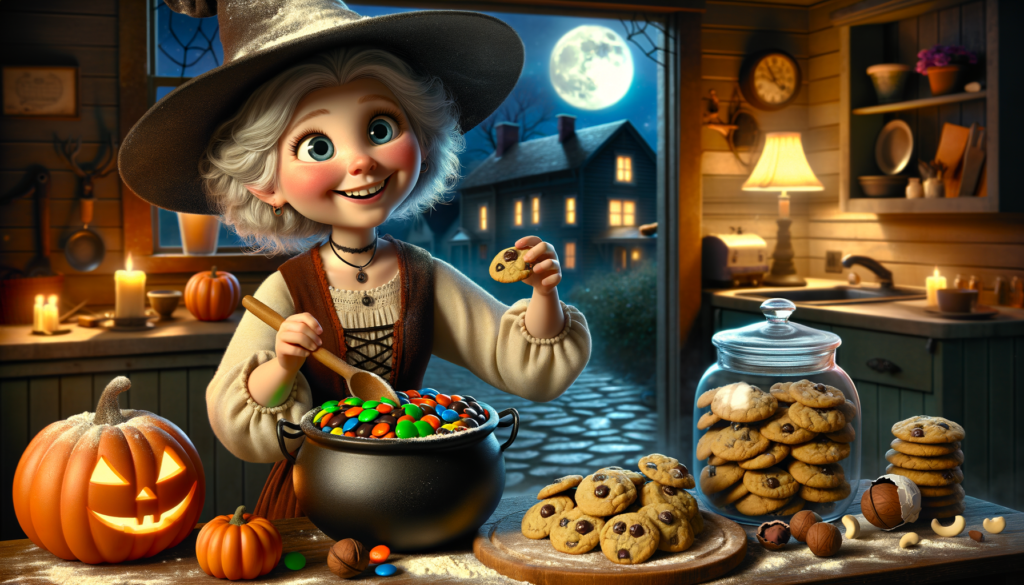
On Halloween, townsfolk noticed a change. The cookie jar stayed empty, leaving the town in a minor fright! They found Gertie, flour dusted, surrounded by a cauldron of cookie dough. Shocked, they watched her revel in the dilemma of whether to add m&m’s or macadamia nuts.
Days passed without magic. The cookies were dense, sometimes a little burnt, but Gertie was delighted. It was messy, it was real, it was charming.
On the Halloween night, a month later, something extraordinary happened. When the moon was high, Gertie’s cookie jar started refilling. But not with magic, instead, with the town’s creations! Delightedly, Gertie realized the townsfolk had caught on to her baking joy. Now, they all loved the real thrill of baking and sharing cookies!
As surprise filled the midnight air, Gertie beamed. Her Halloween wasn’t haunted by the rhythm of magic anymore, but instead, it was enchanted with the magic of wholehearted baking. And the townsfolk? They learned the sweetest magic was baked with love, not conjured through spells!
“Cookies of Enchantment: A Spooky Tale of Baking Magic” Read More »