Title: “The Pumpkin House’s Haunting Secret”
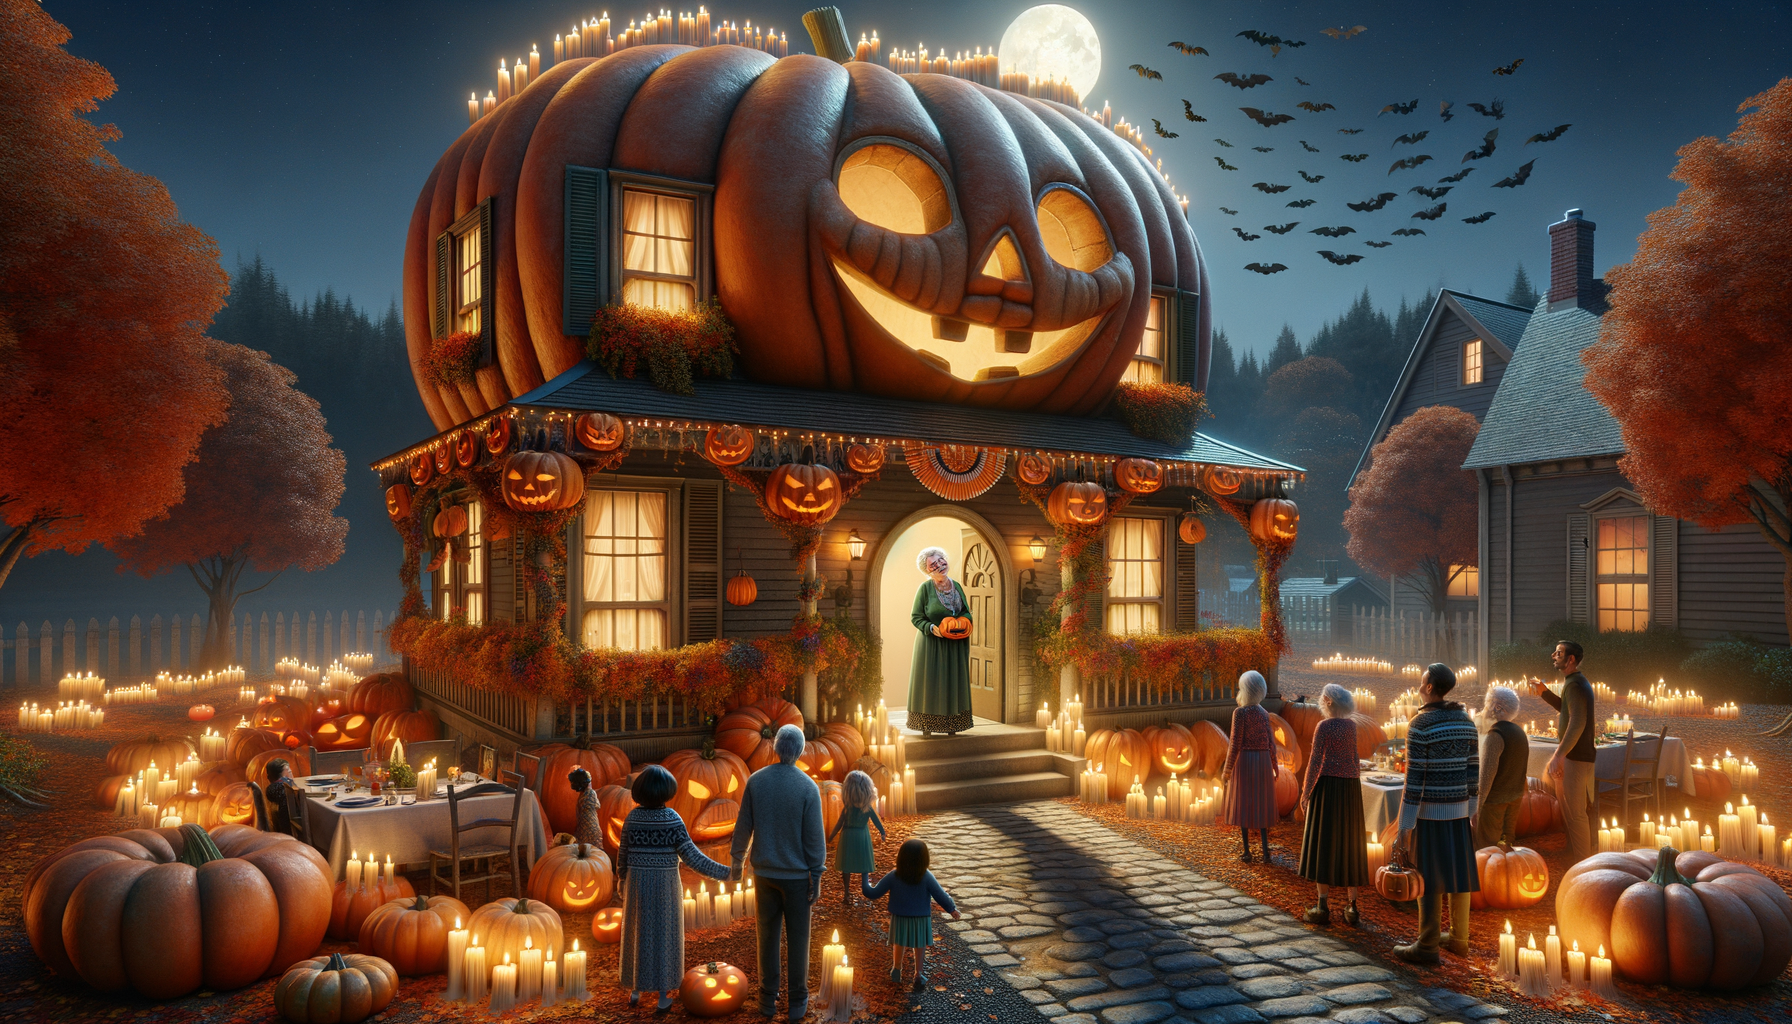
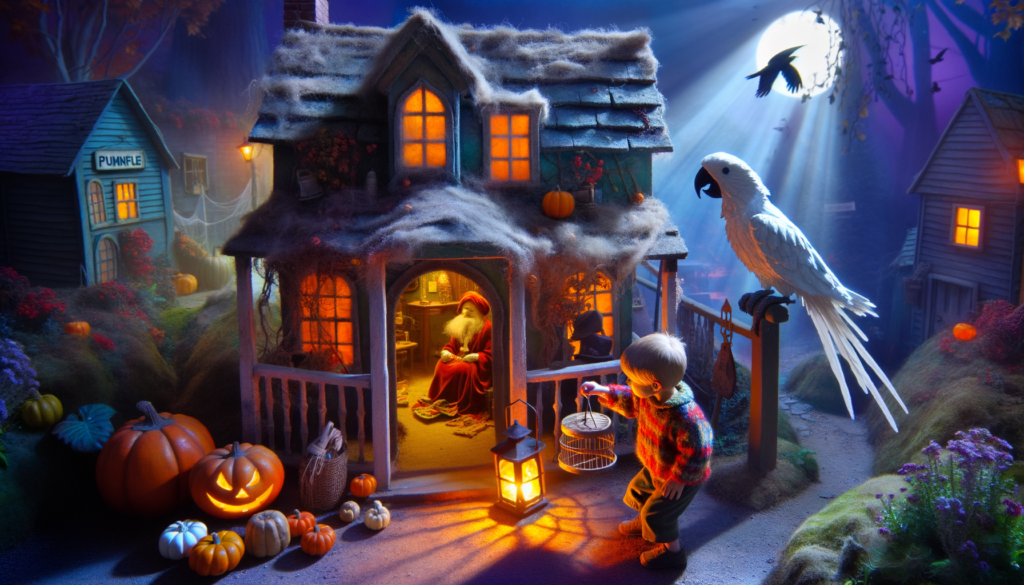
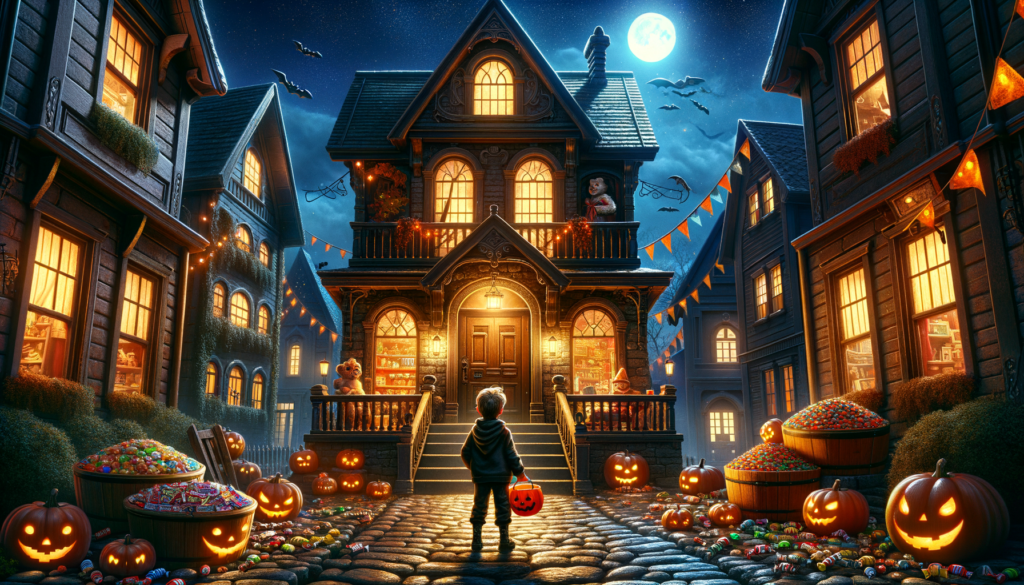
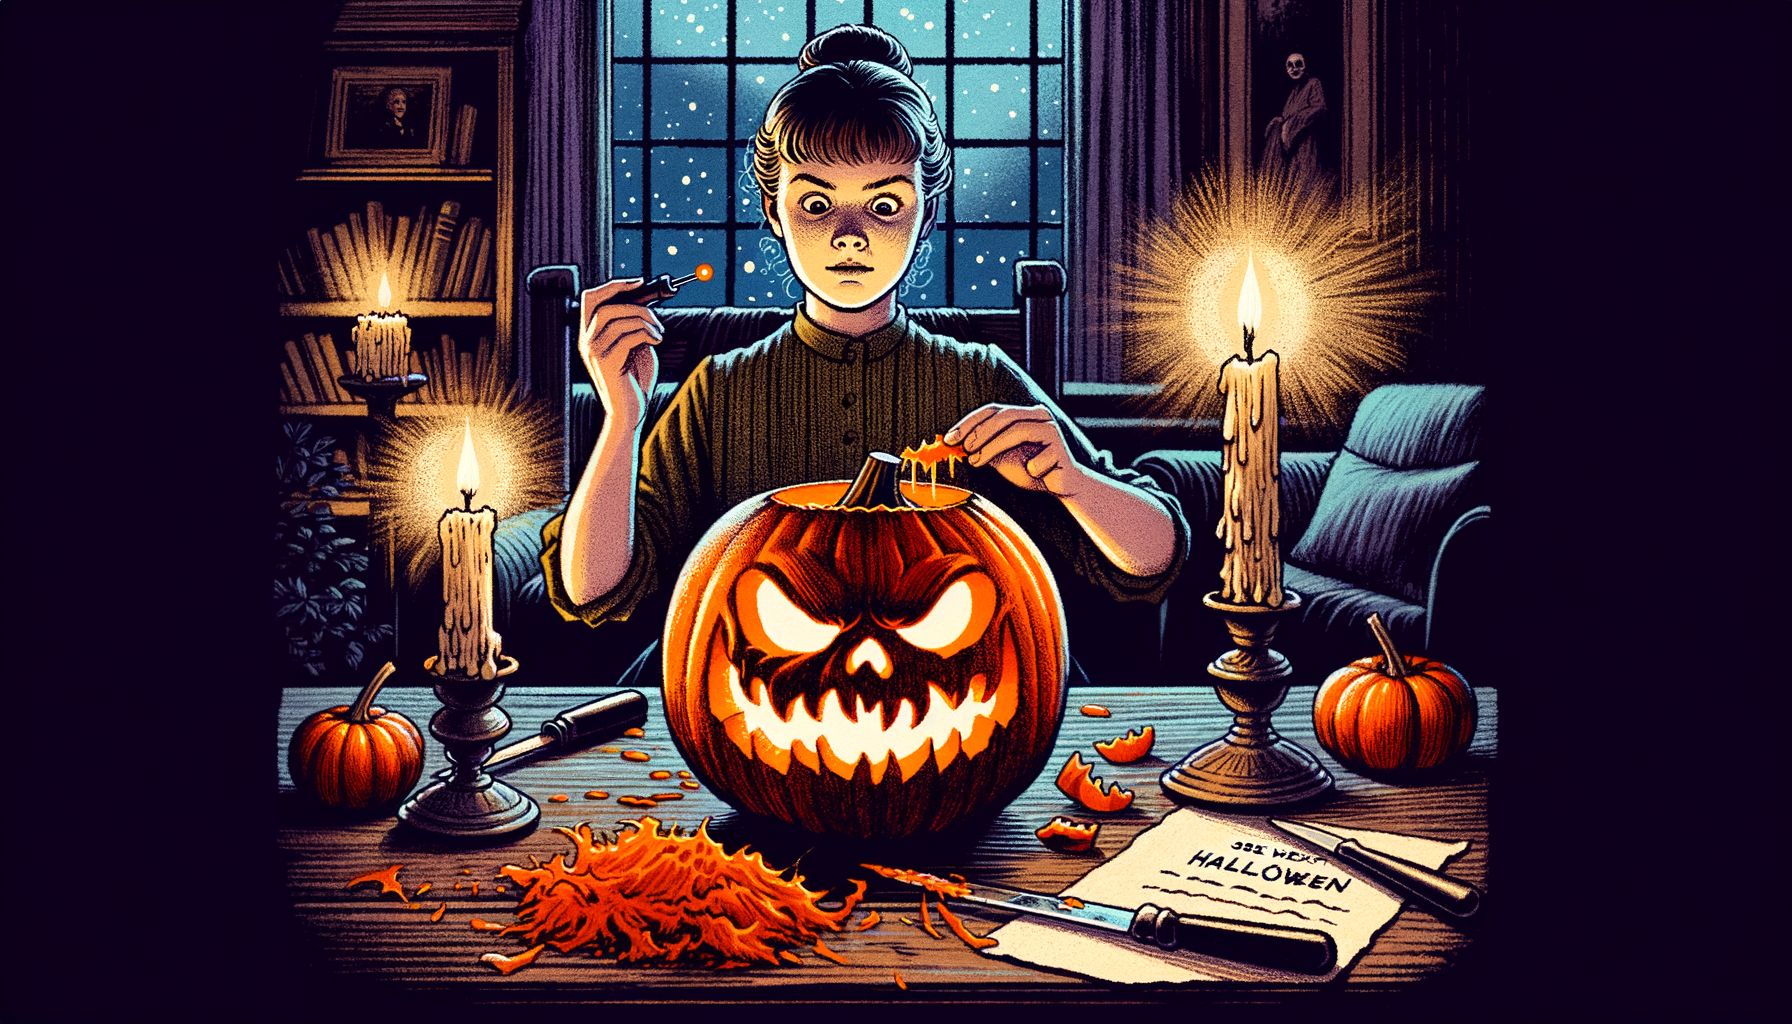
In a quaint, quiet little town named Whittlesby, resided a family – typical except for their culinary passion for pumpkin related dishes. Pumpkins in their fritter, soup, pie, it was ironically absurd to anyone who visited. They were renowned for their ‘Pumpkin House’ – a colossal pumpkin on Halloween, decked with flickering candles and spooky decor.
This particular Halloween night, as expected, their doorbell chimed. Instead of children in costumes, they were met by a peculiar, old lady. She raved about their pumpkin traditions and expressed her desire to join them for dinner. The family, always welcoming, invited her in.
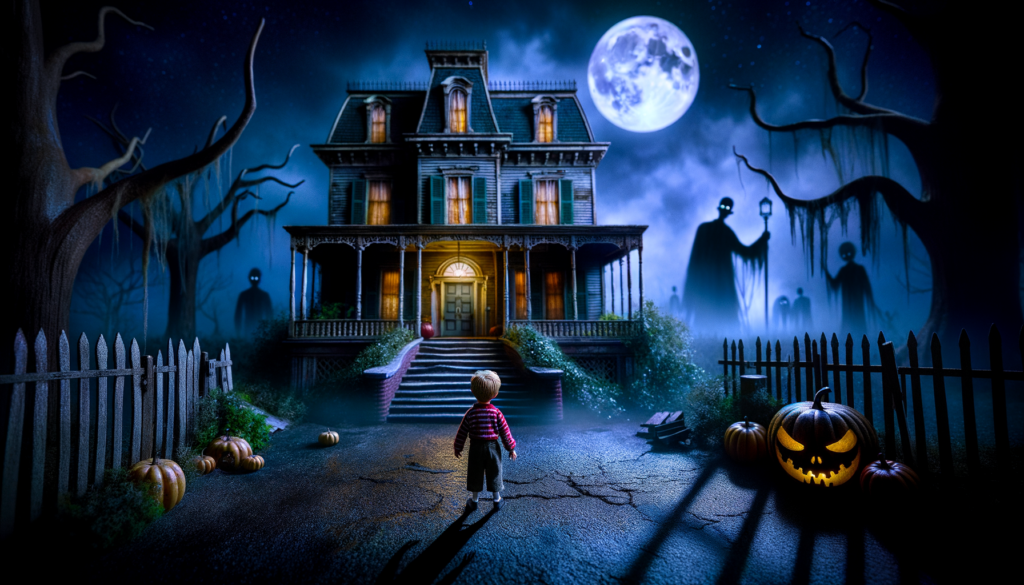
As the night grew colder and darker, the lady mysteriously vanished. The family searched, but only her empty seat and untouched pumpkin pie remained. Uneasiness swept over the room.
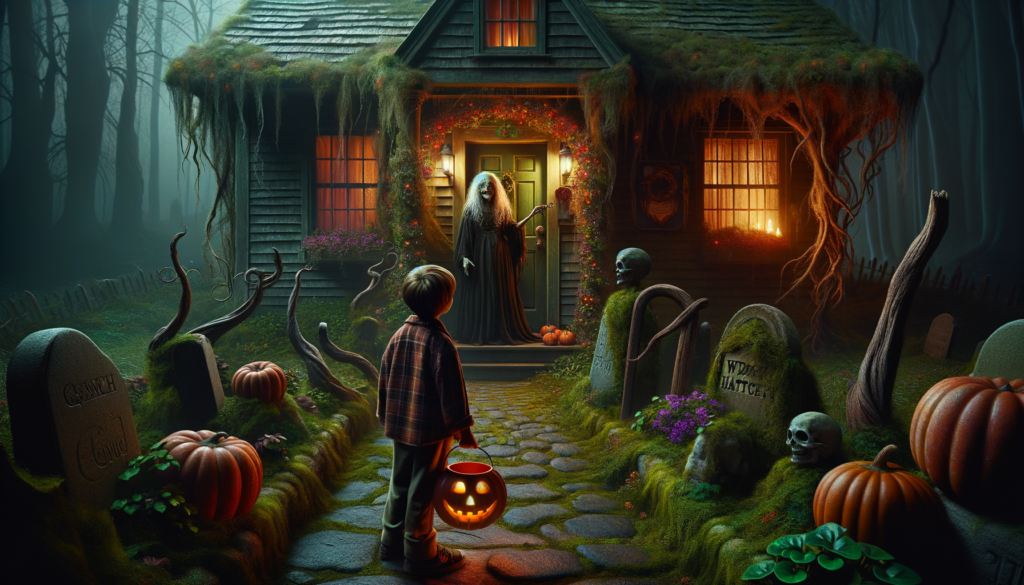
At midnight, a loud bang startled everyone and left the room shaking. Turning around, they saw their cherished Pumpkin House, now thrice its size. Out staggered the same old lady, only, she seemed… different, cheery. “I’m free,” she crowed, disappearing into the night. The Pumpkin House, her prison, had released her, thanks to a missing slice of pumpkin pie. Halloween became that much spookier in Whittlesby, and their pumpkin pie, more cherished.
Title: “The Pumpkin House’s Haunting Secret” Read More »