Haunted Whispers: The Legend of Mr. Grim’s Mansion

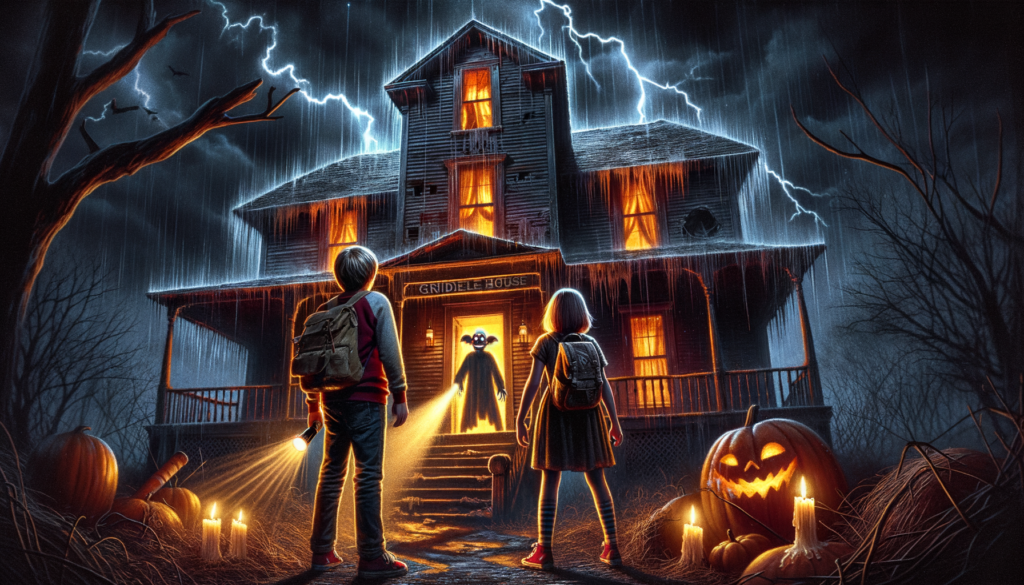
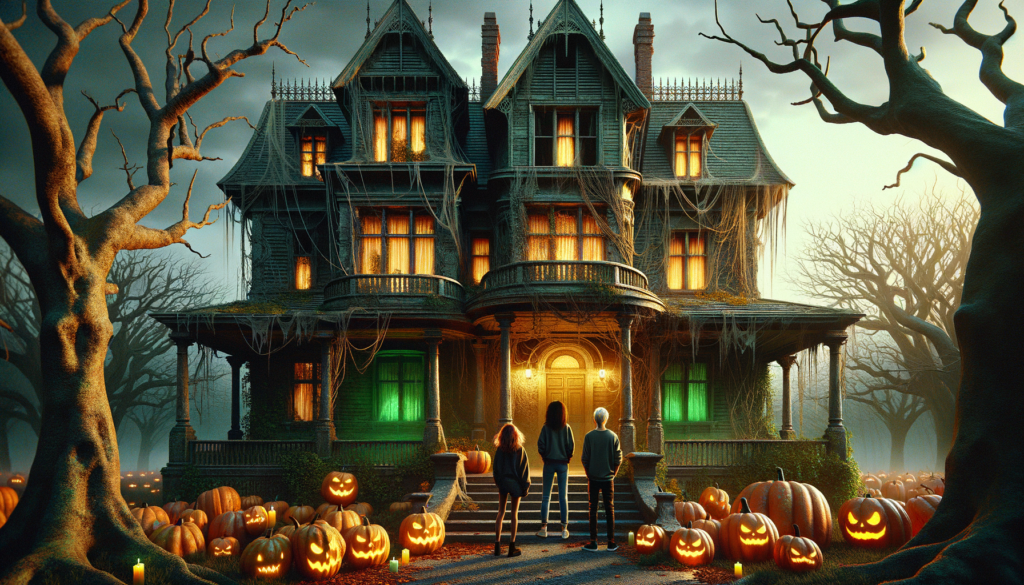
Every Halloween, three friends, Sam, Alex, and Zoe accepted a dare to enter Mr. Grim’s mansion, the oldest, creepiest house in town. The candlelit pumpkins on the porch would tremble, and the dead vines on the walls seemed to hiss and rustle.
This legendary haunted mansion, it was whispered, was possessed by the spirit of Mr. Grim himself, who vanished one fateful Halloween night. Nobody but Sam, Alex, and Zoe dared set a foot near the mansion.
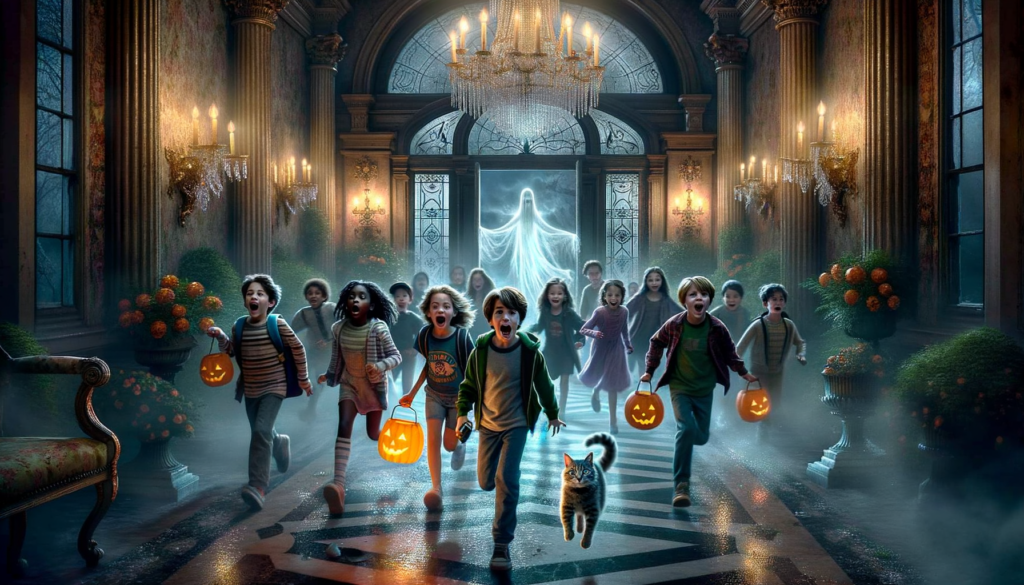
One Halloween, as they entered, an eerie green light flickered from inside, illuminating cobwebbed corners and shadowy paintings. Creaking sounds echoed as they ascended the old wooden staircase. Their hearts pounded, their breaths hitched, but they persisted.
Reaching the top, they found an ancient chest. With trembling hands, they opened it. Inside, instead of the rumored treasures or horrors, there lay a note that read innocuously, “Hello, adventurers! Stir the pumpkin soup thrice, whistle a merry tune, dance around the room. Let’s reverse the tale tonight!” Intrigued, they did as the note said.
Suddenly, the green light brightened, and a friendly ghost of Mr. Grim appeared. “Thank you, my dear children,” he said, “I needed that last ingredient to lift the curse and finally move on.”
Since then, every Halloween night, instead of being haunted, the mansion echoes with laughter and the smell of pumpkin soup. Thus, our three heroes transformed the town’s terror into the most exciting Halloween attraction.
Haunted Whispers: The Legend of Mr. Grim’s Mansion Read More »