“The Laughter of Shadows: A Hallow-jokes-ween Tale”

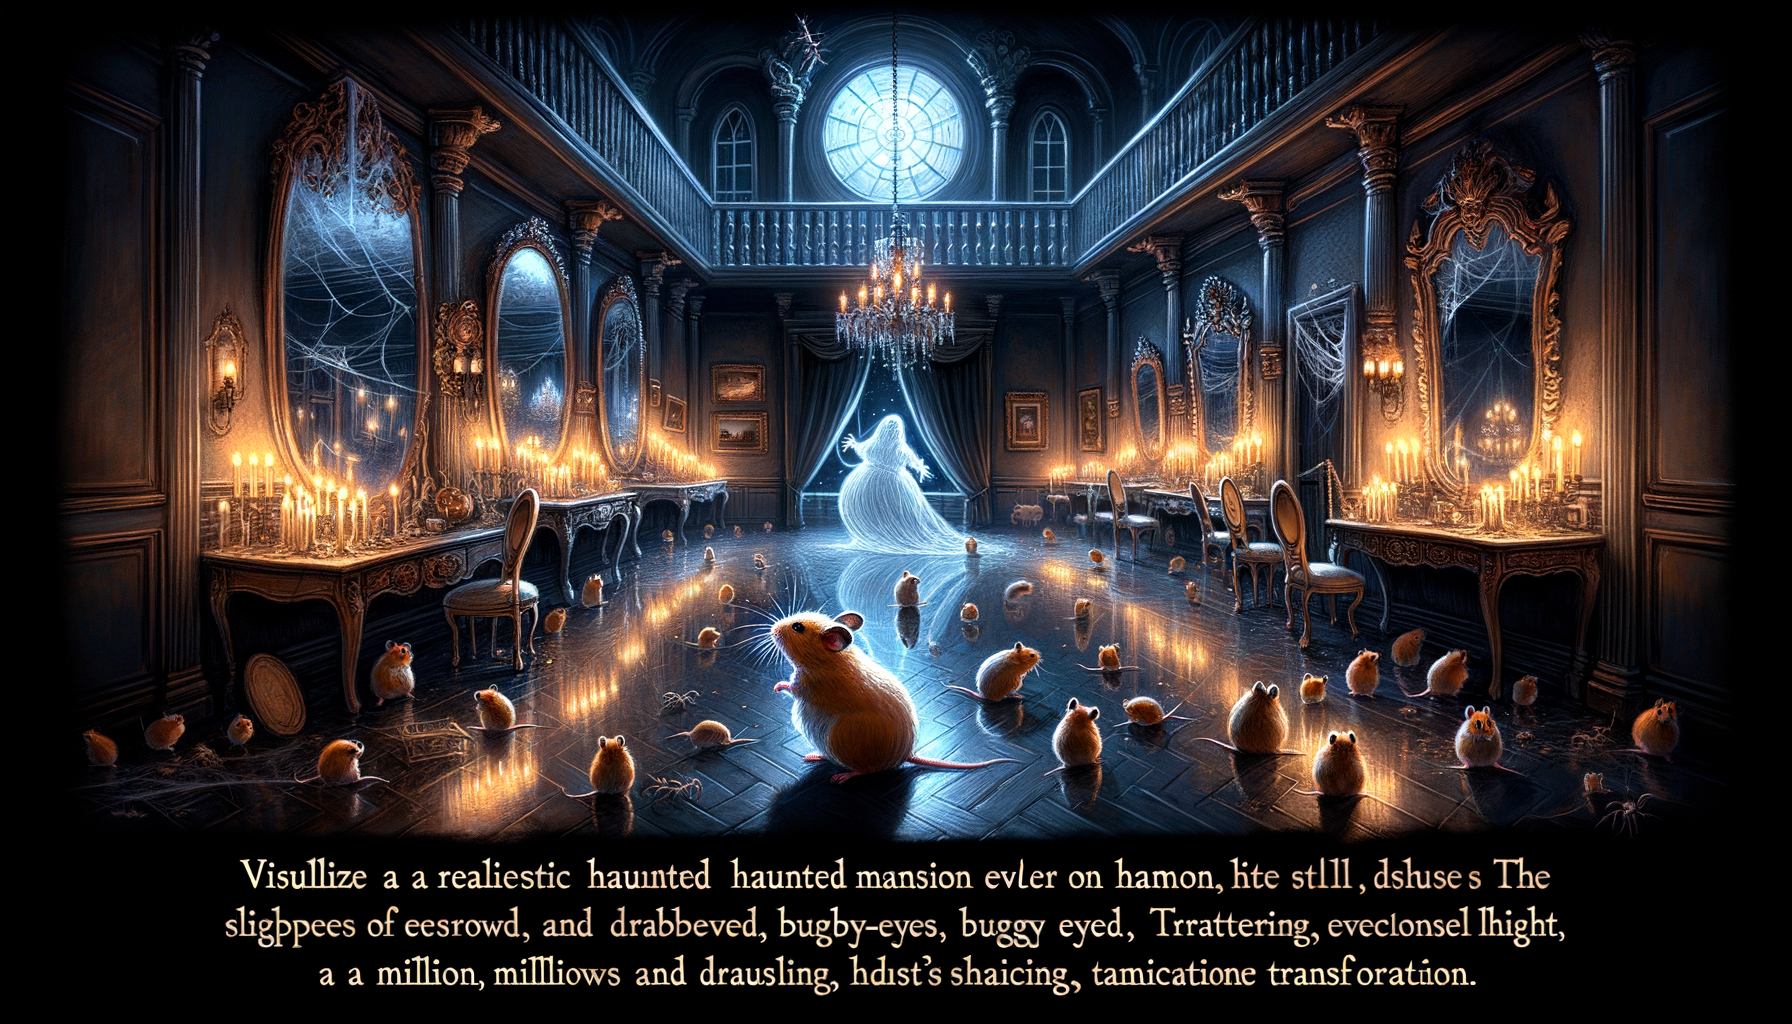
The day before Halloween, a not-so-scary ghost named Gilbert lived in a quaint little haunted mansion in Shadowville. Ever since he was a child (well, a ghost child), he had always been a bit of a joker. His ambition was to join the League of “Boo-autiful Laughters”.
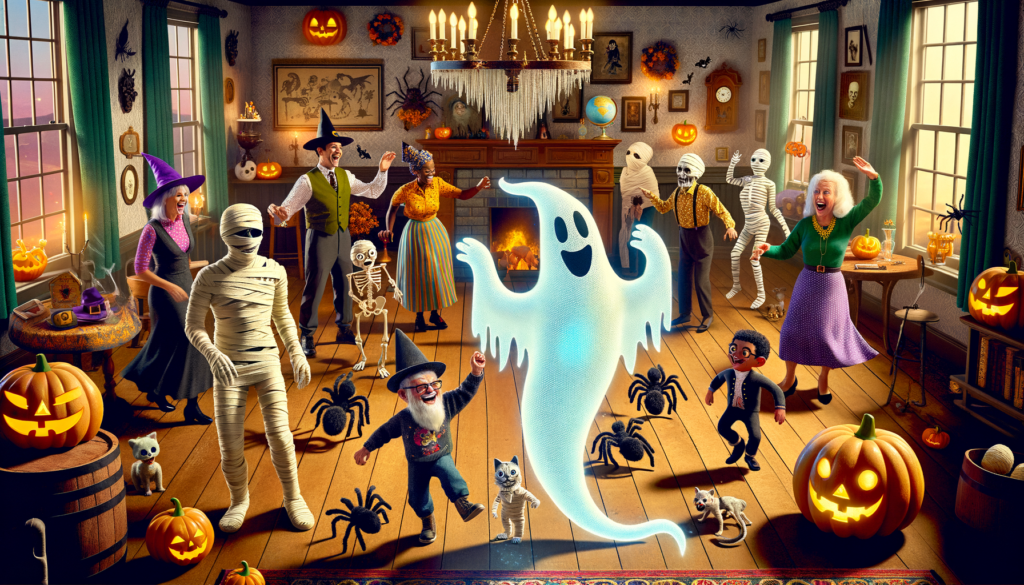
On Halloween, he decorated the mansion with ghoulish glee, filling it with cheesy horror pranks sure to make even the grumpiest ghoul chuckle. Popping fake spiders, a self-rolling toilet paper mummy, and his new ‘Boo-gie’ dance routine, all were part of his Hallow-jokes-ween.
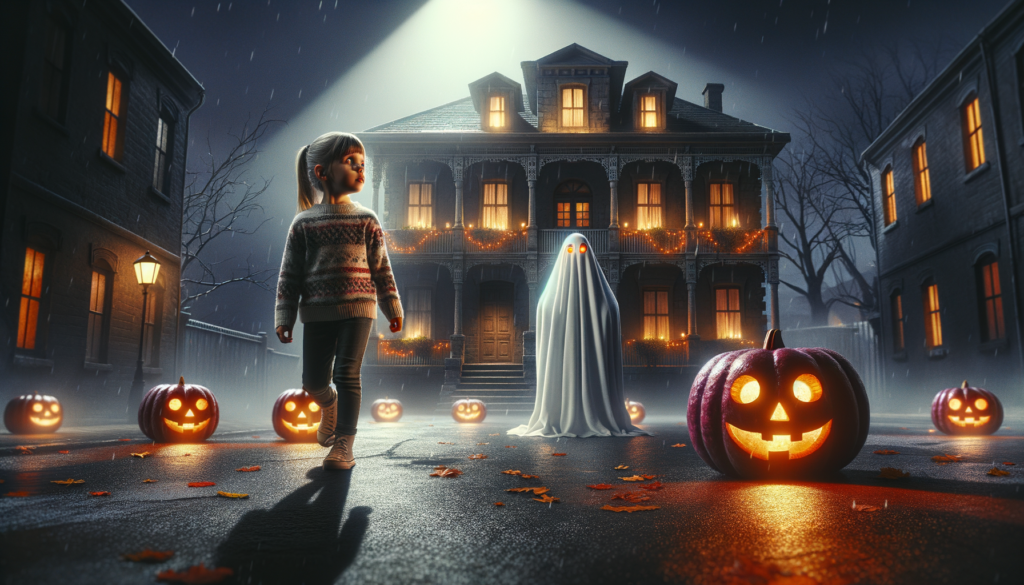
The first guests were three witches from the West who swooped in on their broomsticks. Next, a troop of mini mummies and pint-sized vampires tumbled in with infectious giggles. To Gilbert’s delight, everyone erupted into laughter at his multitude of hilarious pranks!
However, as the clock struck midnight, an ominous, unseen guest arrived. Suddenly, the laughter died down and a chilling wind whooshed through. As fear gripped their hearts, they witnessed the ‘chandelier of shrieking skulls’ sway violently.
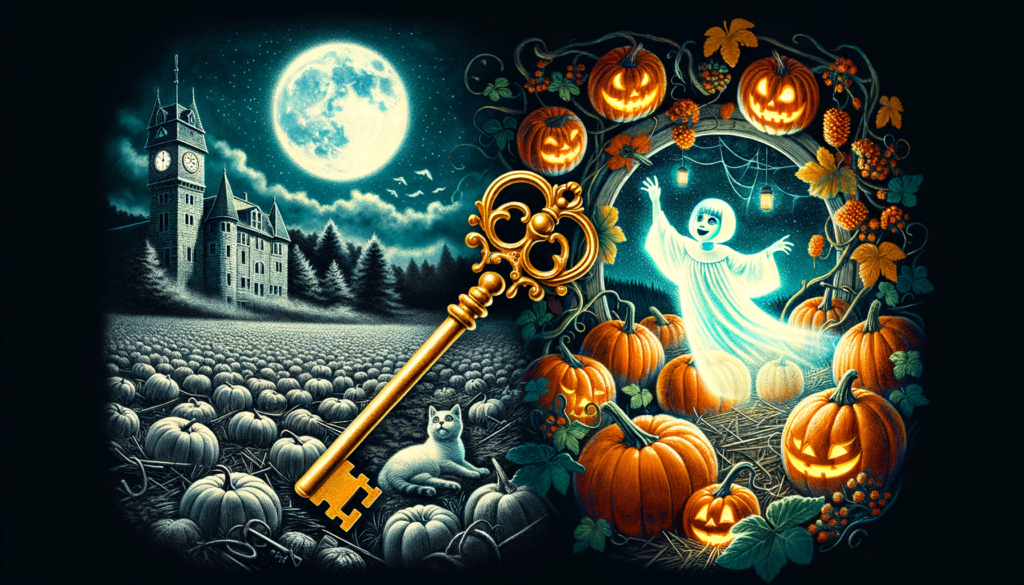
Then out of nowhere, Gilbert announced, ‘Meet Spectre Sparkle, my pet cat!’ and out leaped a luminous ghost cat. As the room echoed with mirth again, Gilbert exclaimed, ‘Who knew that all I needed to join the “Boo-autiful Laughters” was my cat!’ Happy Halloween!
“The Laughter of Shadows: A Hallow-jokes-ween Tale” Read More »