Title: “The Halloween Boss: A Pumpkin’s Magical Transformation”

Our story begins with the grumpiest man in town, Mr. Grouse. Each Halloween, he’d turn off his porch lights, shunning the holiday revelers. Yes, this is the same Mr. Grouse, who once shouted out his window, “Halloween is for fools.”
Fast forward to this year’s Halloween, an old woman in town gave him a pumpkin, insisting, “Carve it, it might change your spirit.” As a joke, Mr. Grouse obliged.
Under the moonlight, he carefully carved a menacing face into the pumpkin. He guffawed at his pumpkin masterpiece. But as he placed a candle inside and placed it on his porch, something eerie happened.
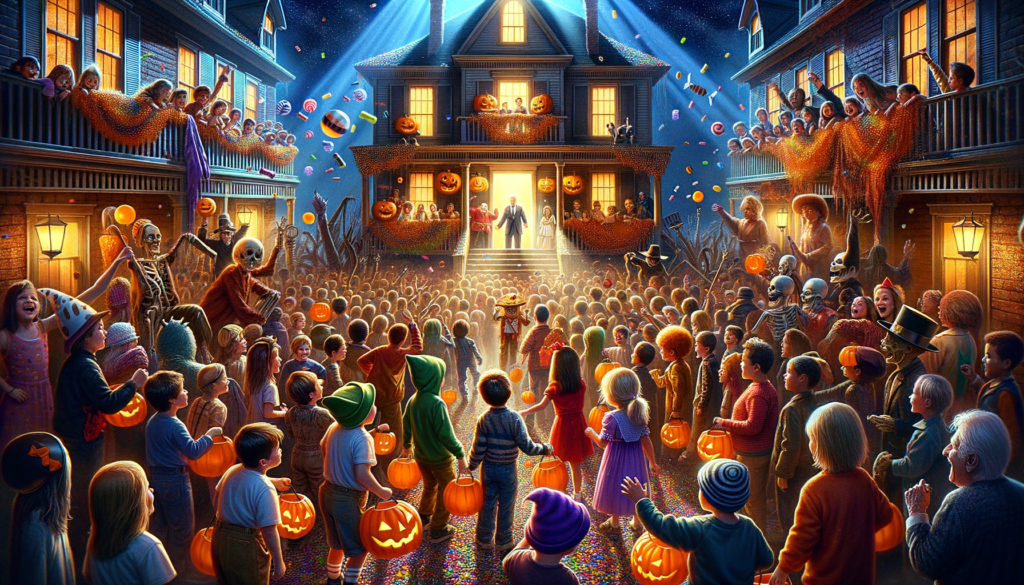
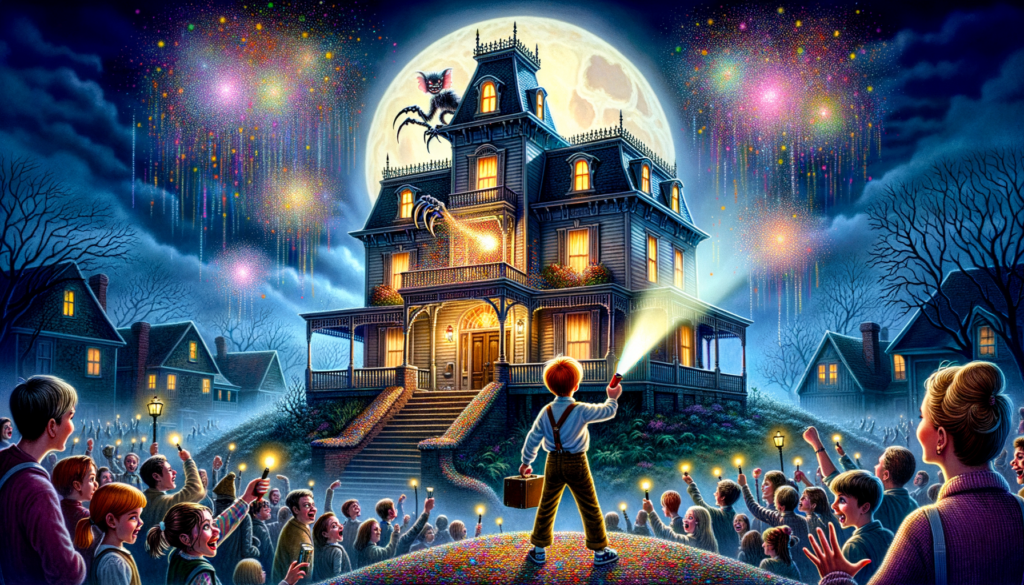
The pumpkin began to glow a ghastly green. Mr. Grouse felt chills down his spin. Suddenly, his house was swarmed with delighted trick-or-treaters, charmed by the strange green light. Mr. Grouse found himself chuckling and handing out candy.
From then on, Mr. Grouse took Halloween seriously with the neighborhood kids giggling, “Mr. Grouse is the Halloween Boss!” As for his transformation, the townsfolk chuckled, “The pumpkin changed more than his spirit.”
So next time when you carve a Halloween pumpkin, remember – it’s not the face that alters, but the spirit within! Surprise, surprise – who knew grumpy old Mr. Grouse had a sweet tooth waiting to be found! Happy Halloween!
Title: “The Halloween Boss: A Pumpkin’s Magical Transformation” Read More »